I've always debated starting a build thread and regret not starting it sooner but now that I am re enforcing my hull I decided it would be a good time to start.
Big thanks to:
-Single and only pars Supplier: Chris (JetManiac)
-My Knowledge GoTo guys: Jeff (509Freeride) and John (227)
-People who let me work on my stuff in their shop: Shaun (ShaunSteezy)
-PURCHASERS OF PROFOUND DYNAMICS PRODUCTS TO GIVE ME THE FUNDING TO DO THESE FUN PROJECTS. ALL PROFITS FROM PRODUCTS GO BACK INTO THE SKI/INDUSTRY 100%!
Currently, I have
Hull:
98 RN
Wamiltons Lowered Hood
Blowsion Tubbie Destroyers
Worx 201 Intake Grate
Stock D Cut / Worx Extended plate
Cold Fusion Hood Prongs
ShaunSteezy Custom Billet Hood Hookds
RRP Pole Bracket
Engine/Electronics:
Ported JM 718
MSD Enhancer
ATP Flame Total Loss (Pending install)
OCD Solutions "Tidy Bilge" System
OCD Solutions "Surf Armor" Switch
Pump:
Solas Mag
9/15 Hooker
Fuel:
BlackJack Modded 38's
Steering:
Cast RRP Pole, uncut tubes
RRP Carbon Pad
Cold Fusion Steering System
RRP 50mm Riser Bars / RRP Straight Bars
Blowsion Figer Throttle (soon to swap out with CF)
Other:
Cold Fusion Motor Mounts
Profound-Dynamics Bow & Stern Tow Loops
Profound-Dynamics Limiting Rope
Profound-Dynamics GoPro Lanyard
--------------
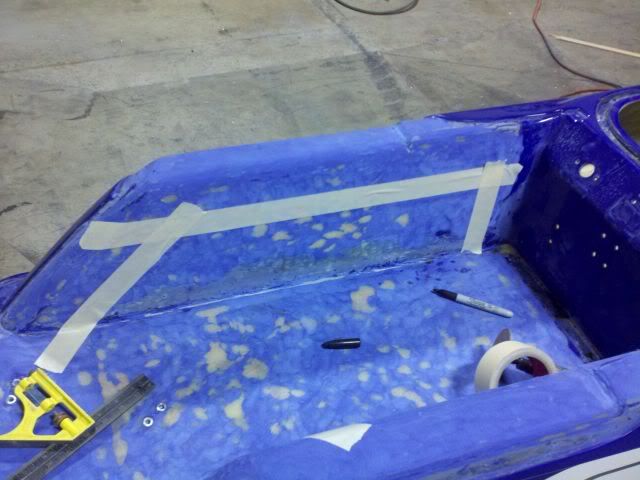
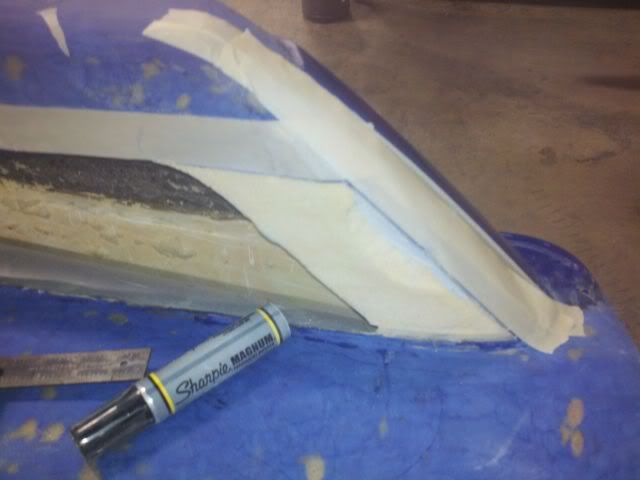
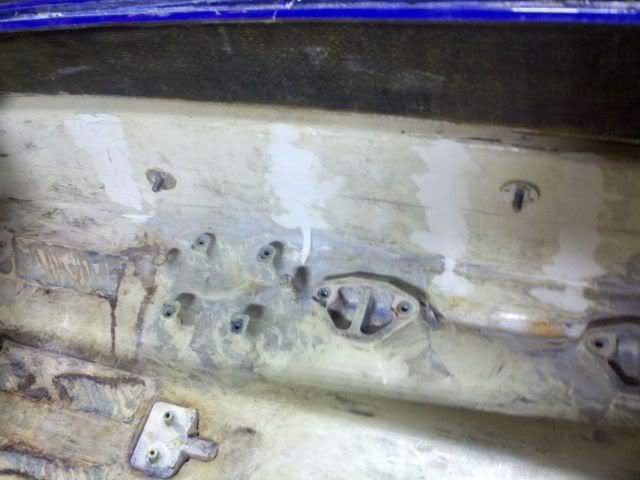
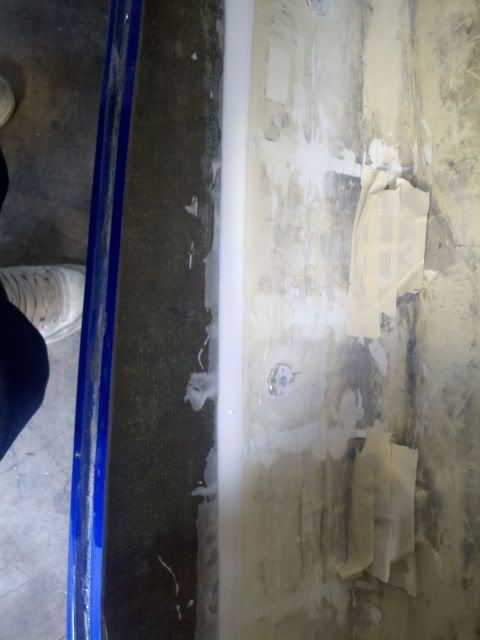
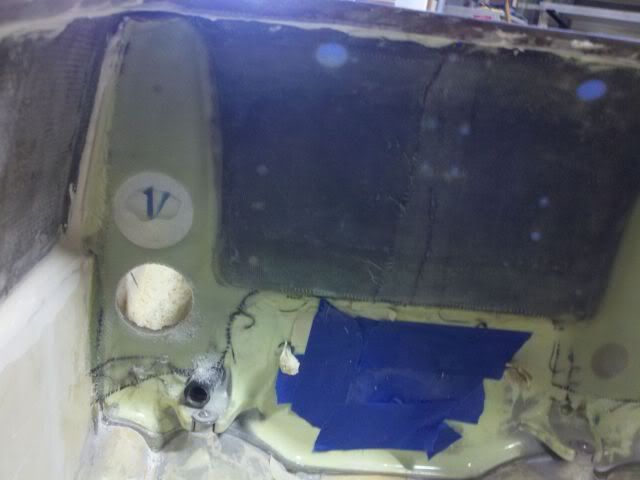
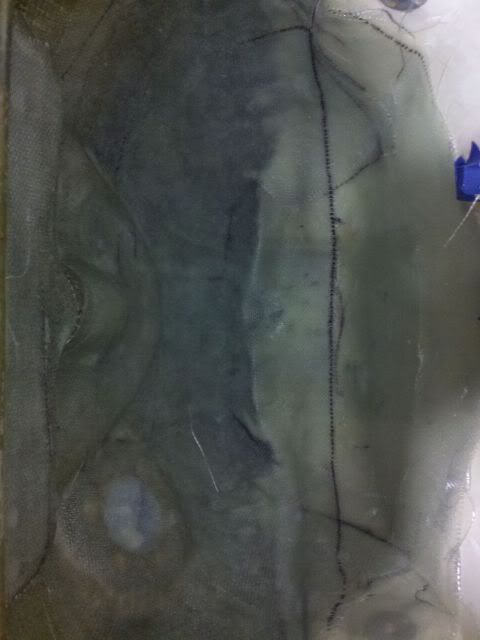
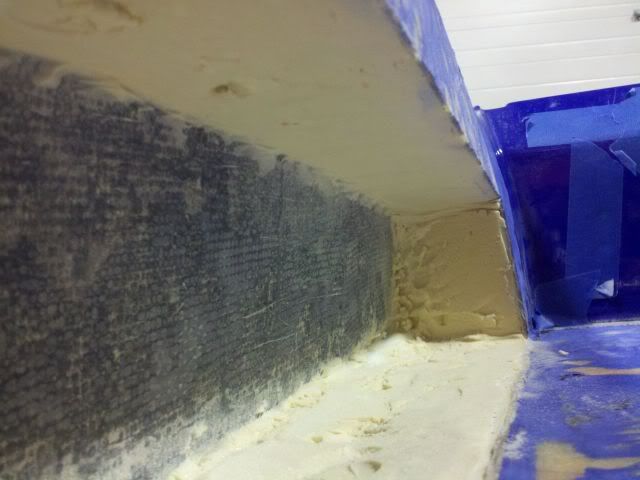
Shaun (ShaunSteezy) and myself decided to re enforce after he blew all his motor mounts and I cracked my hull in Pismo Beach, CA.
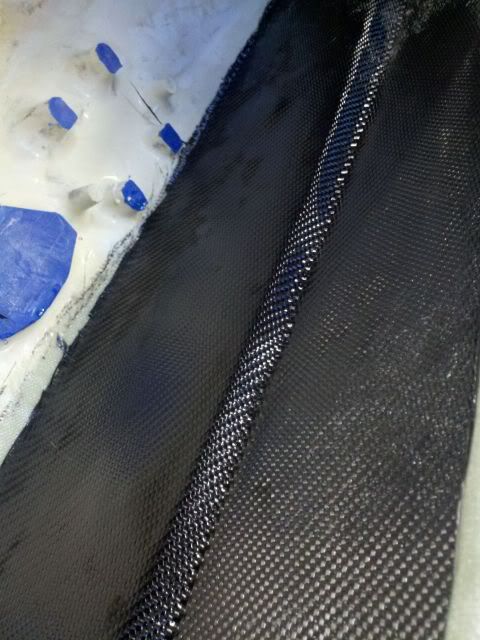
Between the both of us, I picked up 10 yards of 10oz fiberglass cloth, and 2 yards of 2x2 twill carbon fiber, 3 gallons of west systems resin, and some high density filler.
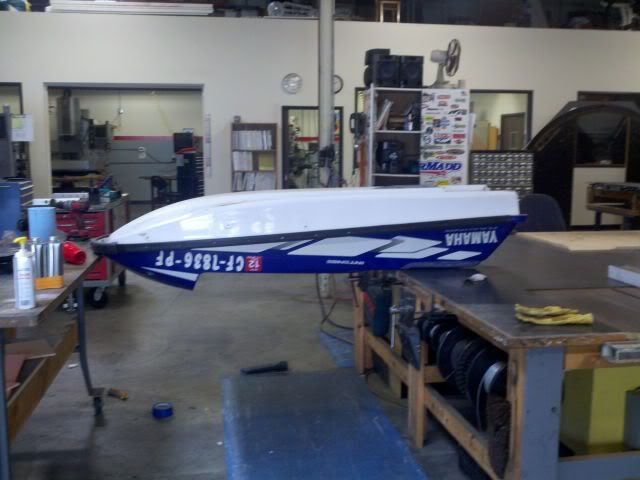
We are doing his ski one day ahead of mine. My ski is blue, Shauns is white.
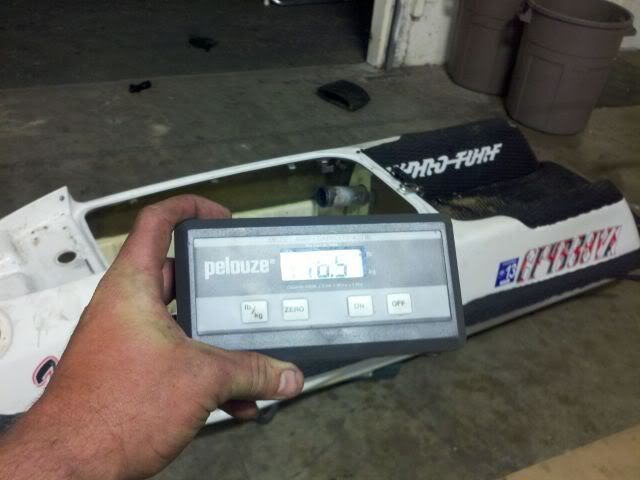
Shaun weighed in at 116.5 with turf and pump shoe:
I weighed in at 118 with intake grate, pump shoe, turf, tubbie destroyers, and a decent amount of hardware still attached (primer, reserve switch, e-box mounts ect.
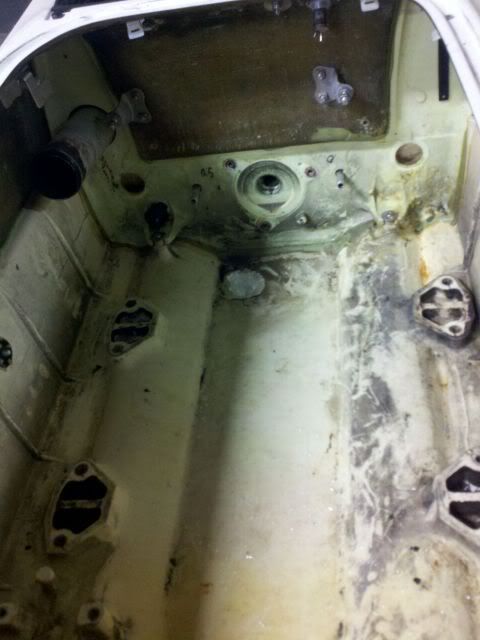
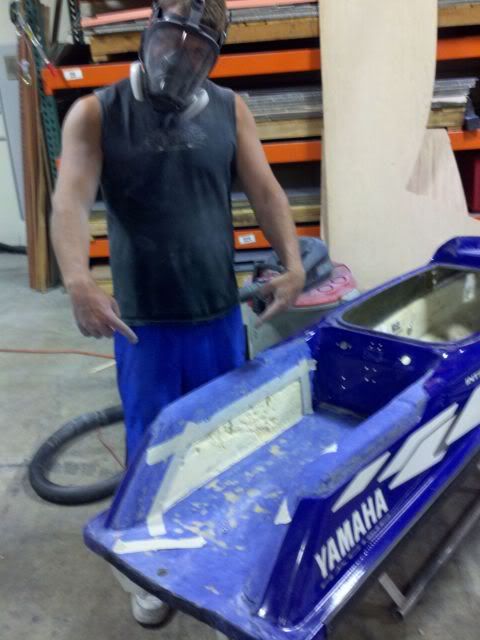
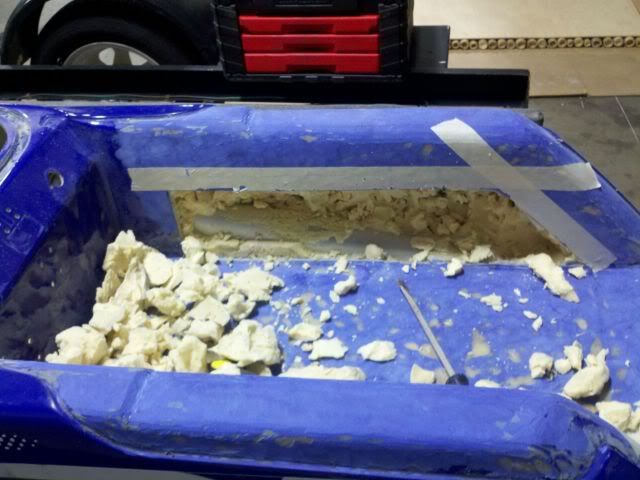
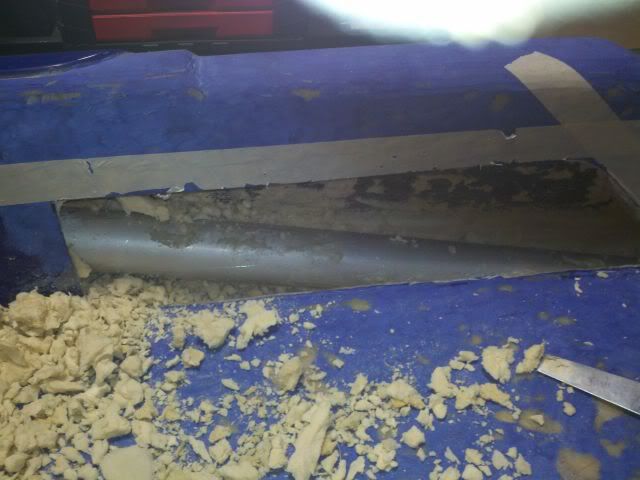
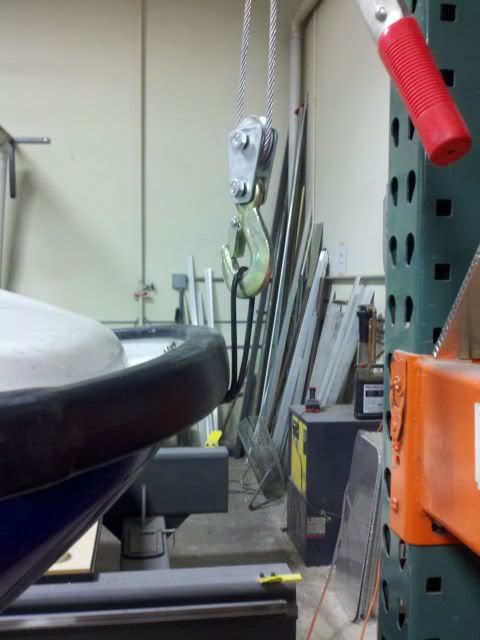
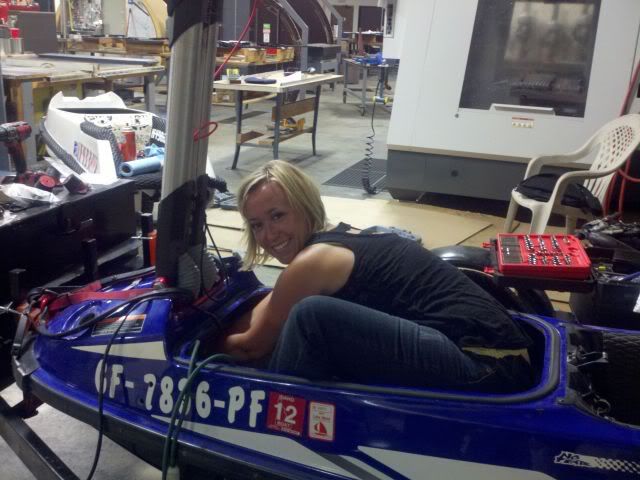
I had a little help disassembling my hull
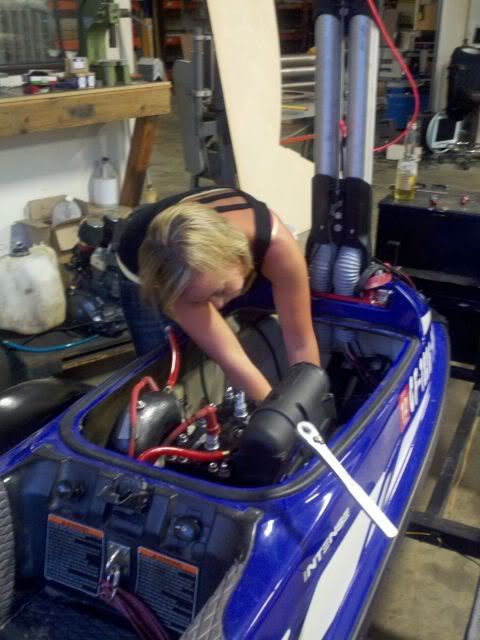
Removing Turf, this Tool works great. Came off VERY QUICKLY
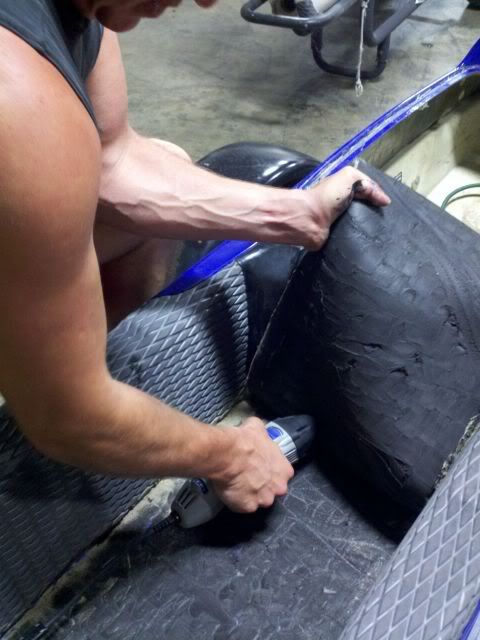
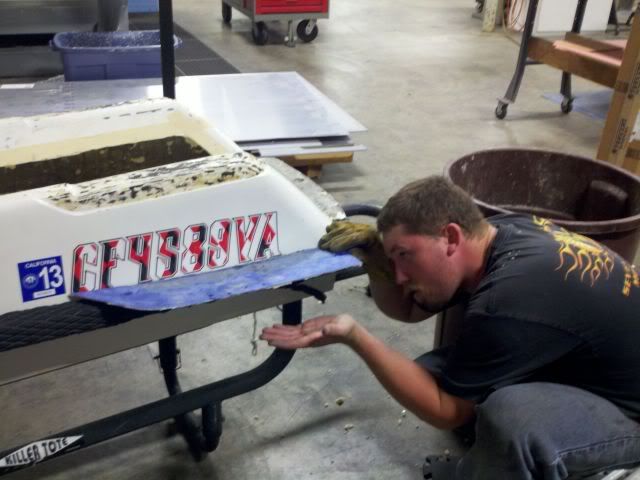
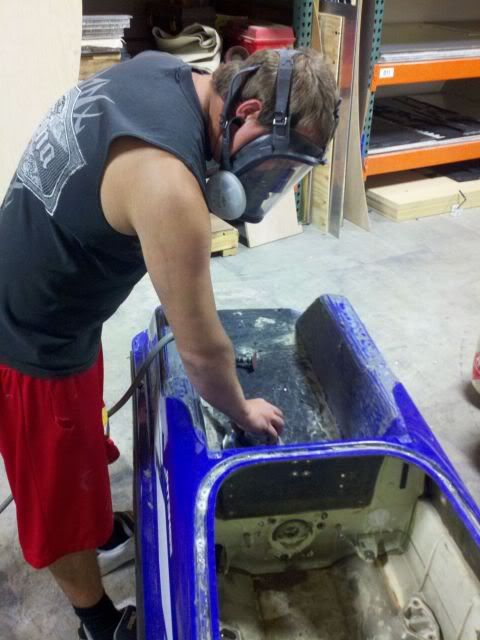
Sanding tray for glass thats going to layer for footholds
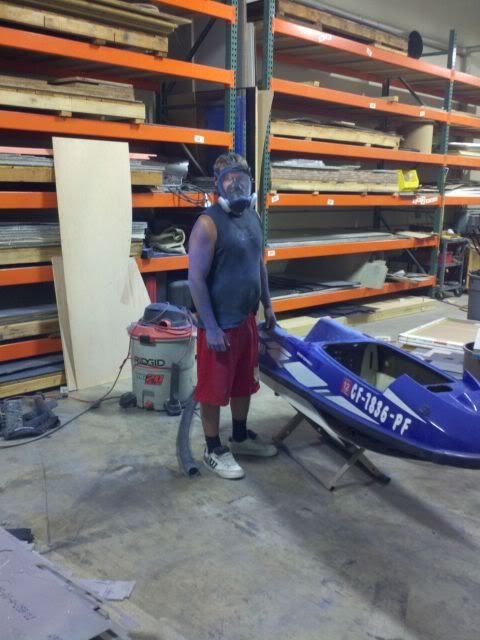
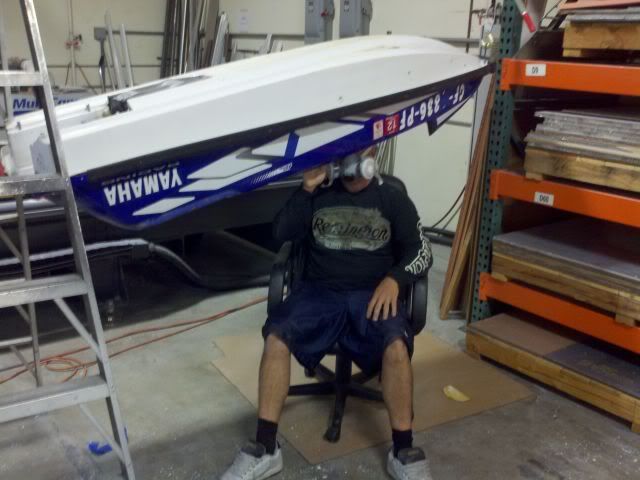
Shaun "Having Fun"
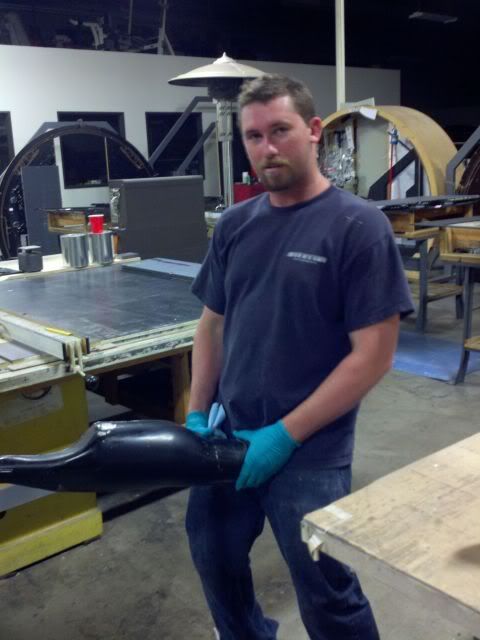
Big thanks to:
-Single and only pars Supplier: Chris (JetManiac)
-My Knowledge GoTo guys: Jeff (509Freeride) and John (227)
-People who let me work on my stuff in their shop: Shaun (ShaunSteezy)
-PURCHASERS OF PROFOUND DYNAMICS PRODUCTS TO GIVE ME THE FUNDING TO DO THESE FUN PROJECTS. ALL PROFITS FROM PRODUCTS GO BACK INTO THE SKI/INDUSTRY 100%!
Currently, I have
Hull:
98 RN
Wamiltons Lowered Hood
Blowsion Tubbie Destroyers
Worx 201 Intake Grate
Stock D Cut / Worx Extended plate
Cold Fusion Hood Prongs
ShaunSteezy Custom Billet Hood Hookds
RRP Pole Bracket
Engine/Electronics:
Ported JM 718
MSD Enhancer
ATP Flame Total Loss (Pending install)
OCD Solutions "Tidy Bilge" System
OCD Solutions "Surf Armor" Switch
Pump:
Solas Mag
9/15 Hooker
Fuel:
BlackJack Modded 38's
Steering:
Cast RRP Pole, uncut tubes
RRP Carbon Pad
Cold Fusion Steering System
RRP 50mm Riser Bars / RRP Straight Bars
Blowsion Figer Throttle (soon to swap out with CF)
Other:
Cold Fusion Motor Mounts
Profound-Dynamics Bow & Stern Tow Loops
Profound-Dynamics Limiting Rope
Profound-Dynamics GoPro Lanyard
--------------
Shaun (ShaunSteezy) and myself decided to re enforce after he blew all his motor mounts and I cracked my hull in Pismo Beach, CA.
Between the both of us, I picked up 10 yards of 10oz fiberglass cloth, and 2 yards of 2x2 twill carbon fiber, 3 gallons of west systems resin, and some high density filler.
We are doing his ski one day ahead of mine. My ski is blue, Shauns is white.
Shaun weighed in at 116.5 with turf and pump shoe:
I weighed in at 118 with intake grate, pump shoe, turf, tubbie destroyers, and a decent amount of hardware still attached (primer, reserve switch, e-box mounts ect.


I had a little help disassembling my hull


Removing Turf, this Tool works great. Came off VERY QUICKLY

Sanding tray for glass thats going to layer for footholds


Shaun "Having Fun"

Last edited:

