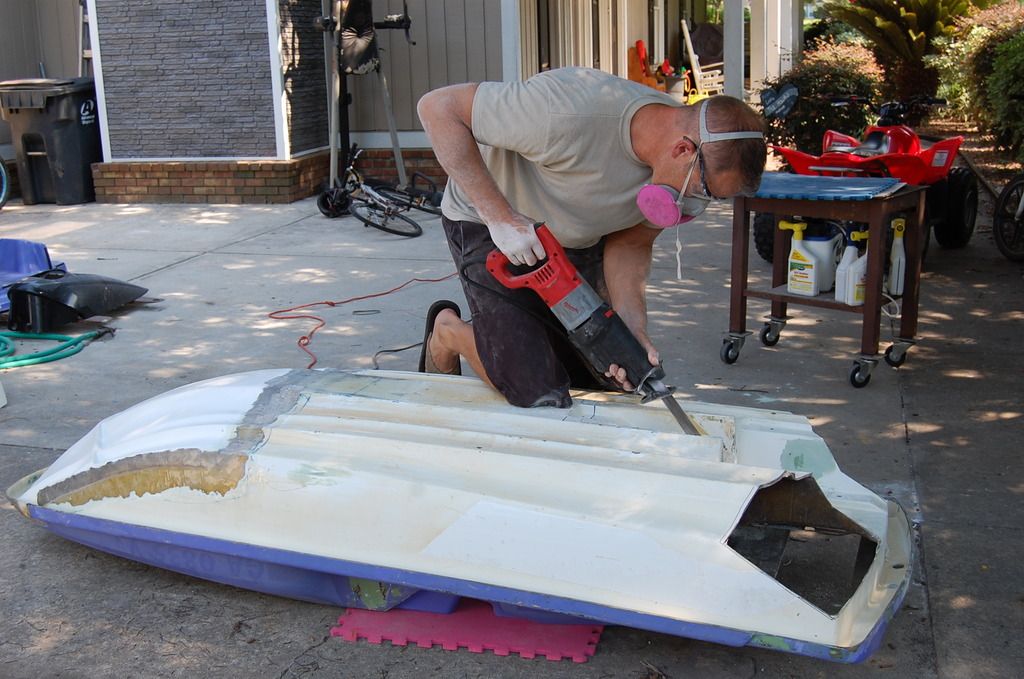
So at this point I was certain of a few things...I wanted a 1200, I wanted a rocker(front and rear), but I was holding back on doing the pump tunnel. The reason being...It would increase my cost tremendously(I had only five rides on my Impros prop for the 1200), it would increase my workload(as if we don't have enough to do, and basically I was scared. After getting my head screwed on straight...I pulled the trigger. I will say this. If you are doing a 1200, a pump tunnel should be mandatory. If you can do it...a mag pump should be next. 1200s need water! Feed them. My ski is god damn rocket...and I attribute that to the pump tunnel.
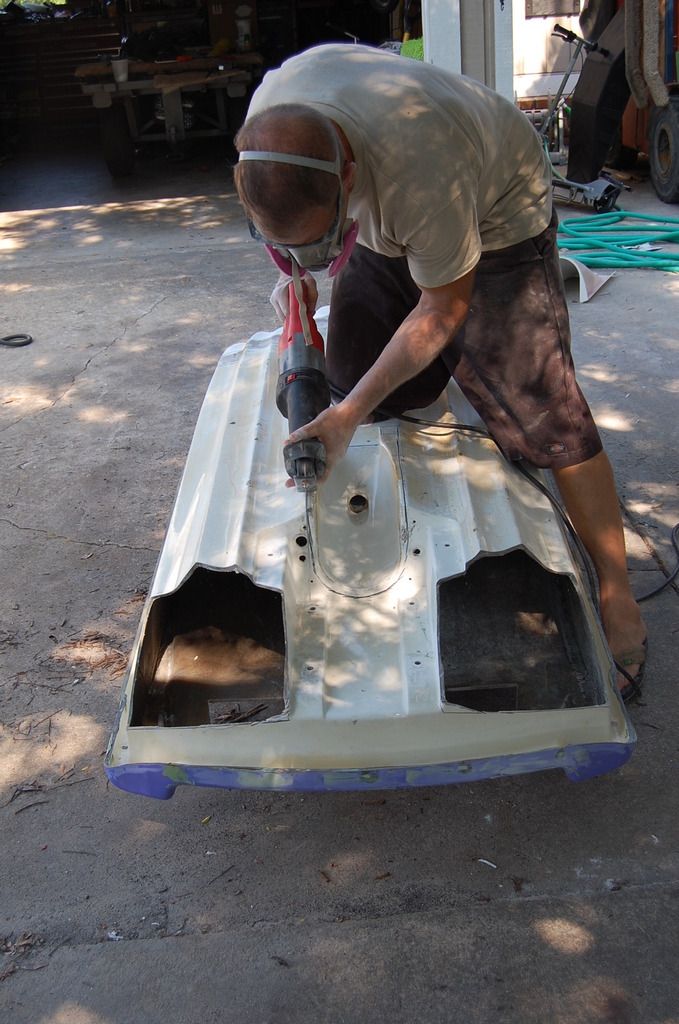
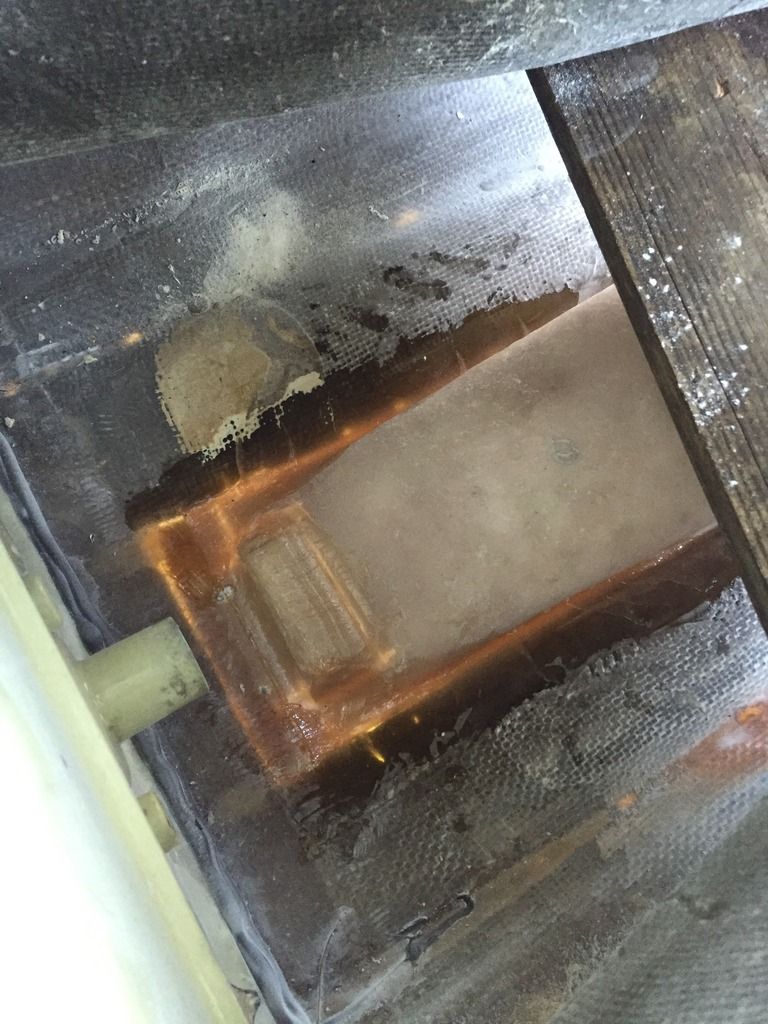
So pull out the sawzall and cut that puny ass pump tunnel out. Don't let your girlfriend see how small it is...she will certainly laugh at you...
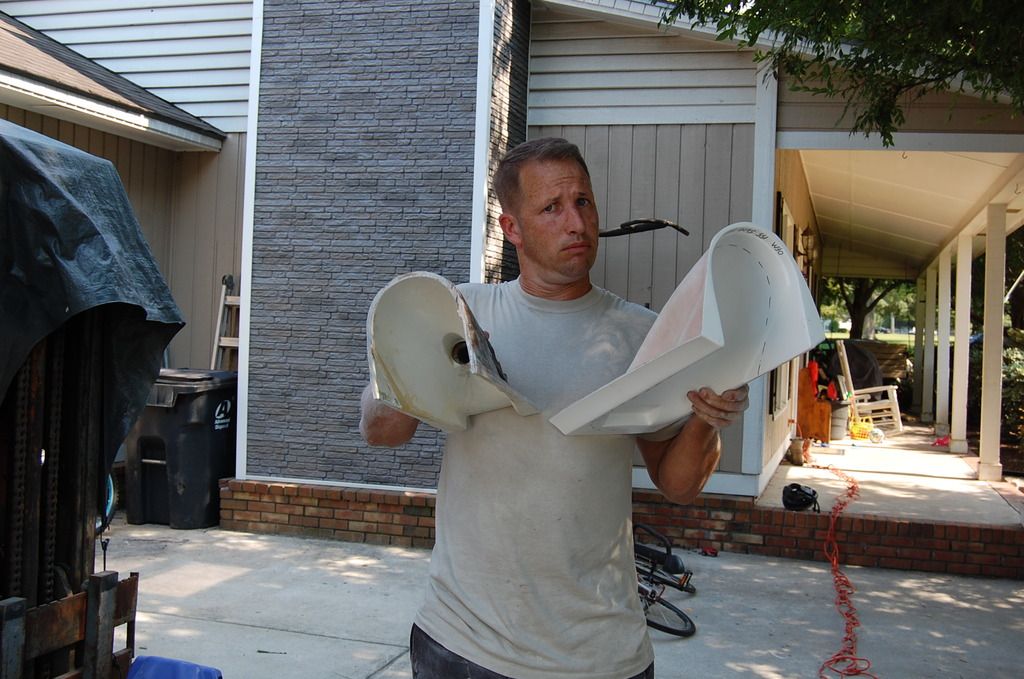
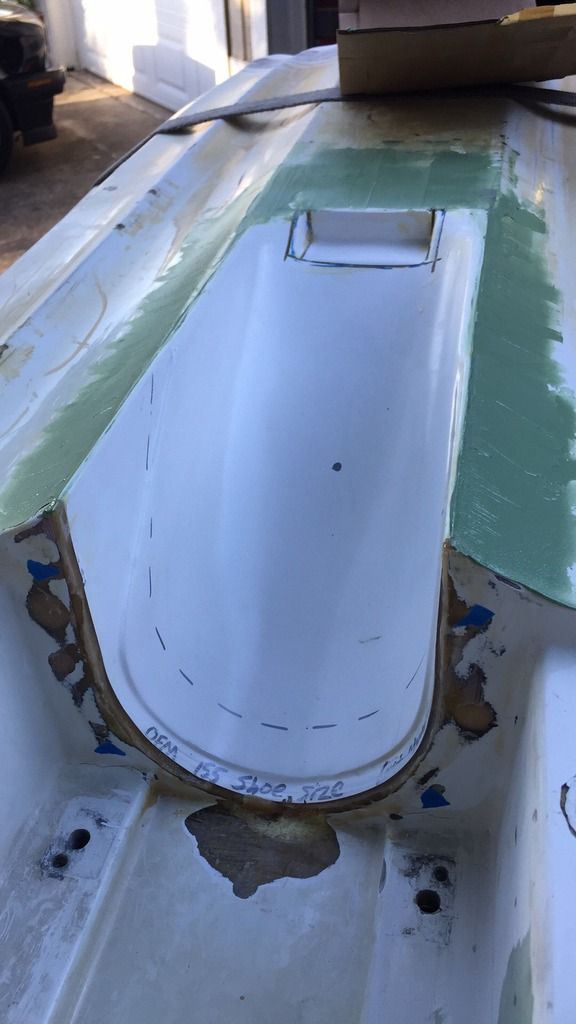
stock tunnel on the left...Carter's tunnel on the right
So here's why this was the hardest part of my project...ALL THE THINGS. It just takes time to get the tunnel where you want it. To get the pump where you want it. To get the pump alignment perfect. ETC ETC ETC. At this time I knew 2016 wasn't goin to happen so I dug in to do it PERFECT.
Let me ADD...only cut the entire tunnel out if you plan to use a WB2 155 plastic shoe. I went this route because the fitment to carter's tunnel is perfect, the pump centered in the show perfectly during testing and basically...I didn't like the aluminum shoes. I did however order both so you can't say I didn't try...
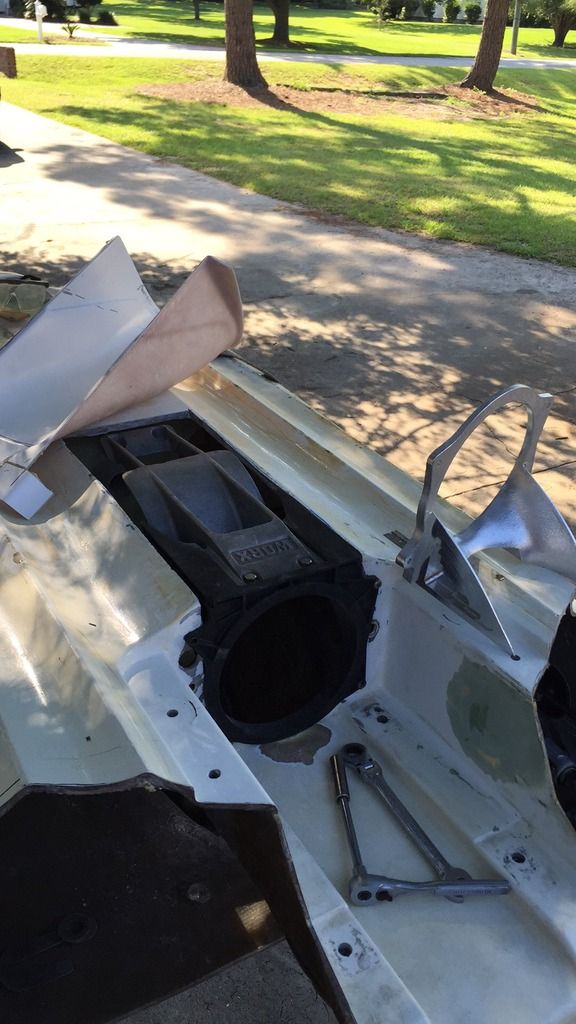
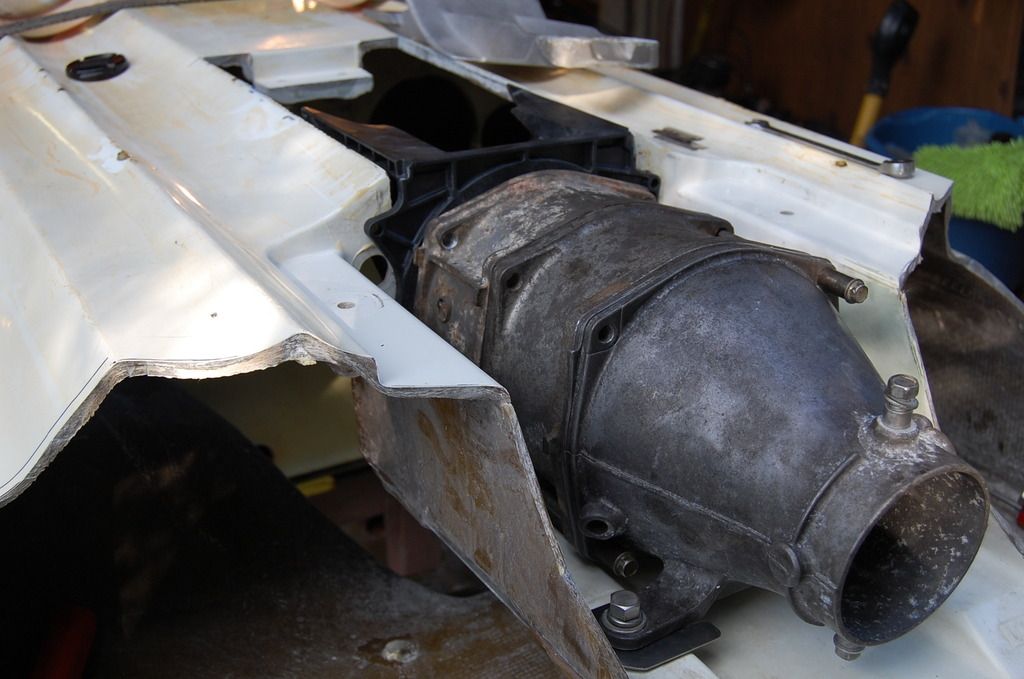
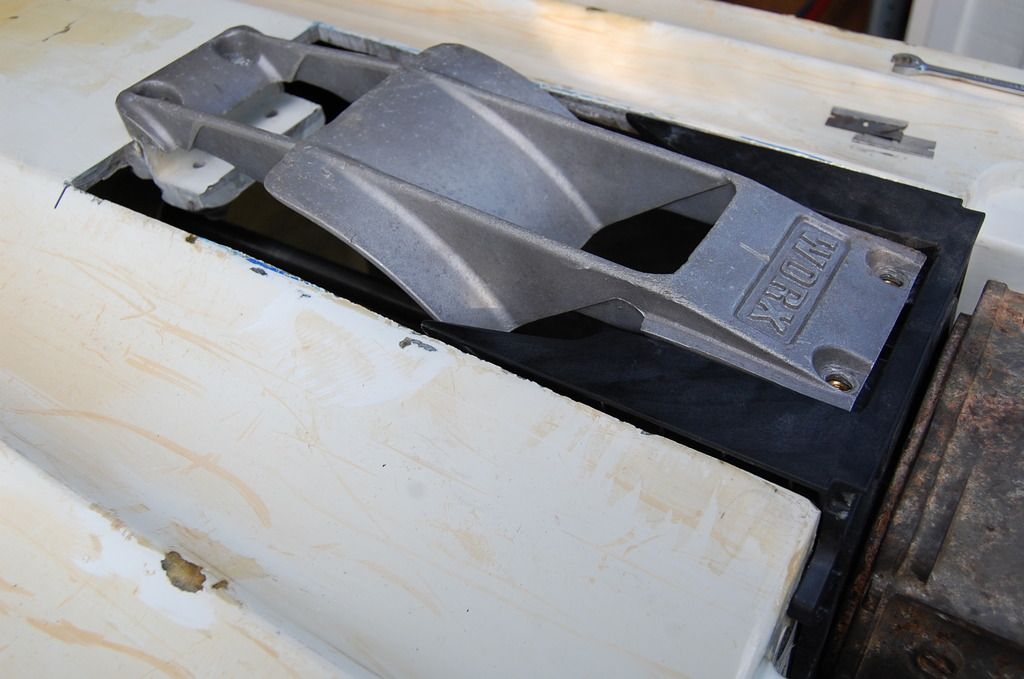
So because I use the WB2 shoe...like I said...EVERYTHING got pushed forward. I used the intake bolted to the show as a guide where the tunnel would go.
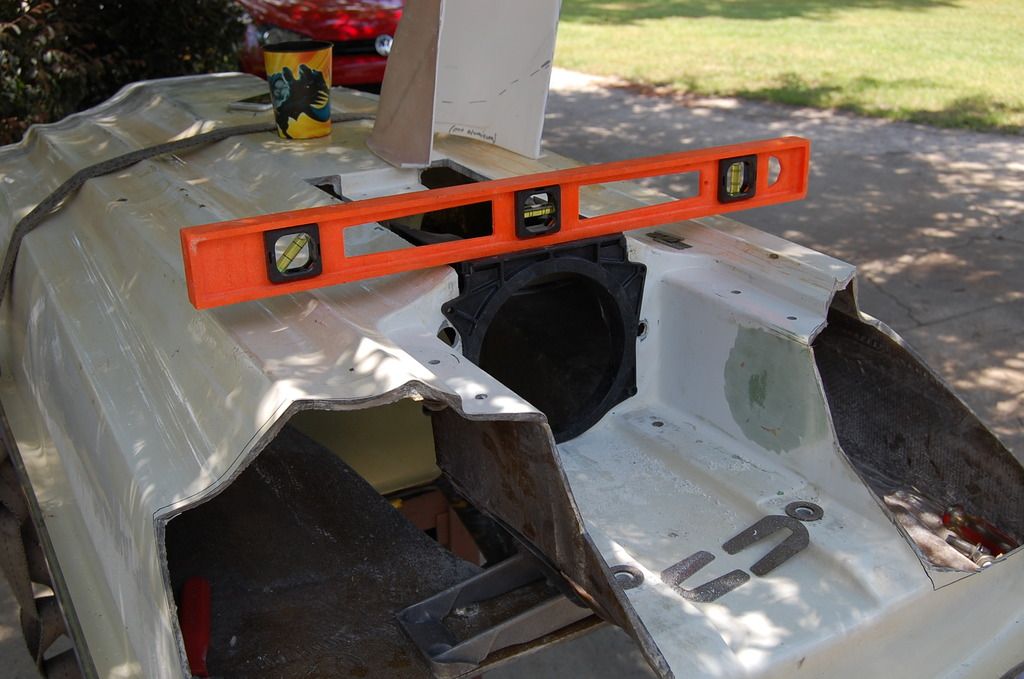
I made sure the hull was level and then use a level to make sure my shoe was in sqaure.
Using a beat ass pump for constant alignment
This picture shows my front inserts had to get moved forward. Not that big of a deal...
Finally, I trimmed the tunnel up and used some peanut butter to get it roughly in...
The outside was only faired. The inside was fiberglassed like I had an endless supply. Here's the outside with a little bit of epoxy fair
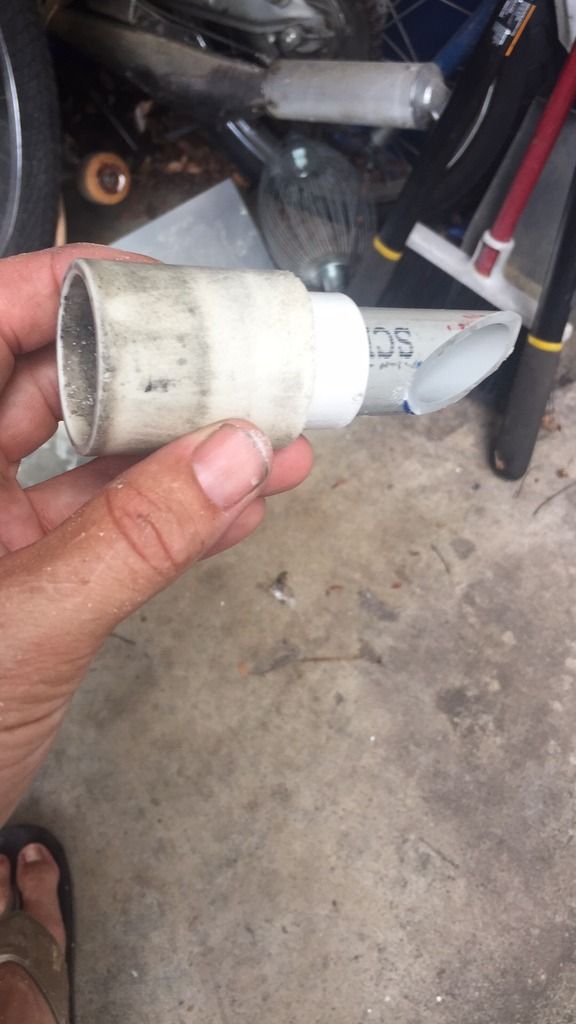
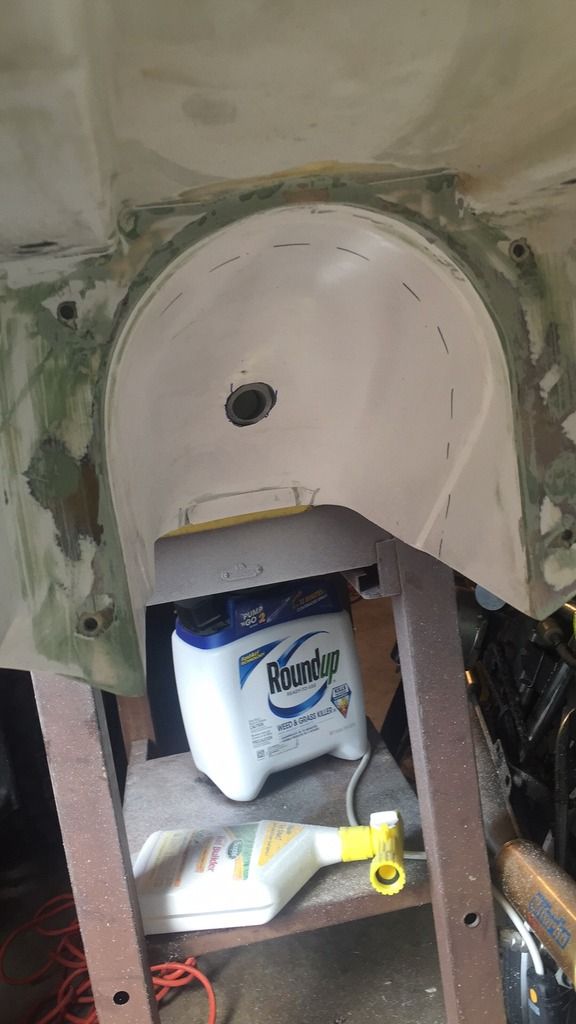
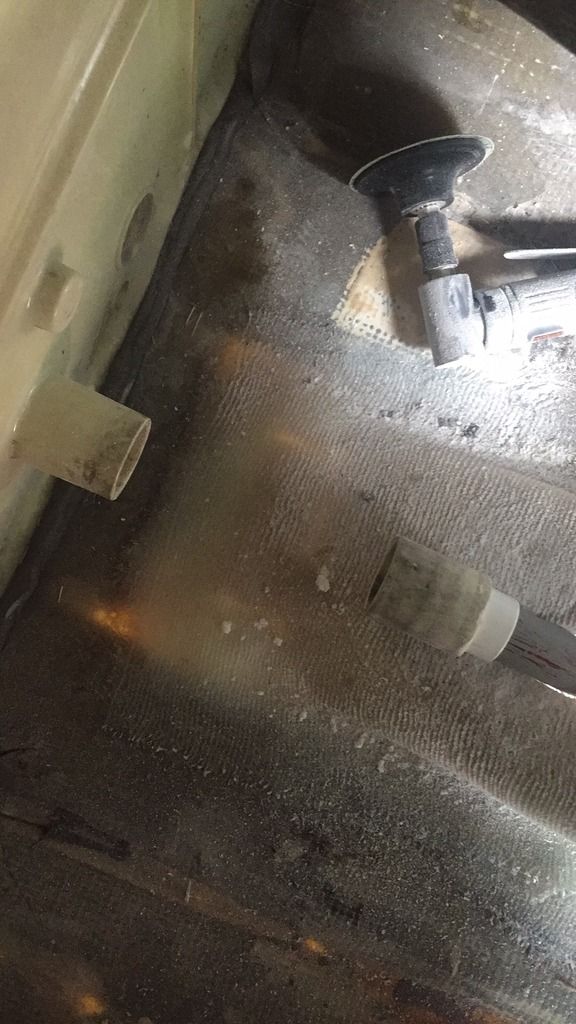
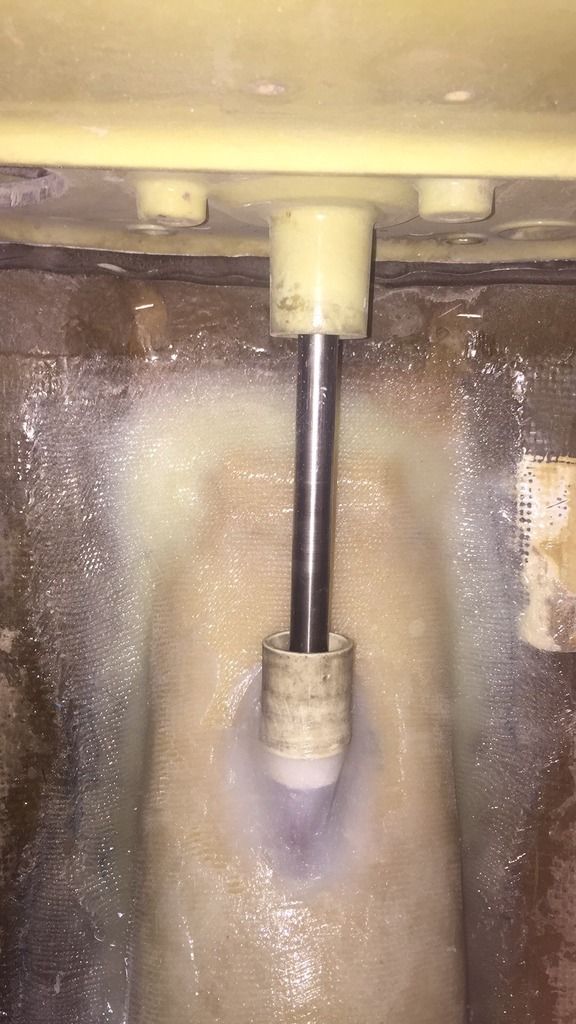
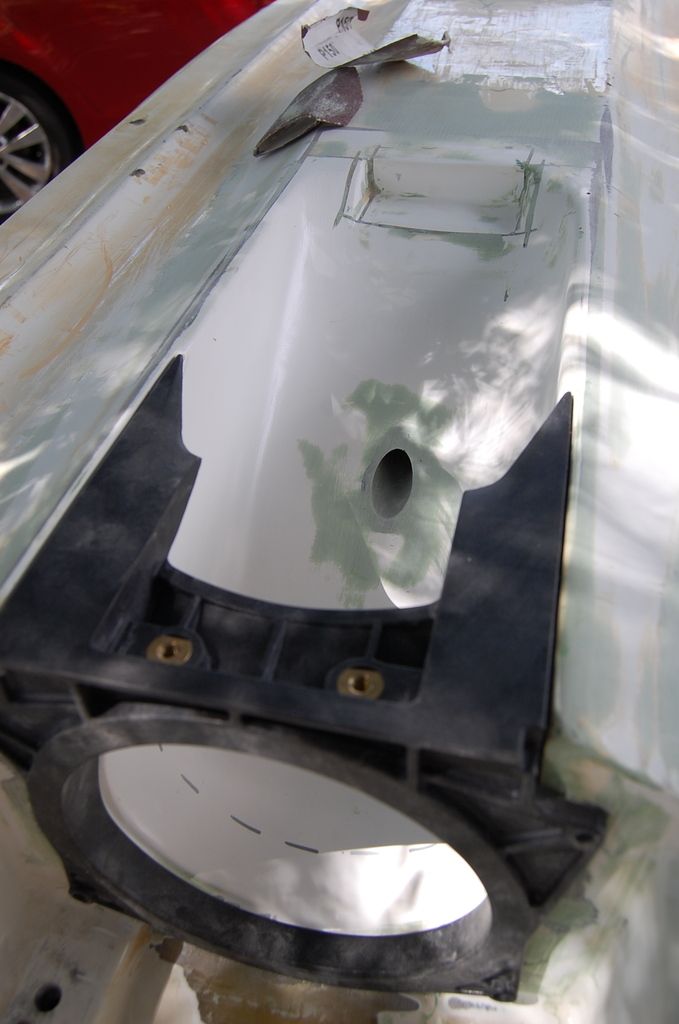
At this point there is no hole for the driveshaft but you can see where Carter marks the center. I used a simple hold saw and punched through. I then cut off the old tunnels extension and use piece of PVC that would because my new driveshaft hole.
I temp installed a pump with a driveshaft and ensured that when I epoxied in the new coupler it would be centered. If you don't have a cold fusion driveshaft alignment tool...don't do this project. Your pump will never be in straight. It will destory the midshaft and driveline plus rob horsepower and make some nasty heat.
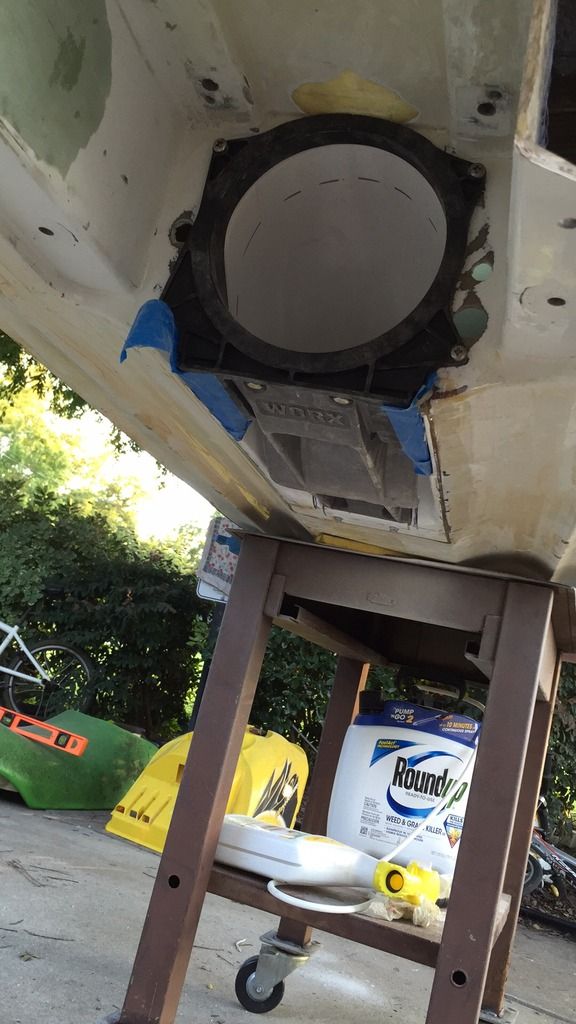
From the outside...smooth it out...
So that's pretty much the pump tunnel install. I learned everything by trial and error. Make sure you DO NOT put the tails on first and then try to do the tunnel. The extra access was invaluble. Speaking of the tails...lets get some

...


