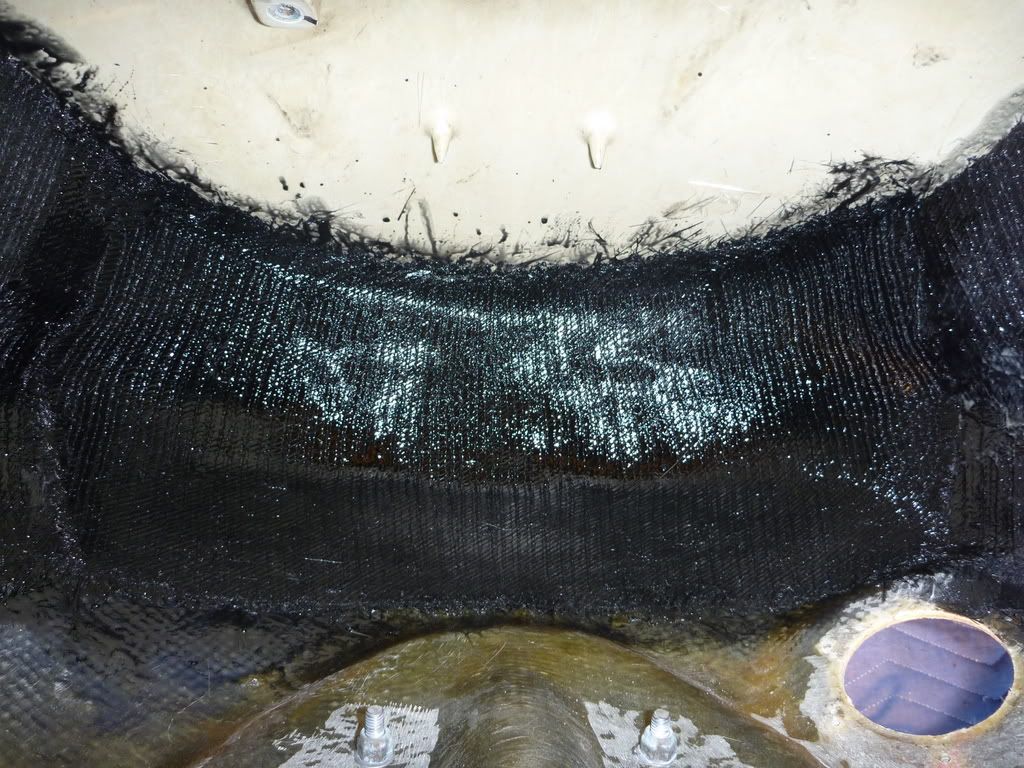
Hull Reinforcement...PICS!

kraqus

Site Supporter
You know I am embarrassed :Flush:.
I still have not finished this project. My Daughter started walking about 2 months ago, for the ones that do not have kids, once that happens forget about it.....it's all over! :baby:...LOL!
Walking kids required so much attention and my GF does need the Help. Every chance I get time for myself, I go riding. I just got back from Pismo (don't ask me how I pull that off) and I am pooped.
Enough of my sorry a$$ excuses....this just gave me the motivation to tackle this project again and finish it once and for all......:drillsergeant:


Benny
 
Last edited:

kraqus

Site Supporter
Hey, how did it turn out? Curious cause im about to get into the same thing. Did you use everything that is showed in the picture. Meaning was that enough resin etc, or way too much. Also how much Biax did you buy? The reason i ask is because im planning on doing my SJ (plus trey) and my B1 at the same time. Just trying to get a feel for what i will and wont need.

I will eventually answer all your questions....stay tuned.


I know this is old but I was watching HD TV:Boston Whaler.

They use the mat in between glass and they use actual rollers to roll resin....not that thing ^^^ up there.

It was pretty cool watching it.....chopper guns and technique and stuff.

If you know a little before watching it you can pick up a lot.....and quickly.


I know that is why I asked. That one roller with treads does look weird to me. I think I will go to the store and buy flat ones just in case I don't want to find out these are the wrong ones when I am in the middle of applying the glass.....


this is an awesome thread
Thanks Bro...


Benny
 
Last edited:

FyrHazard

Ski Eat Sleep Repeat
Location
Iowa
I can't find the thread now, but I have seen a similar roller used for Fiberglass work. I'm not sure what the reasoning is behind it...

Good luck with your build Benny! I'm hoping to do similar things to my square this winter but we'll see.
 

lmi-step

wow I love this game!!!
IMG_1298.jpg


Question,
Did I get the right rollers?
I mean look at it, it has treads.
Is that right?
The point is to get bubbles out, right?
I would expect a flat roller instead.

IMG_1299.jpg


Hey Benny- don’t use the big rollers with carbon or Fiberglass Cloths use just the brushes or vacuum to get the bubbles out and you can’t take epoxy resin with fiberglass chopped mat.
You can use those big rollers just with fiberglass chopped mat + (Polyester Resin). I hoppe you understand my english and what I mean! :fing02:
 

smoofers

Rockin' the SQUARE!!!!
Site Supporter
Location
Granbury, TX
That roller will work just fine.... It might be a bit on the long side.

I use a roller just like that (3" version) for large spans of glass. It works great because not only does it eliminate air bubbles, it spreads out the resin.

Glassing with a roller:
1.) wet your surface with epoxy before you lay down your glass. It doesn't have to be slathered on, just a light coat with a brush.

2.) lay your glass down and wet out the complicated areas first with a brush (curves etc.)

3.) Wet out your cloth with a brush, I prefer to dunk the brush, brush the resin on an area, then dab with the brush to get the resin to soak in.

4.) Use the roller to spread out the resin and wet out the rest of the cloth. If done properly you should be able to wet out all of your glass with no excess resin pooled on top of the glass.

5.) Any areas that are still dry, dab some resin on with a brush and roll it into the glass with the roller.

Those rollers work great in my opinion, but are really only needed for large areas.
 

kraqus

Site Supporter
I got up early today and went downtown immediately.....
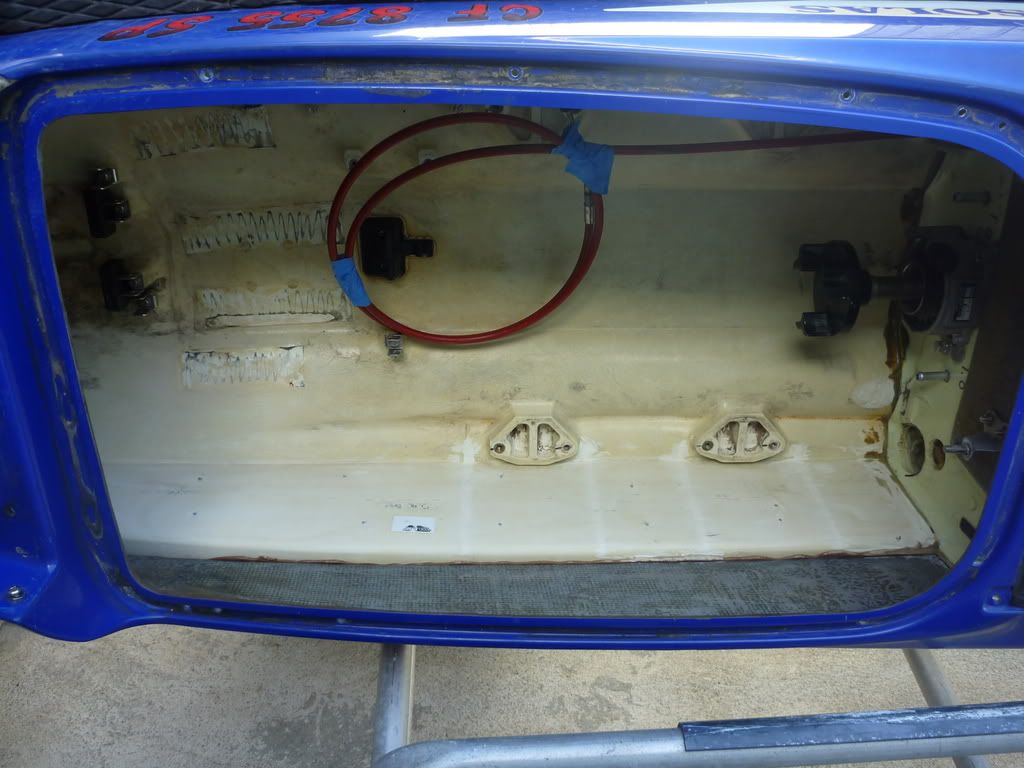
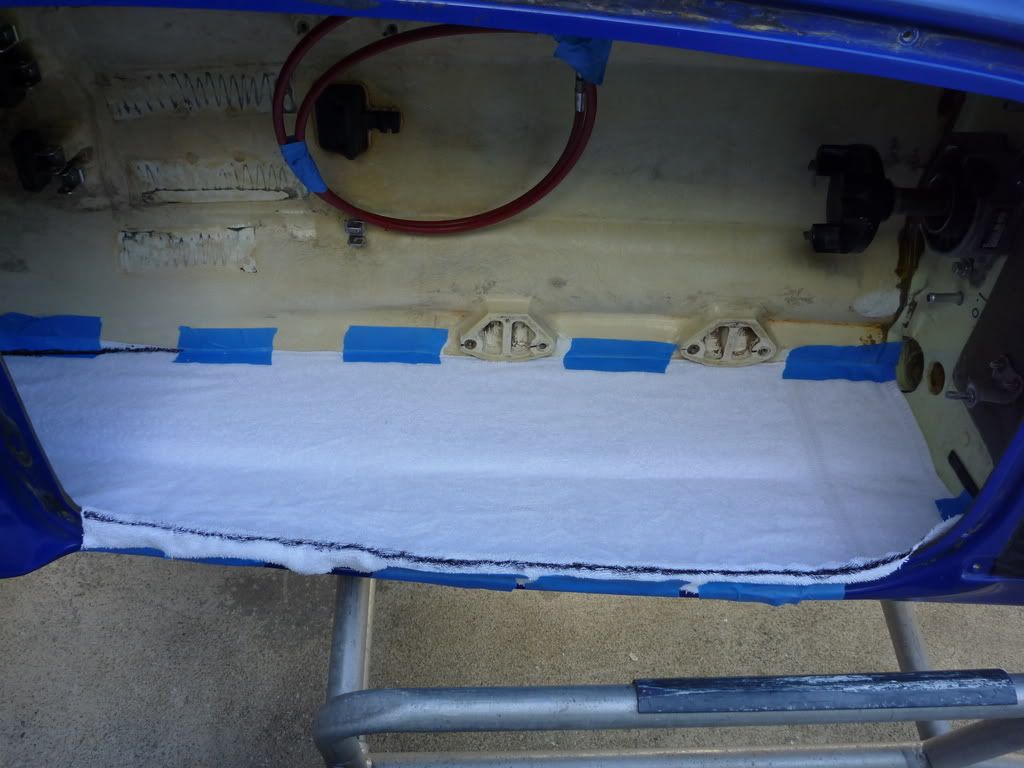
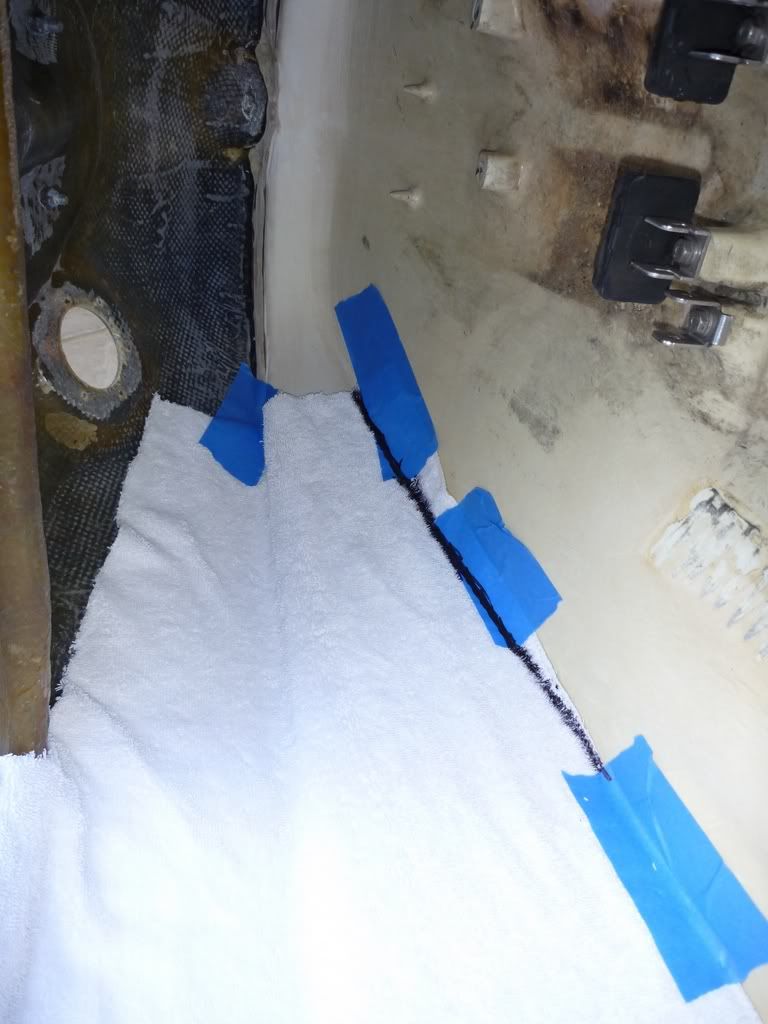
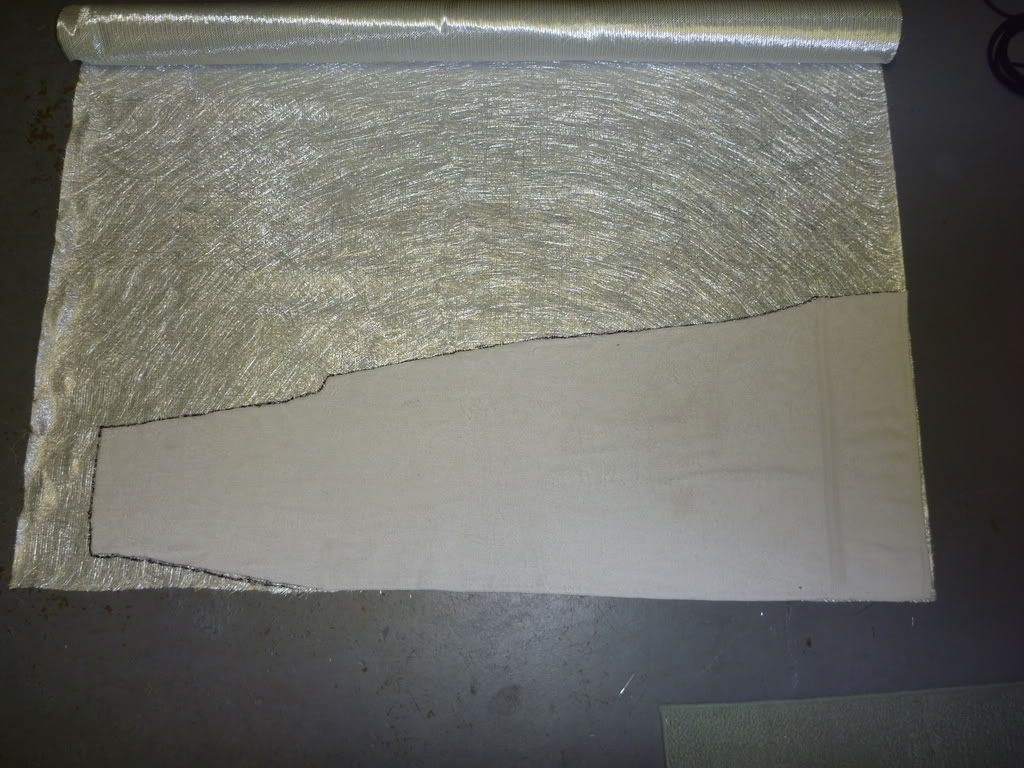
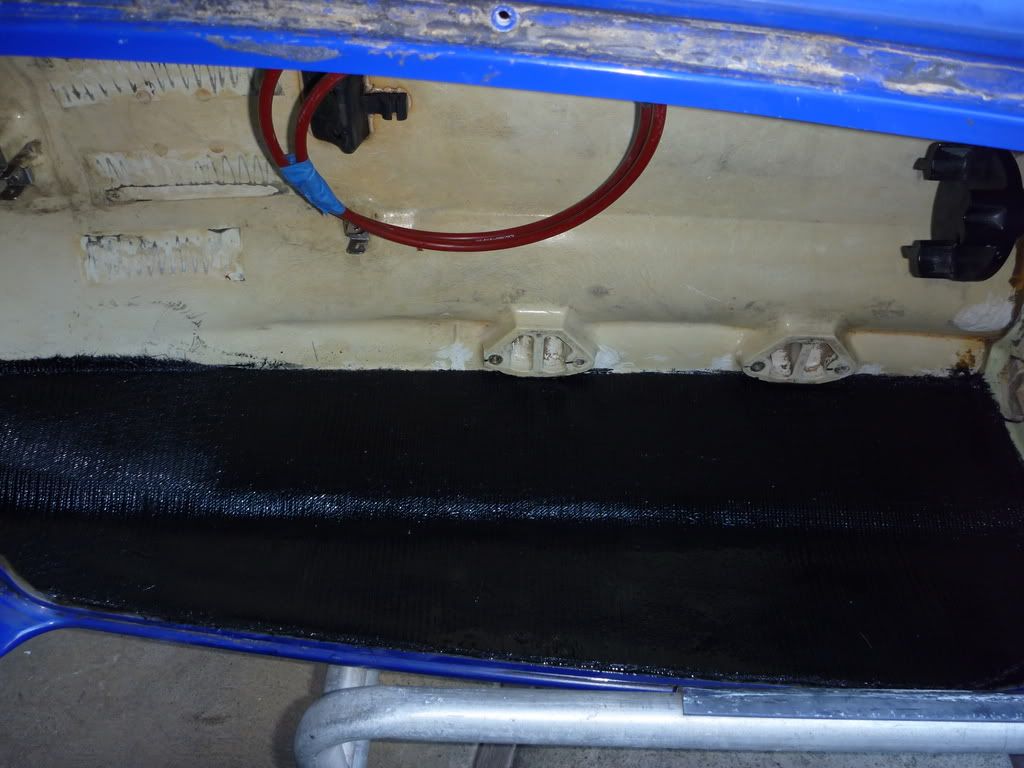
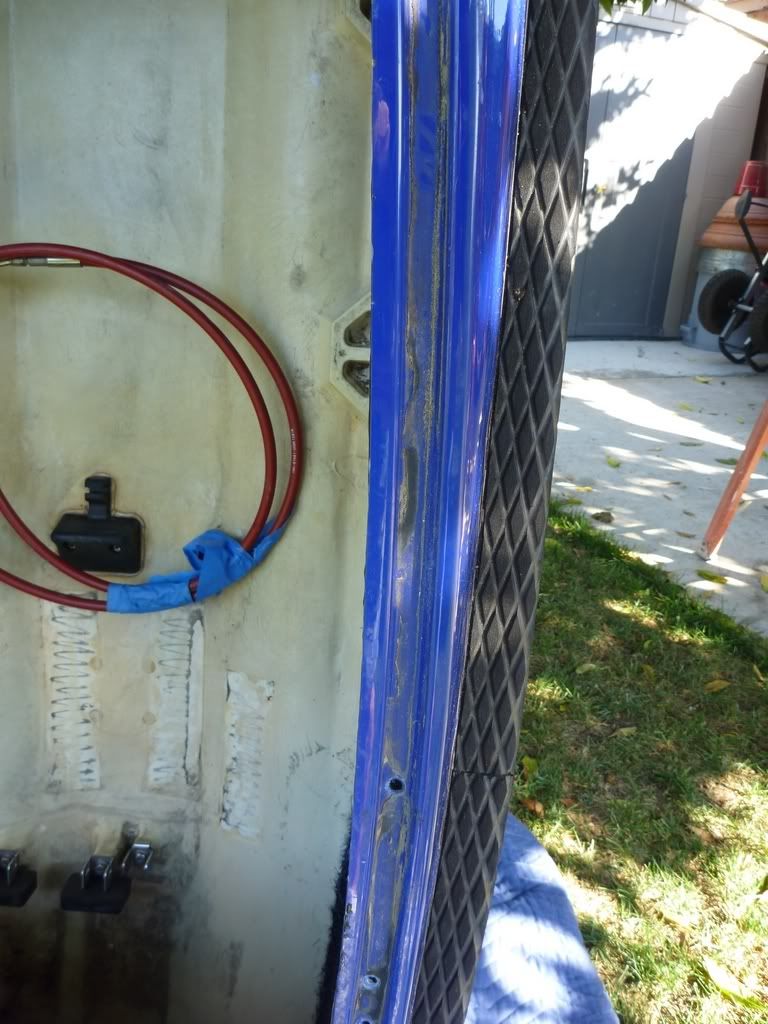
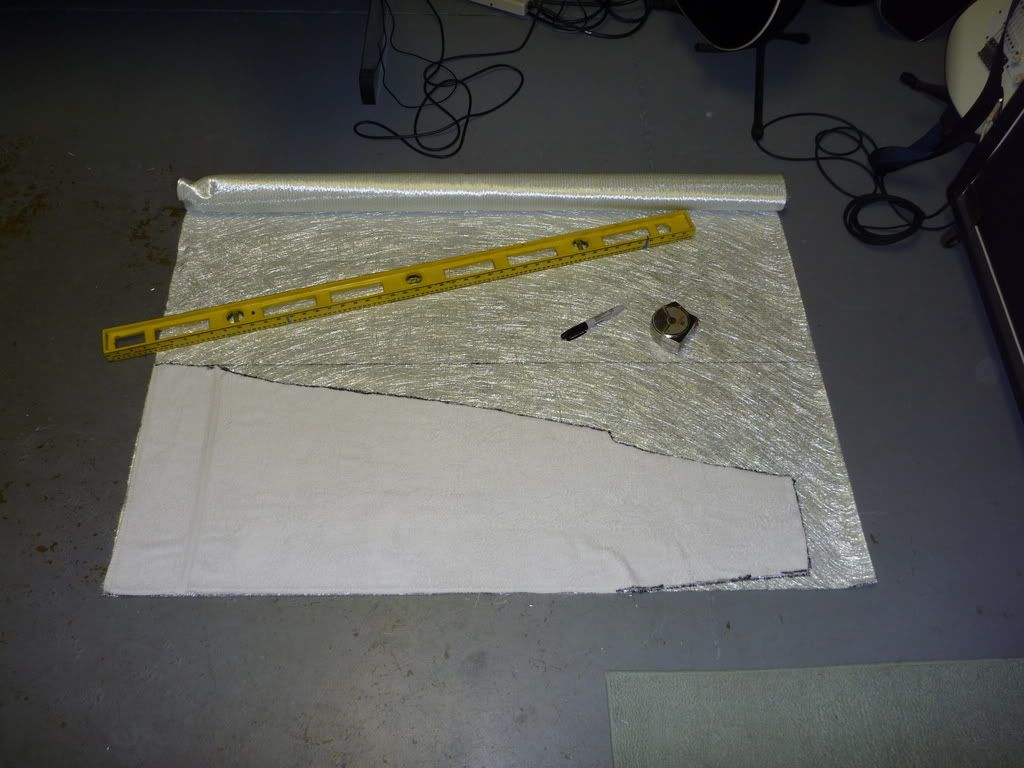
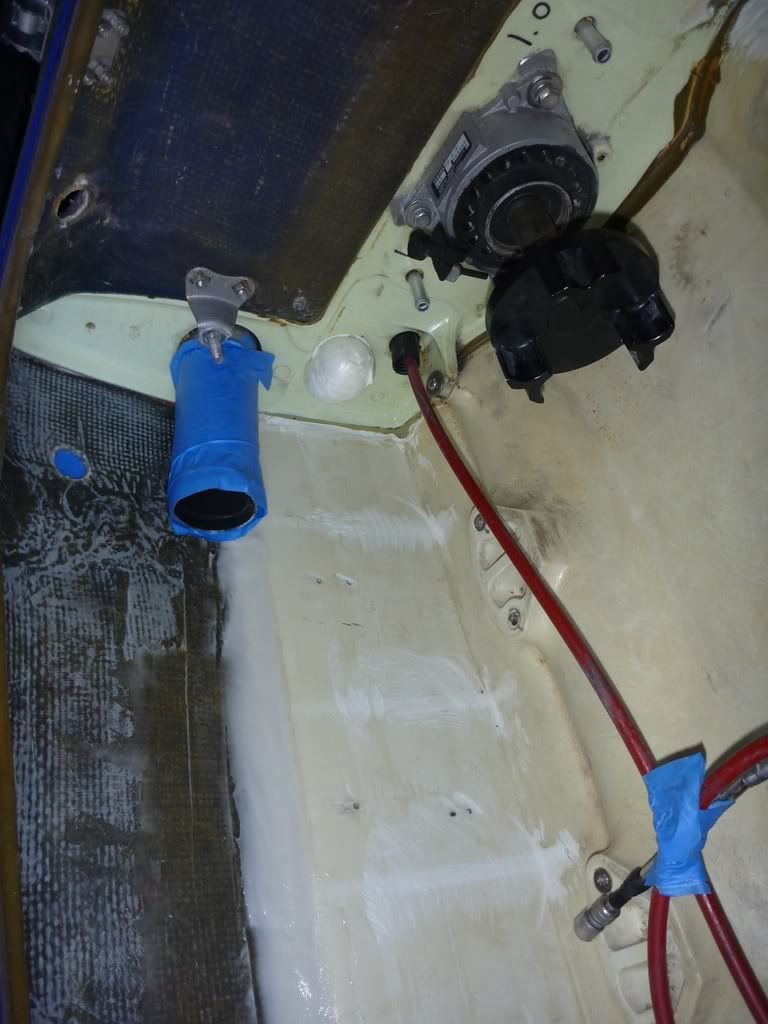
I laid my RN sideways and used a towel to get a template to use to cut the glass.
I got the idea from someone here and I have to say is pretty clever.....makes it a breeze.

P1000014.jpg

P1000015.jpg

P1000016.jpg

P1000017.jpg


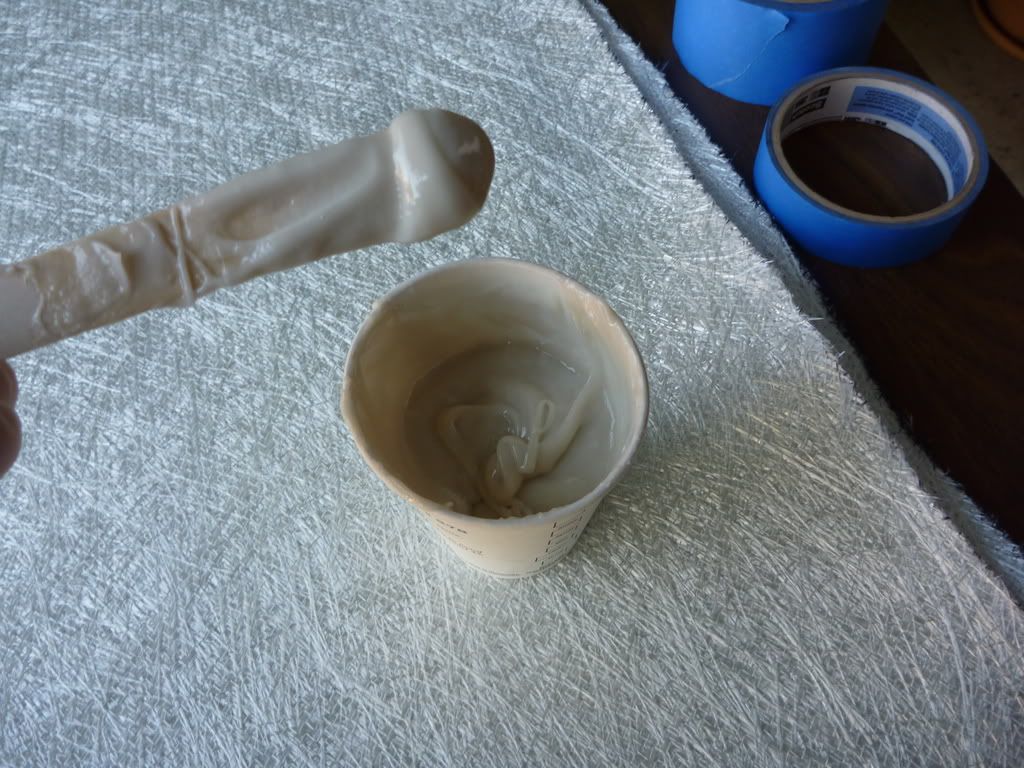
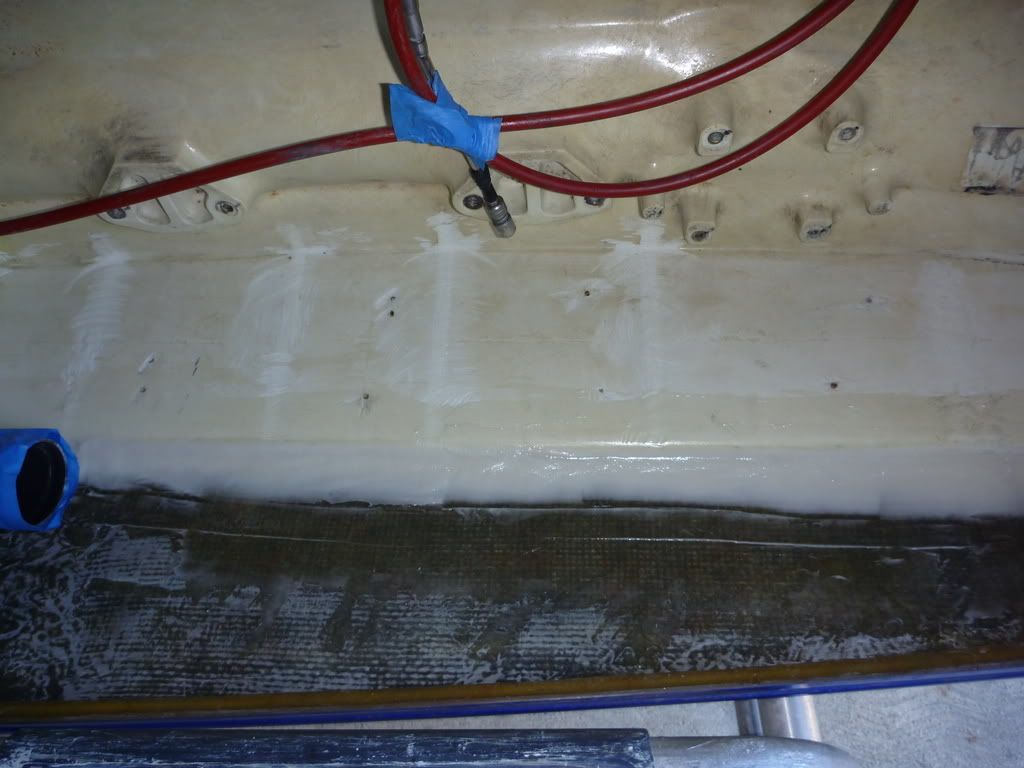
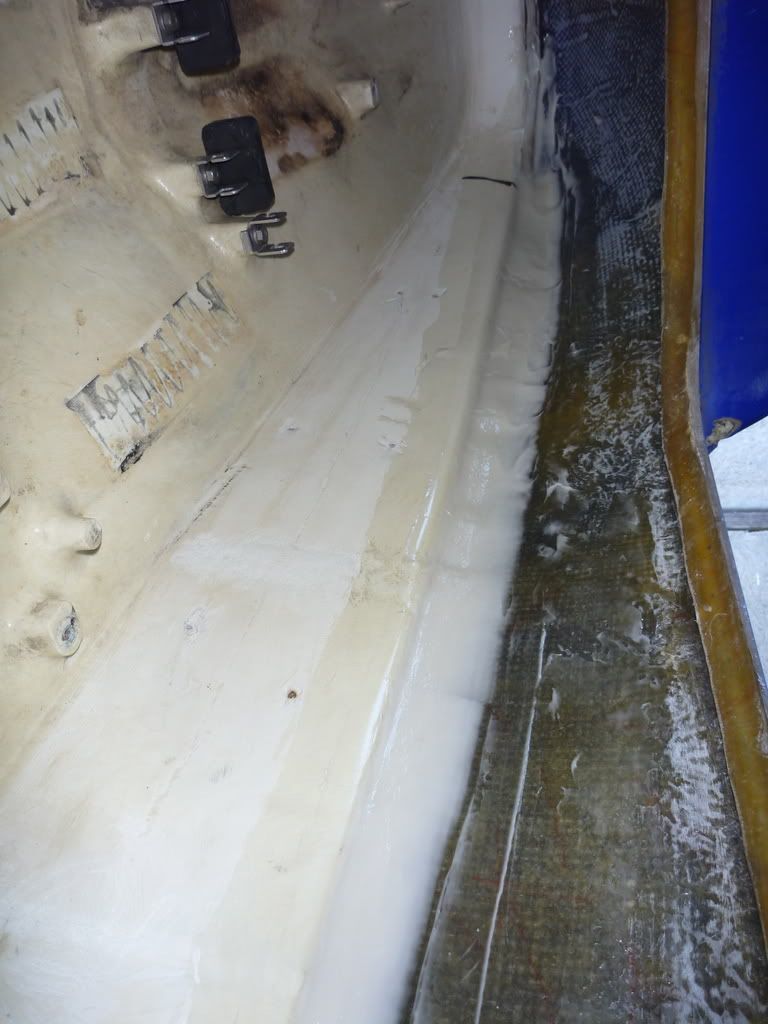
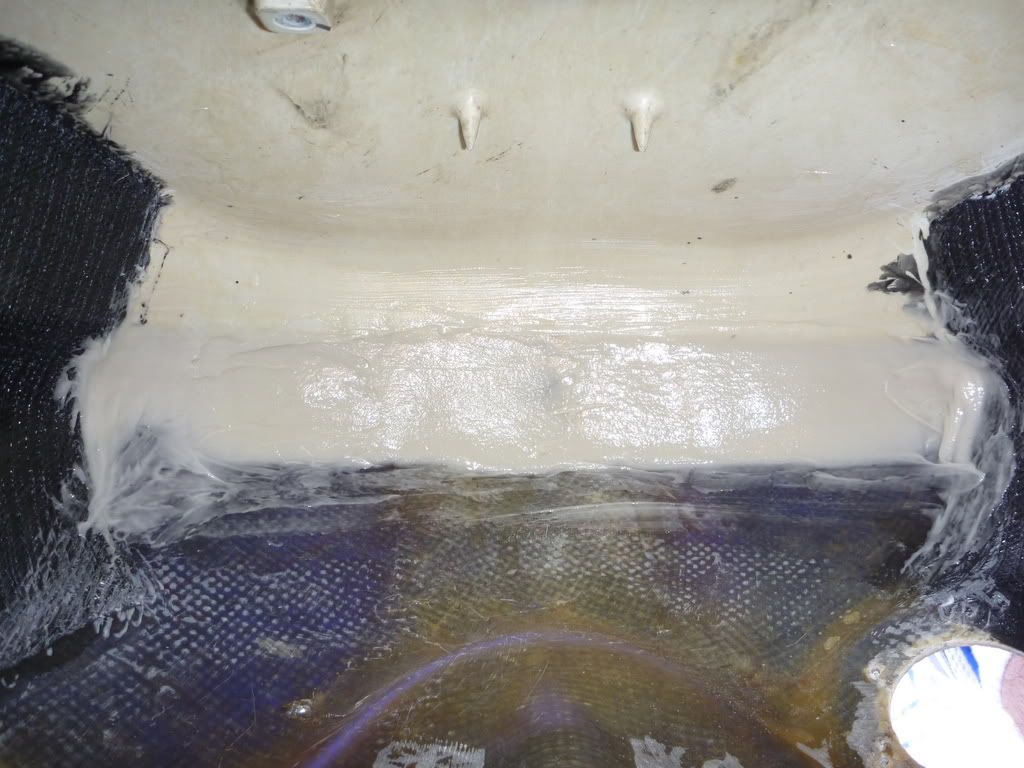
Next I filled the bond line with some "peanut butter"...
This stuff is great and I can see why people use it. My head is already thinking what else I am going to do with this stuff....
I used a plastic spatula to even the surface....

P1000018.jpg

P1000020.jpg

P1000021.jpg

P1000022.jpg


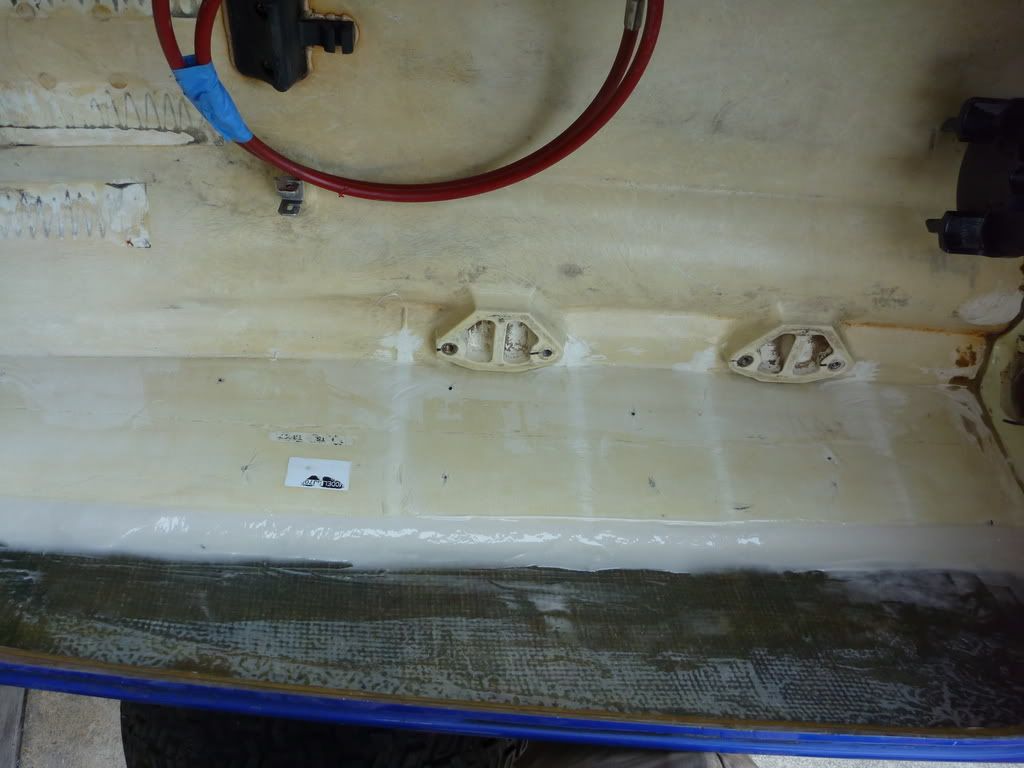
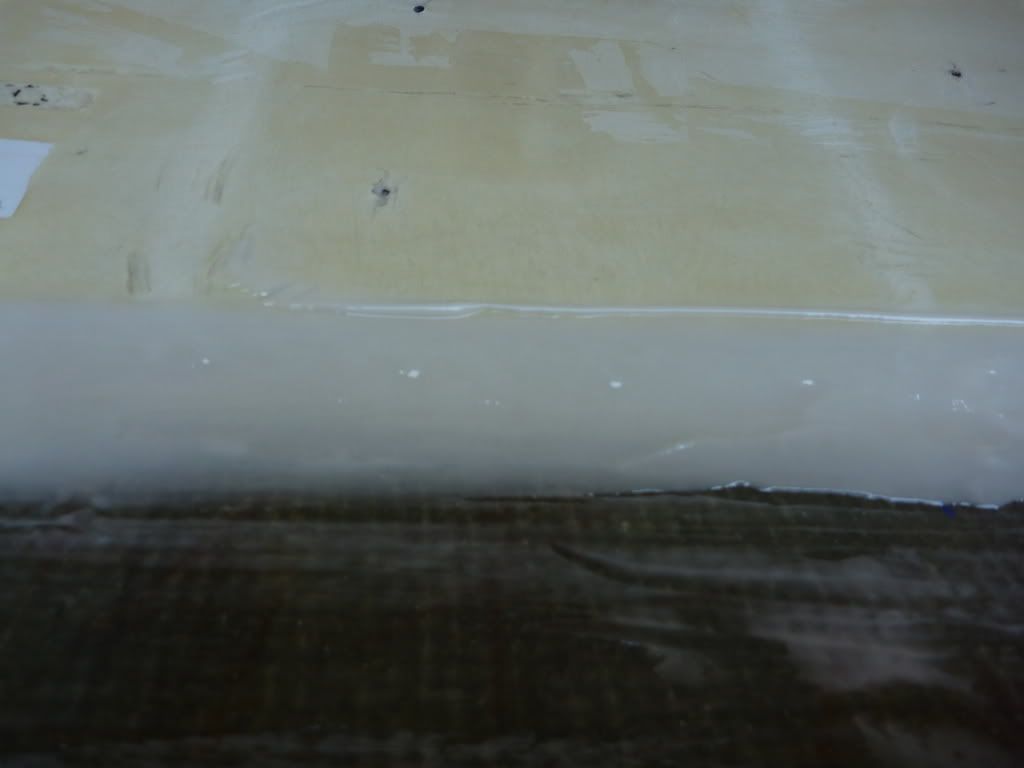
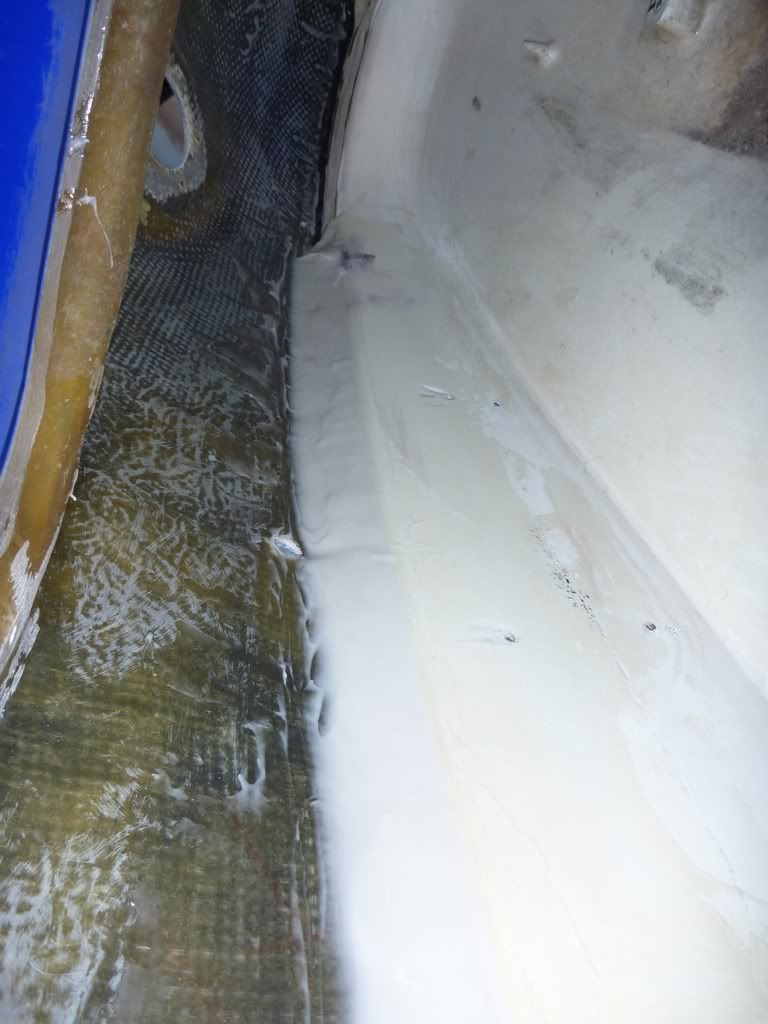
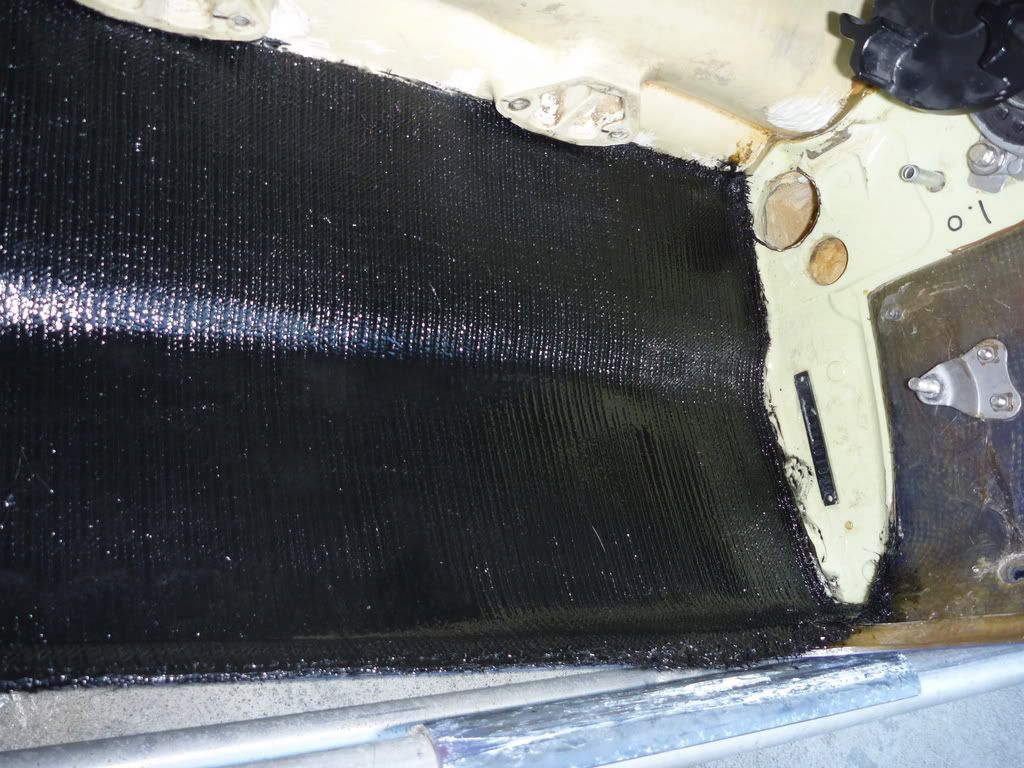
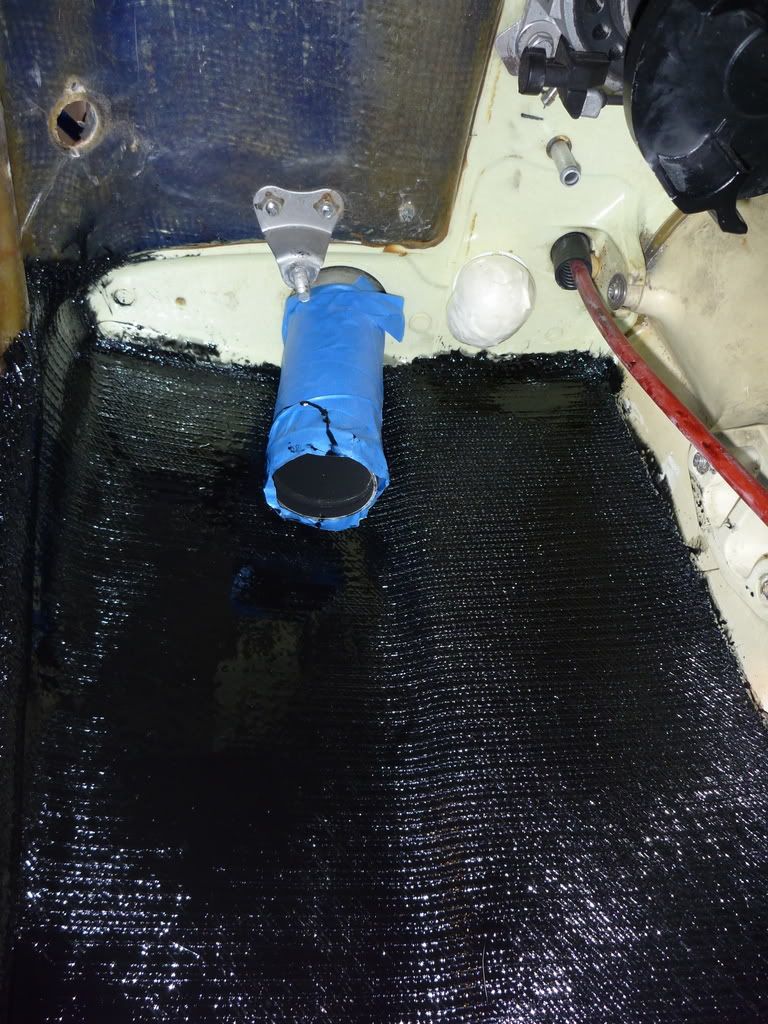
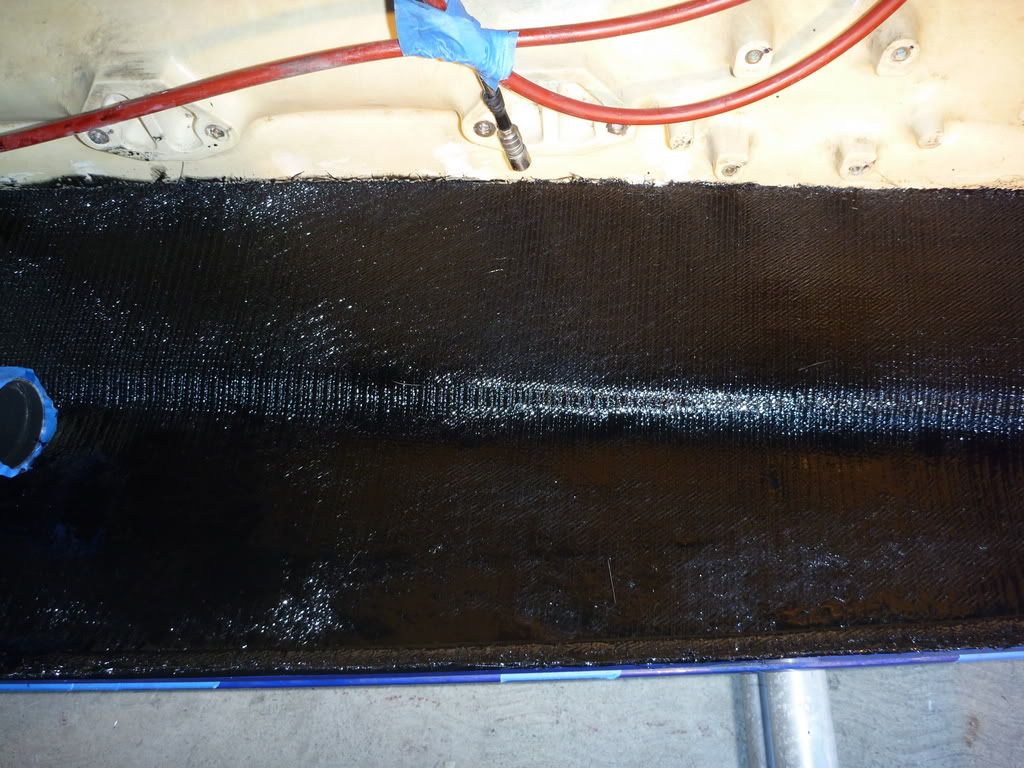
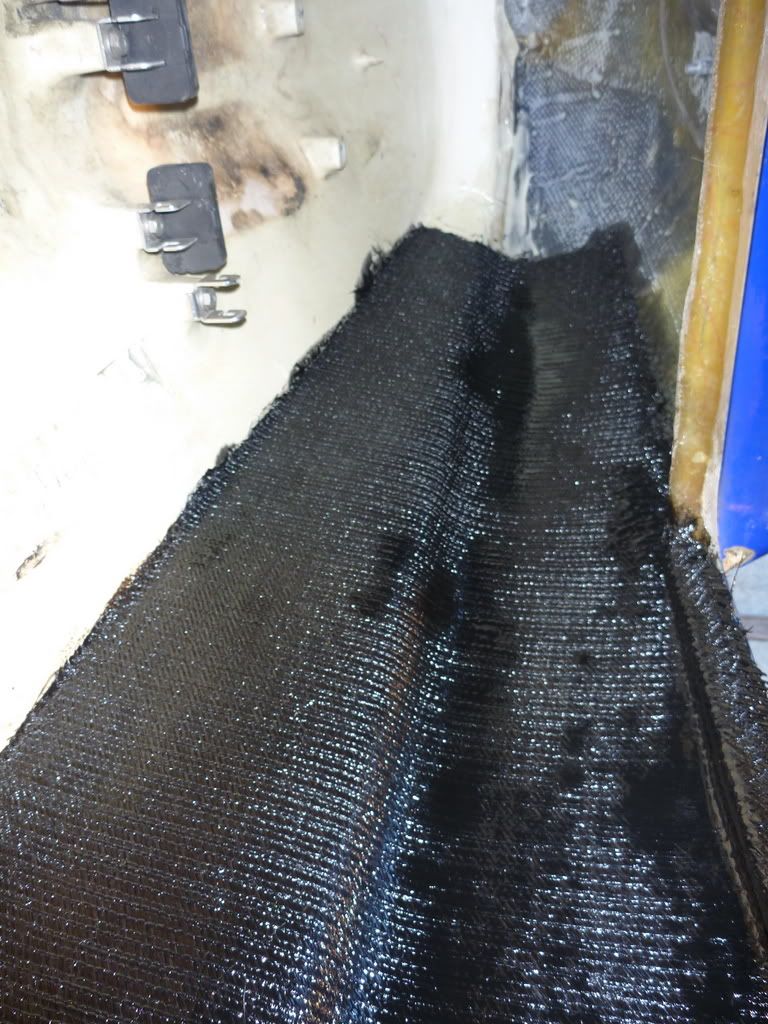
I waited 20 min. which was enough to get the epoxy tacky enough and layed the glass.
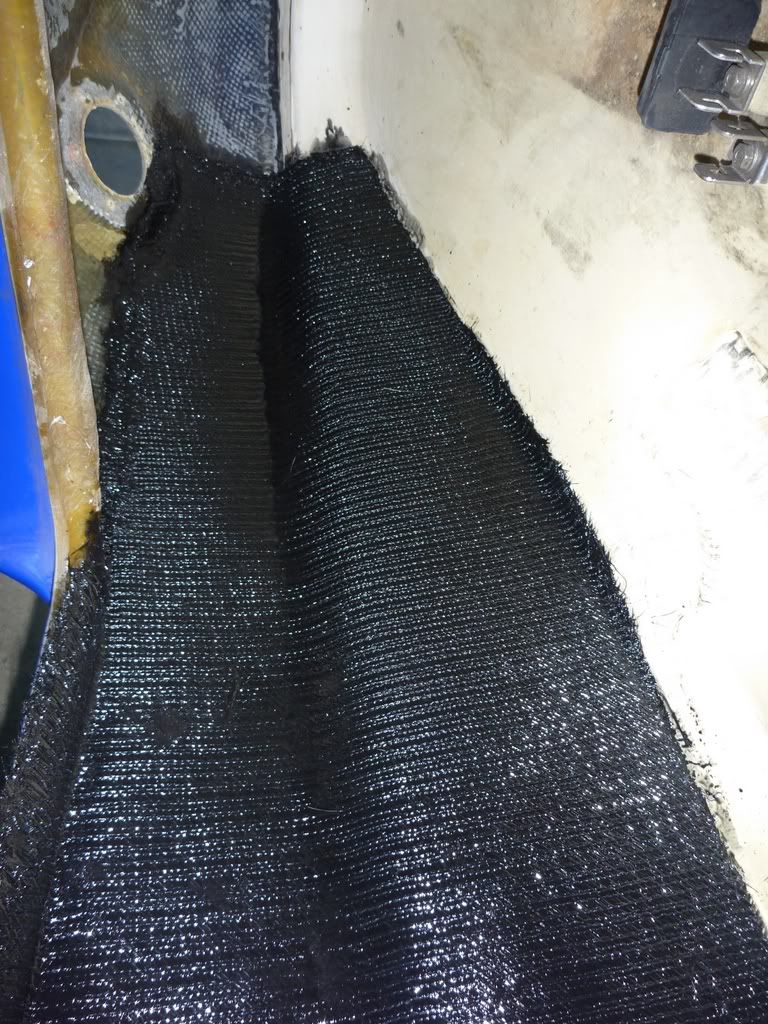
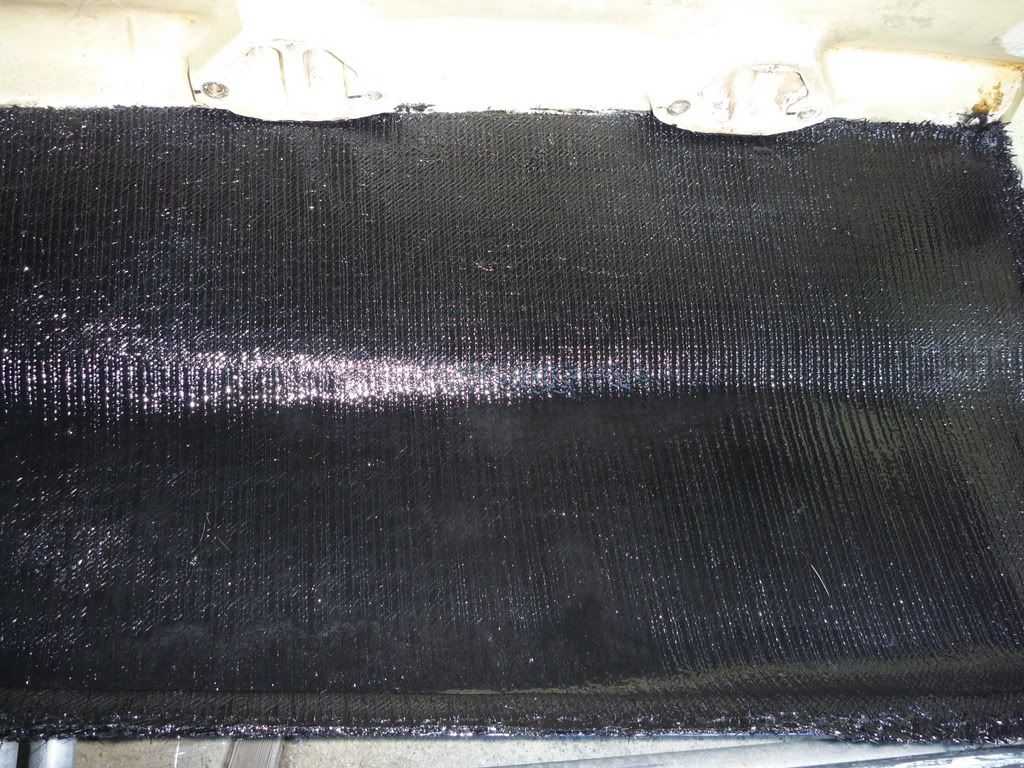
One layer first and the second right after. I used black dye to give it that Carbon look.
Like someone advised me, it's better to do the whole thing while the bond line is not cured yet.
That way the glass and the filling cure at the same time giving you that chemical bond.
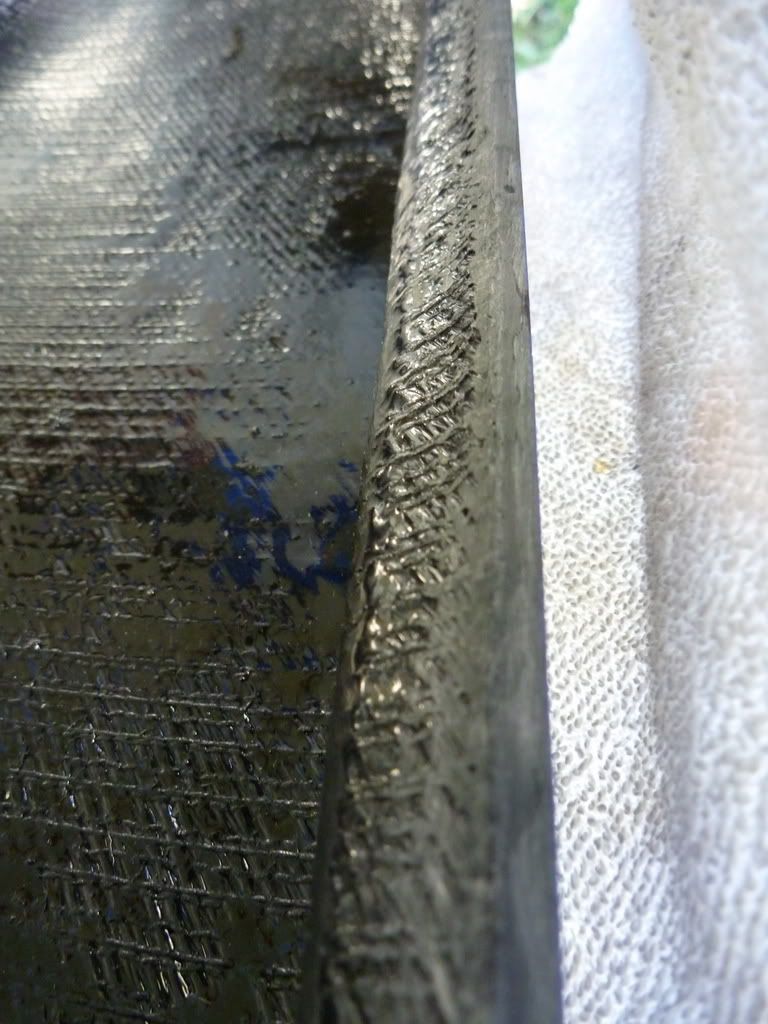
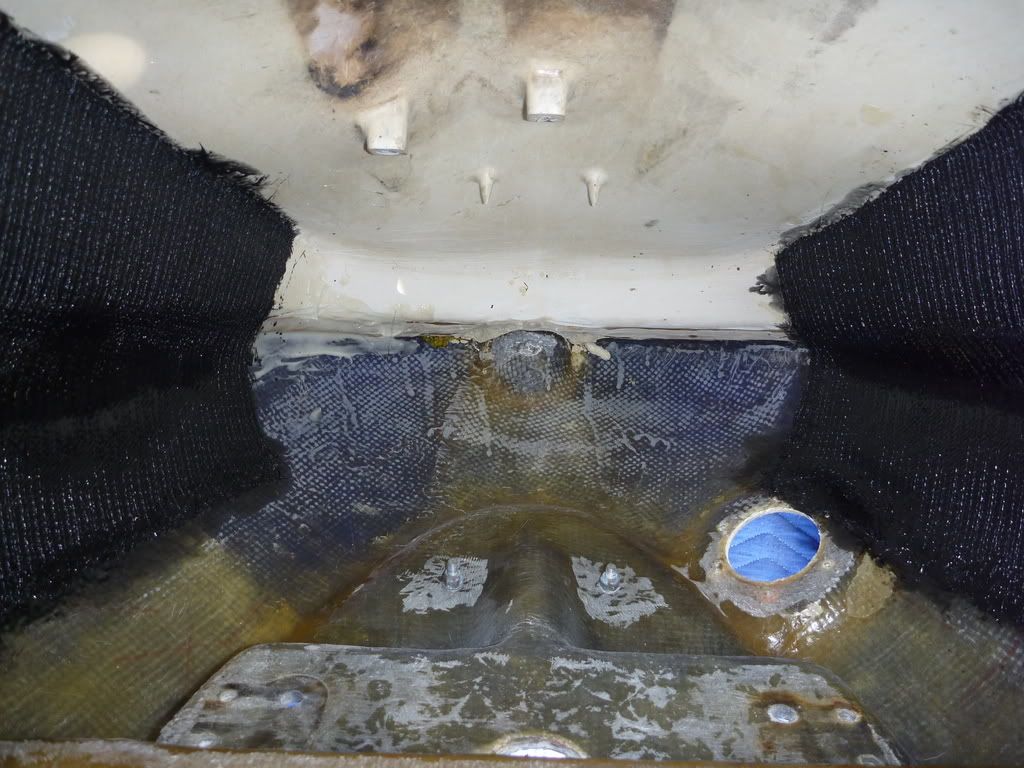
Glass all the way up to the lip of the bilge, the leftover can be removed later with sand paper or a grinder....


P1000023.jpg

P1000025.jpg

P1000026.jpg

P1000027.jpg


A little help from my friends.....


P1000028.jpg


This is the first time that I work with fiberglass and I am stoked.
I know it's not perfect but I know exactly what NOT to do next time.
From now on things can only get better. I hope to keep doing my own upgrades and
eventually down the road when I get more experience I will start using Carbon Fiber.


Tomorrow I will do the other side......


Benny
 
Last edited:

kraqus

Site Supporter
That roller will work just fine.... It might be a bit on the long side.

I use a roller just like that (3" version) for large spans of glass. It works great because not only does it eliminate air bubbles, it spreads out the resin.

Glassing with a roller:
1.) wet your surface with epoxy before you lay down your glass. It doesn't have to be slathered on, just a light coat with a brush.

2.) lay your glass down and wet out the complicated areas first with a brush (curves etc.)

3.) Wet out your cloth with a brush, I prefer to dunk the brush, brush the resin on an area, then dab with the brush to get the resin to soak in.

4.) Use the roller to spread out the resin and wet out the rest of the cloth. If done properly you should be able to wet out all of your glass with no excess resin pooled on top of the glass.

5.) Any areas that are still dry, dab some resin on with a brush and roll it into the glass with the roller.

Those rollers work great in my opinion, but are really only needed for large areas.


You were absolutely right.
That is the roller you want to use.
It works perfect to spread the resin, you can actually see the glass sheets getting wet.
It is also perfect to push the glass against corners like under the lip.
I could have used a smaller one too but I was able to get it done with this one.


Thanks for your tips!


Benny
 
nice work. how much of that resin did you have left after doing that job? im looking to do 3 boats and trying to get a feel for how much i will need. also what mat did you end up getting?
 

kraqus

Site Supporter
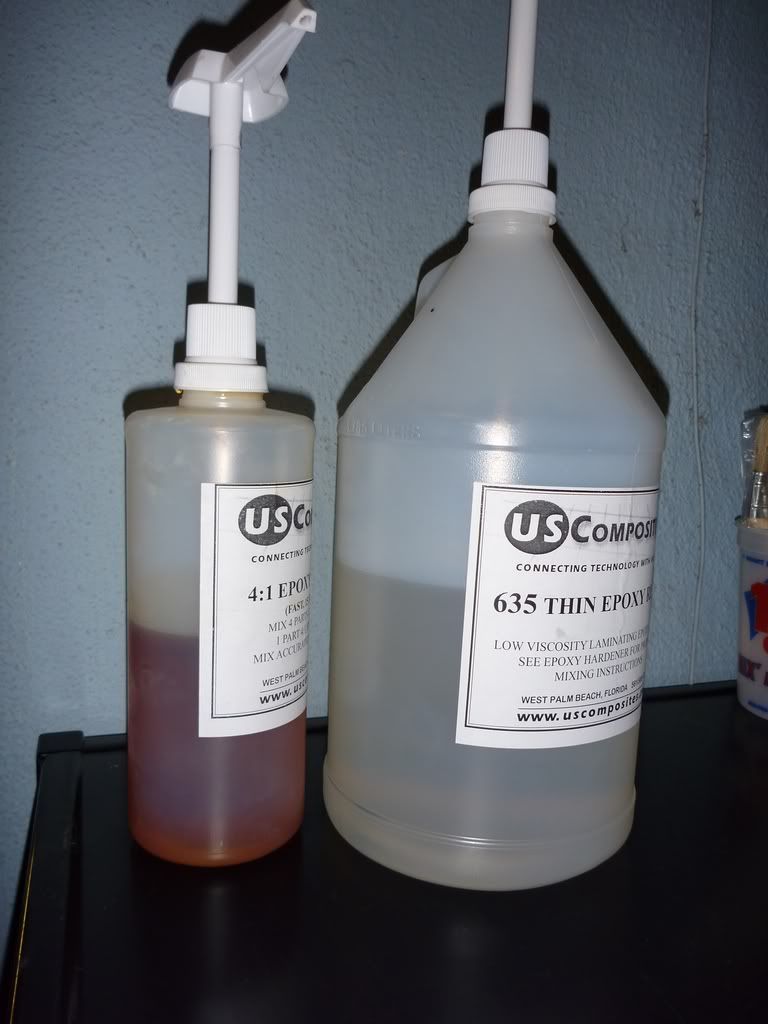
I was going to take a picture of the resin jugs after I was done as I still need to do the nose and the under pole bracket area. But here it go so far, Before and after:


IMG_1298.jpg

P1000037.jpg


Bondline fill and 2 layers of glass on each side.....it is like a tank, super solid now. I don't think I will be using that much for the rest as I have an idea how much I will need now. I think you can safely say the quantity I got is enough for two boats and some left over.

I used 12 oz Biax which is pretty thick stuff. I got 6 yards of it. The pieces I cut, NOT the template itself but the square that holds the template, were 18" by 52". I did 4 of those so you can say you need a piece of cloth at least 72" by 52". I have a lot left over that I can use for something else later on.


Benny
 

tom21

havin fun
Location
clearwater FL
just to add some info- mat is held together with an adhesive and it is meant to be used with poly, so using epoxy is not recommended. although myslef and others have done it. it may just not hold up as well. poly only sticks to poly, vinyl to vinyl and epoxy stick to everything. I have been told that nothing really sticks to smc, but of all the products- epoxy sticks the best.

you can use paint rollers to roll out resin- but you should only do this if its a big area.

the rollers you bought come in many diff shapes and sizes and are for spreading the resin out and in deep. you don't want it pooling up. everytime I talk to the pros they are always bragging about how novices like us can never get the listed uses out of the resins cause we cant wet out like they can. its a magical way that only they are capable of getting a part just wet enough to cover but not be saturated. very very minimal resin use. lol whatever. when you are done just try to get all the excess resin up before it dries.

Benny nice job! How was the 4 to 1? the stuff I use in the summer would be heating up in the cup as I was mixing it. I would never have been able to wet that all out.
 

kraqus

Site Supporter
This is my first job with Fiberglass and basically you just have to hack it. You can read up as much as you can, ask all the questions you can, but eventually you have to go downtown yourself and DO IT. I was quite surprised how easy it was after getting pass my nerves in the beginning. I find that the hardest part is trying to mix the right amount of epoxy since I did not want to waste anything or as much. I started with small paper cups and quickly realized I was going to need more. After doing one side and writing all the quantities I used first, the other side was such a breeze as I knew exactly how much resin to use, i mixed it all at once. YES, get the glass all wet, soaked that stuff up and then "collect" it as you spread it working your way from one side to the other. I used a regular paint brush to spread the resin all over the place and used that roller to spread it and to make it all tight in the corners. I also used a plastic spatula to "collect" the resin. The 4:1 mixed ratio works very well for me but you are right, that stuff will have a chemical reaction right away and start getting warm. I lay the glass in 65 to 70 degree weather any hotter and you better know what you are doing and do it quick because that stuff will get tacky so fast.


Benny
 
Last edited:

tom21

havin fun
Location
clearwater FL
I was by no means criticizing, just adding some info for future reference.

I would say you did perfect. its always trial and error the first time. but look at all the products you used and pulled it off without a hitch!

This I why I asked about he 4:1, thats a bit much for a beginner.
 

kraqus

Site Supporter
I was by no means criticizing, just adding some info for future reference.

I would say you did perfect. its always trial and error the first time. but look at all the products you used and pulled it off without a hitch!

This I why I asked about he 4:1, thats a bit much for a beginner.
I didn't think you were but sorry if I gave you the wrong impression on my reply....

4:1 is definitely not a beginners epoxy but it can be as long as you feel comfortable doing things and have confidence in yourself. I was a bit nervous in the beginning, all concentration and paying extremely close attention to detail, double checking everything.... but quickly relaxed to the point that I turn my stereo up and was jamming to some tunes while doing it.

For someone that has never done it before like myself, and want to use 4:1 resin, I would say get everything ready and write down how much resin you are using on your first side. You will need exactly the same amount for the other side. You can NOT let resin sit for too long because start to harden within 30 minutes.....so get the right amounts.

I should also add that you MUST wear a mask and a good one, the fumes that come out of the resin while curing are very strong and it is my understanding they are REALLY BAAAAD for you.....

Also get a pack of surgical gloves and change them frequently.


Benny
 
Last edited:

kraqus

Site Supporter
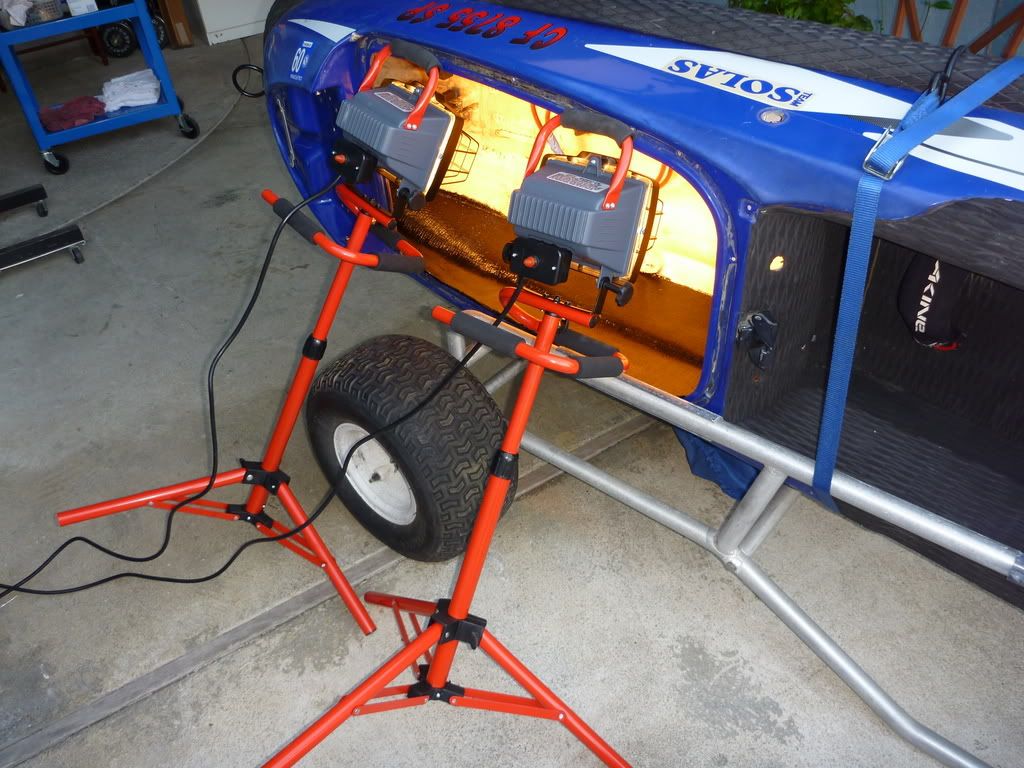
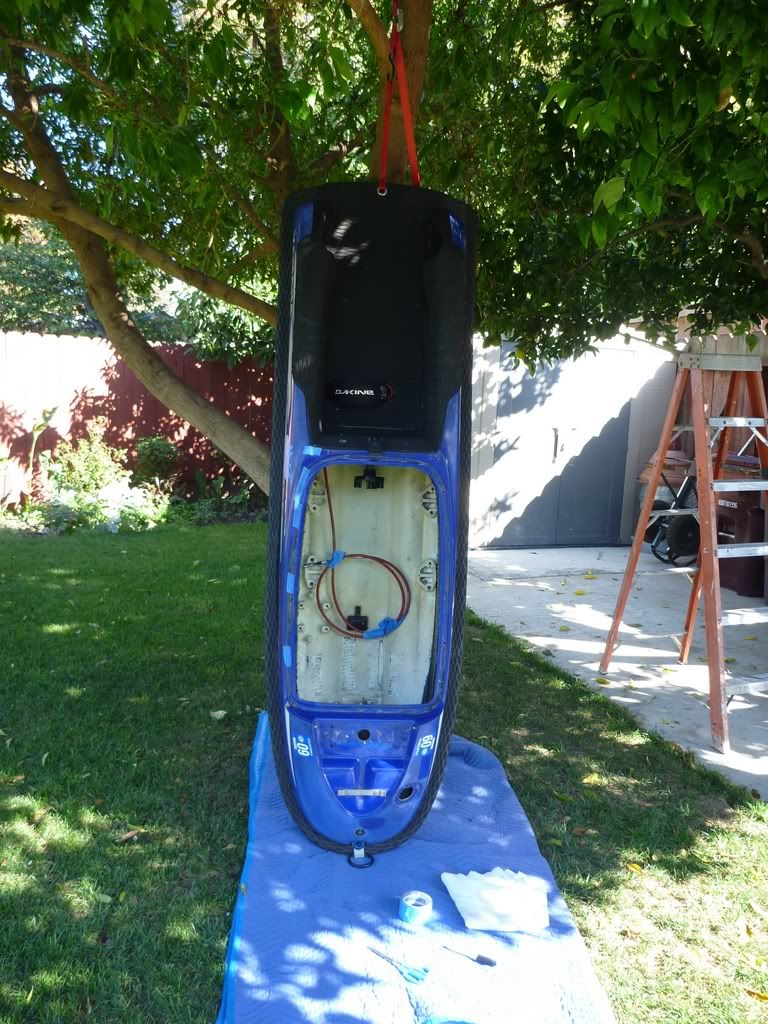
I have a one car garage and it is used mainly as my IT shop so I have to work outside at the mercy of the elements.

........HANG DA BIATCH !!!


P1000039.jpg


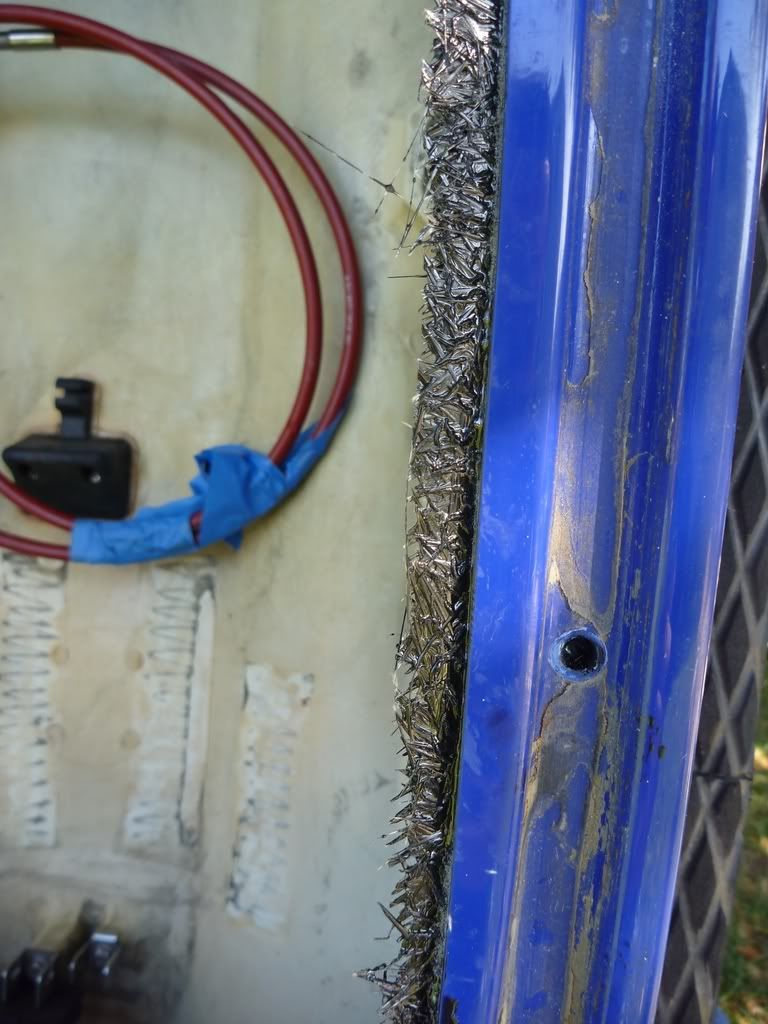
Before I started working on the nose I sanded it the edges of the lip where the excess of glass was sticking out because.....it stick like knifes!
it was so smooth Afterward .....DO NOT use sand paper no matter how thick the grit, it is a waste of time.
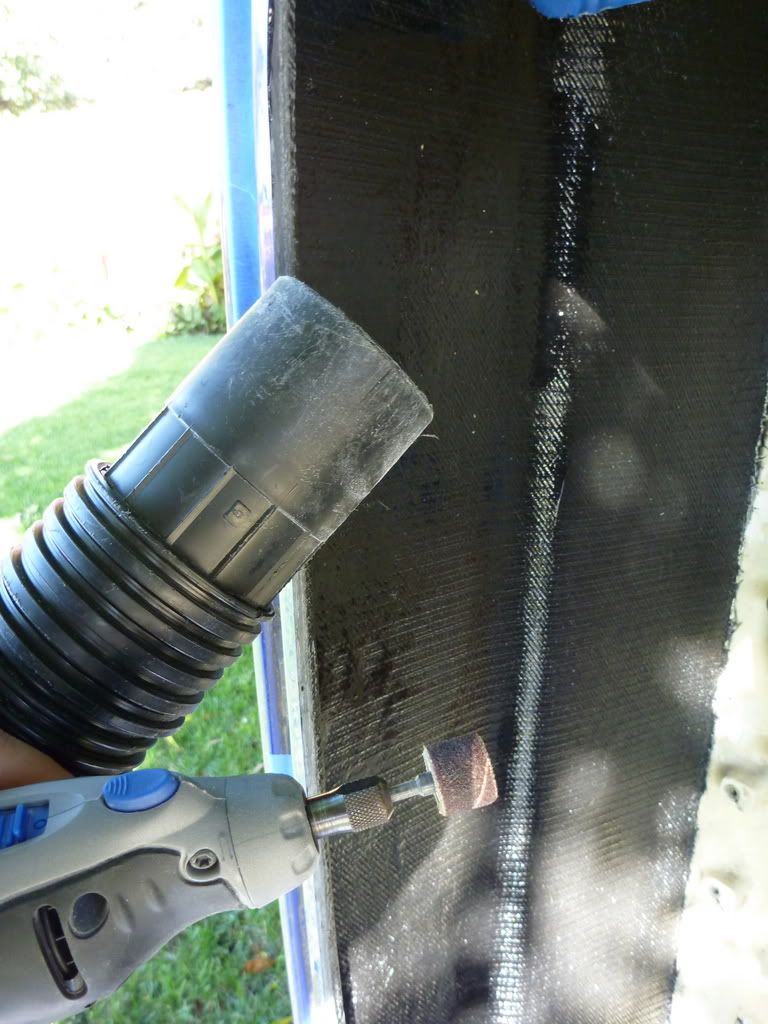
I also used the dremel everywhere my hand felt glass sticking out on the rest of the walls inside.


P1000046.jpg

P1000047.jpg

P1000050.jpg


Make sure wear long sleeves, gloves and you cover yourself very good or you are going to be scratching your arse for a couple of days.
One technique is to use the dremel with the sanding tool and a vacuum. You sand and suck all the fibers at the same time.
And even then there will be glass all over the place.


P1000051.jpg


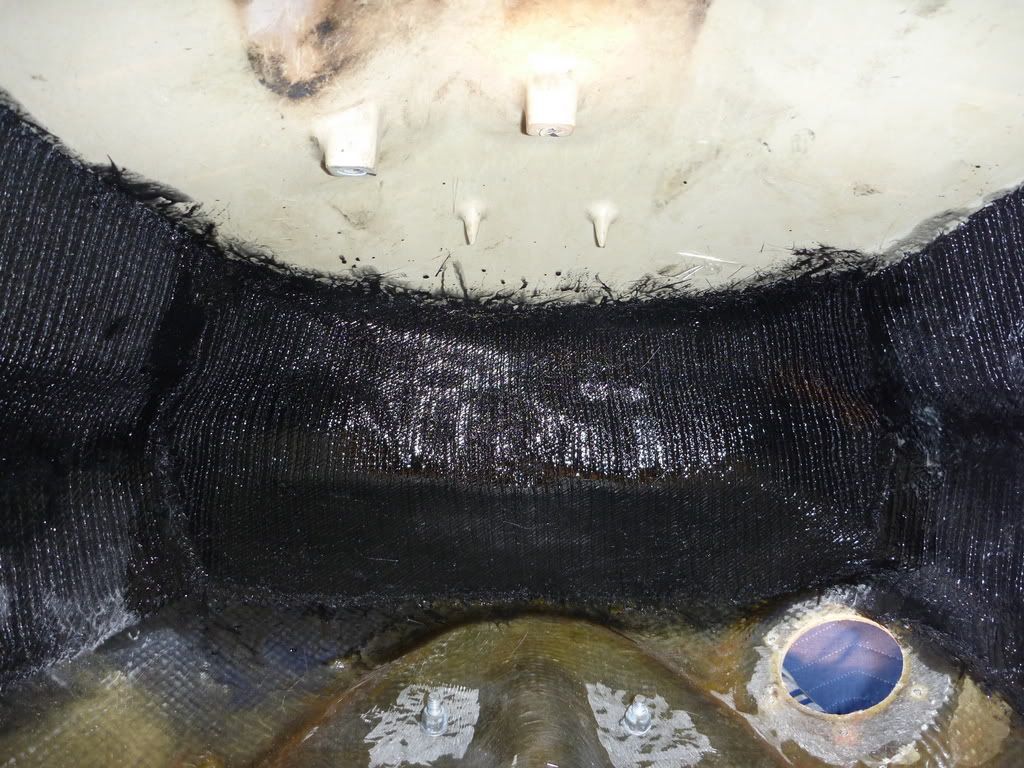
The nose is the same as the sides, fill the bond line and glass. I also applied 2 layers and did everything
in less than 1 hour so you get that Chemical bonding with the filling.
The edges of the glass I lay last week, and where the new glass will "connect",
were sanded with the same dremel thoroughly; and you want the new glass to overlap by no more than 1/2 inch.
That way you secure a solid layer of glass all around as it is all connected.


P1000042.jpg

P1000054.jpg

P1000055.jpg

P1000057.jpg


Next week I will do the under bracket pole area and also lay more glass so that all the pieces are connected together.


Benny
 
Last edited:

stanton

High on jetskis.
Location
atascadero,ca
ok benny your using too much resin, use about 2/3 of what your using now.
your prep work looked kinda lacking also, you really need to scuff it up with a heavy grit like 60-100.
other than those 2 things your doing great! good job bro!
 

kraqus

Site Supporter
YES! less is better.....I know that is the one thing I have to dial in....
It's hard the first time as I didn't want to F it up so I made sure all the glass got wet and I did collect some but I should have collected more. The real skill is to actually use only enough so you don't have to collect that much resin if any at all.....Oh well I still have a SN to reinforce in the future so that will give me another chance to get better at it ....

Thanks for you input Stan...:cool:


Benny
 
Top Bottom