Super Jet I probably suck at this 'Hacked' SN build

How is the build going?

  • poopty

    Votes: 2 12.5%
  • good

    Votes: 6 37.5%
  • not good enough

    Votes: 2 12.5%
  • Jetski's don't have brains

    Votes: 8 50.0%
  • I'd rather not vote

    Votes: 3 18.8%

  • Total voters
    16
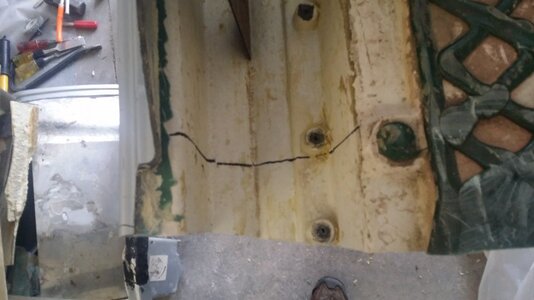
I bought this ski last year with a cracked tray, no turf or bumpers, and an exhaust manifold that was only held on by 3 bolts and not secured.
I ran it all summer like that, minus the manifolds lack of fastening and eventually broke it of coarse.

Anyway, I knew I needed to defoam at some point because of the cracks in the tray and riding it like that all summer. So, the only thing I had in January(when the teardown began) was a BOB adjustable foothold kit and that's where it began.
 
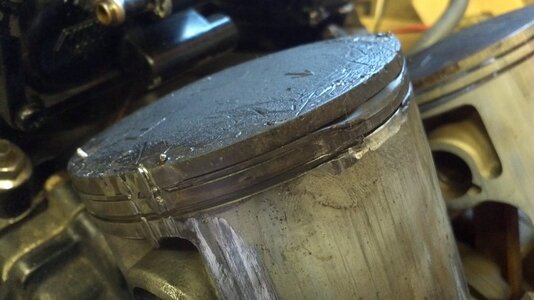
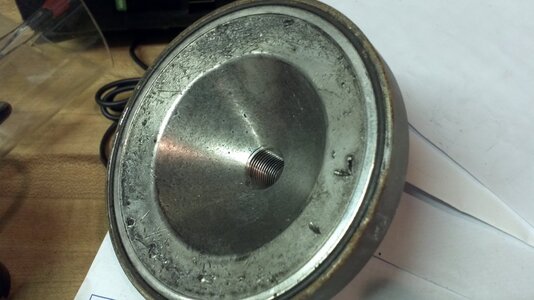
Turns out a wrist pin keeper came loose, scored the sleeve, destroyed the piston, rings and ADA dome.
Yay!
2015-02-01_09-40-30_22.jpg
Dome:
2015-02-16_19-57-21_668.jpg
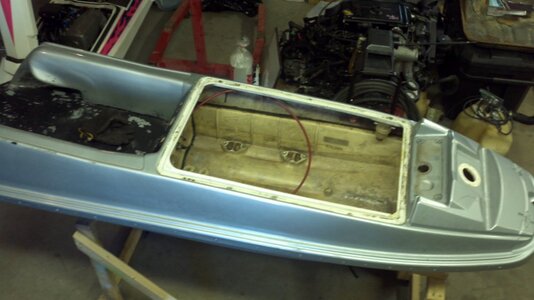
Here's the ski after teardown:
2015-02-01_13-56-03_547.jpg
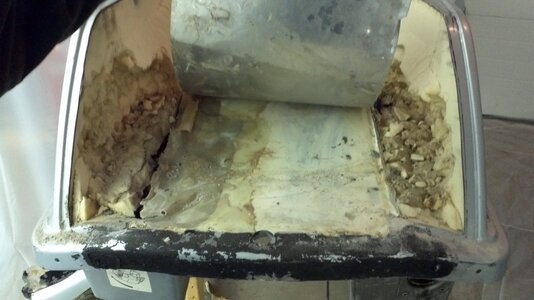
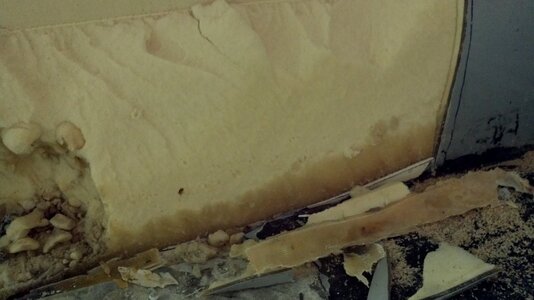
I started the defoaming process and found a really neat piece of aluminum under the first layer of glass. It was well adhered as you can see.... no it wasn't.
2015-02-10_19-08-12_984.jpg
On the left in the pic above, you'll notice a single layer of glass that was draped over the non-existent foam and not connected to the aluminum sheet above it.
Lots of water:
2015-02-10_19-09-01_176.jpg
 
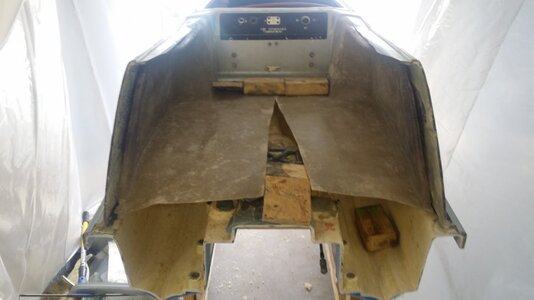
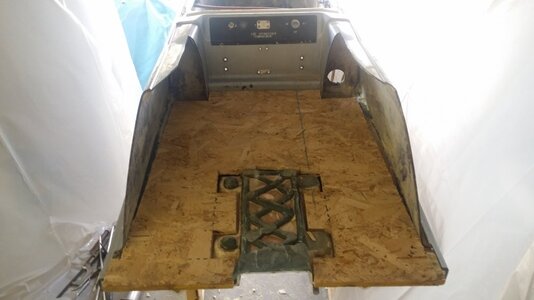
After defoaming, which took about 8 hours, and cutting the back off, I started test fitting the foothold panels.
20150315_135005.jpg


I'm putting the footholds about 3 inches further forward than usual since I ride so far forward already.
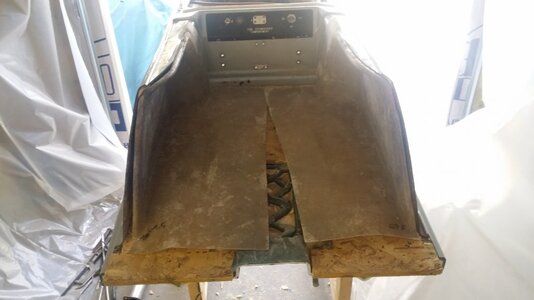
This made me trim the tray sides to line up with the foothold panels.
20150315_140310.jpg

Prior to cutting the tray sides, I was only going to shorten an inch or so, but I decided to go up to the rideplate screws, as they are so conveniently located to remove 4-5 inches off the bottom deck.
20150315_144510.jpg


After cutting, I made a template out of plywood to follow for the floor. The plan is to lay up the floor on a flat surface, epoxy and bond it in, then do the foothold kit as per the Ski Clinic instructions.
20150315_161753.jpg


Here's the kit panels half-ass test fitted.
20150315_161720.jpg
 
About 3 months passed and it's "holy-poop-its-already-May-I-better-get-my-ass-in-gear" time.
I knew I was rockering, but really had no idea how I wanted to go about it.
Obviously, the first thing you do when rockering is cut the top off, right? And I did that.
2015-05-12_18-53-31_776.jpg
2015-05-12_18-53-45_649.jpg
ha
Honestly, with the footholds forward and looking at a lot of other builds for ideas, I decided to move the pole forward 5 inches or so. Above is the start of that.
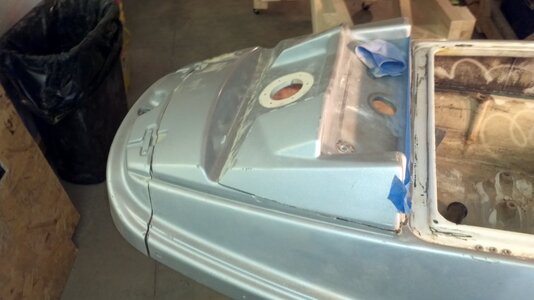
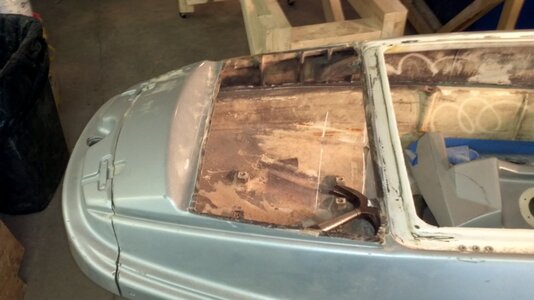
The rockering really started with removing the top deck of the nose.
2015-05-12_18-54-15_871.jpg

Then I was like, "yeah, I'll cut this and this and do it this way and that and stick it here and there and things will work out." So, I made marks like on the right in the picture below. 2015-05-16_12-28-31_70.jpg

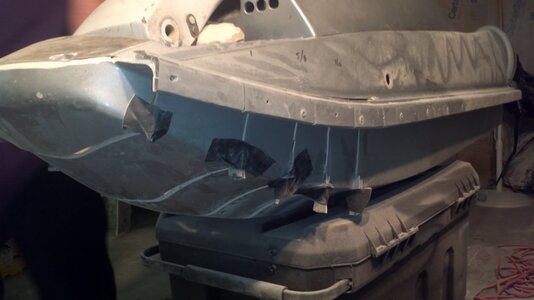
I didn't get any pics in between the above picture and below... I basically made 6 cuts in the bottom deck, cut the bond rail between those 6 cuts, marked out the top deck with tape that increased in angle at every cut to hopefully follow the bend of the rocker, then cut out the area marked and jammed 2 thicknesses of the superjet's tray side(that was cut off earlier) into the rocker cuts.
I wanted to use glass as the shims, that way I can leave portions in when I fill the rocker cracks.
After cutting the rocker slits and shimming, The nose looked dumb, so I cut more off until everything lined up, then sanded to match, it finally turned out like below.
2015-05-16_16-09-26_1.jpg
 
Test fitting the tank with a shortened fill tube that will fill between the pole and hood.
2015-05-16_16-09-38_714.jpg

I then cut the hood along the natural styling line about midway up the side and removed the hood guts.

2015-05-16_18-40-25_933.jpg

Here's a better picture of the rocker with gorilla tape holding the shims in there when I move the hull and it flexes out of place.

2015-05-16_16-11-16_103.jpg

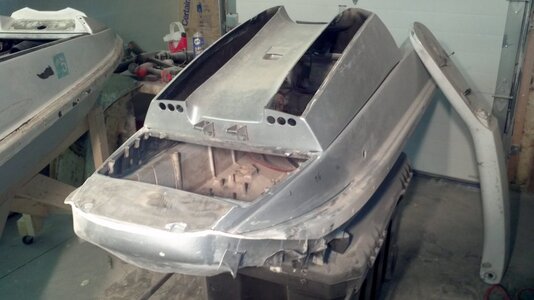
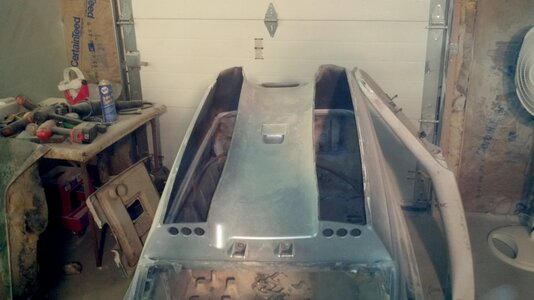
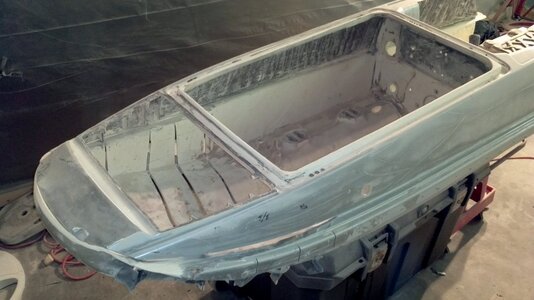
And here's the current state of the hull.

2015-05-16_18-40-25_933.jpg

When I dive deeper into engine assembly, I'll give a heads up on that.
 

Attachments

  • 2015-05-16_18-19-15_706.jpg
    2015-05-16_18-19-15_706.jpg
    80.2 KB · Views: 55

CRJ

Hibernating
Location
Toronto
i really like how that nose lines up with the bottom deck. I have a square im planning to cut up this winter, so ill be following!
 
i really like how that nose lines up with the bottom deck. I have a square im planning to cut up this winter, so ill be following!
Yeah, I was really unsure if it would all line up, but I figured if it didn't I'd add a couple more layers of reinforcement to each side on top of the filler.
 
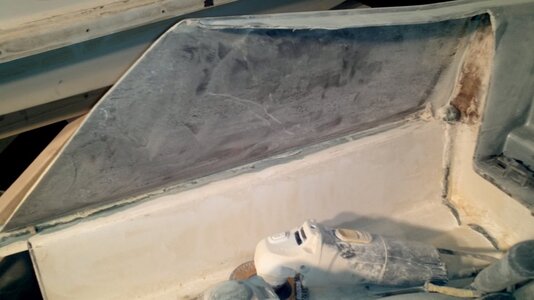
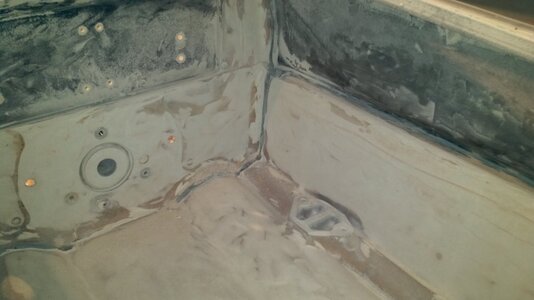
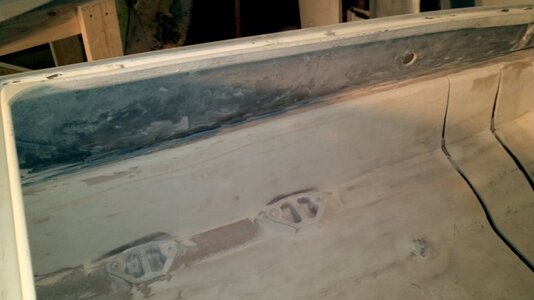
I sanded over the weekend for several hours and removed the ribs on the inside of the engine bay before I add carbon inside to reinforce and of coarse look sweet :)

It's pretty poopty with all the crap going everywhere when you're sanding. I'd grind away for a good 5 minutes and then vacuum for another 5 just to see what I was removing. This was the process for about 2 hours with the hull on it's side and half my torso inside the engine bay.

On that note, I tried all kinds of different things to clean up the surface. Basically everything I used with my oscillating multi-tool didn't work well. I figured it would be great for getting around the motor mounts and the tank/waterbox mounts, but it was terrible to use. I started off using a metal grinding wheel, but it was pretty sketch. though the surface will probably grip filler and composite well.
@Parsonsjb88 tried using a flap disc on his and it was a boss, literally perfect. I think he spent like 4 hrs removing the ribs on his with my oscillating saw and the flap disc took them out in 5 minutes. lol sorry man.

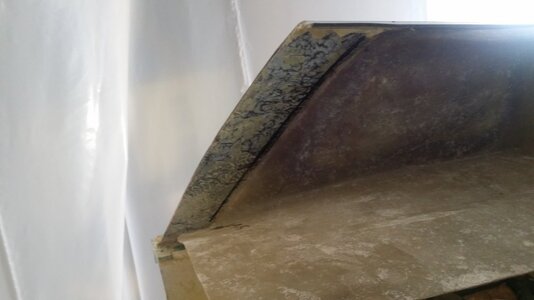
Anyway, below are some current state pics of after sanding.
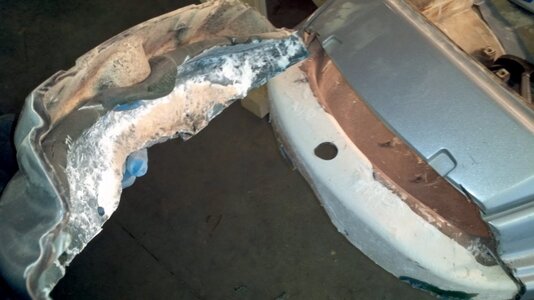
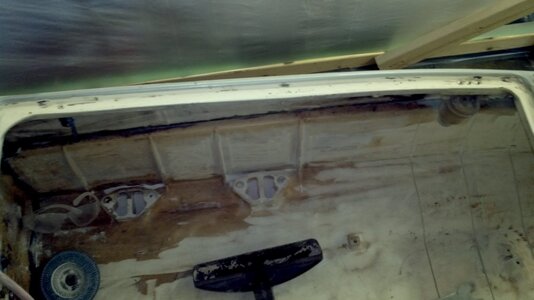
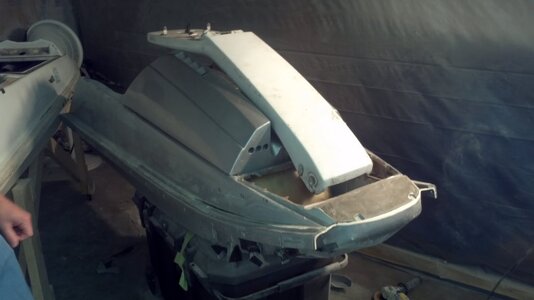
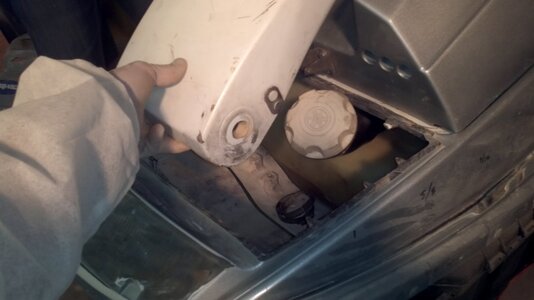
2015-05-19_20-43-56_109.jpg 2015-05-19_20-44-05_888.jpg 2015-05-19_20-44-32_991.jpg 2015-05-19_20-46-44_558.jpg
 
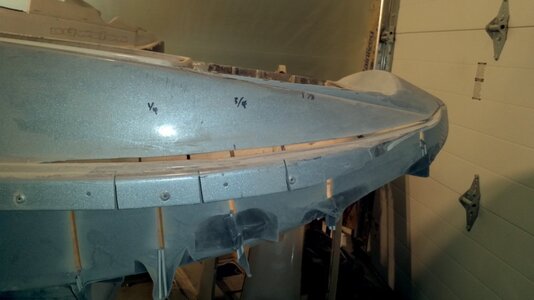
Here's a pic of how much the rocker moved up from the bond rail. You can see the measurements on the side of the top deck. Those numbers were just above a piece of tape that I used to guestemate how much material to remove. then I copied the numbers on the opposite side.
I marked and measured every 4 inches from a point on the nose.
2015-05-19_20-45-39_60.jpg
 
Looks really good. I especially like your rocker. Looking forward to what you do with the nose and hood. Subscribed as well


Sent from my iPhone using Tapatalk
 
Top Bottom