- Location
- Jacksonville, Florida
Technically started last weekend but ran into some pump install issues. I got a little bit of traction this weekend. I will be taking my time so it may be a slow build since I will not be working on it during the week.
forgive the typos upfront...i swear I can spell
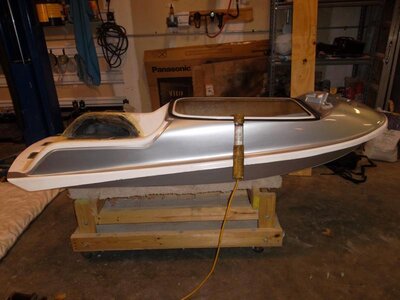
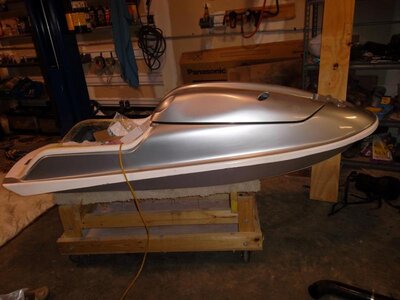
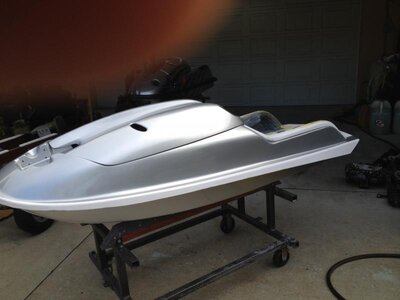
2012 Superfreak Badass...Glass version...Carbon fiber hood, SF frontfoothold, carbon fiber rideplate
I will be doing a mix of flat water and surf. I wanted an all around ski and I was hooked on the SF after riding Jetmaniacs. Aerials are the bomb.
Since I am light at 125lbs, I figured the glass version would be perfect. If I find myself doing more flatwater, I would eventually pull the trigger on a carbon fiber ski.
ENGINE:
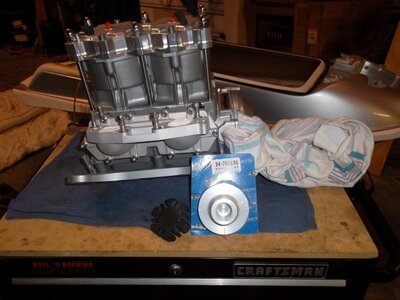
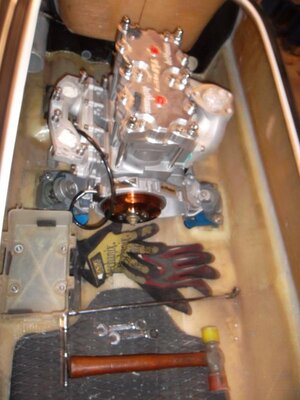
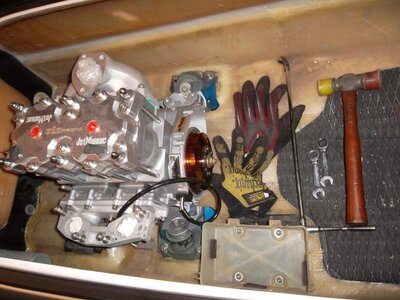
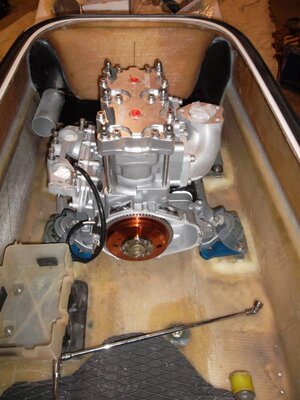
JetManiac/Blue Ported 781 BB(62t/61x)...painted silver
pump gas
ADA silver girdled head + girdle kit
760/ 38cc domes
Dual Cooling
Jetworks Red FCV
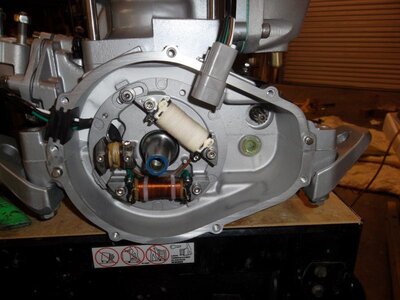
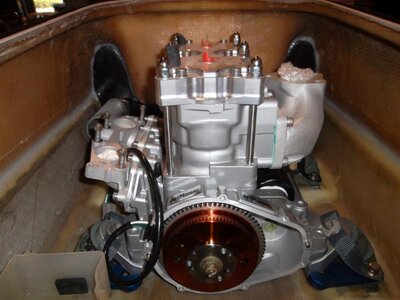
Lightened stock flywheel
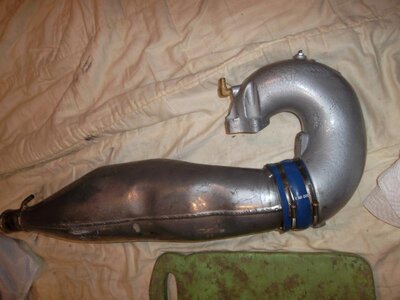
JM Big bore port mani + headpipe
Limited B-pipe
X-metal waterbox
JM bendix- like new
JM starter- like new
New woodruff/flywheel key
New flywheel bolt
V-Force 2 cages with new reeds
stock coupler cover
CARBS:
JM tuned stock 38's with JSS bolt kit
ADA silver throttle wheel
JSS Primer kit
JSS fuel bulb
JSS Fuel pickup( in tank)
Stock Flame Arrestor with JM FA bolt kit
Stock intake manifold
replacing flat washer with locks
ELECTRONICS:
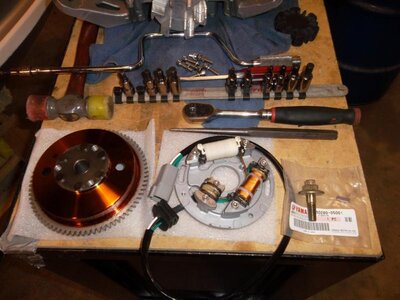
JSS rebuilt stator with stator bolt kit
JSS built MSD cables with loom
JSS start/stop switch
JSS NEW exciter coil
JSS battery cables
MSD ENHANCER
OCD dual rule 500 tidy bilges with military handlebar switch
Anti-gravity- 12 cell
STEERING/BARS ETC...
X-metal pole
Blowsion phat clamp with -1 blowsion turnplate
RRP fat riser bars- 50mm
x-metal chin pad
ODI grips
UMI throttle lever
PUMP/ DRIVELINE:
JM Reduction Nozzle- 85
Solas Mag- 144mm 12 vane non setback
Thrust Trim complete system
SBT wear ring liner
Hooker 10/16
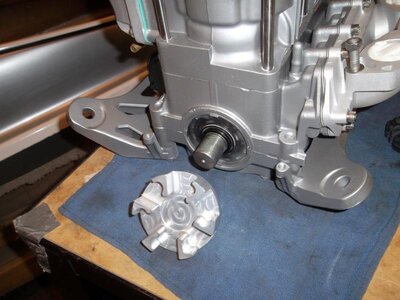
Kawaii style couplers
JM built midshaft
JM driveshaft...new bearings, washers
Carbon Fiber rideplate
HULL:
Superfreak Front Foot Hold- carbon fiber
X metal Scupper...will run a plug when I hit the surf
JM ratchet strap
Hydroturf pole pad
Black Diamond molded turf
26mm plush + 9mm plush padding
Rear footstrap
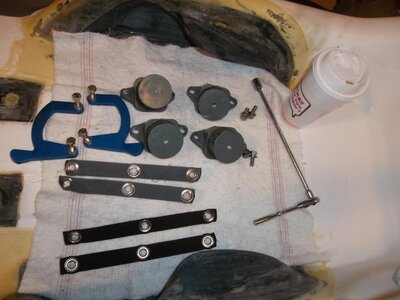
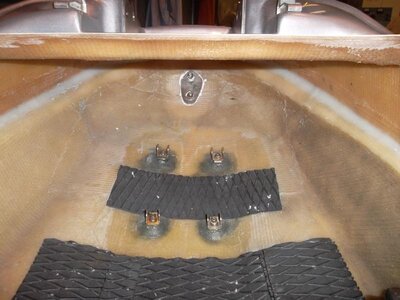
Wamiltons engine mount washers-clear
Couch mounts
Kenney Keepers
Liquid graffix- surf straps( front and rear)
45 bilge fittings- black
45 pissers- black
No foam in the rear after some talks with previous owner, his friends, and Tem...took some convincing but I am in now.
Stock nose foam in the front
front tow loop
rear tow loop- shaefer stainless steel with backing plate
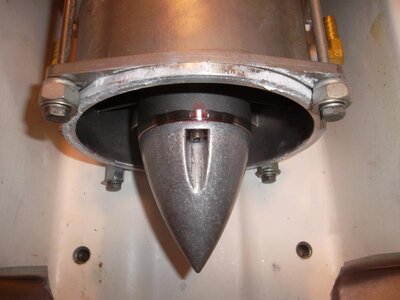
I had the toughest time getting the pump bolts in with the pump seal. I ended up having to grind down the entire soft v-flap thingy that rests up against the pump shoe...ground the flap completely off to get everything lined up.
Here's the kicker, I now have gap that seems to be the same size as the flap I ground off! Frustrating...it was probably a bit oblong in one area, causing it not to fit.
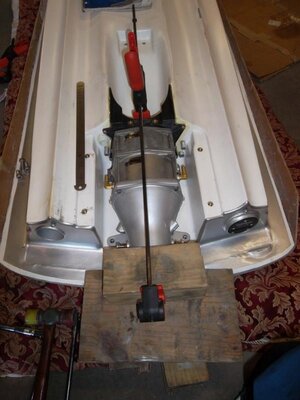
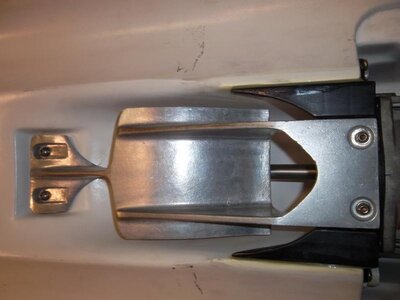
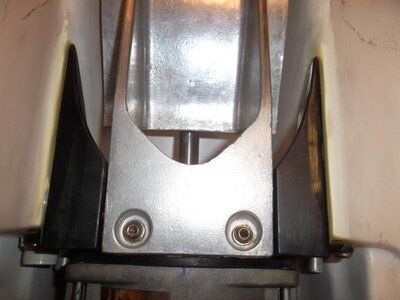
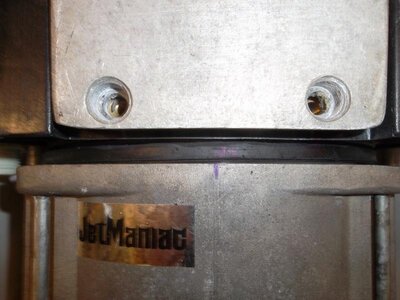
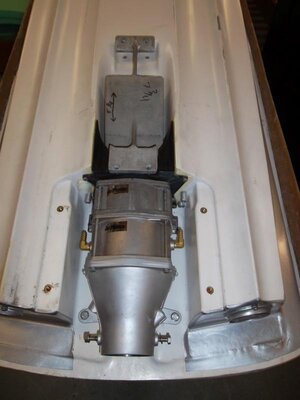
I may get another pump seal and start over or just silicone it up. Here are some pics of the gap now...with the pump in place. Gap tends to seal up near the hull side.
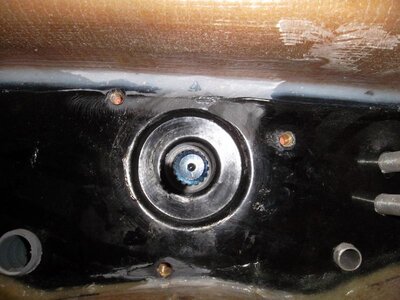
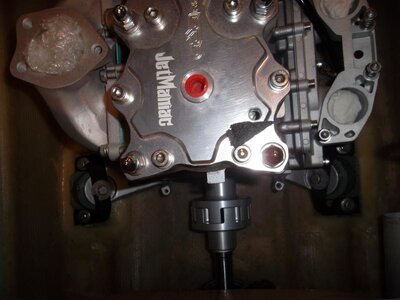
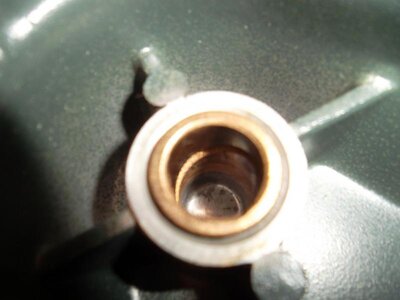
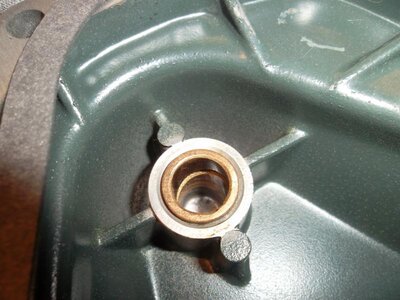
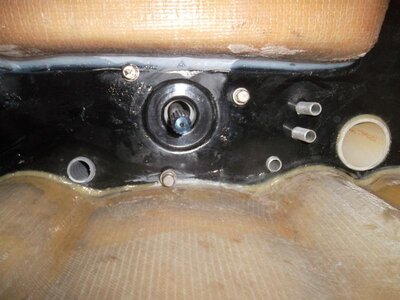
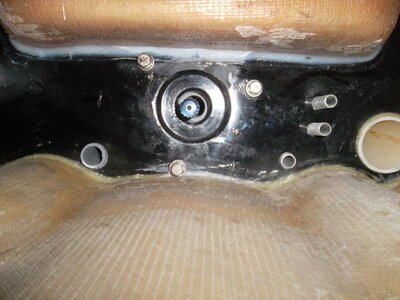
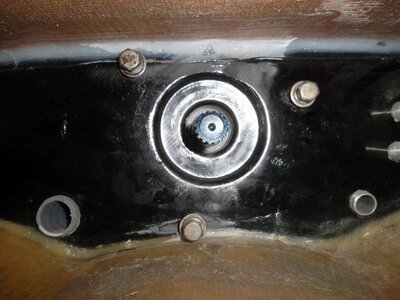
Pump shaft before and after shimming. Only had 1mm pump shims. 2mm was too large it seems but 1.5 seemed to be pretty good. I used a .5mm engine shim along with the pump shim just for fitment. Shaft looks pretty centered but I haven't measured it yet.
My gut is to measure...ounce of prevention saves a ton of cure but it doesnt look too bad.
What do you think?
Should I take measurements or roll with it?
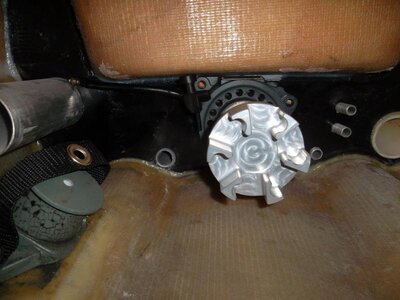
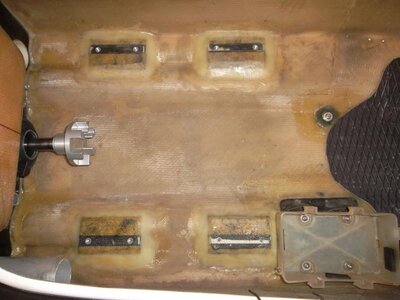
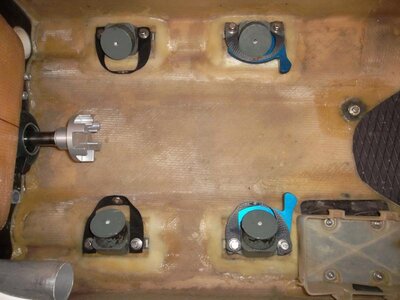
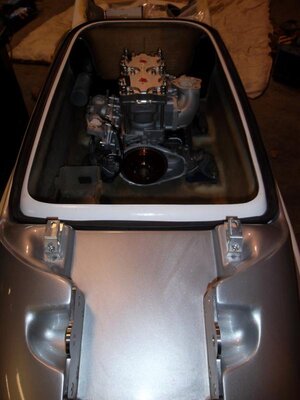
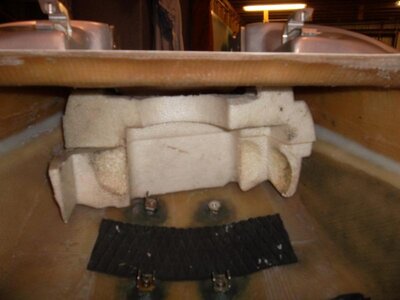
Just threw the motor mounts in and mated the midshaft to the pumpshaft. The coupler rubber holder was getting in the way. I plan glassing in a SF frontfoot so I may remove it unless it's necessary. I will know more once I mock everything up.
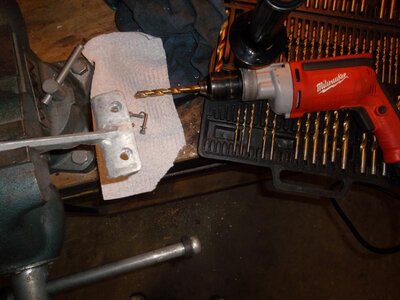
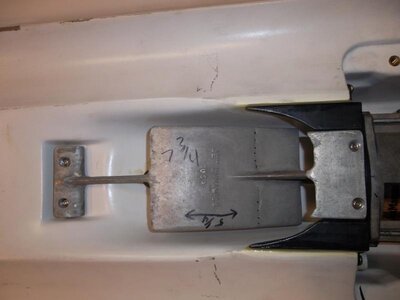
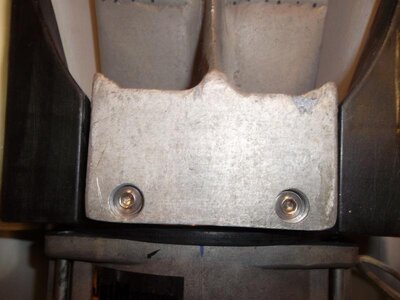
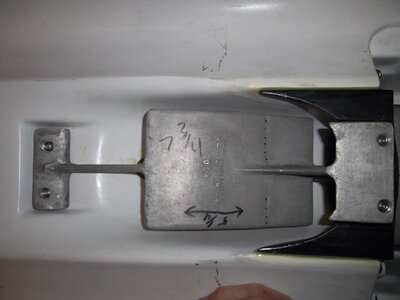
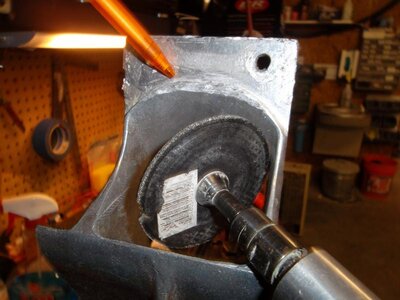
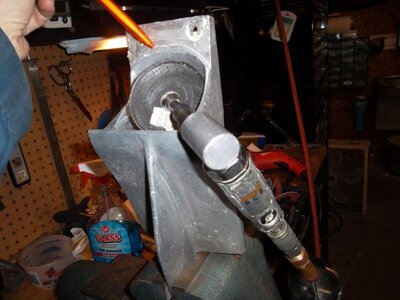
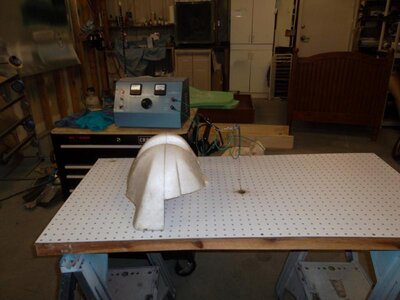
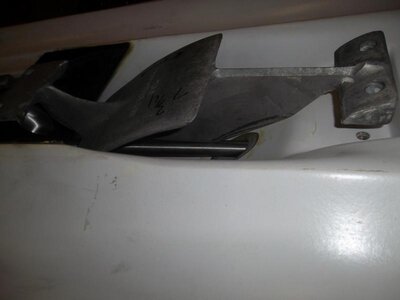
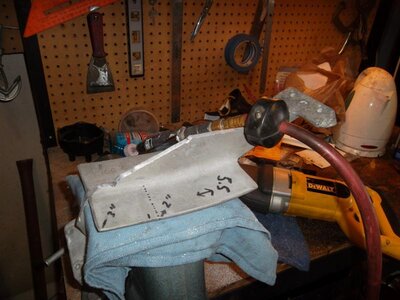
Worked on grinding down the top loader a lot of folks recommended. My aquavein fit perfect but I need different bolts to make it work. I cut up the top loader using a sawsall with a metal blade. Took a grinder afterwords to smooth it out. Grinder wheel did not like the aluminum...it was getting hot and sticking to it but it did ok
forgive the typos upfront...i swear I can spell
2012 Superfreak Badass...Glass version...Carbon fiber hood, SF frontfoothold, carbon fiber rideplate
I will be doing a mix of flat water and surf. I wanted an all around ski and I was hooked on the SF after riding Jetmaniacs. Aerials are the bomb.
Since I am light at 125lbs, I figured the glass version would be perfect. If I find myself doing more flatwater, I would eventually pull the trigger on a carbon fiber ski.
ENGINE:
JetManiac/Blue Ported 781 BB(62t/61x)...painted silver
pump gas
ADA silver girdled head + girdle kit
760/ 38cc domes
Dual Cooling
Jetworks Red FCV
Lightened stock flywheel
JM Big bore port mani + headpipe
Limited B-pipe
X-metal waterbox
JM bendix- like new
JM starter- like new
New woodruff/flywheel key
New flywheel bolt
V-Force 2 cages with new reeds
stock coupler cover
CARBS:
JM tuned stock 38's with JSS bolt kit
ADA silver throttle wheel
JSS Primer kit
JSS fuel bulb
JSS Fuel pickup( in tank)
Stock Flame Arrestor with JM FA bolt kit
Stock intake manifold
replacing flat washer with locks
ELECTRONICS:
JSS rebuilt stator with stator bolt kit
JSS built MSD cables with loom
JSS start/stop switch
JSS NEW exciter coil
JSS battery cables
MSD ENHANCER
OCD dual rule 500 tidy bilges with military handlebar switch
Anti-gravity- 12 cell
STEERING/BARS ETC...
X-metal pole
Blowsion phat clamp with -1 blowsion turnplate
RRP fat riser bars- 50mm
x-metal chin pad
ODI grips
UMI throttle lever
PUMP/ DRIVELINE:
JM Reduction Nozzle- 85
Solas Mag- 144mm 12 vane non setback
Thrust Trim complete system
SBT wear ring liner
Hooker 10/16
Kawaii style couplers
JM built midshaft
JM driveshaft...new bearings, washers
Carbon Fiber rideplate
HULL:
Superfreak Front Foot Hold- carbon fiber
X metal Scupper...will run a plug when I hit the surf
JM ratchet strap
Hydroturf pole pad
Black Diamond molded turf
26mm plush + 9mm plush padding
Rear footstrap
Wamiltons engine mount washers-clear
Couch mounts
Kenney Keepers
Liquid graffix- surf straps( front and rear)
45 bilge fittings- black
45 pissers- black
No foam in the rear after some talks with previous owner, his friends, and Tem...took some convincing but I am in now.
Stock nose foam in the front
front tow loop
rear tow loop- shaefer stainless steel with backing plate

I had the toughest time getting the pump bolts in with the pump seal. I ended up having to grind down the entire soft v-flap thingy that rests up against the pump shoe...ground the flap completely off to get everything lined up.
Here's the kicker, I now have gap that seems to be the same size as the flap I ground off! Frustrating...it was probably a bit oblong in one area, causing it not to fit.
I may get another pump seal and start over or just silicone it up. Here are some pics of the gap now...with the pump in place. Gap tends to seal up near the hull side.

Pump shaft before and after shimming. Only had 1mm pump shims. 2mm was too large it seems but 1.5 seemed to be pretty good. I used a .5mm engine shim along with the pump shim just for fitment. Shaft looks pretty centered but I haven't measured it yet.
My gut is to measure...ounce of prevention saves a ton of cure but it doesnt look too bad.
What do you think?
Should I take measurements or roll with it?


Just threw the motor mounts in and mated the midshaft to the pumpshaft. The coupler rubber holder was getting in the way. I plan glassing in a SF frontfoot so I may remove it unless it's necessary. I will know more once I mock everything up.
Worked on grinding down the top loader a lot of folks recommended. My aquavein fit perfect but I need different bolts to make it work. I cut up the top loader using a sawsall with a metal blade. Took a grinder afterwords to smooth it out. Grinder wheel did not like the aluminum...it was getting hot and sticking to it but it did ok


Last edited:

