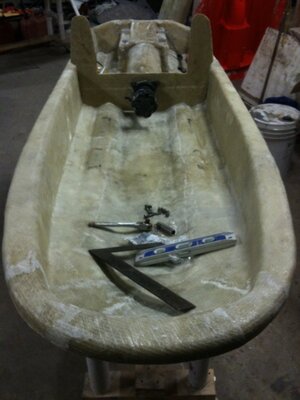
Winter X2
Winter X2
- Location
- Harrisburg, PA
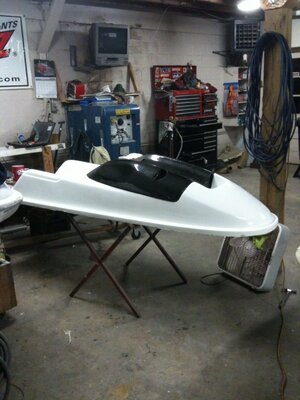
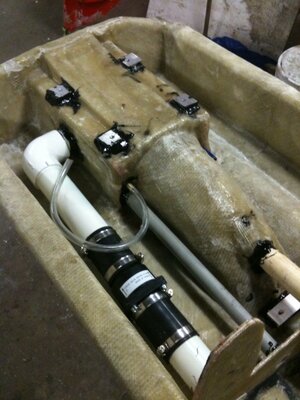
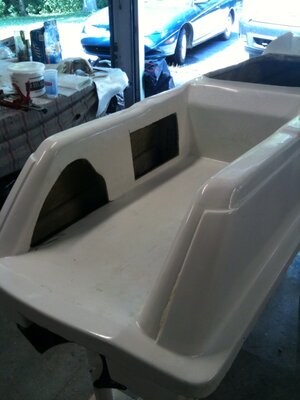
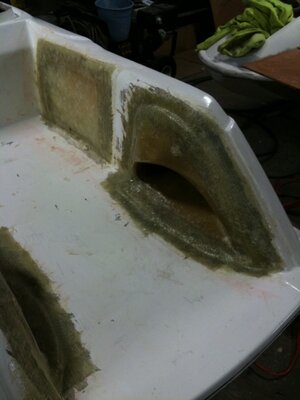
I didn't attach it yet. I have some work to do on the inside, However I will be using SEM Panel Bonding Adhesive.
Subscribed. I wish I had the time and money to learn how to build molds/parts. I am too cheap and lazy to do ity now.
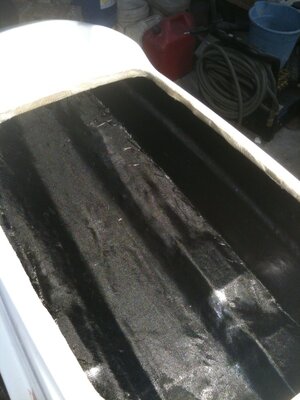
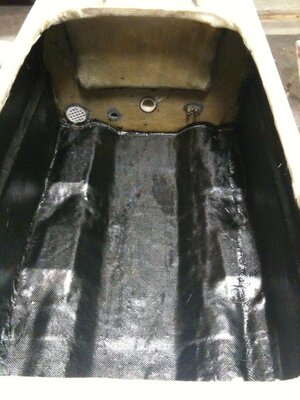
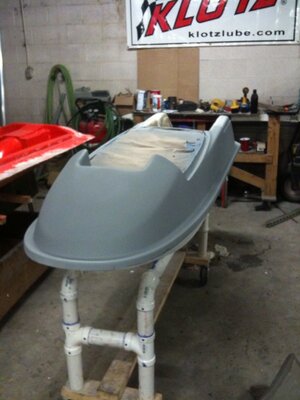
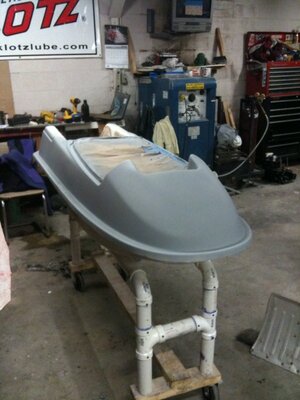
Resin fumes getting to you yet??....LOL Nice work man!
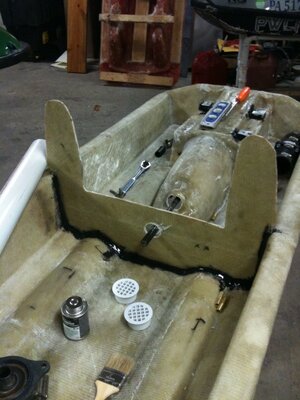
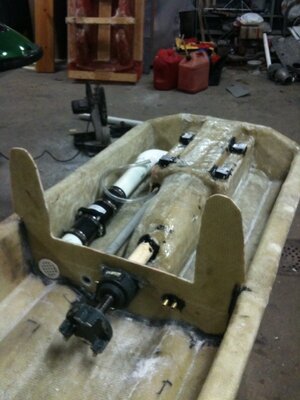
My motor is coming from a friend. www.pwcfactory.com. He builds a great quality motor that will run stout for a long time.. Contact Tim there if you have any questions.
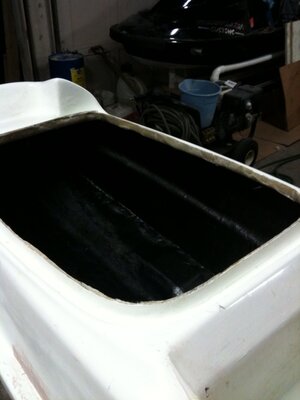
Lookin good. When's the maiden voyage?
With my luck...I am shooting for MAY. lol
I'll let you know..
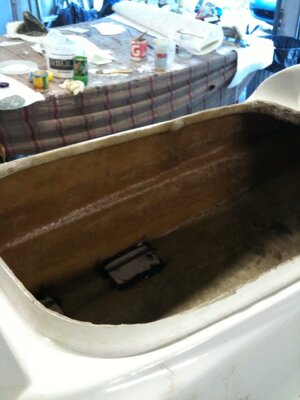
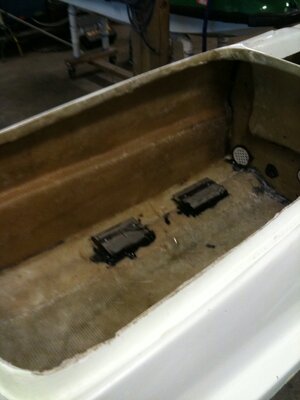
I do need that bilge bracket though.
I do need that bilge bracket though.
 oke:
oke: