Making a tubbie (start to finish )

WFO Speedracer

A lifetime ban is like a lifetime warranty !
Location
Alabama
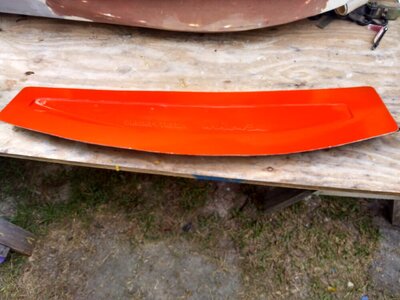
I am Making a tubbie for the other side of the 300SX and I thought I would do a detailed thread start to finish so you can see the process involved.

A couple of things , this is how I do it, how you do it or most likely how you think you would do it may be different, I am doing it this way , take it or leave it , and last but not least all the I would do it this way comments, I don't need them save them for another thread.

With that out of the way I need a mold, well I don't because I have one but you would need one for sure.

Make sure it's spotlessly clean , that means no traces of any resin or PVA left on the mold, clean it with acetone and make sure everything from the last tubbie is long gone.
 

Attachments

  • IMG_20230925_095644476_HDR.jpg
    IMG_20230925_095644476_HDR.jpg
    110.2 KB · Views: 30

WFO Speedracer

A lifetime ban is like a lifetime warranty !
Location
Alabama
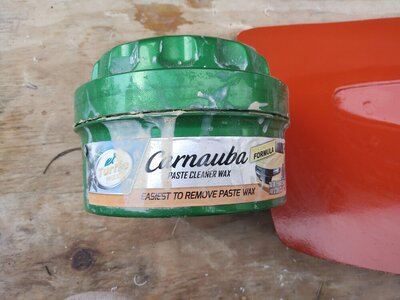
Next we wax the mold, now you can by mold release but mold release is 100% Carnauba wax, you can look it up for yourself, car wax is a hella lot cheaper.

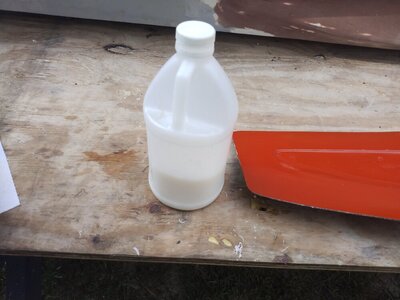
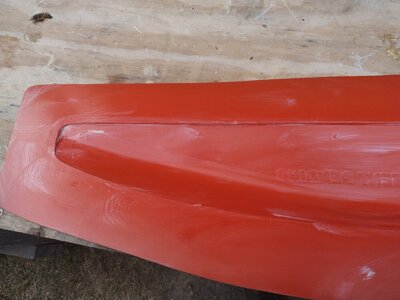
On this one I am also trying a product I use on the Seadoos to bring the gelcoat back to life, its Zep floor wax, it goes on easily , dries fast, hard and clear, two liberal coats were applied , then a liberal coat of wax, on the hand waxing I will probably end up doing about 10 coats , apply it let it dry , buff it off , wax on wax off Daniel son.
 

Attachments

  • IMG_20230925_095701998_BURST000_COVER.jpg
    IMG_20230925_095701998_BURST000_COVER.jpg
    98.1 KB · Views: 25
  • IMG_20230925_095733025_BURST000_COVER.jpg
    IMG_20230925_095733025_BURST000_COVER.jpg
    110.1 KB · Views: 19
  • IMG_20230925_095915470_BURST001.jpg
    IMG_20230925_095915470_BURST001.jpg
    90.7 KB · Views: 21

WFO Speedracer

A lifetime ban is like a lifetime warranty !
Location
Alabama
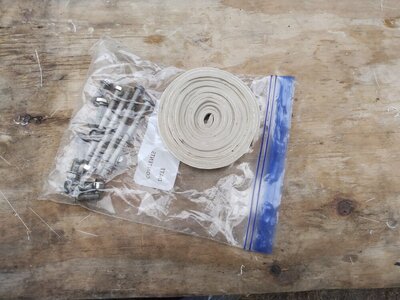
So we are on coat number six, this is where I start getting everything set up, I am using putty tape for sealant tape, why you ask because that's what bag sealant tape is, it is just way more expensive if you label it sealant tape, I don't need a lot of sealing on this so I cut the tape in half lengthwise and rolled it back up.

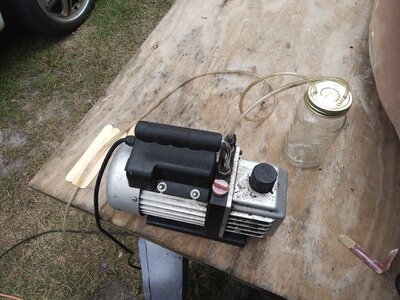
You have to have a vacuum pump since I am vacuum bagging this as the molds are set up for it, I am using a Harbor freight pump here.

You need tubing, I am using cheap plastic tubing I already had , you need a catch can between the pump and the mold, any excess resin sucked up by the pump goes into the catch can.

You need something sturdy and throwaway , I used a mason jar and lid, I drill two holes in the lid, cut the tubing at an angle and push it through the hole, you can Easly check it by hooking the tube up to the pump turning it on and holding your finger over the end of the tube, you will hear a loud pop if it is sealing correctly.

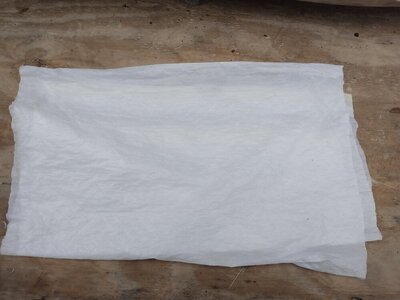
You need a vacuum bag , I am using a trash bag I cut up the sides, It's a force flex bag so it's plenty stretchy, you can of course buy stretchalon vacuum bagging plastic, it's not that expensive, personally I don't need to see what is going on inside the bag because I am using epoxy today so I am not going to be babysitting this.

Keep in mind all the sealing tape, vacuum tubing, vacuum bagging plastic and possibly the catch can if it sucks resin into it are all one time use, use it once and throw it away, the cost adds up eventually. If you are paying attention you are probably noting a pattern here.
 

Attachments

  • IMG_20230925_114027919_BURST000_COVER.jpg
    IMG_20230925_114027919_BURST000_COVER.jpg
    194.4 KB · Views: 20
  • IMG_20230925_114055714_BURST002.jpg
    IMG_20230925_114055714_BURST002.jpg
    146.5 KB · Views: 19
  • IMG_20230925_114126455_BURST000_COVER.jpg
    IMG_20230925_114126455_BURST000_COVER.jpg
    81.6 KB · Views: 28
Last edited:

WFO Speedracer

A lifetime ban is like a lifetime warranty !
Location
Alabama
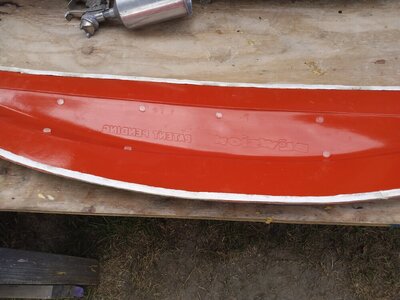
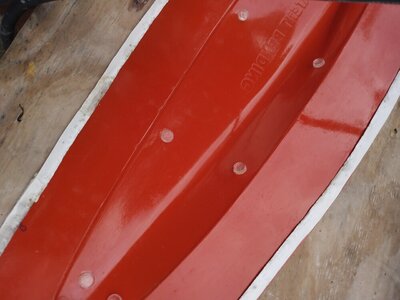
So that brings us up to wax coat number 10 , the mold is so slick now that nothing will stick to it, I know I tried installing the plastic buttons and they fell right of, I gently cleared where they go and stuck them using a tiny drop of Gorilla glue, I am sure I will regret this later but making mistakes is how you learn.

Adding the buttons is not something you would normally do or that I would recommend anyone else to do as it makes things a lot more difficult.

I took a rag and some acetone and went around the outer edge maybe 1/4" to 1/2"widef so the putty tape would stick,

It is time to stick the putty tape leaving the paper on it till later, everywhere there is a sharp corner you have to tear the paper at the corner to get the tape around the corner, no biggie, just letting you know .
 

Attachments

  • IMG_20230925_125708165_BURST001.jpg
    IMG_20230925_125708165_BURST001.jpg
    70.9 KB · Views: 36
  • IMG_20230925_131435167_BURST000_COVER.jpg
    IMG_20230925_131435167_BURST000_COVER.jpg
    131.1 KB · Views: 38
Last edited:

WFO Speedracer

A lifetime ban is like a lifetime warranty !
Location
Alabama
Now we get to the part where you absolutely don't skimp , ever !

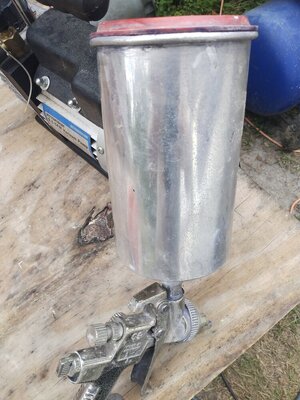
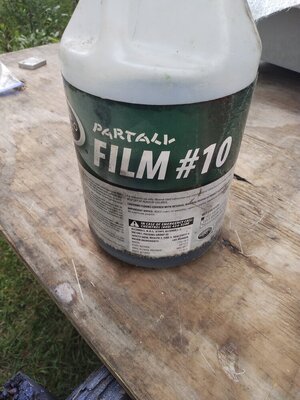
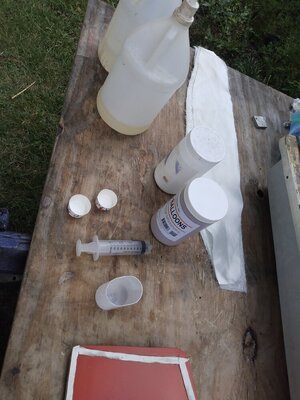
PVA or poly vinyl alcohol , You can brush it on, spray it on, put it in a spray bottle , whatever, I like to shoot it on with the Satajet personally as it gives good even coverage , you want three coats waiting 15 -20 minutes for each coat to dry .

You can buy it in much smaller quantities but it's expensive that way and I use quite a bit of it so I buy it by the gallon, a gallon lasts a long, long time.

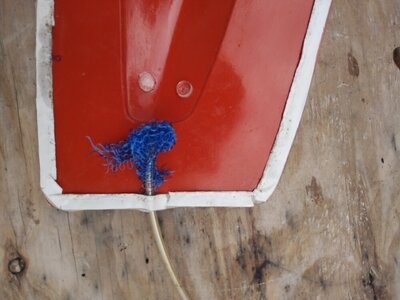
I also added the vacuum hose, stick it to the tape, put another piece of tape over it, cover the end with a cut up dish scrubber, done.
 

Attachments

  • IMG_20230925_135115704_BURST000_COVER.jpg
    IMG_20230925_135115704_BURST000_COVER.jpg
    92.9 KB · Views: 33
  • IMG_20230925_135226693_BURST001.jpg
    IMG_20230925_135226693_BURST001.jpg
    154.7 KB · Views: 23
  • IMG_20230925_135238799_BURST002.jpg
    IMG_20230925_135238799_BURST002.jpg
    143.6 KB · Views: 23
  • IMG_20230925_135115704_BURST003.jpg
    IMG_20230925_135115704_BURST003.jpg
    80.8 KB · Views: 27
I made a set of tubbies for my 550 years ago. I didn't make a mold or anything though. I shaped them out of 2 inch closed cell foam from home depot or lowes and just glassed them on with 6 layers of a 8oz cloth. It was soooo much work haha. They worked well and dramatically changed the handling of the ski. I could butt drag for days after adding the tubbies. I like that you're making a mold first..much better way than I did mine.
 

WFO Speedracer

A lifetime ban is like a lifetime warranty !
Location
Alabama
I carved a set out of expanded PVC on my first X2, they were damn ugly compared to these , it's nice to be able to step your game up without it costing a fortune.

I built a set and put on the 650SX then built a hollow one for the X2 build and now these sets for the Superjet and the 300SX.
 

WFO Speedracer

A lifetime ban is like a lifetime warranty !
Location
Alabama
Not splashed? Can see the blowsion patent pending indentations..
I am not going to get into it here but no it wasn't splashed, I guess there always has to be one guy, so now that we know who it is think whatever you want because you will anyway.
 
Last edited:

WFO Speedracer

A lifetime ban is like a lifetime warranty !
Location
Alabama
Veered off course for a minute, at any rate the thread continues.

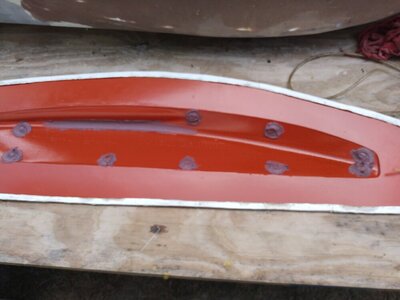
I mixed up some cabosil and microballons and put it around the buttons and in in a couple of places where I know from experience that it doesn't like to pull down properly under vacuum.

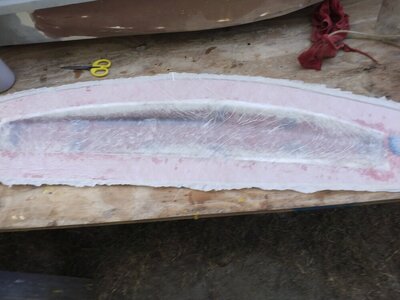
I cut the glass , I am using four layers of chop one layer of biax , laid it up in the mold and wet it out.

Before you say oh my God you can't use chop with epoxy, sure you can, it won't break down the binder because it has no styrene it but it will encapsulate it and this is not a structural part. it will be just fine.

I am not using Gelcoat on this one because it doesn't stick to epoxy that well under chemical bond, you would have to sand it and rough iot up to create a mechanical bondm just not going there today sorry.

Pulled the paper off the tape and stuck the plastic, turned on the pump on and let her rip, no leaks apparent so far.
 

Attachments

  • IMG_20230925_150104696_BURST001.jpg
    IMG_20230925_150104696_BURST001.jpg
    140.3 KB · Views: 19
  • IMG_20230925_151029689_BURST002.jpg
    IMG_20230925_151029689_BURST002.jpg
    76.2 KB · Views: 21
  • IMG_20230925_153256894_BURST003.jpg
    IMG_20230925_153256894_BURST003.jpg
    86.7 KB · Views: 22
  • IMG_20230925_154551606_BURST002.jpg
    IMG_20230925_154551606_BURST002.jpg
    98.8 KB · Views: 26
Last edited:

WFO Speedracer

A lifetime ban is like a lifetime warranty !
Location
Alabama
I will most likely leave it to kick in the mold overnight, maybe even longer, it's been kind of cool here as of late which slows the cure time by a lot.,

They pull out of the mold a lot easier when fully cured for sure , I don't get in as big a hurry as I used to.
 

WFO Speedracer

A lifetime ban is like a lifetime warranty !
Location
Alabama
I threw some heat on it last night and this morning for a few minutes with a small electric heater, it only reaches 95 degrees.

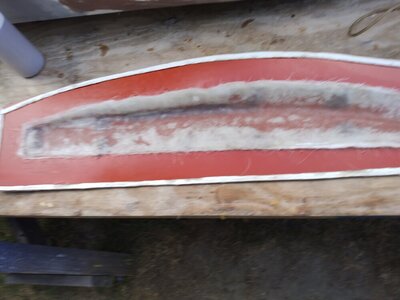
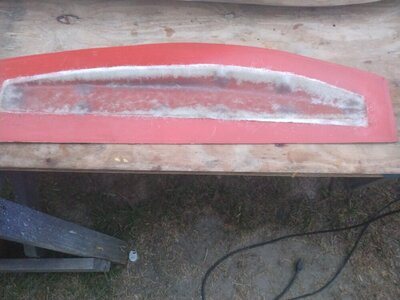
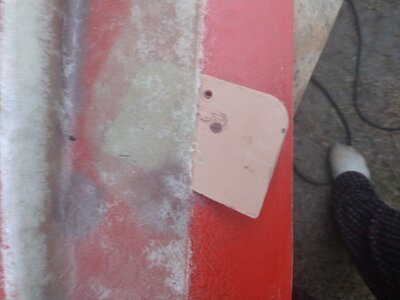
Then I popped it out of the mold , I used a Bondo spreader and worked it up under the edges, continuing all the way around till it popped out.

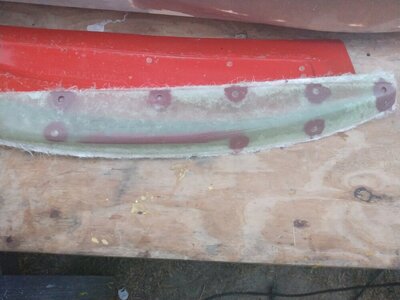
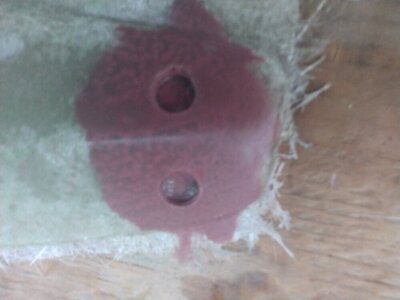
I was very surprised to see most of the buttons were still stuck to the mold, the rest popped out of the tubbie with a knife blade.

The trash bag worked perfectly and did not stick to the tubbie anywhere., all the sealant tape pulled right off the mold, all in all very successful on this one.

I also trimmed it up some with a large pair of scissors , the rest has to be done with a grinder after it kicks for a while longer.

That very bottom edge I pulled the filler into the mold on came out perfect,

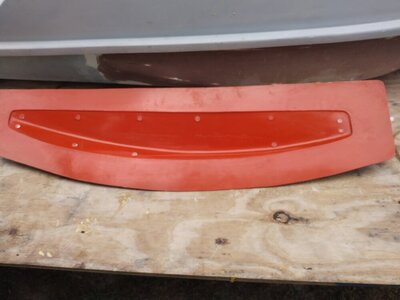
As you can see those buttons create a place for the screws to go, they defiantly complicate building these in the mold, it will get filled in later after installation on the ski, IMHO they didn't have proper screw recesses without these.

With these there is enough recess to use any kind of screw you want even pan heads.
 

Attachments

  • IMG_20230926_063352033_BURST000_COVER.jpg
    IMG_20230926_063352033_BURST000_COVER.jpg
    109.4 KB · Views: 20
  • IMG_20230926_063556685_BURST001.jpg
    IMG_20230926_063556685_BURST001.jpg
    79.1 KB · Views: 21
  • IMG_20230926_063829205_BURST001.jpg
    IMG_20230926_063829205_BURST001.jpg
    99.7 KB · Views: 21
  • IMG_20230926_064159934_BURST001.jpg
    IMG_20230926_064159934_BURST001.jpg
    64.2 KB · Views: 21
Last edited:

WFO Speedracer

A lifetime ban is like a lifetime warranty !
Location
Alabama
I used epoxy since I am glassing these in and gluing them on it just made sense to me , normally on these you woulduse vinyl ester resin ,it would cut the drying time down to hours instead of days , of course you could also use fast setting epoxy, I don't have any here ATM , you defiantly wouldn't want to use epoxy to make production parts IMO it's fiddely , but it is what it is.

Being epoxy something like this really could use a post cure I doubt most of us have an autoclave in their shop but most of us do have a car, a car parked out in the sun with the windows rolled up can easily hit about 125 degrees in an hours time , about 140 degrees in 3 hours, of course it goes up proportionally with higher temps , you get the idea , around here we call it a carclave .
 
Last edited:
Top Bottom