- Location
- Hutchinson, Kansas
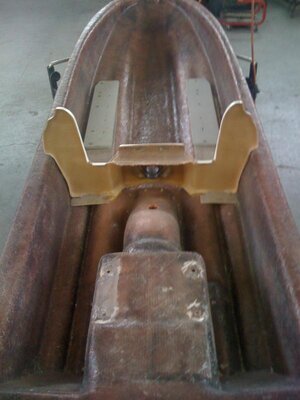
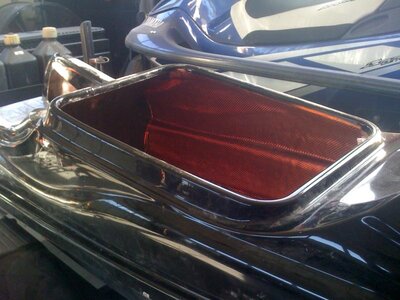
I decided to build the envy hull that's been sitting around my shop since July. Its actually alot less work than the octane I built, but its just hard to get started knowing how much work these are.
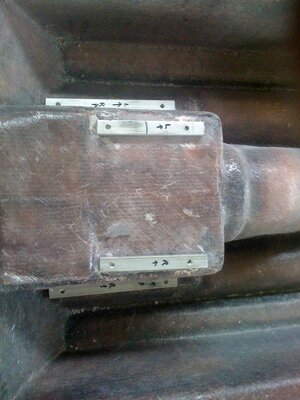
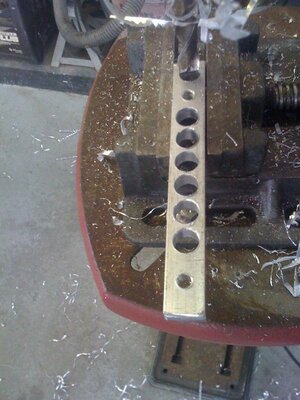
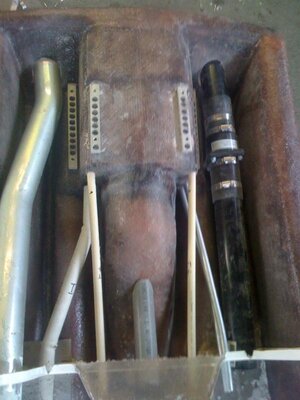
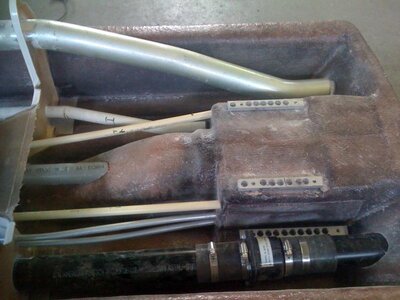
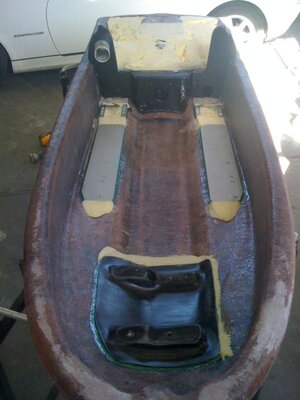
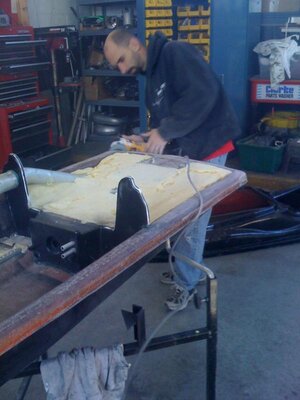
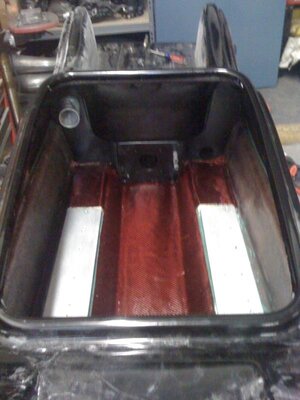
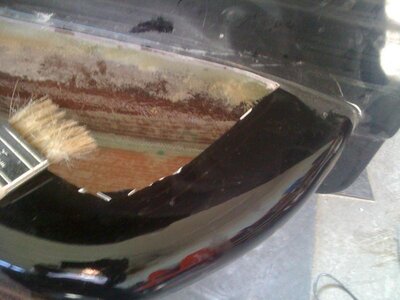
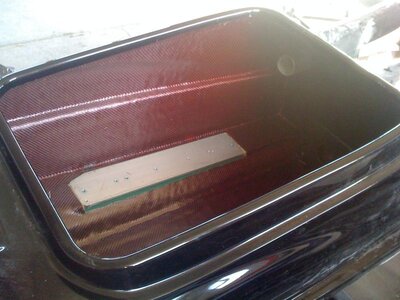
Today i spent the afternoon cutting tubing and making inserts for the rear of the hull. I went with aluminum flat stock for the inserts, just like the octane build. I chose aluminum because i can machine with simple tools and it works fine, you just have to make sure you put anti-sieze on the thread every time a bolt is replaced. I went with long pieces to eliminate inserts spinning by keep the front and rear holes linked. In addition the inserts can also be drilled larger and retapped while installed in the ski, if they ever were to become damaged. I drilled holes in the aluminum to give the glue more surface area to stick to and take some of the weight out.
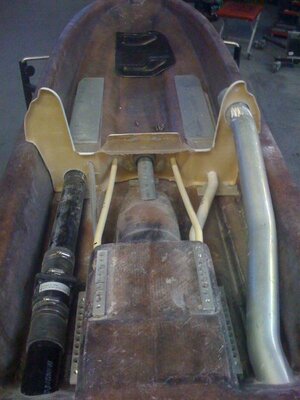
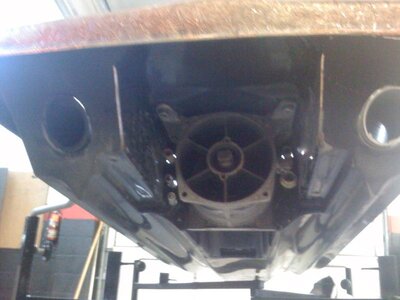
I put in two trim tubes because the skat trak trim goes on one side and other trims use the right side and i'm not sure what i'll be running yet. The pump area is sxr, with steering and cooling normally on opposite sides than the superjet. I moved both to the superjet configuration and plan on flipping my kawasaki steering nozzle and tapping the cooling line on the left side of the pump. I did this because the pole i'm planning on running is superjet only without provisions to move the steering to the other side.
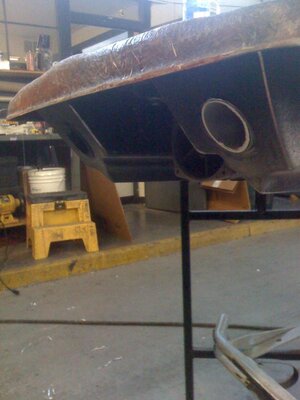
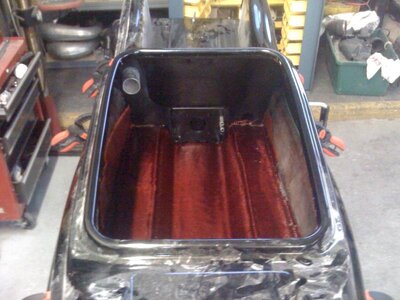
I installed a 2 inch drain with oneway under footwheels in case it ever needs replaced and there will eventually be an x-metal flapper, (the magnet version) as added security. And of course an aluminum exhaust tube gets installed, the drain and exhaust tube are scalloped in the back to match the lines of the hull.
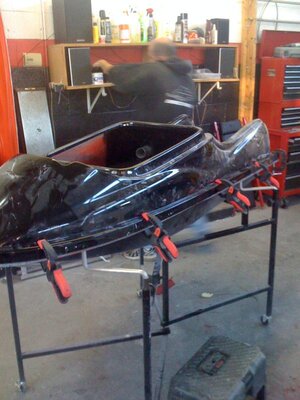
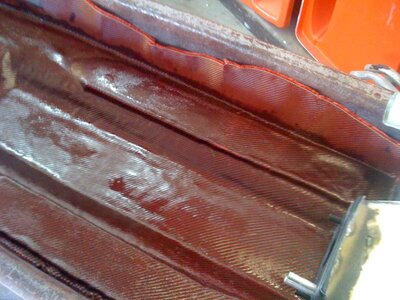
The hull top and bottom weighed 80lbs, it is a very solid hull and i'm not planning on additional reinforcements with the exception of the bulkhead and pieces on the side to tie the two hull pieces together. I estimate 100-105 for weight of hull when assembled, my hood is an additional 12lbs.

