Blaster Rick's Detailed 1100 Blaster Conversion

ItsRixter

SoCal Wav Jumping shiznit
Location
Sunny Diego
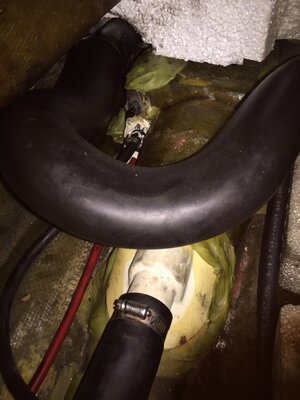
I had parts from a GP760 so I'll use the waterbox pad and the exhaust hose from waterbox to outlet
I shaved the pad and wedged it in there
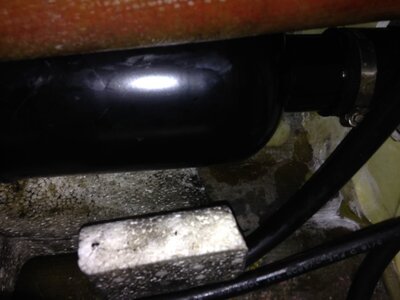
IMG_2723.JPG

I took the exhaust hose and cut the big opening off
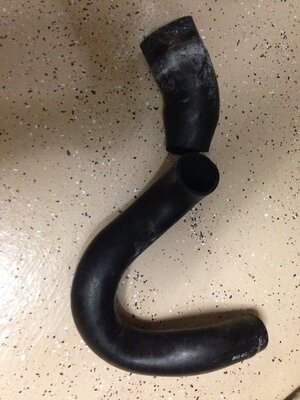
IMG_2662.JPG

Now install the hose but reverse the connections. Take the cut end of the hose and attach it to the water box. Take what use to connect to the water box on the gp760 and connect that to the exhaust outlet. (most of you will acquire an aftermarket hose kit and likely won't get a gp760 hose)
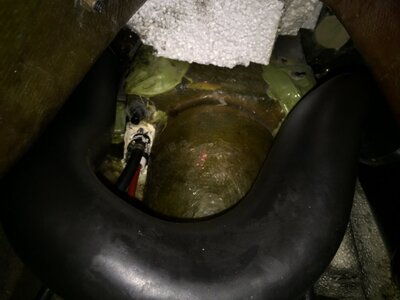
IMG_2801.JPG IMG_2808.JPG
 
Last edited:

ItsRixter

SoCal Wav Jumping shiznit
Location
Sunny Diego

ItsRixter

SoCal Wav Jumping shiznit
Location
Sunny Diego
Air Intake

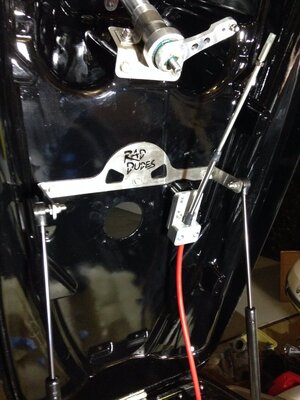
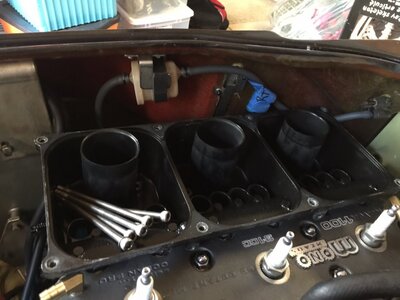
So I tried to save a few bucks and re-install the stock air box. After all these stock air boxes are bullet proof for water intrusion right? Well the base fits fine but the top portion of the air box bumps into the hull. This is due to the fact I am using the Rad Dudes plate. If you are using the Extreem Throttle plate this only applies to the set back position. In the normal position I believe you can use the stock airbox

IMG_2773.JPG

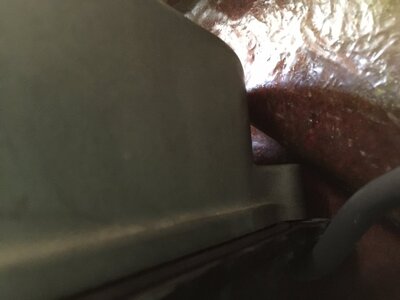
So unless you are going to try to shave off the the rear outside corner of the top air box, it won't fit

IMG_2772.JPG
 
Last edited:

ItsRixter

SoCal Wav Jumping shiznit
Location
Sunny Diego
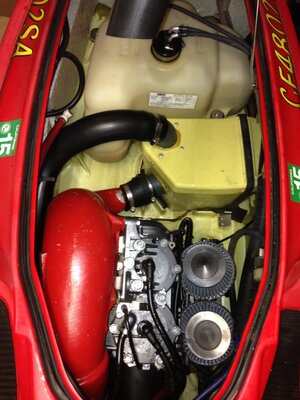
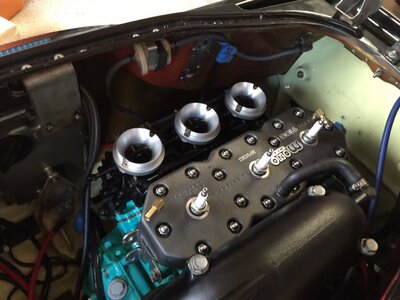
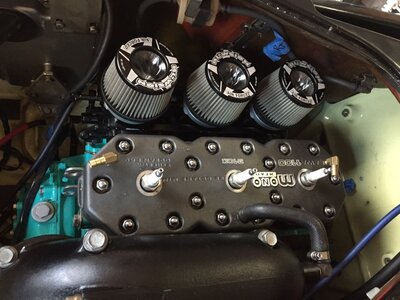
Since the stock setup won't work for the air intake, I called John @ Blowsion and he got me the right adapters and air filters. I used the tallest 2.5 filters since it had no problem on clearance in the engine compartment.

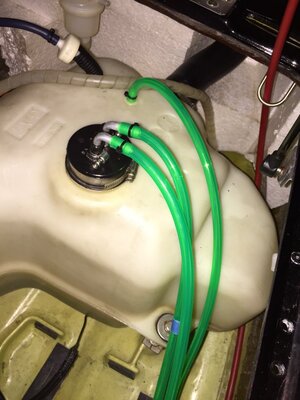
Thanks John and team Blowsion (who also hooked me up on the neon green fuel lines)

Adapters:
IMG_2776.JPG

Filters:
IMG_2777.JPG
 
Last edited:

ItsRixter

SoCal Wav Jumping shiznit
Location
Sunny Diego
Electrical

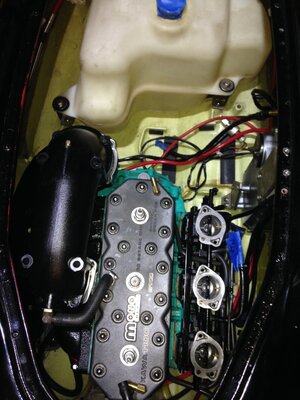
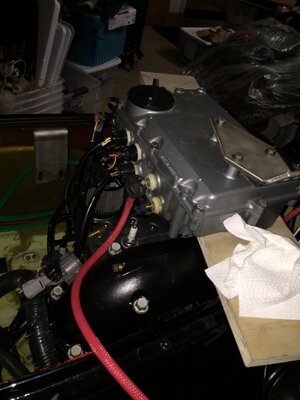
I disconnected the ebox and placed a board across the engine compartment. This allowed the connected ebox a place to sit while I work on it.

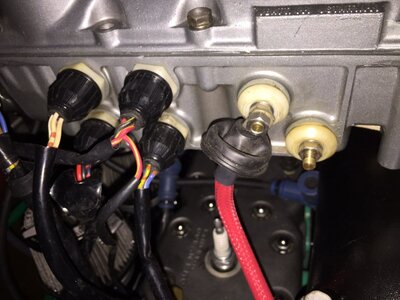
First step was to connect the battery wires. Hopefully you took note of my recommendation to install the red/ positive starter cable prior to engine install. If you did, this step is easy. connect the starter cable to the ebox. Note on the ebox, it shows which cable is for the starter and which one is for the battery. Swap out cables accordingly. I ordered my cables from Rad Dudes and told them I was using the front bracket and installing the battery in the rear. Therefore, my cable setup is LONG.

IMG_2811.JPG

IMG_2809.JPG
 

ItsRixter

SoCal Wav Jumping shiznit
Location
Sunny Diego
Looks like I'm stuck on this electrical step. I can't get the motor to start. I had it running in the donor ski prior to removal. I Installed new battery cables to the ebox. Connected to the battery. Then I tried connecting the start/stop switch but the plugs do not match. So I grabbed the entire main wiring harness (basically its the central wiring unit) and connected it. So the switch was connected to the wiring harness which was connected to the ebox. I made sure the ignition switch (key) was on and the stop button was pulled out with a lanyard. Still nothing.
I took the starter red cable off the ebox and connected it straight to the battery and it turned fine.

Any thoughts from those who have previously done this swap?
 

ItsRixter

SoCal Wav Jumping shiznit
Location
Sunny Diego
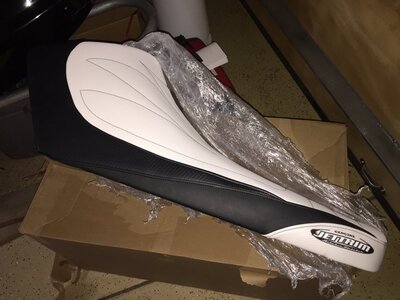
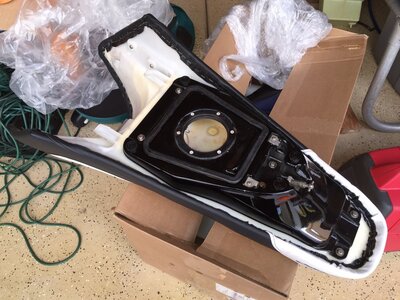
Bummed I still can't figure out why the starter switch isn't working....but super stoked on my seat that just came back from Jettrim.
White med slip with Carbon Black side, smooth black spike and white carbon rear

IMG_2841.JPG
 

ItsRixter

SoCal Wav Jumping shiznit
Location
Sunny Diego
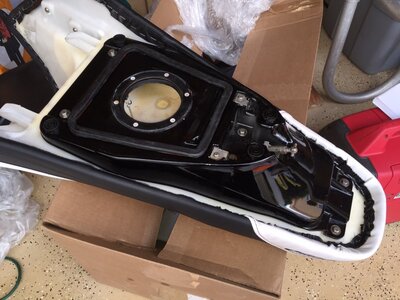
Got the hardware back on the seat. I am so glad I bagged everything with labels. Just opened the ziplock bag marked "seat" and all the stuff I needed was right there!


IMG_2842.JPG

IMG_2843.JPG
 

ItsRixter

SoCal Wav Jumping shiznit
Location
Sunny Diego
Okay a BIG thank you to ScottieMac for the help on the electrical. Got it working. It is MUCH more straightforward than those diagrams. I'll try to explain via photos and make this super easy...

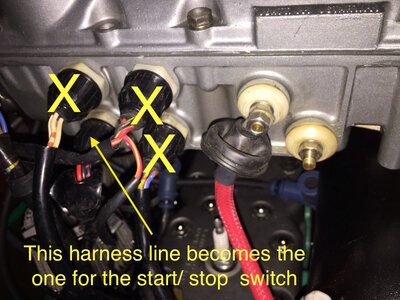
Realize, all that goes into the ebox is the wiring harness from the stator. With the exception of battery cables and obviously the spark plug wires, the only thing you need coming out are four (4) wires for the start / stop switch. Everything else is not needed. So keep this in mind when you are dealing with all the extra wiring from the ebox of the STX or ZXI.

1) Open the ebox

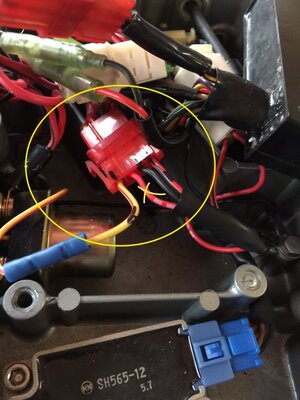
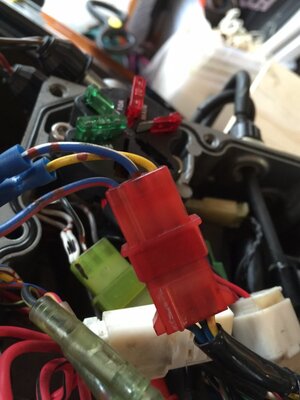
2) Locate the red plug which has the 4 wires as seen here. Notice the red wire in the second position marked out with a yellow "X"

IMG_2844.JPG

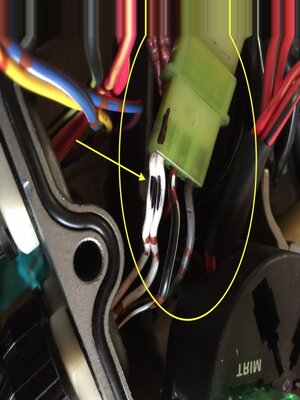
3) Locate the Green plug with 4 wires. Note the White wires pointed out by the arrow.

IMG_2845.JPG


4) On the female side of the Red plug cut the red wire in the second position (the one I marked with a yellow X). Cut it so you have room to crimp it.
5) On the female side of the Green plug cut one of the white wires. Again leaving enough room to crimp it.
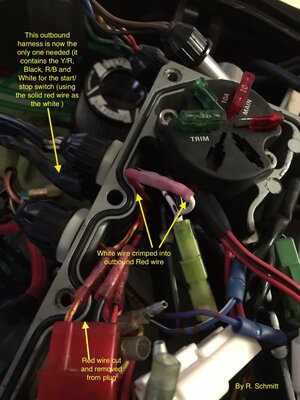
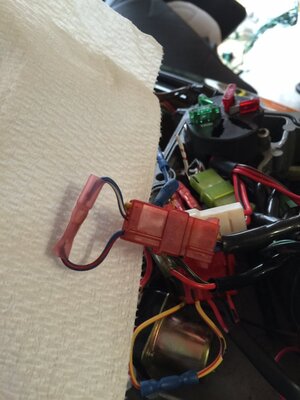
6) Now crimp the white wire FROM the green plug to the outbound red wire which is cut from the red plug as seen here:

IMG_2851.JPG

IMG_2809.JPG
 
Last edited:

ItsRixter

SoCal Wav Jumping shiznit
Location
Sunny Diego
Electrical (continued)

If you want the 3 degree timing advance (and who doesn't):

1) Locate the Red plug with 3 wires

IMG_2846.JPG

2) Splice the blue/red and the blue/white wires together

IMG_2849.JPG
 
Top Bottom