Blaster Rick's Detailed 1100 Blaster Conversion

Hey do you think you send me the rad dudes wiring diagram? I initially installed the entire electrical harness but I need to open up my ebox and would like to eliminate all the extra junk while I am at it!
 

ItsRixter

SoCal Wav Jumping shiznit
Location
Sunny Diego
I didnt receive any wiring diagrams from Rad Dudes, but I think I have a few I researched. I think one was for wiring Yamaha start switch w kawi box, the other was making the heat temp bypass for 2 degree advance. I'll check and see if I have a master wiring diagram.
 
Location
cali
I have done that same pump/bearing install on my solas mag and its the only way to fly, bearings drop in like butter no need to beat them in.
 
Thank you for posting that...I think I actually already have that saved and didn't realize it. Looks like what I need and everything else can be eliminated

Oh I also posted in the thread but yes I still have the 760 setup, and the busted up water box which you can have if you want the 760
 

ItsRixter

SoCal Wav Jumping shiznit
Location
Sunny Diego
Keep in mind the two wires which are indicated to splice together is an option to gain 3 degree advance on the timing. It is not required. Scottie Mac mentioned he does this AND adds the R&D 5 degree advance plate
 

ItsRixter

SoCal Wav Jumping shiznit
Location
Sunny Diego
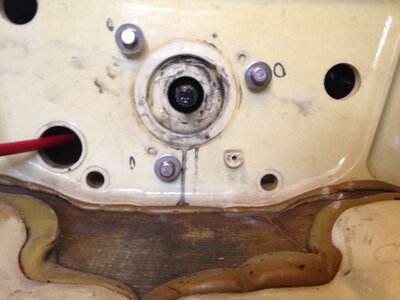
Okay, so most recommend putting in a B2 steering cable. That shouldn't be a big deal since this is a rebuild project right? Wrong! The B2 cable has a larger diameter that doesn't fit into the stock pass through. Therefore, you have to remove the pass through and install the the new one. That's easy right? Wrong! My stock steering pass through had a ton of sealant on it. I had to peel and scrape a bunch of sealant so I could grip the nylon nut. Finally removed the old pass through. Geez!

Well, this is the first step of the re assembly. Install the steering cable. You should do this first so you can utilize the space without the pump in the way. In fact, you should install the cooling lines and bilge hose to the ski side in this step. Then install and align the pump.

Here is a pick of the new steering cable pass through installed...notice all the old sealant i had to peel?

photo 12.JPG
 

ItsRixter

SoCal Wav Jumping shiznit
Location
Sunny Diego
While doing some test alignment with the motor sitting in the engine bay, I marked where the exhaust was pointing.

photo 17.JPG photo 16.JPG


The pipe aligns up high, while the water box sits low. So I asked ScottieMac how he drilled his firewall...here is his mod...big bore :)
image.jpeg
 

ItsRixter

SoCal Wav Jumping shiznit
Location
Sunny Diego
Thanks Chris. Yeah I searched all over the place and tried to get all the best info together in one thread for the Blaster 1100 Kawi conversion.
 

ItsRixter

SoCal Wav Jumping shiznit
Location
Sunny Diego
Once you slide the pump assembly in place, check the drive shaft hole for alignment. Basically, I use the front bolts to adjust side to side and the rear bolts shim to center up/down.

First, put the front bolts in place but loose. Check the drive shaft hole for side to side alignment. If you need to adjust, use a punch and insert it into one of the rear bolt holes and use it to leverage the pump assembly right or left, then tighten the front bolts to hold the correct position.

Now check for alignment up/down. If adjustment, needs to be done (usually the drive shaft is too low in the hole), add shims between the hull and pump mounting brackets at the rear pump bolt holes to lift the drive shaft.

off alignment:
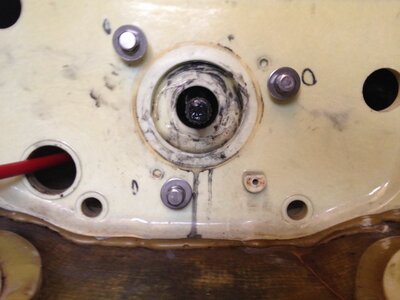
photo 6.JPG

Aligned:

photo 8.JPG

Now clean up the mid shaft surface area and add marine sealant, chalk or silicone sealant to the mount spot in a circular fashion.
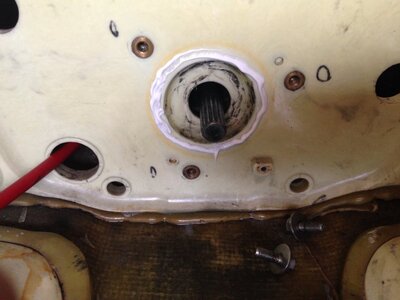
photo 9.JPG

Mount the mid shaft in place. Its a also a good time to install the bilge since it is located under the mid shaft and the motor install will make it difficult to install later. Notice the ADA coupler has a hole in the center, unlike the yamaha coupler which is solid and caps water coming in from the spine/ shaft area. I siliconed my shut.
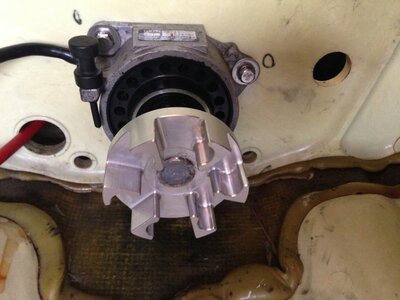
photo 11.JPG


Before installing the motor, you will need to bolt in place the motor mounts on the carb side. The bolts are too long to be inserted with the intake manifold. Therefore, before you mount the motor adapter plate, put in place the bolts and finger tighten the mounts (do not torque them down yet)
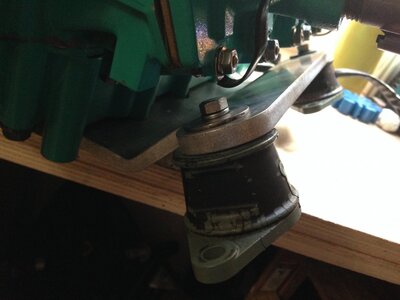
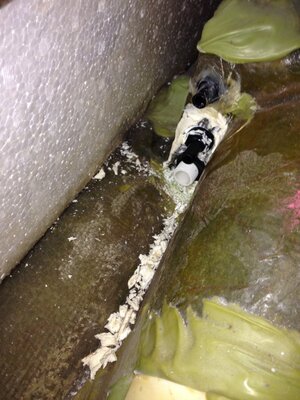
photo 1.JPG
 
Last edited:

ItsRixter

SoCal Wav Jumping shiznit
Location
Sunny Diego
I have storage racks mounted above my garage. I loop tie down straps on them to hold the motor. I put the motor on a barstool, then connect the tiedowns to the motor and start pulling it up. Then I remove the barstool and roll the hull underneath the suspended motor.

photo 2.JPG
 
Last edited:

ItsRixter

SoCal Wav Jumping shiznit
Location
Sunny Diego
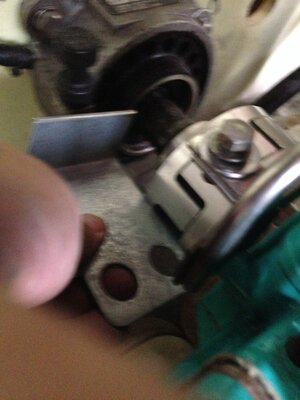
Before bolting everything together, put the motor where it should sit. You can finger tighten a few bolts. Now (without the coupler dampener in place) check for alignment of the couplers by using a straight edge at various points around the coupler. A credit card will work. You will likely need to shim the motor a bit for perfect alignment. Use shims on the front mount points between the motor bed plate (adapter plate) and the top of the motor mounts. Sorry for the fuzzy picture but you get the idea

photo 3.JPG
 

ItsRixter

SoCal Wav Jumping shiznit
Location
Sunny Diego
After you align the motor, you can slide it toward the front of the ski and install the coupler damper. Then slide it back and bolt it down.

photo 4.JPG

photo 5.JPG
 

ItsRixter

SoCal Wav Jumping shiznit
Location
Sunny Diego
Before you re-install the gas tank, install the steering cable loop/holder and the hood hinge

photo 7.JPG

Install the gas tank. Now that the motor and gas tank are in, you can install the hood.

photo.JPG
 
Last edited:
Top Bottom