Surfriding Rickter Evo 1 Build - Profound Dynamics / TC Freeride

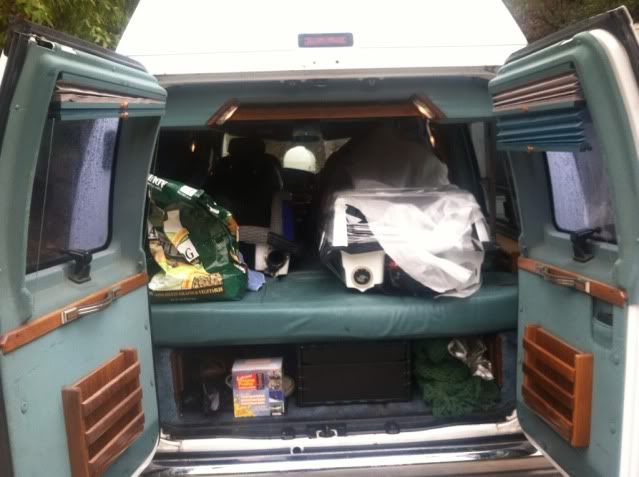
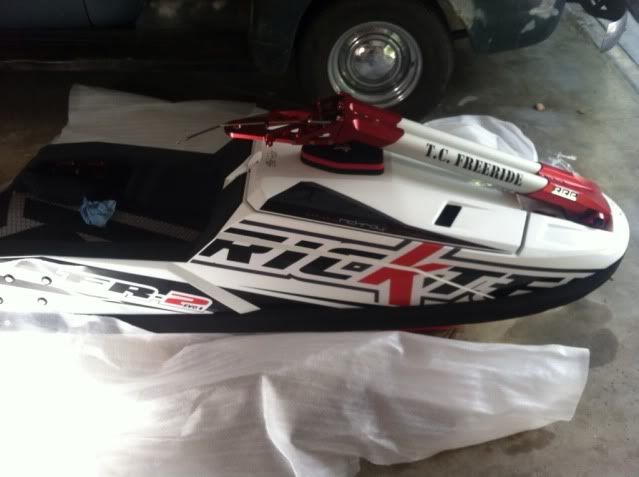
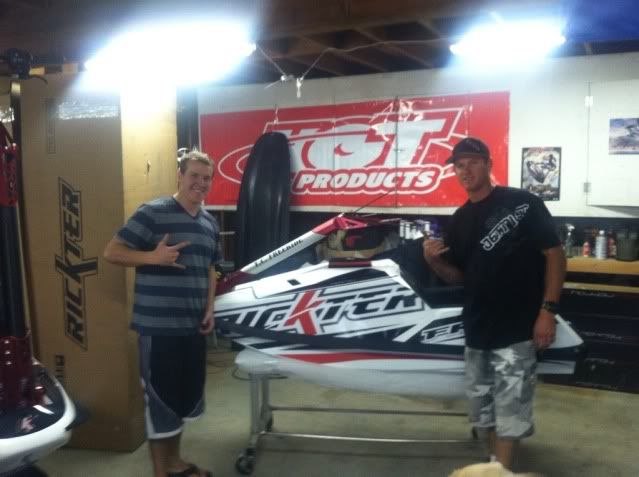
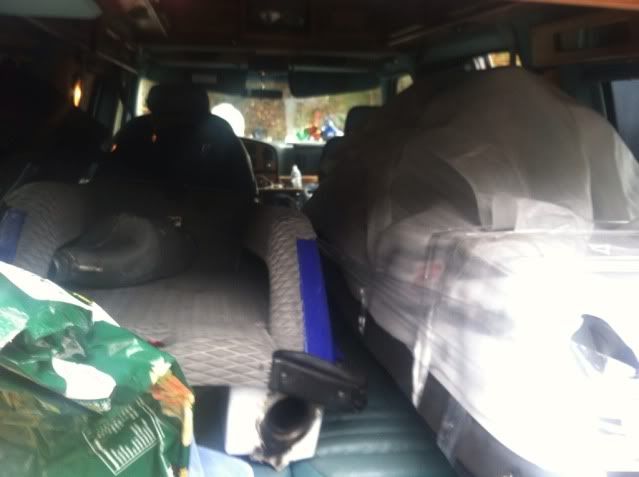
Last week I picked up an FR2 Evo1 from Taylor Curtis @ TC Freeride. He's a great guy to deal with, easy going, and got what I needed quickly.

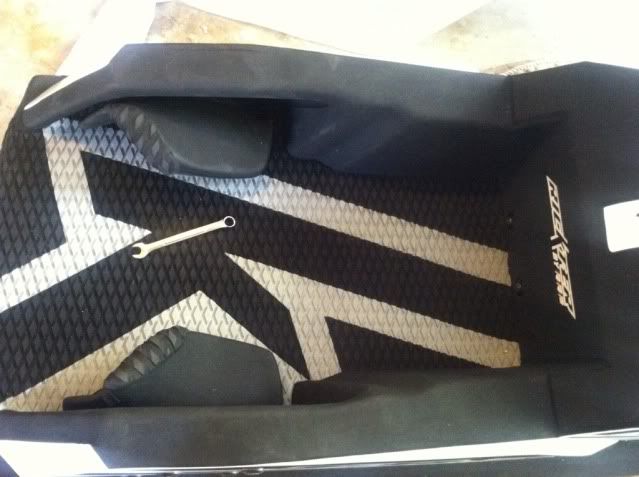
The hull is VERY clean, I have a hard time believe humans can produce something and have it be so exact. Every decal looks great and thus far I really have not ran into any problems.

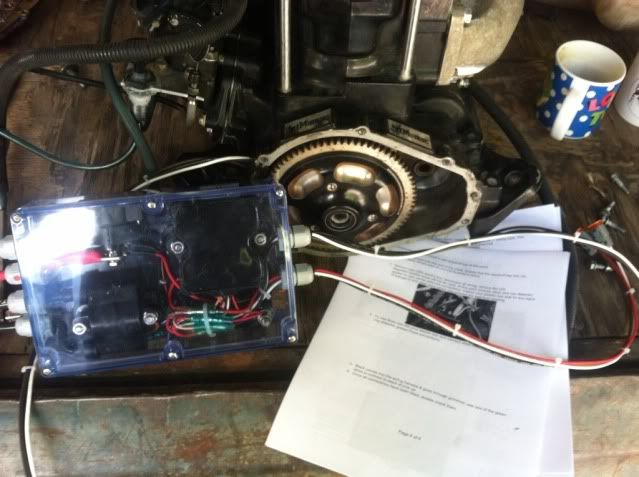
Im transferring everything from my existing superjet but getting rid of the cast pole and moving to billet, running duel tanks, Thrust Trim System and I had JSS redo my electrical box.

So Far for the evo, the only additional part I needed to purchase was a longer steering cable, SN length and everything else should transfer right over.
49BAF1DD-E71C-44E7-875F-AB180A93DBA7-7700-00000641143C7BBB.jpg


5D7F0ED3-0069-4390-BAE9-18E99160BC3E-1297-0000016EB5B2E9D1.jpg


FCCD5F6C-9448-43F4-B6F4-DD888B4F3202-1297-0000016EE556E4FC.jpg


DC0FFEF0-CC85-4D49-AF92-FC01EF2BB747-1297-0000016F08C95346.jpg


2D0931A6-9D40-4ACA-BBED-FC4D98627180-7700-00000641807B73E9.jpg


988DB031-5E68-4D57-9DCD-DE5E3C0F4899-7700-0000064162C4590A.jpg
 
Last edited:
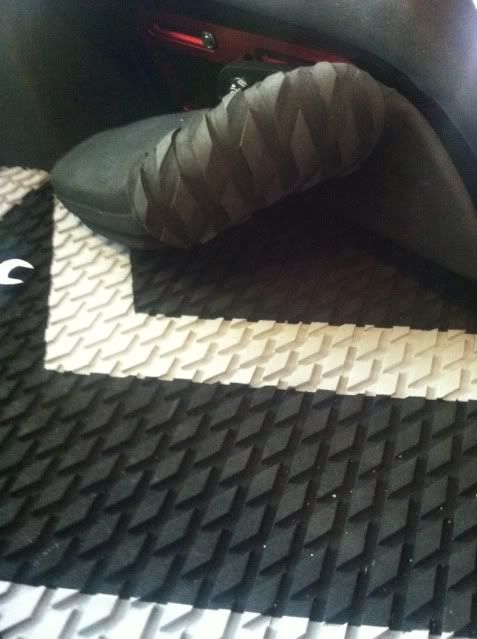
Rickter footholds always look super comfy to me.

Nice hull!

I never knew they were so versatile. Forward / Back, Up / Down, and you can angle them in which ever way you please high toe or high heal. The only thing they can't do is angle inward or out would which would be a little goofy anyways.

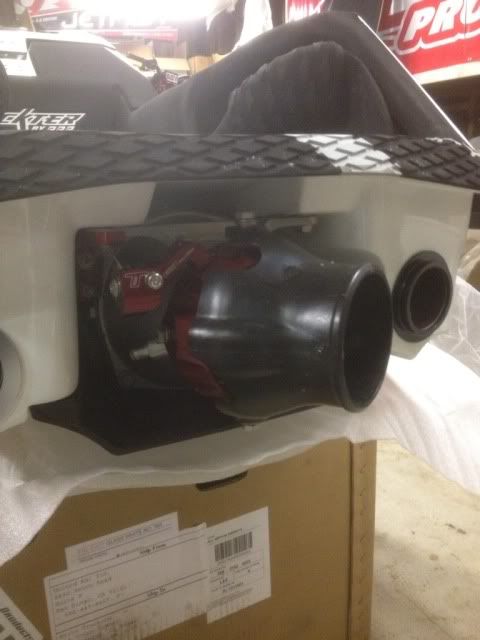
Pump is in. Super Easy with TC's instructions and video he included with the hull. I've never installed a pump shoe / pump from scratch and he gave me the confidence and assurance to do it. I think he sells the instructions too or free with purchase of hull.

F7F96586-B293-4B8C-BB39-CF62CA8F8407-1297-00000174990AD736.jpg
 
Last edited:
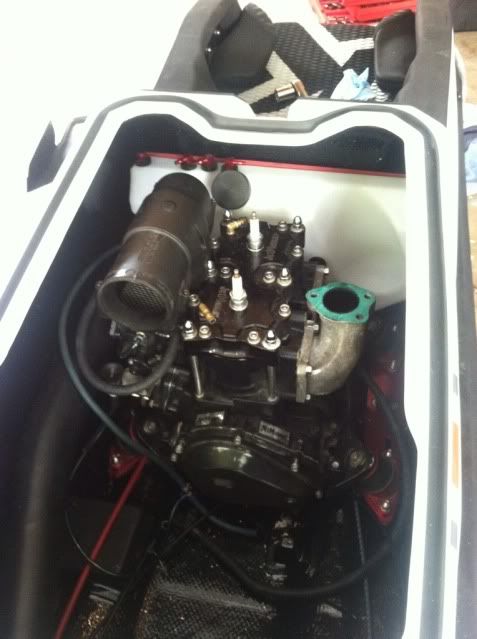
Rear fuel cell installed and engine aligned.

I intalled the motor mount bolts from the bottom WITHOUT REMOVING THE PLATE. This was the nut sits on top and easier to access. Otherwise this would be a PITA. With this rear tank, there isn't a whole lot of room to get your hands in down there.

The engine required NO SHIMS which I was stoked about. I had to pull the engine mounts inwards a little to raise up the engine. Pretty nice feature being able to do that.

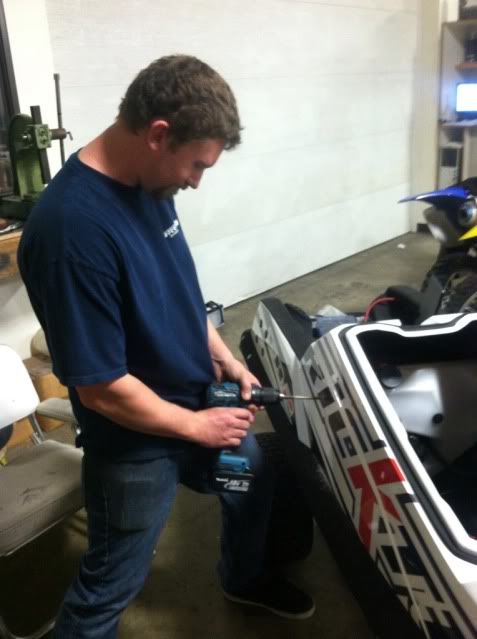
Next Step mounting the E-Box. Drilling holes in the side, EEEK!

A7989C03-401F-472F-9DD1-657E6B3FEA59-1297-0000018F314EDAB3.jpg
 
can you take some close up pics of the rear bond rails from the bottom and the top looking down... looks like your build is coming along well..be interested to see how the stock ebox turns out with the rear tank mod.
 
can you take some close up pics of the rear bond rails from the bottom and the top looking down... looks like your build is coming along well..be interested to see how the stock ebox turns out with the rear tank mod.

Will do, they have different rear sponsons that before.

I think I'm the first person to have the New Evo. Well, Kyle @ Dasa got one too. They were the first of the new batch and Air Freighted from Taiwan.

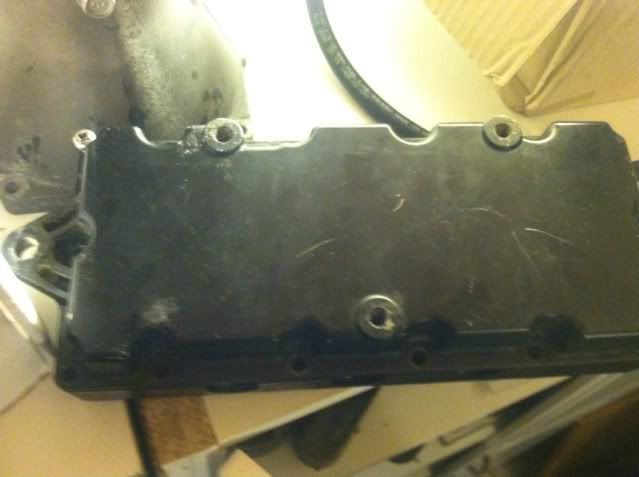
The tricky part is going to me mounting the Ebox so I can use my JSS e box and also be able to use the stock e-box if I switch ignitions or sell the hull.

JSS has four mounting points in the corners while the stock box has 2 mounting points on the side. Im going to have to be creative here.

883D8463-7DF7-4565-BAD2-34C12B6A0CF2-1297-00000190E4F3FE3B.jpg
 
Location
Off Site
Nice looking ebox, is it made of Lexan? Not sure where you are mounting the ebox, but you could mount it to the carb side of the hull and make a bracket that mounts to the motor mount assembly (longer bolts)? That ski looks sweet!!
 
Last edited:
i built a box just like that myself for a tl ign that had the coils in it as well,what you need to do if your worried about switching to the stock ebox later,take a alum plate and screw it to the back side of the aftermarket box and seal the holes well with 5200....then drill the plate out at the same widths as the stock ebox holes...this is how i mounted mine as well..

Its not just the sponsons that are diff in the rear,the bond rails are wider and angled more out,from what I saw at world finals, I rode taylors evo but didnt get any pics
 
Your ready for it....

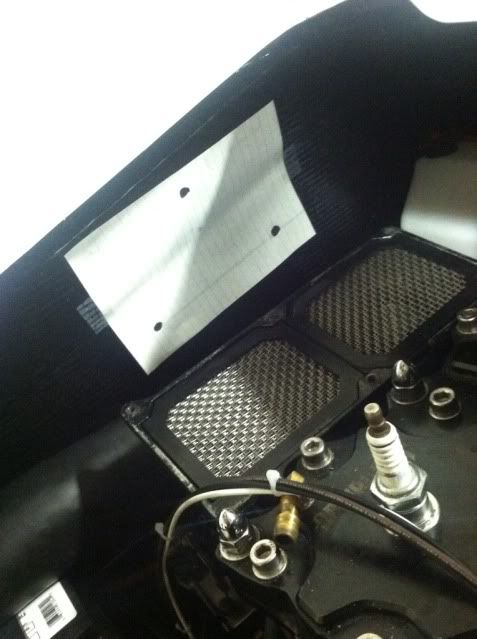
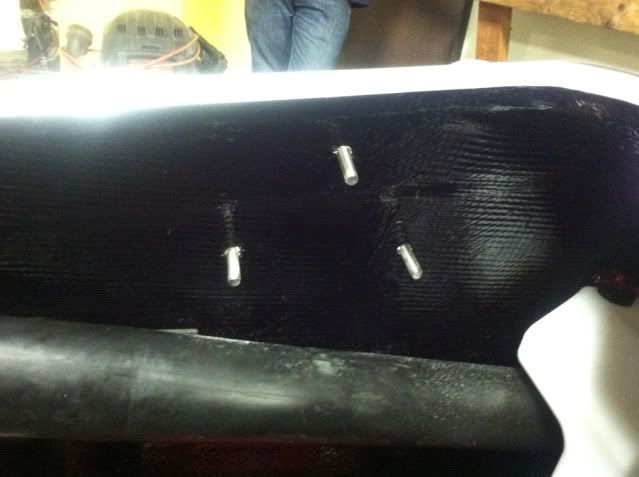
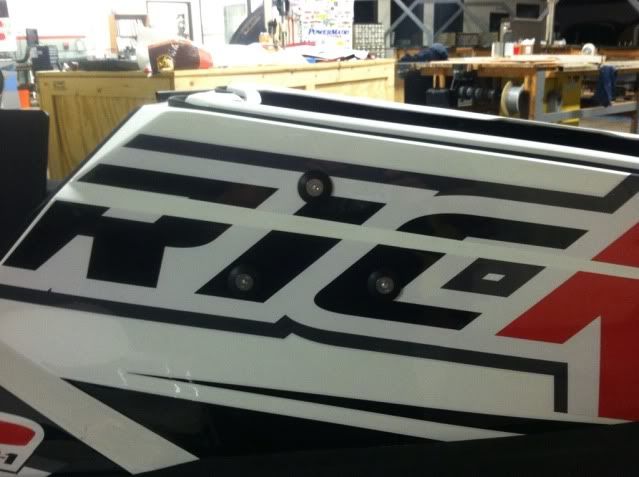
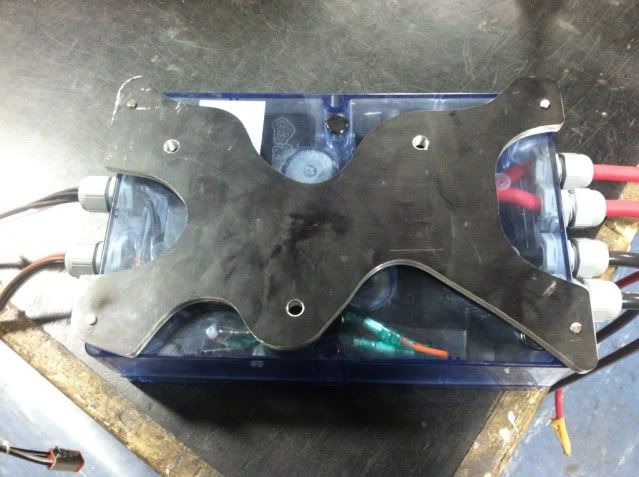
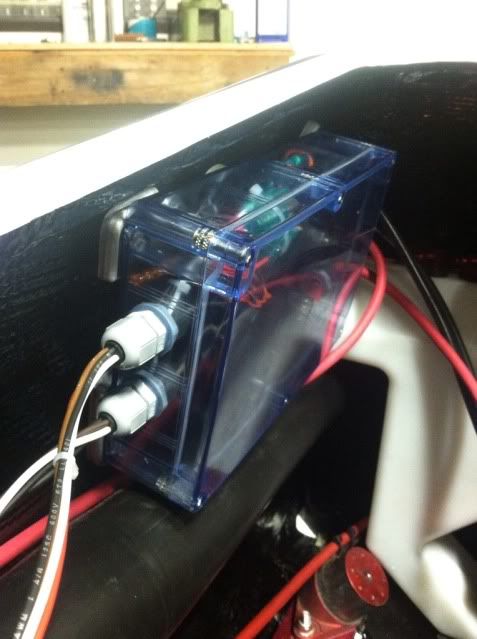
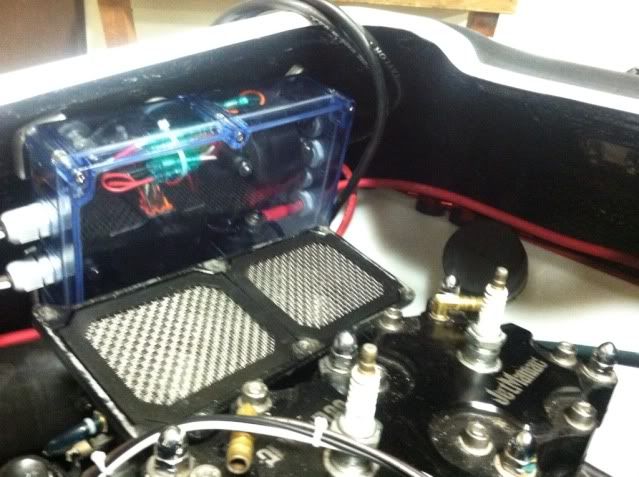
I decided to drill three holes, I know. I started to get a little crazy. I figured if I only did two hulls it would only protect the e box from side to side movement not up and down. If I'm going to do it, I'm going to do it right. The stock e-box has 2 mounting points from the box to the bracket, but 4 points from the hull to the bracket (2 on each bracket). I figured three should be good.

The Triangle design and measurements can from the back of a stock e-box this way I can switch back to a stock ignition system / e box and/or if I sell the hull, the new owner doesn't have three useless holes in the back of the ski.

The piece of billet is anodized but needs some finishing touches on the area's that were machines. It's tapped to accept the Lexan box in the 4 corners but also tapped M8 1.25 for the three holes. The billet is machined with rounded corners so there are ZERO sharp edges to cut any wires.

A tricky part to this was the hull design, the e-box isn't mounted on a flat surface. The top is narrower that the bottom. The hull is spaced with 1 rubber grommet on the top and three for the bottom bolts. The right side (where the e-box is mounted) is my barrel roll side so I want to make sure the e-box has plenty of side impact protection. The rubber grommets should give it a little protection and absorb shock to protect the hull, mounting points on e-box, and the components with on.

Big Props to my Boy Shaun Steezy doing the machine work.

50986837-B8EB-421F-9ECE-9A3EE163A19C-1297-0000019686498590.jpg


5F392DA4-37C8-4E6A-8498-977C64398363-820-000000668CF9E20A.jpg


75A09981-3A1E-4F51-9CBC-C7901D0B7782-820-0000006687D47E40.jpg


6894097B-4C9B-472A-B24A-1BEE69614064-820-0000006674089BA1.jpg


7CE89DAC-EAA3-4E38-B486-01EEB12BCFE4-820-00000066787AE397.jpg


356E2D3B-2DD4-4F83-AFAE-384E34D1584A-820-000000666D808961.jpg


1D5EEB93-B5D9-4FC0-9DC9-7ADEF002CED7-820-0000006668433171.jpg


F070E5B6-C3CE-423F-A67E-356C554B237D-820-000000665FA96A6E.jpg
 
Location
Off Site
Looks good, through bolts are a better choice, counter sink and some silicone and your good. Looks like you'll be riding soon. Good luck with the rest of your build.
 
Last edited:
Top Bottom