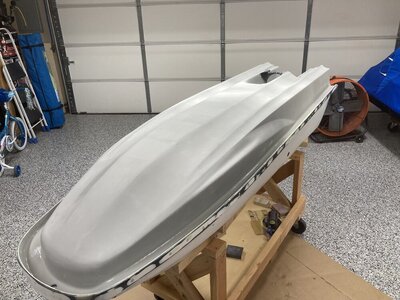
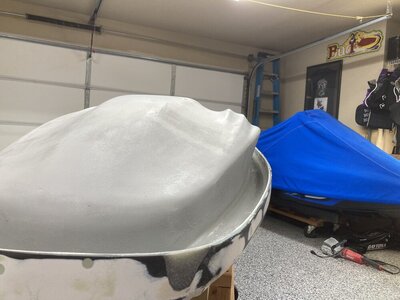
Smoofers' '90 SN Revamp

smoofers

Rockin' the SQUARE!!!!
Site Supporter
Location
Granbury, TX
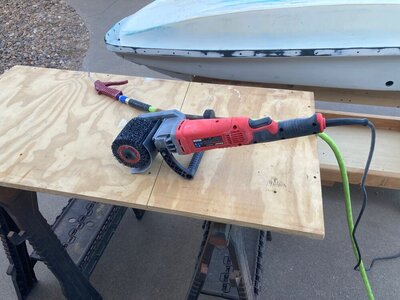
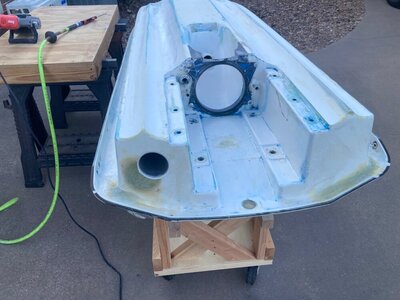
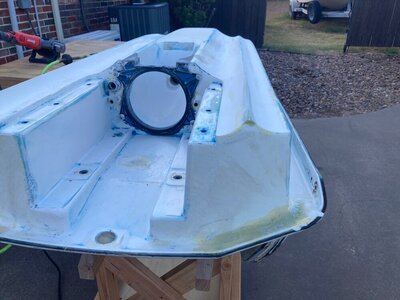
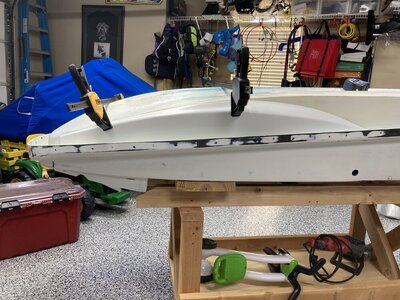
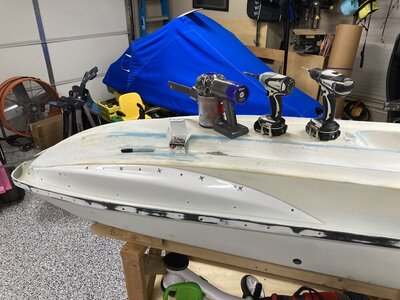
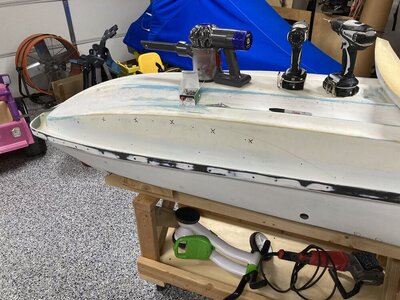
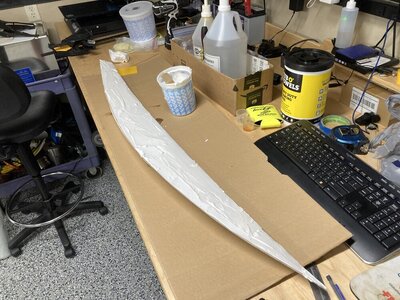
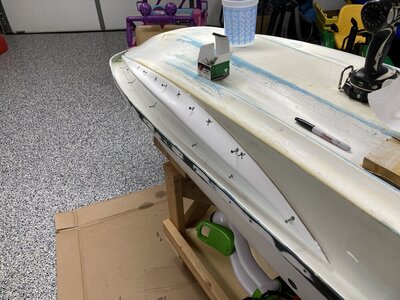
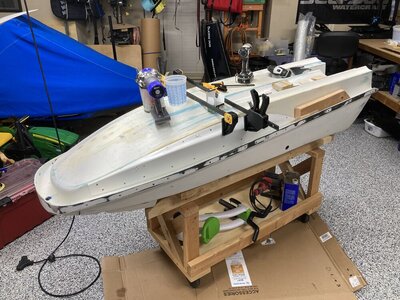
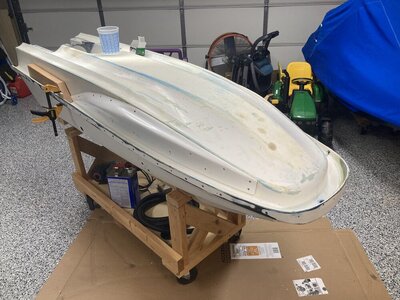
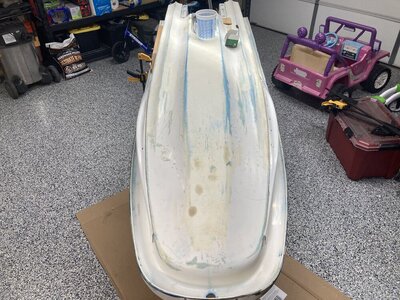
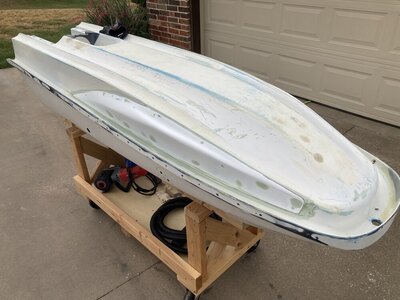
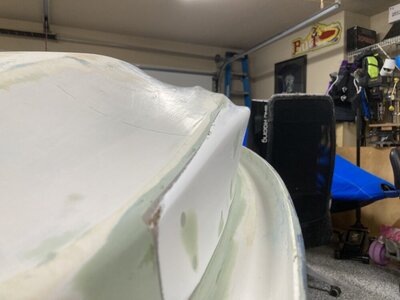
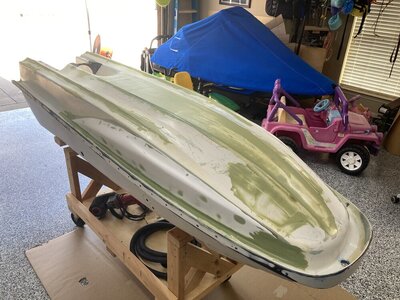
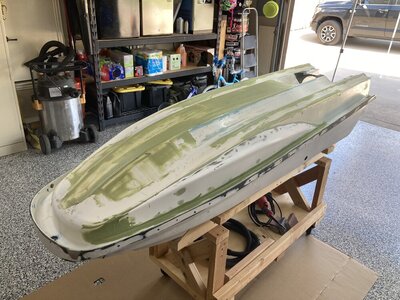
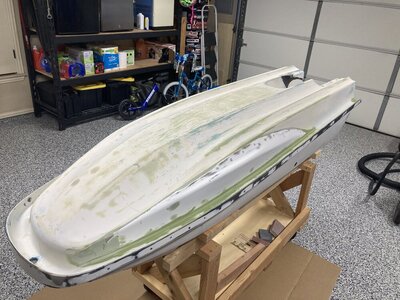
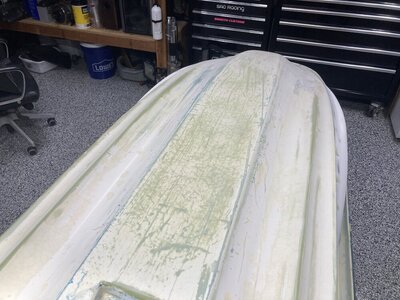
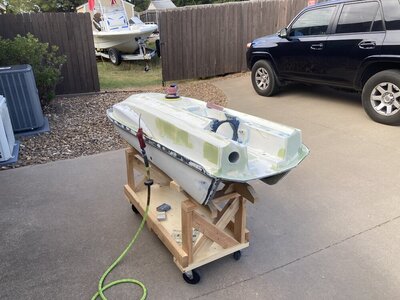
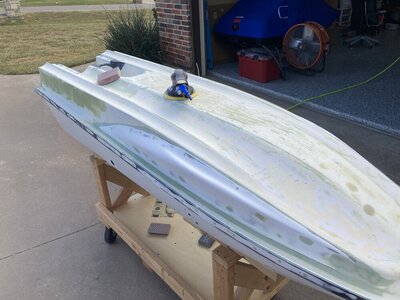
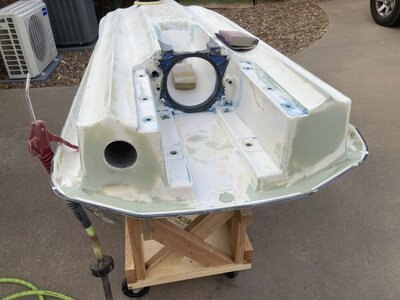
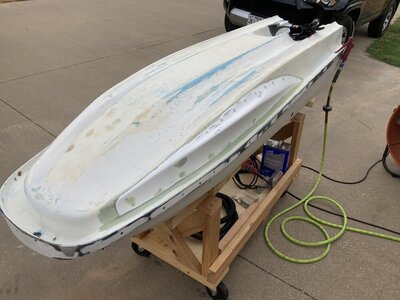
Small but game changing update in the build progress. With the tray finished I flipped the hull back over to work on the bottom. Full disclosure, I was procrastinating and didn't want to manually sand the strakes I had built back up with a generous amount of fiberglass. Originally I had tried sanding the profile with sand paper duck taped onto a length of 4" PVC. This process sucked.... and as a result the project languished. I'd been brainstorming ideas of how to sand the strakes via machine, and was inspired when Eastwood Fab came out with their surface prep tool a while back. Then Harbor Freight came out with one just recently! This weekend HF randomly sent me a "we miss you, here's a no restrictions 25% off coupon" email. $112 and no more than 10 minutes of labor later, the strakes' profile is sanded and is no longer holding up the build. This tool ROCKS! Looks like my build will start progressing again. I need to lay more glass.

IMG_5401.jpgIMG_5402.jpgIMG_5403.jpg
 

smoofers

Rockin' the SQUARE!!!!
Site Supporter
Location
Granbury, TX
Quick update. Laid more glass on the port strake and sanded it to rough shape. Repaired a giant crack in the nose lip. Didn’t show the first layer of glass. Feels good to actually progress on this again.

BF5F233A-1310-4B9A-9C5B-2A84C258AB5C.jpeg5809694B-917C-4388-9469-ABAFA1AF6F0C.jpeg
A982D95C-558F-43BB-86DC-281A114D08F1.jpeg
B846D84B-5665-4675-A6BC-26E05BDB88CC.jpeg
 
Last edited:

smoofers

Rockin' the SQUARE!!!!
Site Supporter
Location
Granbury, TX
Finally started installing my Tom21 sponsons. Below is the test fitting process. Tom was great and helped me position them over email.

DECFF39E-C145-4C5E-B97F-480CB96A6A93.jpeg

One thing I learned the hard way is to use #8 screws to install them. I tried #10 screws at first and the countersink kept breaking through the glass on the sponsons before I got deep enough. The "X's" I've marked out are my f-up holes. Oh well, it's just fiberglass and I'll fill the and fix 'em.

AC7CCF40-05B7-41AB-A0F5-255B486D498F.jpeg

Holes predrilled and now I go back and prep the surface for bonding by sanding with 40 grit and then blowing with air and wiping down with acetone.

A6FB0676-7751-4176-B821-AA8F33E6F569.jpeg

Used epoxy thickened with micro balloons. I used a generous amount to fill any gaps.

72DD73D0-65E2-4728-A137-1F36EA50087D.jpeg

Pre-threaded my screws then started tightening them down from the center outward on both sides. Like torquing a head.

C074EB8A-5198-4C58-9FAE-0C2C65852C24.jpeg

I ended up adding a few more screws and then backed it up with some clamps to make sure I had total contact.

D51B4C66-E9AF-45CE-9823-24CD1D584D77.jpeg

The second side went twice as quick as the first, now that I knew what I was doing.

4C751E49-255C-45F8-8133-B14C0B00AEF7.jpeg179EAF29-2881-4851-B6A3-4D1E312FD800.jpeg


Now I gotta blend them to the hull. Then I'll fair the bottom and primer it next. :)
 
Last edited:

E350

Site Supporter
Location
Sacramento Delta
I want to personally thank you for the great photos and installation description.

I have two sets of Tom21 sponsons to install which I have had for a year.
Your thread will help.

Question: Did Tom suggest using epoxy thickened with micro balloons?
 
Last edited:

smoofers

Rockin' the SQUARE!!!!
Site Supporter
Location
Granbury, TX
I want to personally thank you for the great photos and installation description.
I have two sets of Tom21 sponsons to install which I have had for a year.
Your thread will help.
Glad I could help. I was in the same boat as you and tried really hard to find as much info as I could regarding the install. There's not much out there, sadly. To add to the above, if you use similar screw locations as me, #8 x 1.5" flat head stainless screws worked great. I found that the best way to not go too deep with the countersink was to bump it into the hole multiple times to keep track of how deep I was going. Even doing that I still broke through in a few spots. At that point all you can do is cuss and make new hole knowing you'll have to fill the busted one. Also, I forgot to add that I babysat each sponson for about an hour after screwing them down after applying the epoxy. As it cures it keeps spooging out of the edges and I kept wiping it off with my finger tip until it stopped. Should cut down on sanding in the long run.

Edit: I realize I didn't answer the question about epoxy recommendations. Tom recommends either 5200 or thickened epoxy. Cabosil or micro balloons will fit that requirement.
 
Last edited:

smoofers

Rockin' the SQUARE!!!!
Site Supporter
Location
Granbury, TX
Sanded the filler this morning and it was not fun. Ideally you should sand it after 3 -4 hours, I let it cure overnight since I applied the filler yesterday afternoon and evening. The longer it cures the more fun it is to sand. I hand sanded the whole shebang as the contours and confinement didn't allow for any type of machine sanding. Last pic shows how the sponsons meet up with the chine after the filler. Still have a few spots to put more filler on and sand.

5DDC9274-1E34-4BE6-BA44-8985F767C320.jpegB404B5DC-4CA9-44BF-AC33-164EDCF2A870.jpeg252DE785-5800-4185-AAED-4EE01149C8A7.jpeg
 
Last edited:

smoofers

Rockin' the SQUARE!!!!
Site Supporter
Location
Granbury, TX
More filler and more sanding. I hate sanding. The best technique I've found lately is to put up an ez-up, point my big fan on high at myself, and turn on a podcast. Then I just go as long as I can.


A617C3CC-D99C-440F-B736-D27BAE75A99D.jpeg9B9D1654-2131-4941-AA7A-CE39D1A39F12.jpeg48DC5020-A3A0-44CE-84A6-0000DA78BF5D.jpeg

This last pic shows how jacked up the bottom of the hull was. It is buttery smooth to the touch now, but the filler shows all the gouges and scratches that were present.

5AE1F749-0FCE-452C-9723-77D2A9D5B6AB.jpeg
 

smoofers

Rockin' the SQUARE!!!!
Site Supporter
Location
Granbury, TX
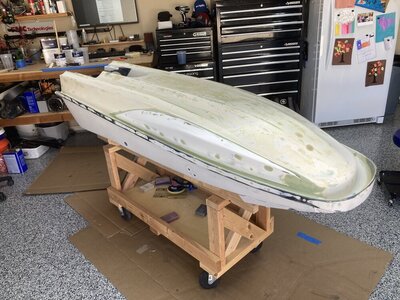
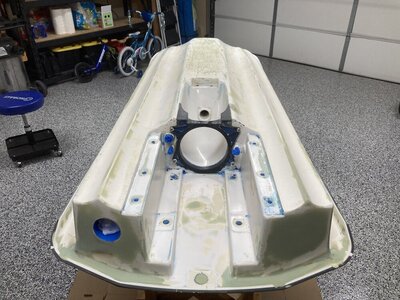
Even more progress. More filler and more sanding. I had a long weekend with the wife and kids out of the house so my goal was to get the bottom in primer before they got back. I ended up filling more scratches and divots between the keel and the strakes. None of that filler is shown as I had painstakingly sanded it down prior to taking pictures. I also as finished out the transom areas to pretty it up.IMG_5760.JPGIMG_5761.JPGIMG_5762.JPGIMG_5764.JPGIMG_5766.JPG

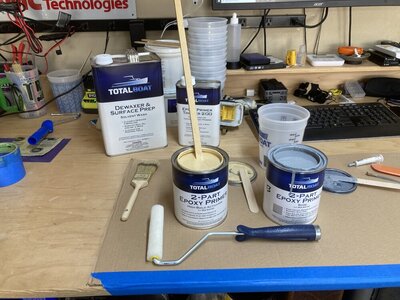
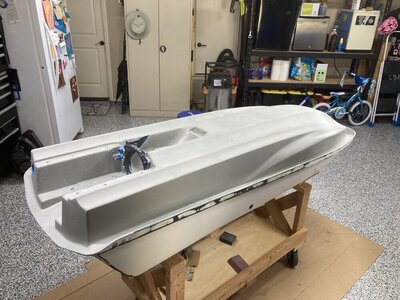
The last picture above is just prior to priming. I used Totalboat high build epoxy primer and applied it using a roller and brush. This stuff is a bit tricky to work with and if I had to do it all over again I would have gone with the standard and not the high build. Either way, my body work paid off and I didn't really need the high build. Next step will be to sand the primer smooth with 220 grit, then I'll flip the ski and start working on the engine bay and top deck.

C836F33E-A3DF-4FD7-8380-15BEB05EBEDB.jpeg

IMG_5767.JPGIMG_5768.JPGIMG_5769.JPG
 
Last edited:

Myself

manic mechanic
Location
Twin Lakes AR
Oh......I totally get it! My son is now 25 and out of the house and I JUST NOW am starting to find time for old projects.
 
Top Bottom