F
Freestyleriverrat
Guest
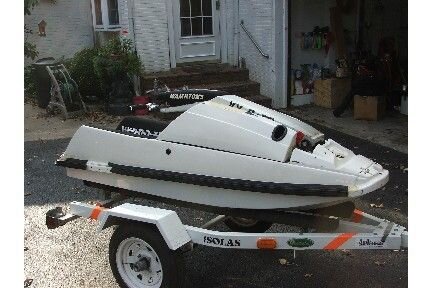
Well I was in the process of getting an X-jet hull but I'm not getting as much back from my taxes as I anticipated so I am not ordering the hull until mid summer.....no big deal. I kept figuring stuff out and on top of the hull I needed to get allot of small misc stuff that would would just set me over my budget. Plus I want to compete in Amateur freestyle this season and can't do it on an aftermarket hull. The x-jet project is still on b/c my hood is starting to crack in a couple spots, I don't want to spend the cash on an aftermarket hood and of course I still want an x-jet :Banane01:
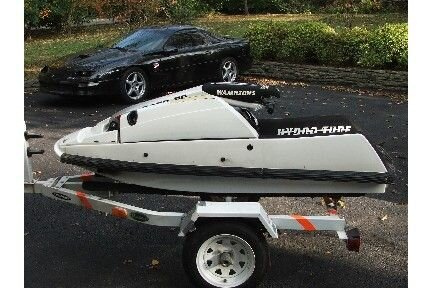
So here is a list of the current mods:
Hull & Handling:
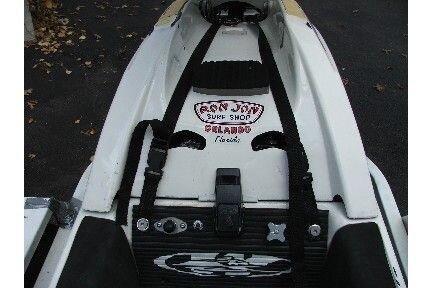
Cyclone Footholds
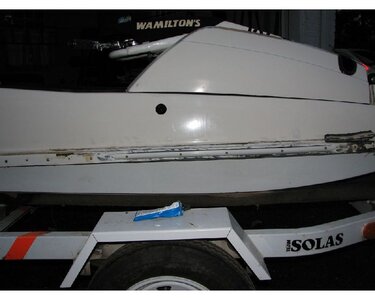
24/7 scupper
Shortedned Protec ride plate
Worx intake grate
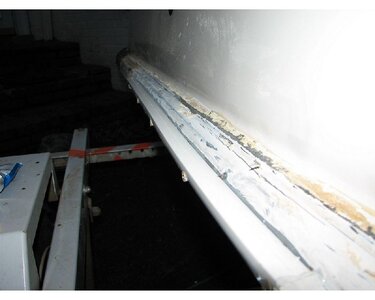
Turfed rails
Chopped Aluminum handlepole 2 in
-1 Blowsion turnplate
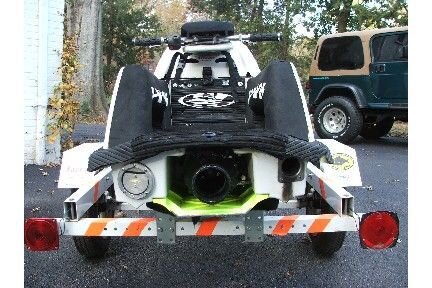
Dual Exhaust
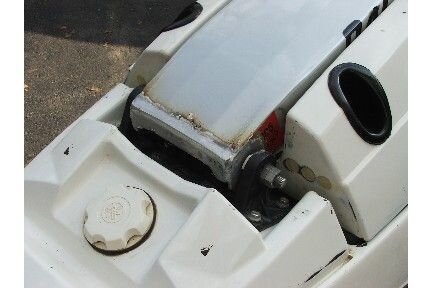
Modified hood (filled in intakes, blowsion drop in handholds, homemade hood liner, repositioned intakes and drainage)
24/7 hood straps
Protec trim system set up for freestyle
UMI finger throttle
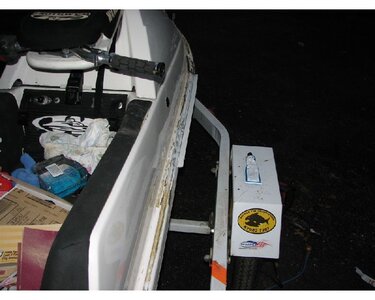
Dual bilge pumps on homemade mounting bracket
Dual cooling lines installed
650 motor (2005 season):
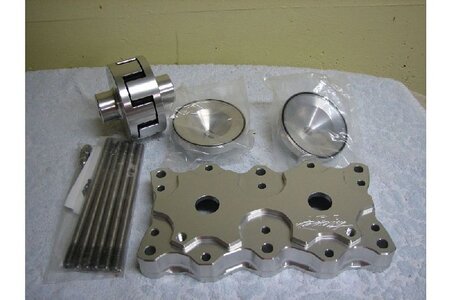
Protec recreational head
Cylinders ported by group K for mid-top end power
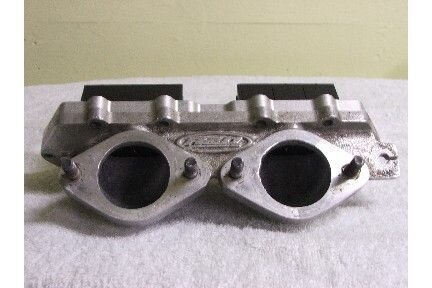
DG Performance Keihin CDKII pumper 38mm carbs
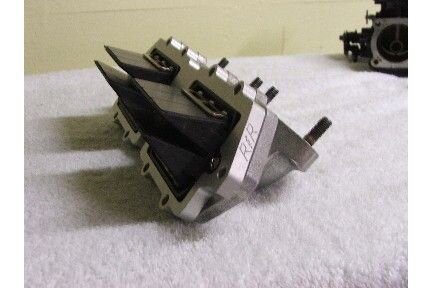
FMF ram valves
Full pro-tec F-series exhaust w/ matching manifold
Water bypass setup
Factory pipe aluminum waterbox
Stainless impeller (I forget the pitch)
2005 650 motor additions (will go on the 701 motor)
MSD enhancer ignition
Flywheel lightened by Pro-tec
Jetskisolutions rebuilt stator coils and upgraded plug wires
Jetskisolutions stator bolts and washer
Prok flame arrestors and prefilters
Dual cooling
Stubby cone
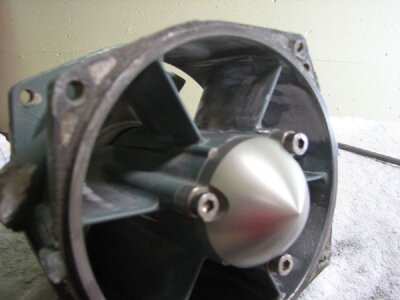
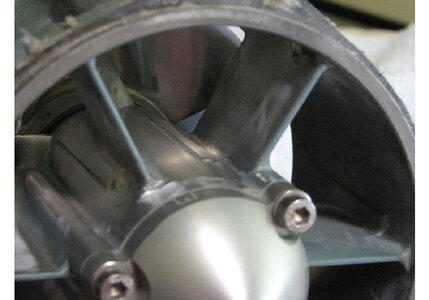
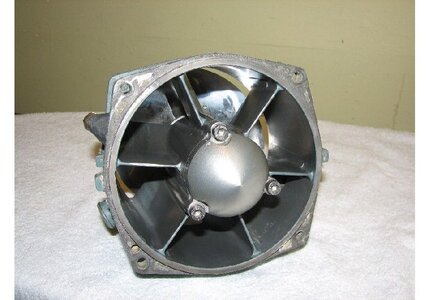
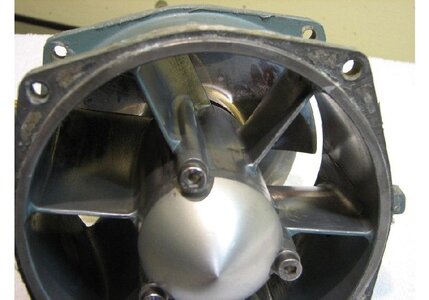
Solas concord impeller
So here is a list of the current mods:
Hull & Handling:
Cyclone Footholds
24/7 scupper
Shortedned Protec ride plate
Worx intake grate
Turfed rails
Chopped Aluminum handlepole 2 in
-1 Blowsion turnplate
Dual Exhaust
Modified hood (filled in intakes, blowsion drop in handholds, homemade hood liner, repositioned intakes and drainage)
24/7 hood straps
Protec trim system set up for freestyle
UMI finger throttle
Dual bilge pumps on homemade mounting bracket
Dual cooling lines installed
650 motor (2005 season):
Protec recreational head
Cylinders ported by group K for mid-top end power
DG Performance Keihin CDKII pumper 38mm carbs
FMF ram valves
Full pro-tec F-series exhaust w/ matching manifold
Water bypass setup
Factory pipe aluminum waterbox
Stainless impeller (I forget the pitch)
2005 650 motor additions (will go on the 701 motor)
MSD enhancer ignition
Flywheel lightened by Pro-tec
Jetskisolutions rebuilt stator coils and upgraded plug wires
Jetskisolutions stator bolts and washer
Prok flame arrestors and prefilters
Dual cooling
Stubby cone
Solas concord impeller