Squarenose Project Back ON!!

F

Freestyleriverrat

Guest
24/7 nose and internal fuel fill came in today. Looks great and is nice and thick......won't be breaking that thing.....hopefully. Also got a 24/7 plate from Slymo......thanks
 

Attachments

  • thumb2.jpg
    thumb2.jpg
    104.9 KB · Views: 80
  • thumb3.jpg
    thumb3.jpg
    65.9 KB · Views: 83
  • thumb4.jpg
    thumb4.jpg
    78.5 KB · Views: 113
  • thumb1.jpg
    thumb1.jpg
    83.3 KB · Views: 109
  • IMG_0254.JPG
    IMG_0254.JPG
    89.4 KB · Views: 89
Last edited by a moderator:
F

Freestyleriverrat

Guest
Modifying Blowsion front exhaust to look cleaner. I'll just update the pics as it progresses. First pic is how it was, the succeeding pics show the progression of the exhaust. Just as a note......if you have a squarenose SJ you will have to make a custom T-fitting or modify the one in the kit. The 96-present uses a different size exhaust hose. Below is the one I had fabed up out of stainless.
 

Attachments

  • IMG_0138.JPG
    IMG_0138.JPG
    42.3 KB · Views: 69
  • IMG_0139.JPG
    IMG_0139.JPG
    43 KB · Views: 64
  • IMG_0220.JPG
    IMG_0220.JPG
    74 KB · Views: 88
  • IMG_0219.JPG
    IMG_0219.JPG
    45.3 KB · Views: 55
  • IMG_0222.JPG
    IMG_0222.JPG
    79.4 KB · Views: 71
Last edited by a moderator:
Freestyleriverrat said:
Finshed the nozzel as well. Started out at about 81.75-82.0mm and ended up at 83.67mm (measured vertically) and 83.76 (measured side to side).....so for a dremel it is pretty close. This is not as thick as a aftermarket nozzel so I did not want to bore it out much more, plus I'm running a stubby cone so I kept it just under 84mm as opposed to my original target of 84.25mm.

i just got my dremel extensiontoday to work on my pump and nozzel . what bit did you use on the nozzle ?
 
F

Freestyleriverrat

Guest
Paint

Bottom Deck PPG Honda "Nighthwak Black Pearl"

Top Deck PPG Custom Mix "Copperhead" from the show trucks Project Copperhead

The pics don't do the black pearl justice but it has a very slight blue pearl to it. It does not pop like the copper but looks nice up close.....I may have to do some of that on the hood.
 

Attachments

  • IMG_0245.JPG
    IMG_0245.JPG
    119.2 KB · Views: 84
  • tk0503-02200x125.jpg
    tk0503-02200x125.jpg
    10.1 KB · Views: 132
  • IMG_0248.JPG
    IMG_0248.JPG
    79.1 KB · Views: 58
  • IMG_0249.JPG
    IMG_0249.JPG
    71.2 KB · Views: 81
  • IMG_0251.JPG
    IMG_0251.JPG
    76.9 KB · Views: 92
Last edited by a moderator:

2lick

Brap!!!
Location
Limerick, PA
Sweet colors man. All the paint I used was PPG some omni line and some deltron I bilieve. It sprayed great. Oh yeah a little trick I learned, keep the floor wet where your spraying. It helped knock down the amount of dust in the air.

Good Luck!!!
 
F

Freestyleriverrat

Guest
Pressure washed the hull after ruffing up the surface. Also trimmed the lip of the front nose so I can grab ahold of it more easily. Went around the lip with a sander b/c I kept cutting the sh** out of my hads last season when I would grab under the rail. Trimming the nose makes the ski look a little sleaker and IMO feels better b/c it now fits in our hand.

Pics with the rubber nose are a comparison.
 

Attachments

  • IMG_0255.JPG
    IMG_0255.JPG
    90.3 KB · Views: 98
  • IMG_0257.JPG
    IMG_0257.JPG
    46.1 KB · Views: 70
  • IMG_0256.JPG
    IMG_0256.JPG
    56.9 KB · Views: 83
  • IMG_0258.JPG
    IMG_0258.JPG
    76.7 KB · Views: 76
  • IMG_0259.JPG
    IMG_0259.JPG
    101 KB · Views: 114

IceRocket1286

Site Supporter
Location
Metro Detroit
How copme you bought a nosepiece instead of glassing yours together? It would have been cheaper ands easier, and if it blew off THEN you could buy a new one lol.

Just wondering, and nice choice of colors!
 
F

Freestyleriverrat

Guest
IceRocket1286 said:
How copme you bought a nosepiece instead of glassing yours together? It would have been cheaper ands easier, and if it blew off THEN you could buy a new one lol.

B/c my stock nose is on the bottom of Klinger Lake :) That thing was rivoted on....guess it was not on good enough. One sub and it was gone.
 
F

Freestyleriverrat

Guest
BAM!!!!! Now we have the power :woot: More pic will follow when I start putting it all togather. Carbs shipped today as well. It's all finally comming togather.
 

Attachments

  • IMG_0260.JPG
    IMG_0260.JPG
    65.9 KB · Views: 87
  • IMG_0261.JPG
    IMG_0261.JPG
    80.9 KB · Views: 86
  • IMG_0265.JPG
    IMG_0265.JPG
    61.3 KB · Views: 90
  • IMG_0266.JPG
    IMG_0266.JPG
    69.1 KB · Views: 94
  • IMG_0267.JPG
    IMG_0267.JPG
    73.3 KB · Views: 91
F

Freestyleriverrat

Guest
I know I am taking allot of pics durring this build and progress is a bit slow at times but I wanted to document things for my files and I'm just sharing along the way.

Worked on installing the electronics and flywheel tonight. All 6M6 electronics off my 650 motor.

-JSS SS stator screws and washers installed
-Rebuilt stator last year (done by JSS)
-MSD enhancer
-Pro-tec lightened stock 6M6 flywheel
-Cleaned up the flywheel cover

??? Its not all buttoned up yet, should I run timing advance in conjunction with the MSD enhancer?
 

Attachments

  • IMG_0277.JPG
    IMG_0277.JPG
    70.5 KB · Views: 76
  • IMG_0273.JPG
    IMG_0273.JPG
    76.9 KB · Views: 93
  • IMG_0278.JPG
    IMG_0278.JPG
    67.4 KB · Views: 64
  • IMG_0281.JPG
    IMG_0281.JPG
    76.7 KB · Views: 72
  • IMG_0284.JPG
    IMG_0284.JPG
    81.7 KB · Views: 71
Last edited by a moderator:

eschberg

Boycotting Winter.
Location
San Marcos, TX
Freestyleriverrat said:
Paint

Bottom Deck PPG Honda "Nighthwak Black Pearl"

Top Deck PPG Custom Mix "Copperhead" from the show trucks Project Copperhead

The pics don't do the black pearl justice but it has a very slight blue pearl to it. It does not pop like the copper but looks nice up close.....I may have to do some of that on the hood.


Man, I was going to redo my ski with that exact paint scheme next summer. Im dying to see how your's turns out.
 
F

Freestyleriverrat

Guest
SuperJETT said:
No, not at all.

I didn't think that would be a good idea. So only advance a a ski with an OEM cdi. As far as the temp sensor that was mounted to the head, I jut need to cut that off and seal up the box right?
 
F

Freestyleriverrat

Guest
Cost Break Down

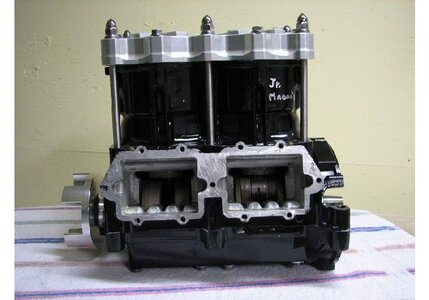
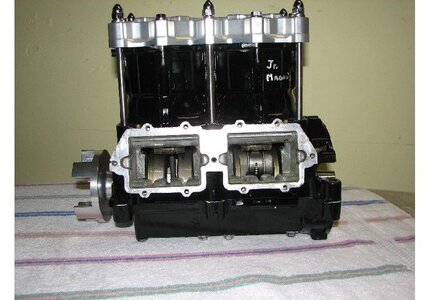
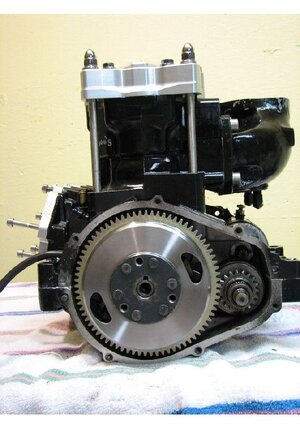
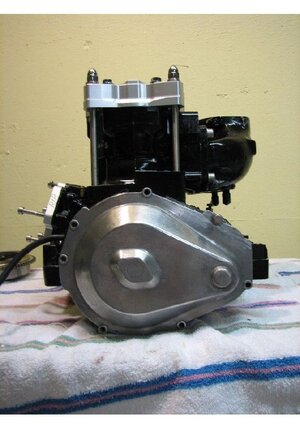
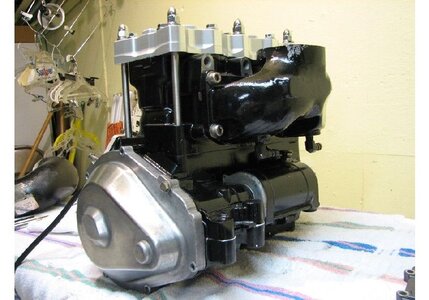
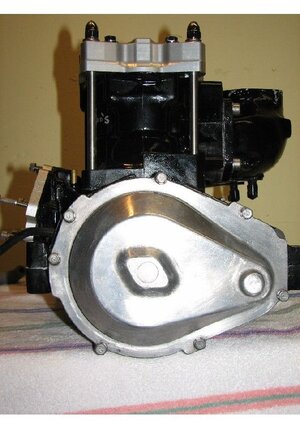
Some guys on PWC were asking me to post this to help people plan their builds. I don't have all the info exactly b/c I have been buying parts for this motor over the last year, so some things I will need to go off memory. Some parts I got deals on others I paid to much for b/c I changed my mind on what I was going to run. This would have been allot cheaper if I just built up an existing 701, but I went from a 650 to a 701. This is also not all out of pocket funds, I parted out the modded 650 motor and got about 1000 from all that.

*ADA head/ 33cc domes and hardware.......................340.00ish
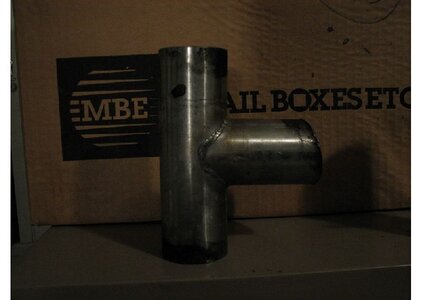
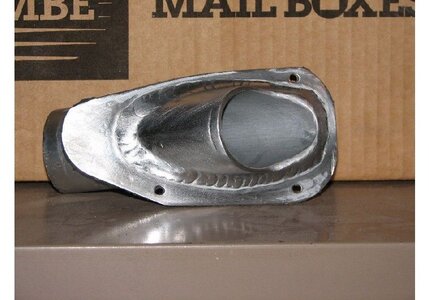
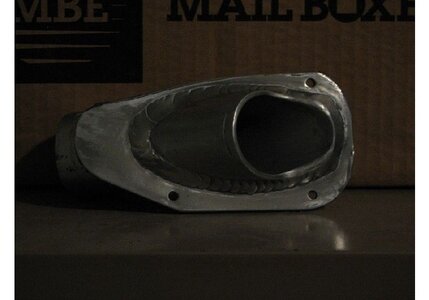
*B-pipe with mod chamber and water injection.............450.00 (I'm not running the water injection)
*New Hot Rods Crank............................................. ..350.00
*62T cases............................................. ...............180.00
*61x cylinder.......................................... ................90.00
*Riva Couplers.......................................... ..............100.00
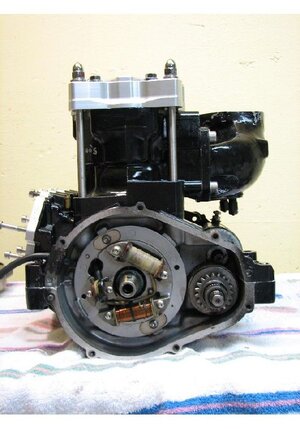
*Lightened flywheel service by pro-tec........................50.00
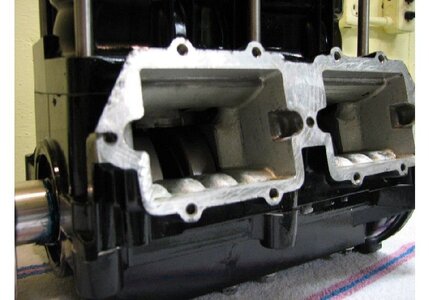
*F/S porting........................................... ................350.00
*Case porting and epoxy filling...................................450.00
*Materials to blueprint pump......................................16.00
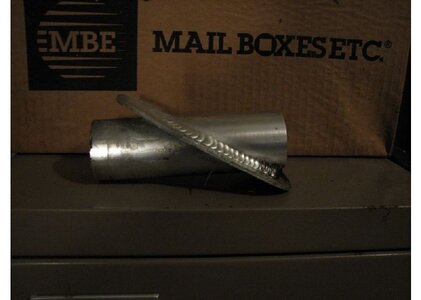
*Stubby cone.............................................. ...........50.00
*Used Riva manifold.......................................... .......60.00
*Stock carbs w/ stock cages, manifold, boyesen reeds and reed stuffers.......................................... .......................250.00
*V-force reeds (bought from a racer that had 1 race on them)............................................. ......................124.00
*Wiseco Forged Piston Kit........................................249.54
*Cylinder boring............................................ .........110.00
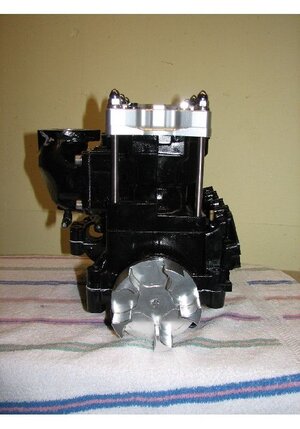
*Motor Assembly and Pressure test............................190.00
*JSS Complete carb rebuild (new jets, all SS screws internal and external, UMI throttle wheel, blast and re-epoxy coat, porperly shimm and mount to R&D manifold, billit mixture knobs ect.....not taper bored!! He may have done some more stuff, I pretty much told him to do the whole 9 yards on them).................................411.00

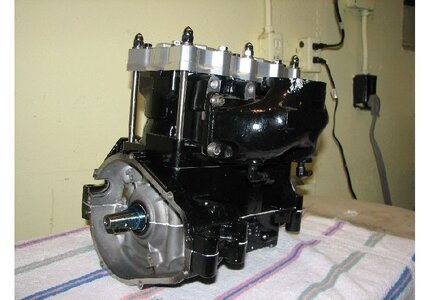
Total Motor Stuff thus far........................................3820.54

Minus $$ from parting out 650..................................1000ish

Shelled out $$..............................................ab out 2500.00

Hope this helps some of you guys and gals build you boats. In retro spect........just buy a ski with a 701 and you will save a crap load of money. Honestly iy probably would have been more cost effective to sell my 650 and buy a roundnose sj....but then again I have allot of time and $$ in the hull as well and it was handling great last year, just needed more power. I think you guys can get the idea of why I am not getting my X-jet this year :) Doing the complete motor was in my plans but replacing the tranfercase in my Jeep and getting 1/2 back from my tax return was not :(
 
Last edited by a moderator:
F

Freestyleriverrat

Guest
IceRocket1286 said:
damn jeeps

No joke.........1200-1300 w/ a slip yoke eliminator on it. Thankfully I can drive it, only the 4wd does not work right. Oh-well it has 150,000 miles on it something was bound to go out. The motor and tras were replaced by the previous owner..........and they only have 3000 miles on them so I guess I'll have a new drive train when I'm done. :ugh2: :nutkick: :drive:
 
Top Bottom