chriselmore_1
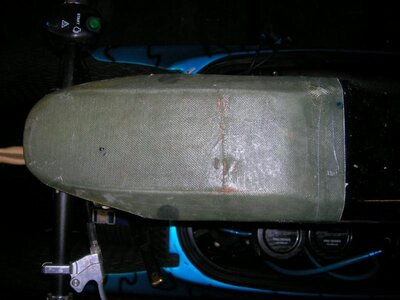
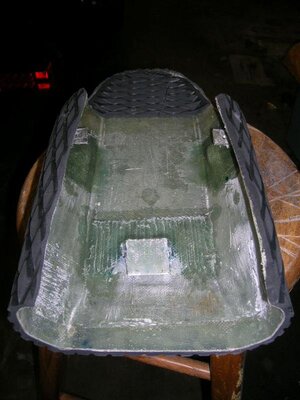
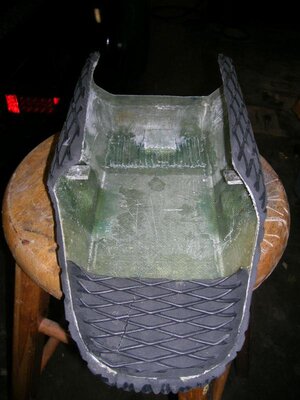
high on resin
- Location
- san jose ca
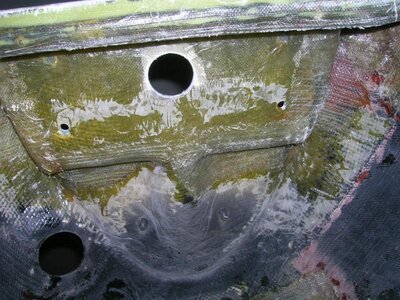
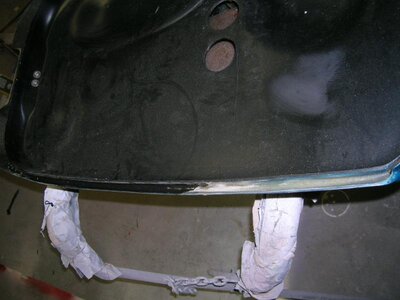
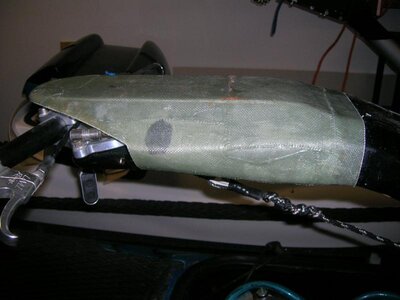
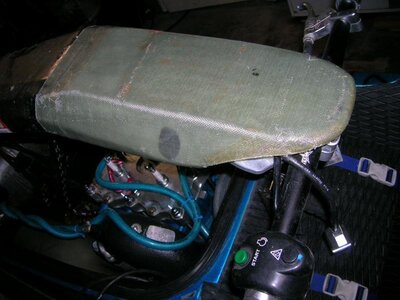
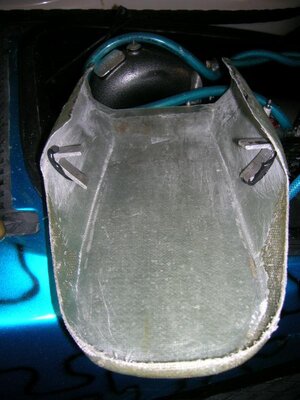
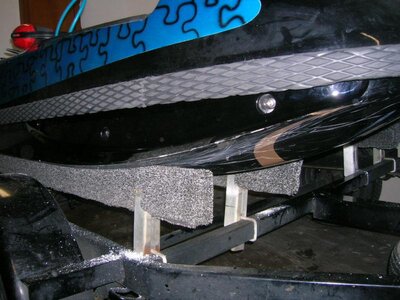
sweet! Not sure eich boat I'll be riding there... But I wuld deff add some glass in the bracket area. One of the biggest stress points on a boat imo
do the glue in inserts stay glued in?
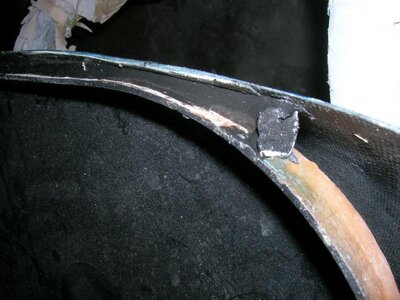
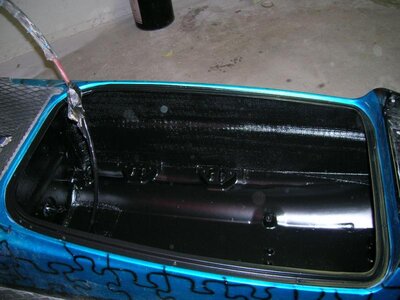
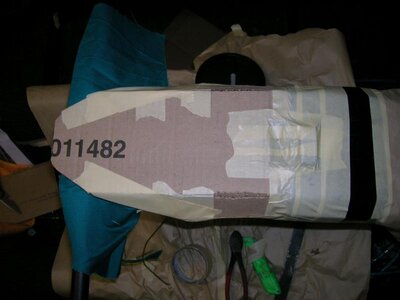
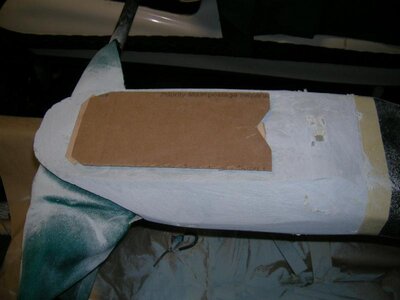
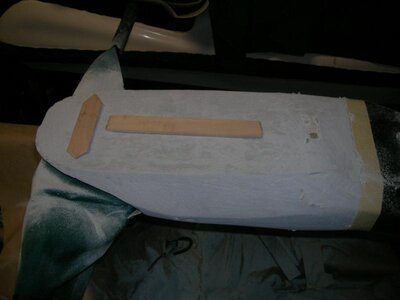
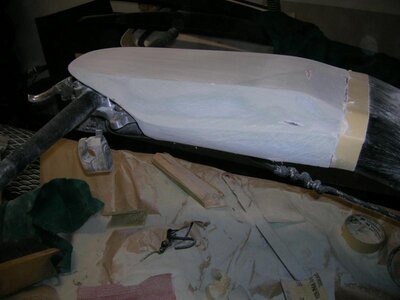
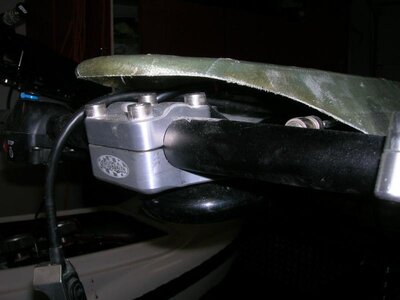
i guess the real question is, do the tubbies make that much of a differance?Destroyers only take 2 hrs max, really easy install, align-drill-glue-bolt. I did however install extra bigger washers than come with the kit to help spread the load to more glass.
Absolutely will, nite and day over standard tubbies.sweet...will they eliminate that nose in deal when ridding a wave face. i allmost got rolled last time when i was ridding straight down the wave maybe i need to ride it at more of an angle?
yah...i figure its bound to happen sooner or later, but I'm all for preventing it if a can... i guess i could prevent it from happening but i don't want to be to cautious, whats the fun in that. gotta step out of the comfort zone to grow right.Tubbies will make it a great deal better, but you still need to watch out.
thats good to hear.Absolutely will, nite and day.