650SX/X2 build

Vumad

Super Hero, with a cape!
Location
St. Pete, FL
Part showed up in the mail today. Looks like it'll work great. Just need something to go from the waterbox to the exhaust outlet, and for that matter... an exhaust outlet...

Does the superjet run a 2" or 2 3/8" exhaust outlet? Probably going to put it on the right side opposite of the stock spot, unless someone has a better idea. Need to get the parts. Can't use stock SJ outlet because of the tubbie.
 

Vumad

Super Hero, with a cape!
Location
St. Pete, FL
Finally a little progress made...

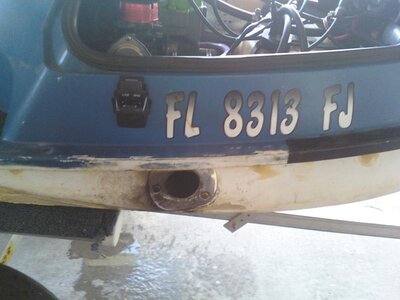
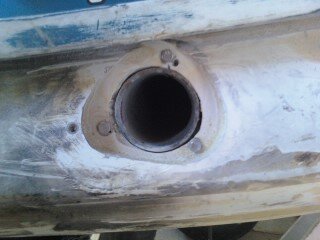
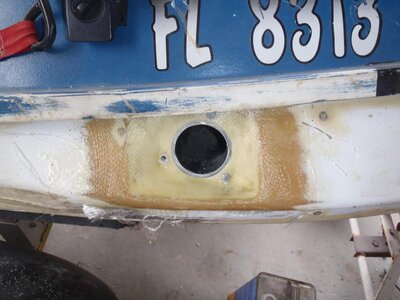
Thanks once again to #ZERO, I have a found a exhaust outlet. Stainless Steel fishing rod holder will work perfect. I just shoved it into the stock hole real fast to see how it would work out. It's actually going to be on the right side of the hull and in a slightly different position.

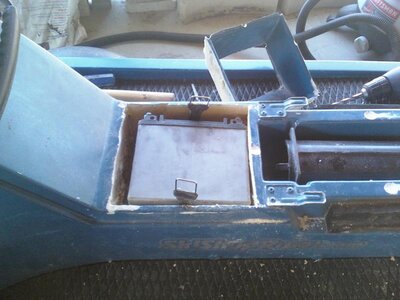
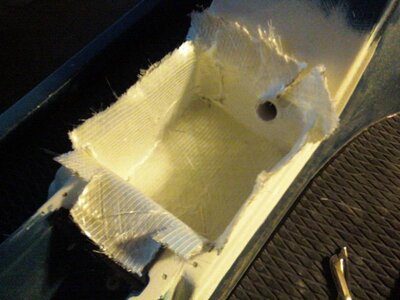
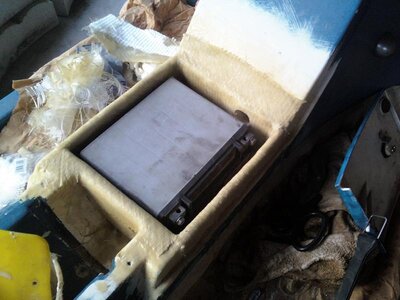
Also started working on making the place for the battery. I left the bottom of the origional tray in so I wont need to make a drain for the area. I also am using the hole in the bulkhead that comes from the factory to install the foam, so no additional holes in the bulkhead were required (opened it up just a tad). Waiting for the 5200 on the cable tube to dry before I start on the foam and glass stuff. I realize this weakens up the hull quite a bit, so it'll be made pretty beefy when I glass it back up.
 

Attachments

  • 0323001000a.jpg
    0323001000a.jpg
    51.3 KB · Views: 110
  • 0323000959.jpg
    0323000959.jpg
    45.3 KB · Views: 111
  • 0323001202.jpg
    0323001202.jpg
    61.6 KB · Views: 120
  • 0323001327.jpg
    0323001327.jpg
    60.7 KB · Views: 113
  • 0323001402.jpg
    0323001402.jpg
    60.9 KB · Views: 112
Last edited:

Vumad

Super Hero, with a cape!
Location
St. Pete, FL
2lb foam to fill up the gaps. It's not perfectly square but it's good enough for my needs. I forget what this stuff is... I believe it's 18oz Biax, also have another piece of 10oz cloth already cut.

Thinking 1 biax, and 3-4 layers of cloth. Any objections or thoughts are appriciated. Should be adding the resin monday.
 

Attachments

  • 0326001735.jpg
    0326001735.jpg
    45.6 KB · Views: 86
  • 0326002004a.jpg
    0326002004a.jpg
    59.2 KB · Views: 393

Vumad

Super Hero, with a cape!
Location
St. Pete, FL
I have been working on the X2, just haven't been posting any updates.

Picture 1 - is the battery the way I intended it to be, but it was tight on the wires, so I turned it.
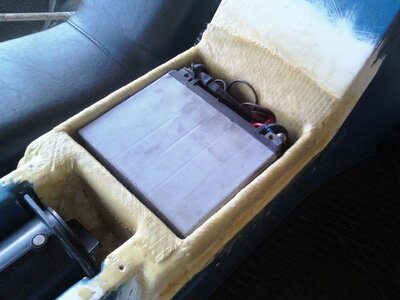
Picture 2 - is the battery the way I have it now with the wires hooked up. I need to add silicone but it's otherwise done. Theres no straps since it's a snug fit and the seat holds it on.
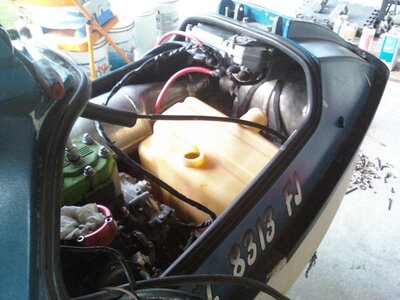
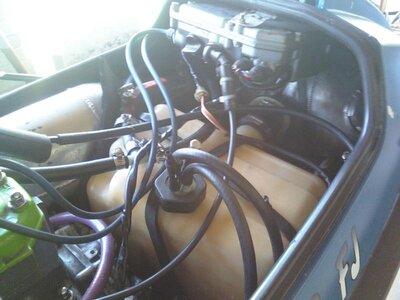
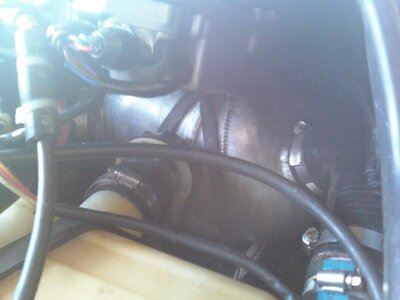
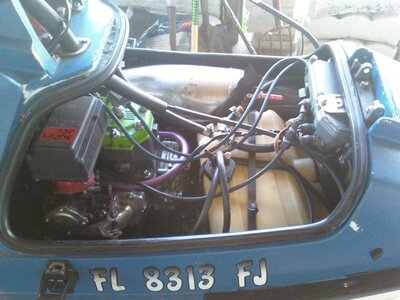
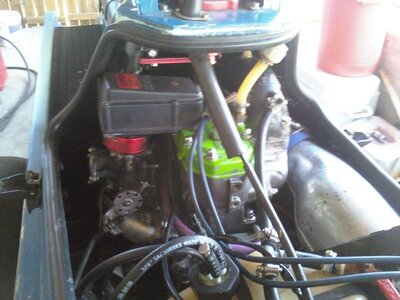
Pics 3-6 - Layout of the exhuast, the fuel tank and the ebox. The Exhaust is a 650 westcoast manifold, with a 750 Factroy head pipe, connected with a cut piece of silicone, with a superjet chamber, into a 2" - 2-3/8" 45 degree reducer elbow, to a superjet water box, into a 2-3/8" - 2" 90 degree reducer elbow, to a 1' section of marine exhaust hose, to a custom welded stainless exhaust elbow. The fuel tank is a stock 550 tank. The ebox is held on by the stock water seperator bracket and a bolt through the fuel fill area. Internal fill atm only.
picture 7 - Shows the stock Superjet airbox on the Kawi motor, I had to keep the K&N spark arrester base to lift it higher to clear the motor.
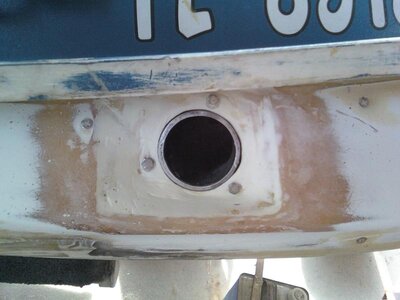
picture 8 - The exhaust outlet, a fishing rod holder, the tube was used to make the exhuast outlet, then the base of the rod holder was stretched and 5200 over it to protect against the rough exhaust edge
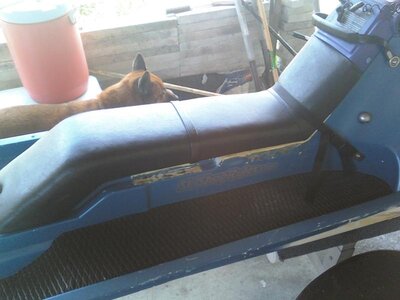
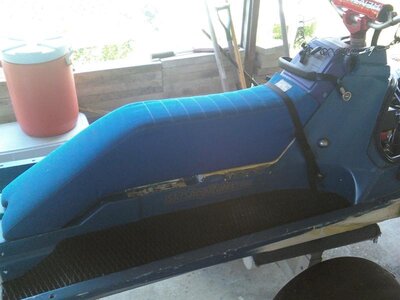
Pics 9-10 - The 2 seats I have, I kept the stock seat bracket and secured the seat on with a clip and hardware. I may go back and use 2-4 clips attached directly to the seat, but for now this works. When I went to use 4 clips and remove the stock bracket, the back end of the seat would slide a bit side to side. The bracket helps hold it in place laterally.
0516001908.jpg0624001341a.jpg0516001908a.jpg0624001340a.jpg0624001342.jpg0624001341c.jpg0624001340.jpg0624001342a.jpg0624001341.jpg0624001341b.jpg
 
Last edited:

Vumad

Super Hero, with a cape!
Location
St. Pete, FL
I had it at the lake and it seemed hot. i took it apart and found 2 places the cooling lines were restricted. I changed out the fittings and have much more water flow.

We went back tot he lake for more testing and tuning. I've finish the break in fuel/oil and started tuning it some. It doesn't seem to be tuning right. I'm removing the R&D timing advancement plate now. I have a lot of parts on the motor and I do not believe the timing plate was made for a set up like this. One of the screws is stuck... so I'm hanging out letting it soak a bit. Hopefully I'll be back at the lake and get it better dialed in today. Edit: as a side note, it is producing a good amount of power. It's fun to ride, but I know it can produce more power than what it is right now.
 
Last edited:

Vumad

Super Hero, with a cape!
Location
St. Pete, FL
I'm presently having a problem with the battery position. When I do a tail stand, and the battery is completely submerged in the salt water, my bars get all tingly. This is not a problem at the lake, nor any time other than when the battery is submerged.. I have a Deka sealed battery.
 

88X2RIDER

J-Fly
Location
dartmouth,ma
That's Cool you moved the Battery under the Seat , Can i ask ? Because I new to the jet ski and all why did you move it there ?? , I working on my x2 project my self right now already got over a 100 hours on it lol , you can say this thing has seen Hell and Back lol but its all worth it to ME ! cant wait to post a new video of it Being all done !
 

Vumad

Super Hero, with a cape!
Location
St. Pete, FL
That's Cool you moved the Battery under the Seat , Can i ask ? Because I new to the jet ski and all why did you move it there ?? , I working on my x2 project my self right now already got over a 100 hours on it lol , you can say this thing has seen Hell and Back lol but its all worth it to ME ! cant wait to post a new video of it Being all done !

More room in the engine compartment. The motor area is crammed tight without it. The exhaust running down the right side takes up the area where the battery would be. Also, gives more room for the fuel tank which obviously is not cut out for the battery like the stock tank.

Edit: Dielectric grease fixed the problem with the battery.

Edit 2: I turned the fuel tank sideways to the way in the last picture, so the stock fuel fill is facing to the pipe. I got a PVC cap from home Depot and replace the fuel cap with that, which saves room.
 
Last edited:

Vumad

Super Hero, with a cape!
Location
St. Pete, FL
My exaust outlet began leaking. Without a flange, it sealed very poorly, had only used 5200 and eventually began to come loose. Luck would have it, Ryan gave me a Blaster 1 stock exhaust outlet, which is a much better fit. Naturally, I still have the problem of smoke in the face during tail stands, but the blaster outlet is a much better fit.

0515011619.jpg
0605011634.jpg
P6070485.jpg
 

Vumad

Super Hero, with a cape!
Location
St. Pete, FL
Ryan riding my X2. Nice thing about owning a camera is in all the pics/video your behind instead of in. =( This is after all mods posted. Needs some tuning. It's a dog on the bottom end but I am starting to think it will always be that way. I bought a 13/18 sxt swirl prop, but this is with the 10/18 straight prop.

 
Last edited by a moderator:

Crab

thanks darin...noswad!
Location
Seattle
hard to find but your pjs might be that big, you got to relieve pressure at the nozzle to get the brap working.
 

Vumad

Super Hero, with a cape!
Location
St. Pete, FL
I just measured my X2 nozzle. It's 90mm. I measured my 650sx nozzle and it's 86mm. These are approx. Also measured from the steering nozzle, not the inner nozzle, but they appear to be the same diameter.
 

Crab

thanks darin...noswad!
Location
Seattle
I just measured my X2 nozzle. It's 90mm. I measured my 650sx nozzle and it's 86mm. These are approx. Also measured from the steering nozzle, not the inner nozzle, but they appear to be the same diameter.
stock x2 plastic reduction nozzle is about 83mm, not the turn nozzle.
 

Vumad

Super Hero, with a cape!
Location
St. Pete, FL
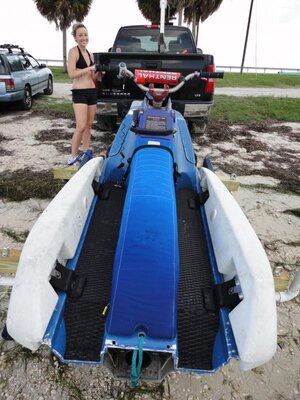
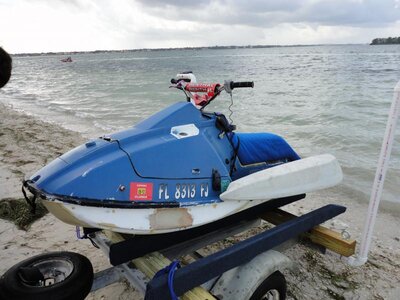
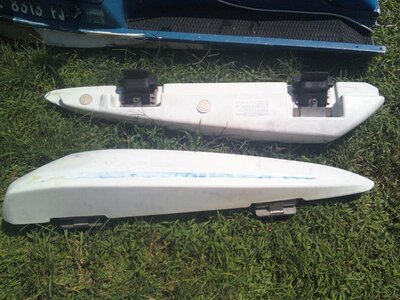
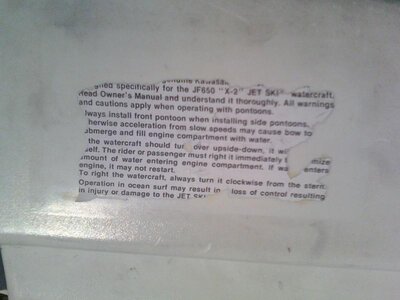
Ever since I 1st read about the X2 pontoons, I have wanted a set. I had only read a few things about them, had found very few pictures of them and had never seen a set in person.

Well, now I own a set!

DSC00042.jpgDSC00040.jpg0824011457.jpg0824011458.jpg

These things are awesome! I was thinking of purchasing a sit down ski for my girlfriend, but these have resolved that thought. They create a lot of bouyancy and stability, and combined with the taller seat I own, they allow the X2 to be operated like a regular sit down watercraft. My girlfriend can easily climb on and idle with the X2 with no additional effort. I (at 170 lbs) can also do the same, but my heavier friends need to put a bit more effort and momentum to stay afloat.

What really makes them so amazing is that they are very easy to bolt on and remove. They have each have a very large stainless bracket that fits under the bond rail then pushes down into the tray. Simply slide the bracket under the rail, push the top bracket (which is on a hinge) down into the tray, apply 1 bolt, and done. The entire process includes 4 large allen bolts. I have 25mm padding so it becomes a 2-person job to compress the turf enough to bolt them on, but that's no problem. This allows me to carry an allen key with me, and quickly and painlessly remove the pontoons. Say my girlfriend chooses to use the pontoons one day, we can ride out to the island, and if I get bored with my super jet, 4 bolts later, my X2 is back to a true stand up. This also makes the X2 useable at my Uncle's place where the whole river is idle speed only.

I will admit they completely destroy the handling of the ski. They make it incredibly hard to lean the ski, and impossible to carve hard. They make they ski ride very flat, and it slides out much easier. They create a lot of drag noticeably reducing the top speed, and some water sprays up from under them to the rider. They are for a specific purpose, certainly not for any kind of performance riding, but they are excellent for what they were intended.
 
Top Bottom