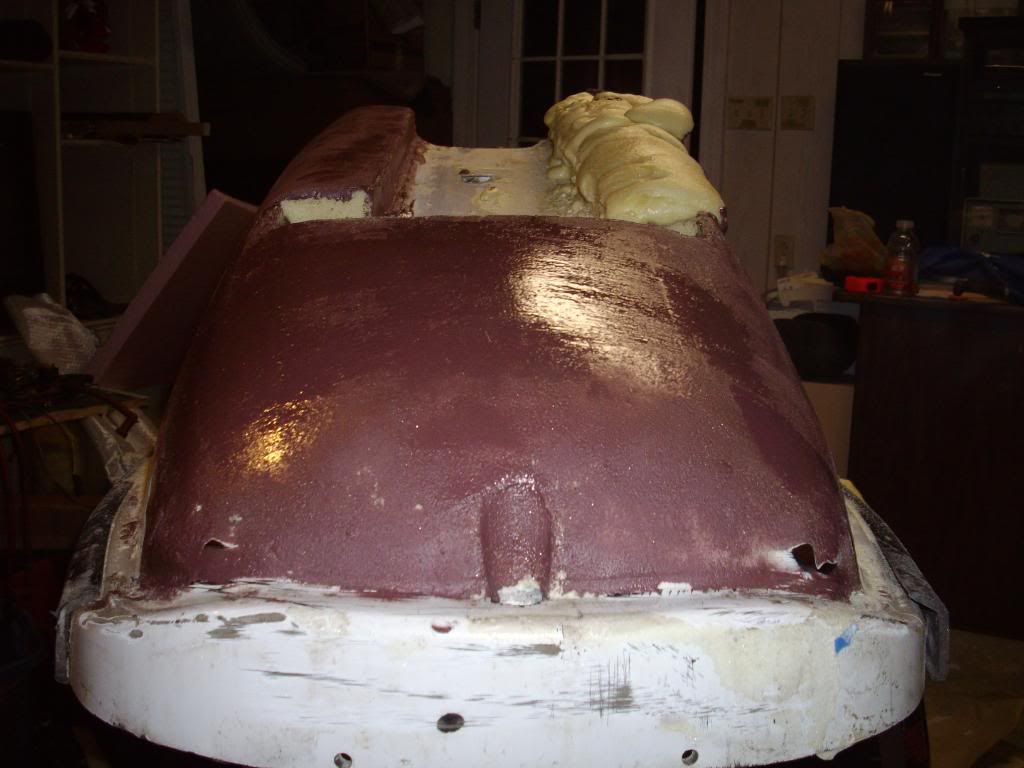
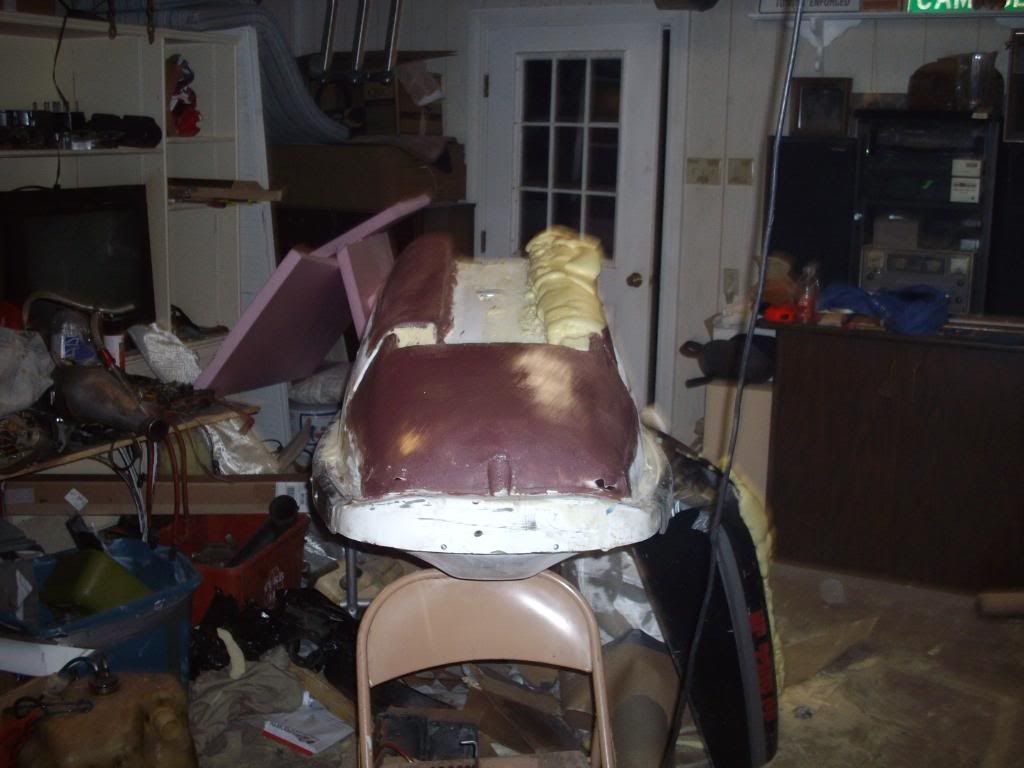
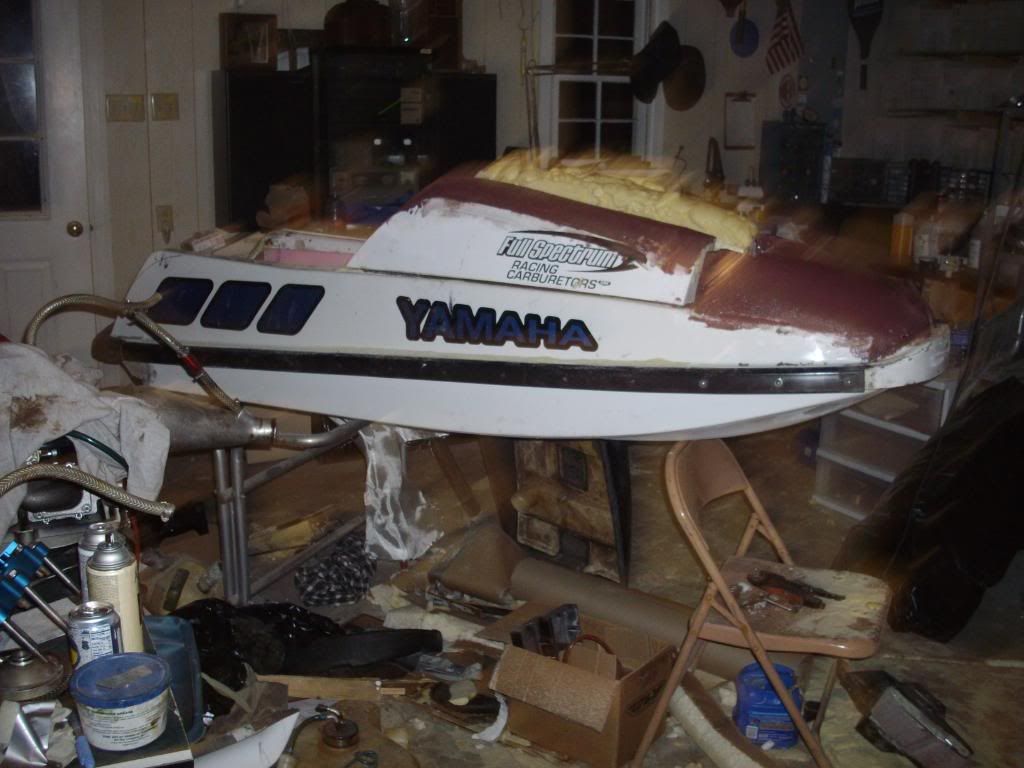
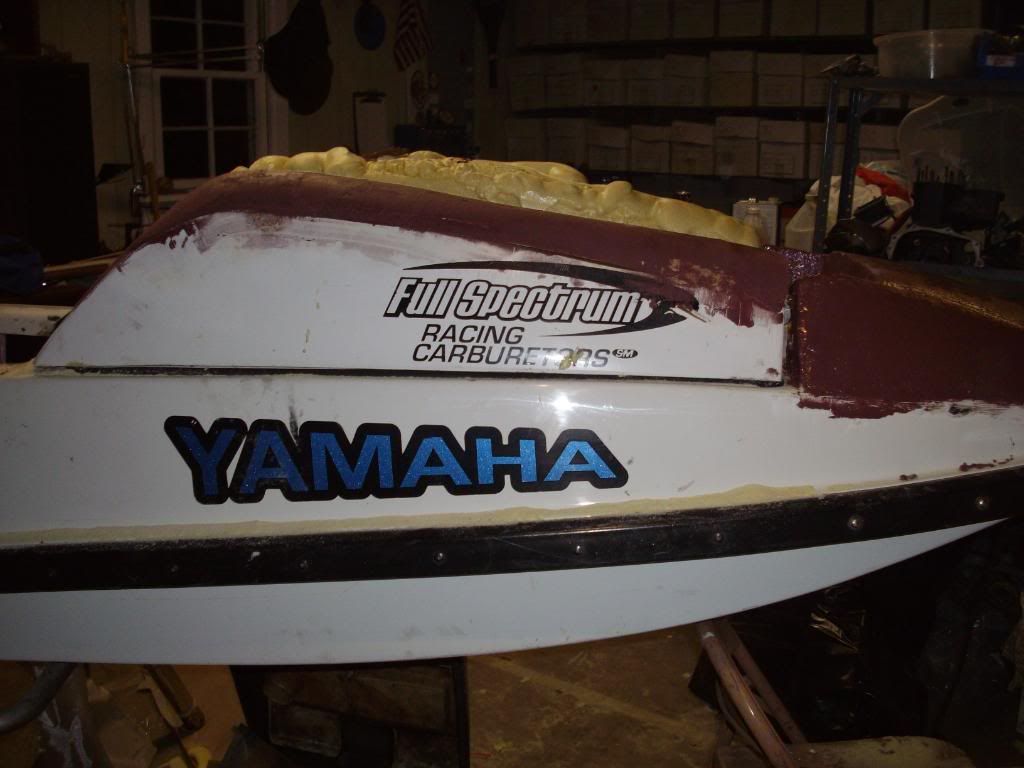
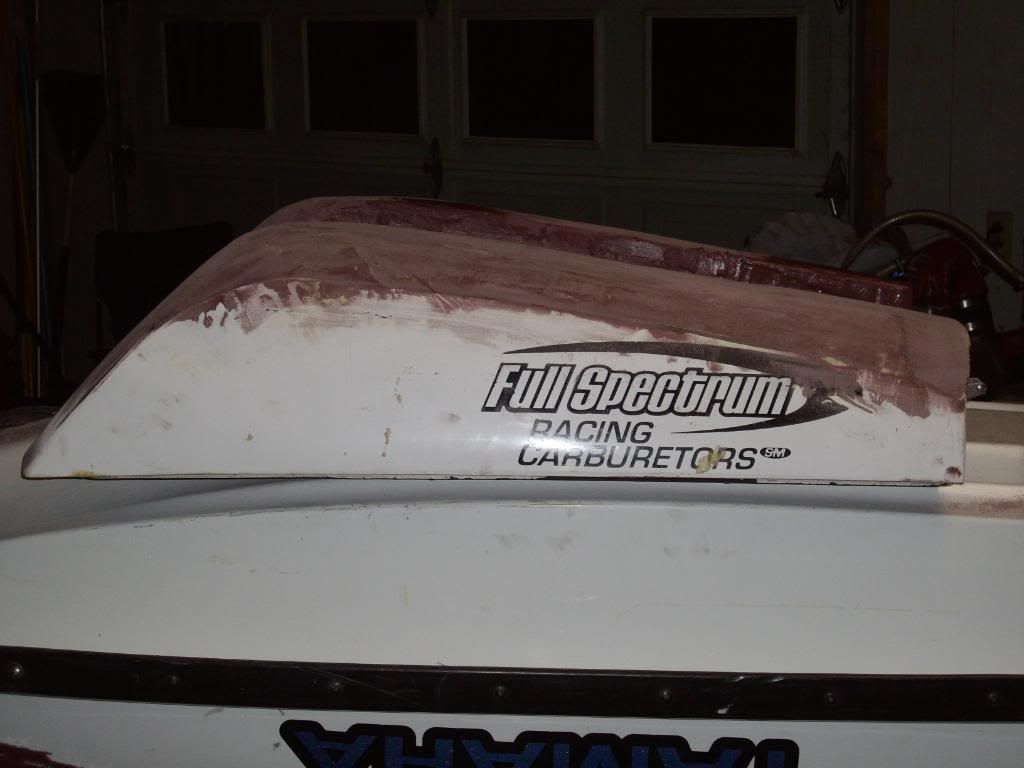
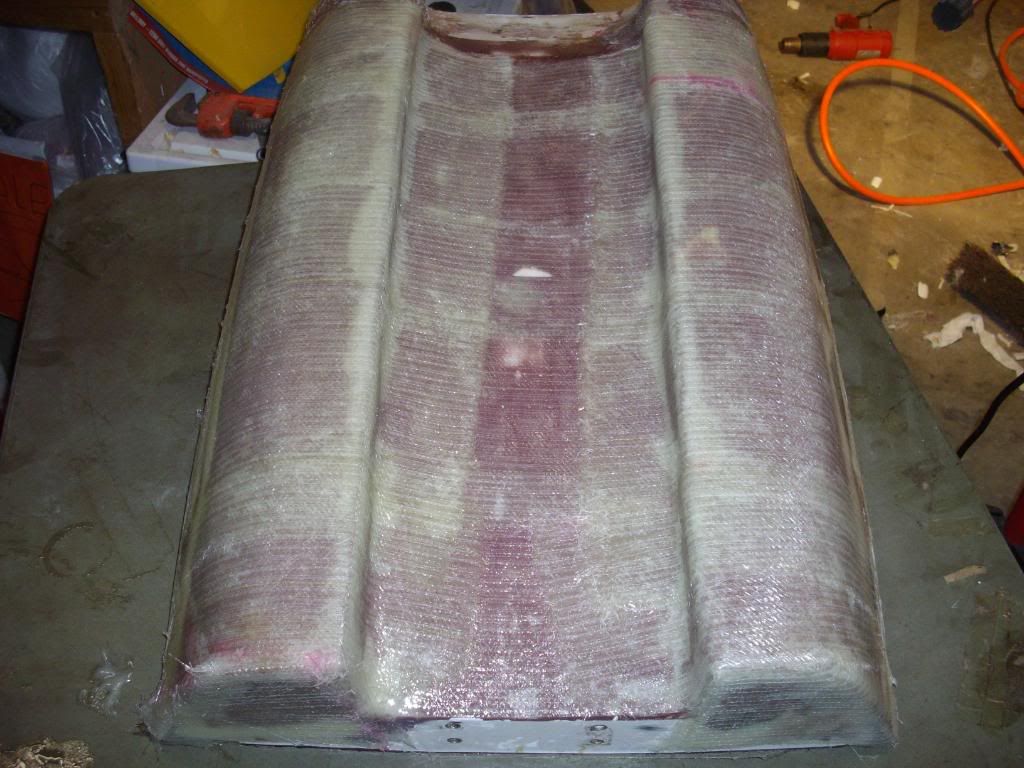
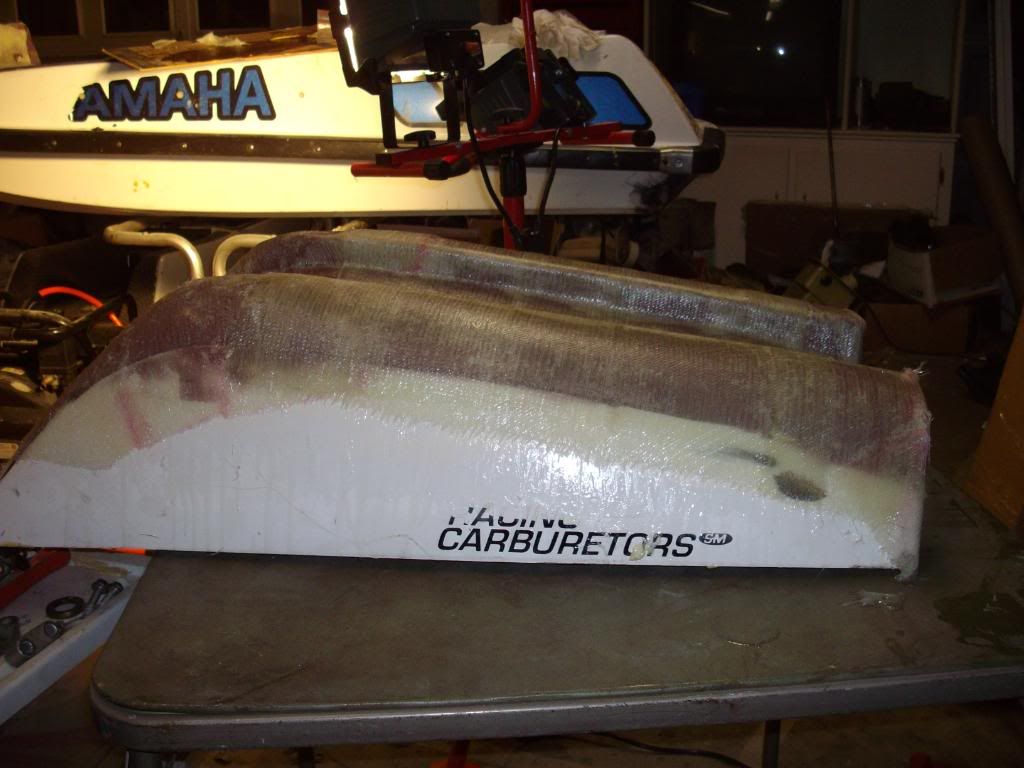
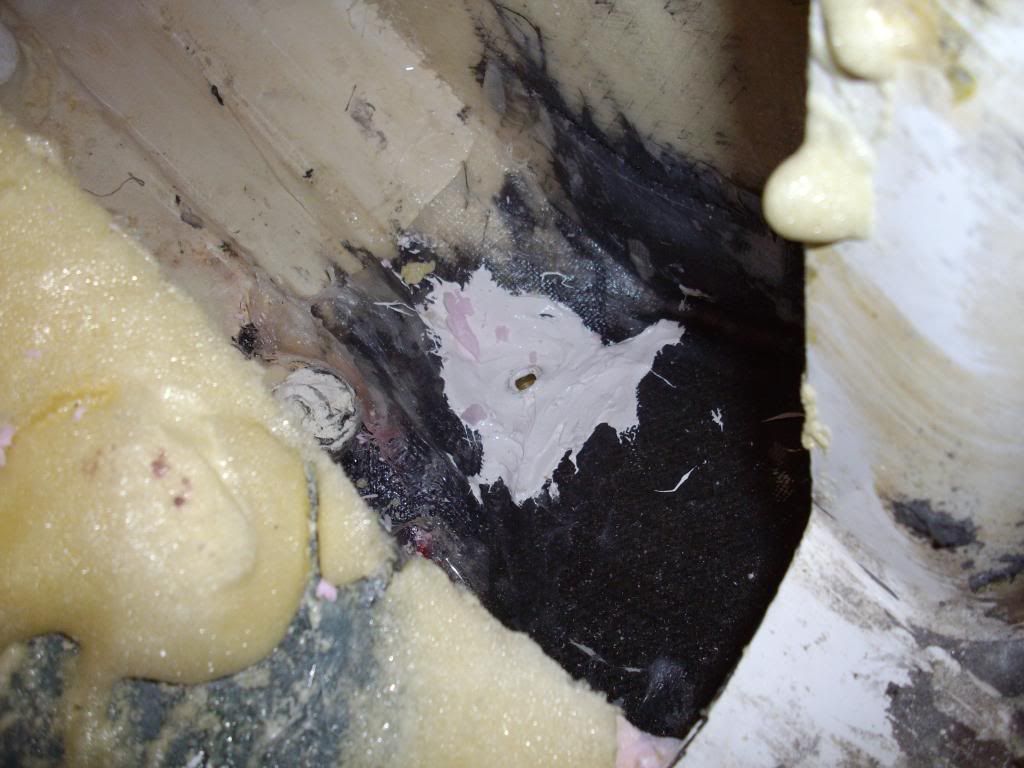
Finished!!!!!!!

chrisdoc0608

insulting
Location
rocky mount, nc
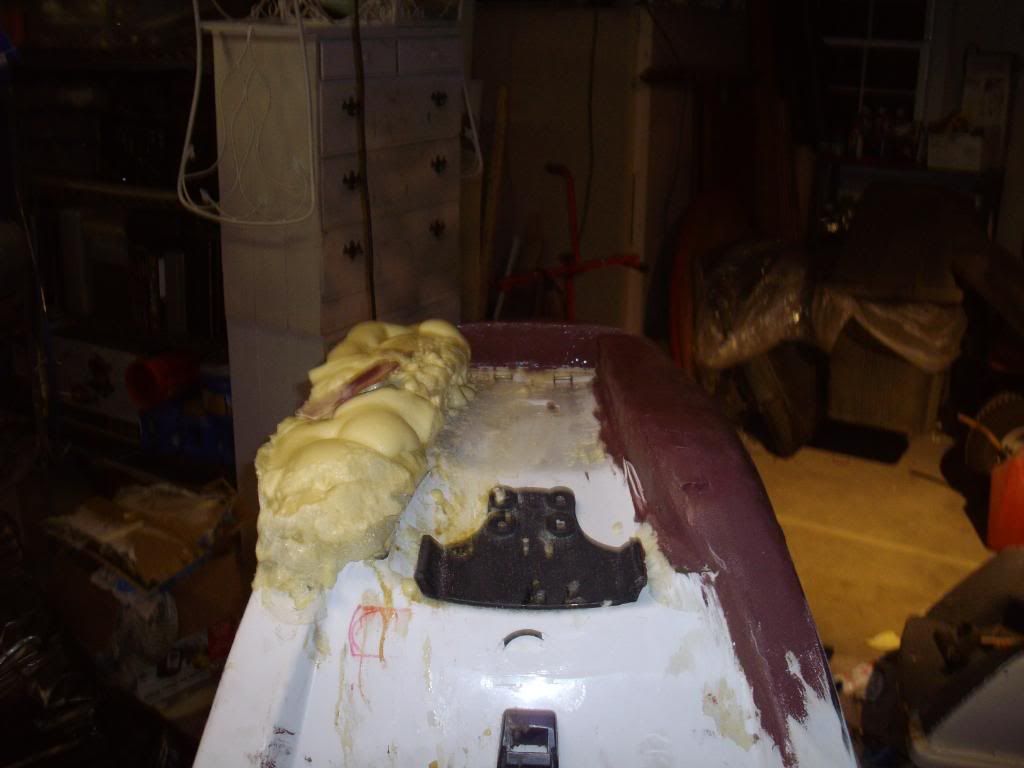
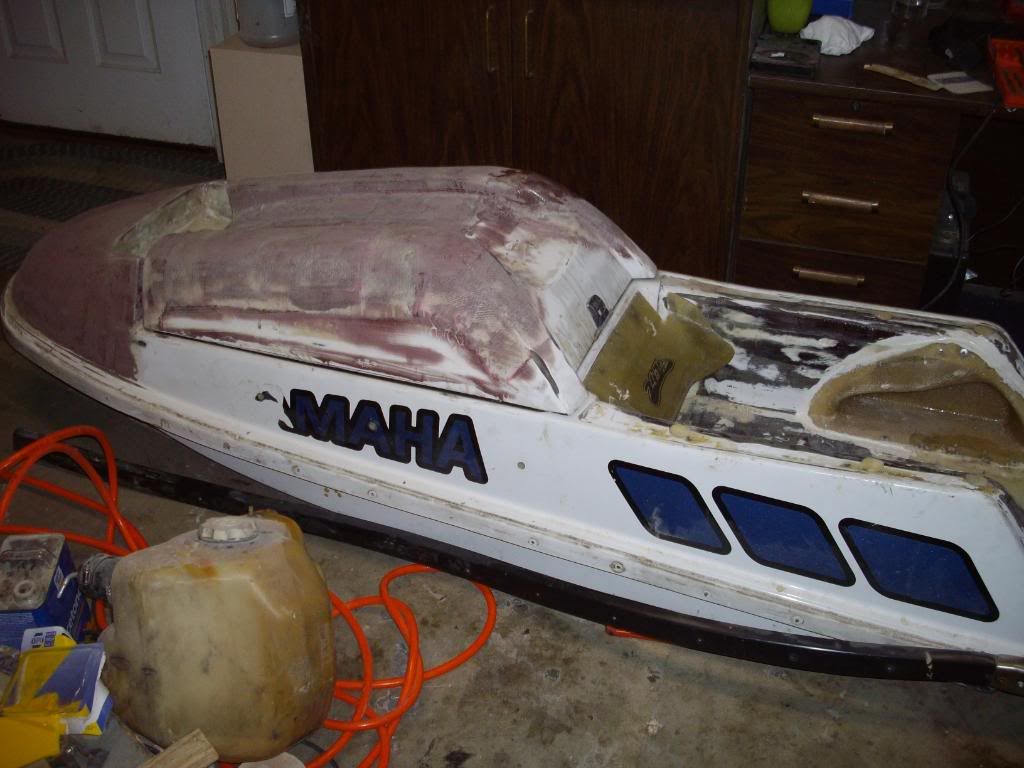
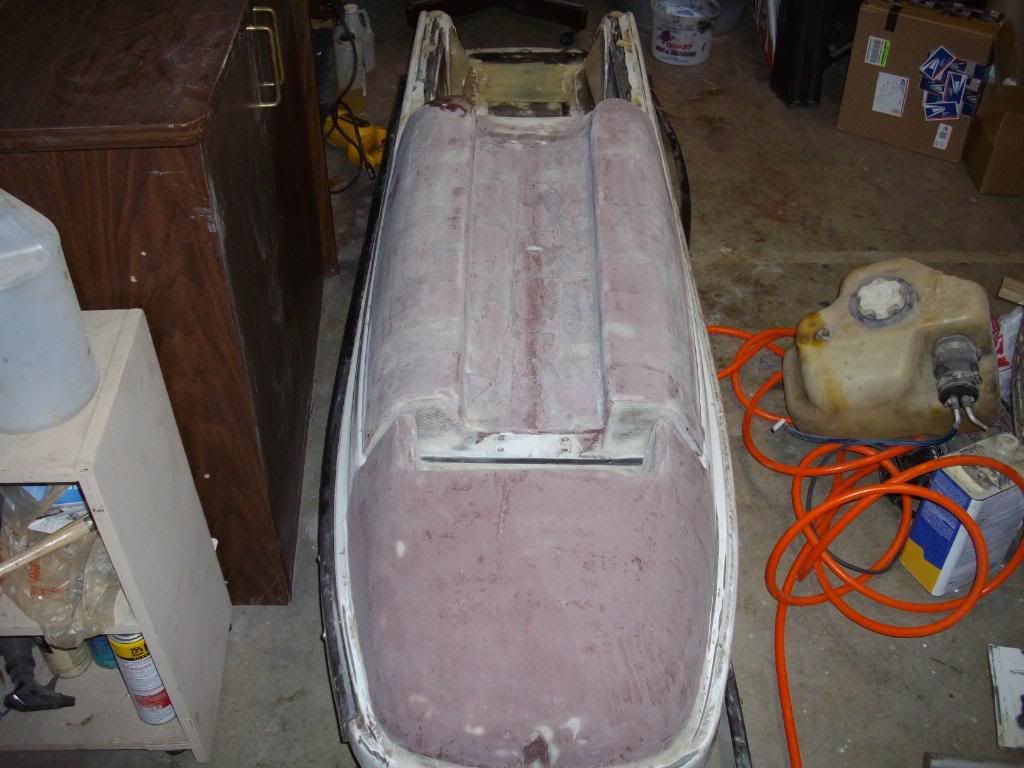
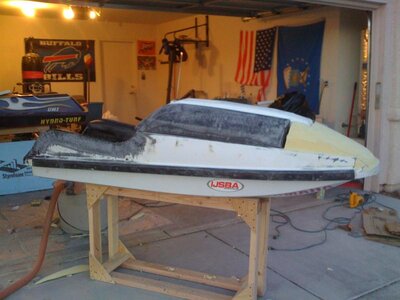
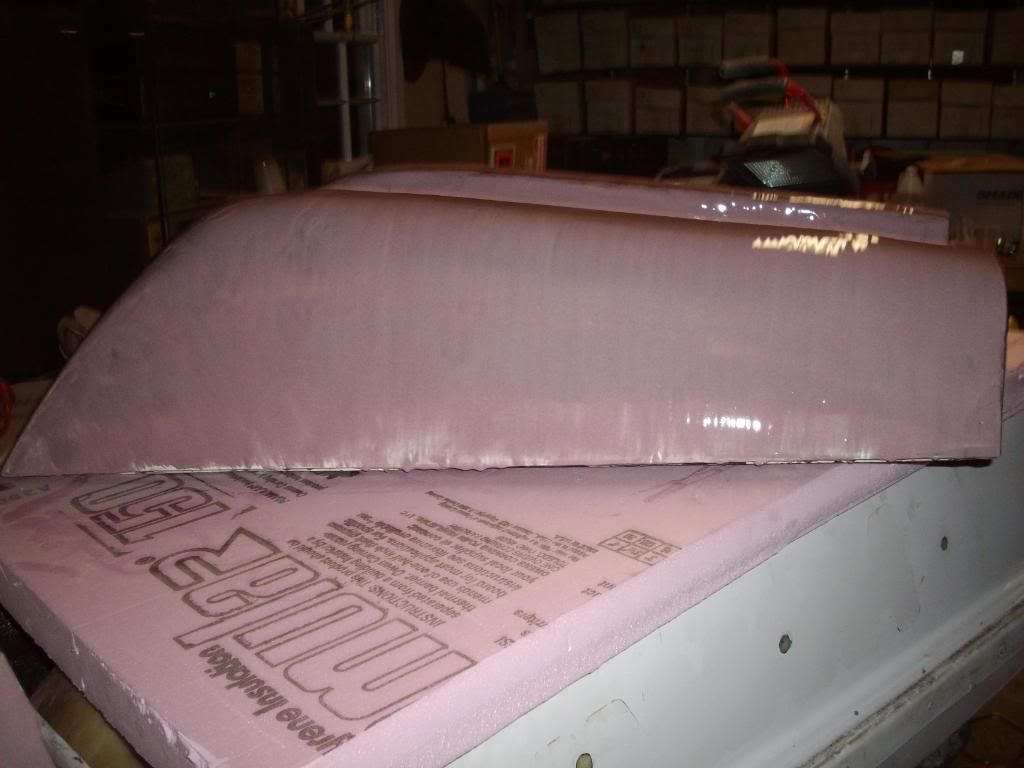
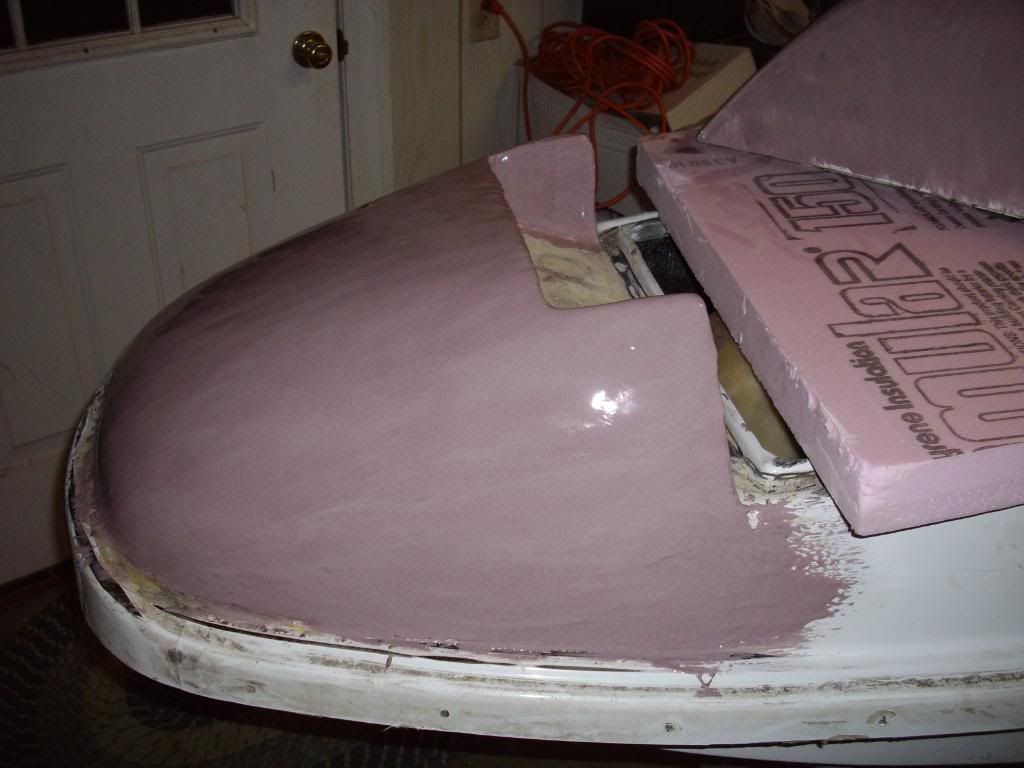
LOL Thanks... I never got around to shaping the hood again, I had all intentions of not leaving it like that. I am actually going a different route than originally planned. I am going to be cutting up my other hood and making it match the couture of the nose that way I wont have so much foam and glass work to do.
 

Waternut

Customizing addict
Location
Macon, GA
I know what you mean. I had every intention of chopping the hood like you did to match the formed nose on mine but after the weeks I spent forming and smoothing the nose, I said screw it and left the hood stock.
 

chrisdoc0608

insulting
Location
rocky mount, nc
Progress :bananapowerslide:
IMGP0254.jpg

IMGP0255.jpg

IMGP0256.jpg

IMGP0257.jpg

IMGP0258.jpg
 

chrisdoc0608

insulting
Location
rocky mount, nc
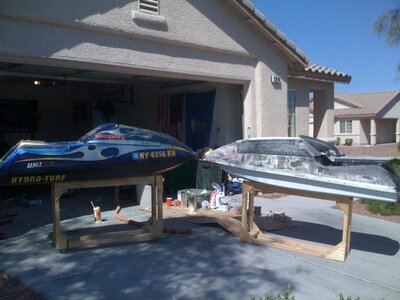
getting there slowly but surely.... sanding then filling sanding then filling.

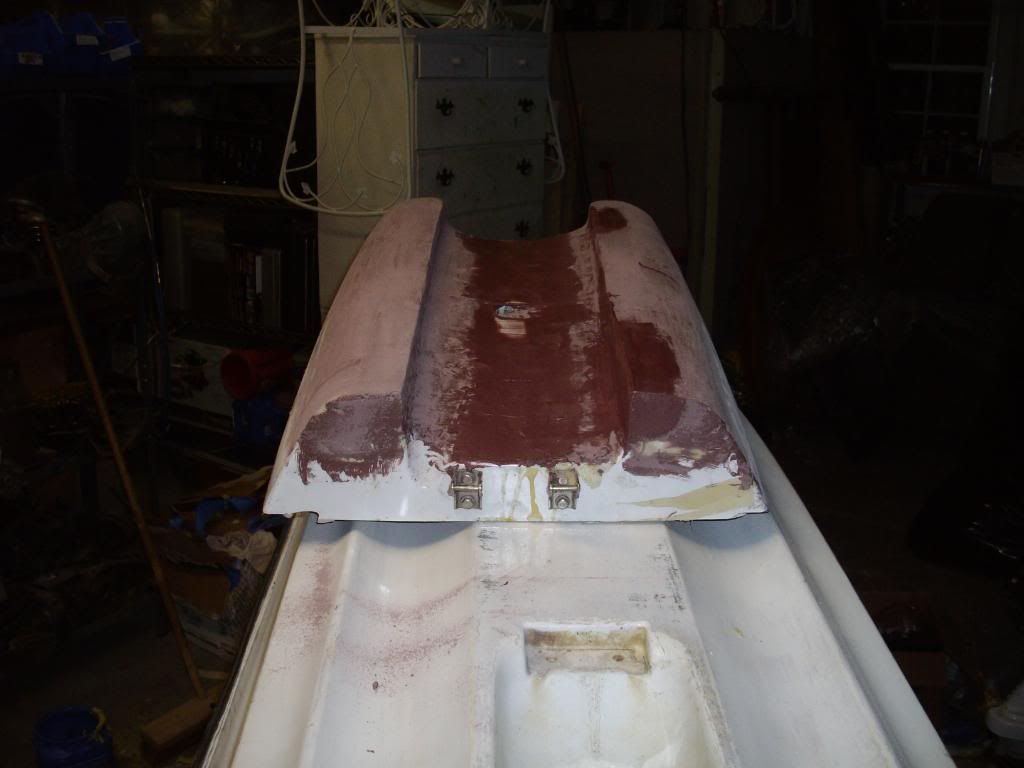
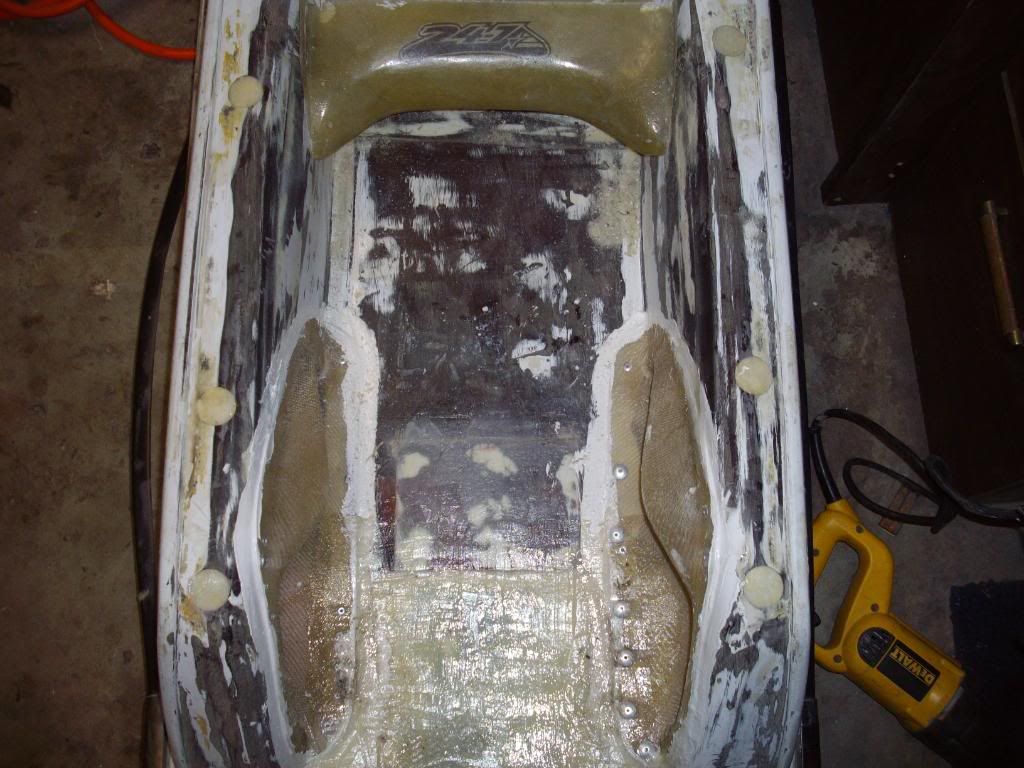
Got the handpole area filled, I will have to go back over it again to fill in the little holes before glassing.
IMGP0262.jpg

IMGP0259.jpg

IMGP0260.jpg

IMGP0261.jpg
 

chrisdoc0608

insulting
Location
rocky mount, nc
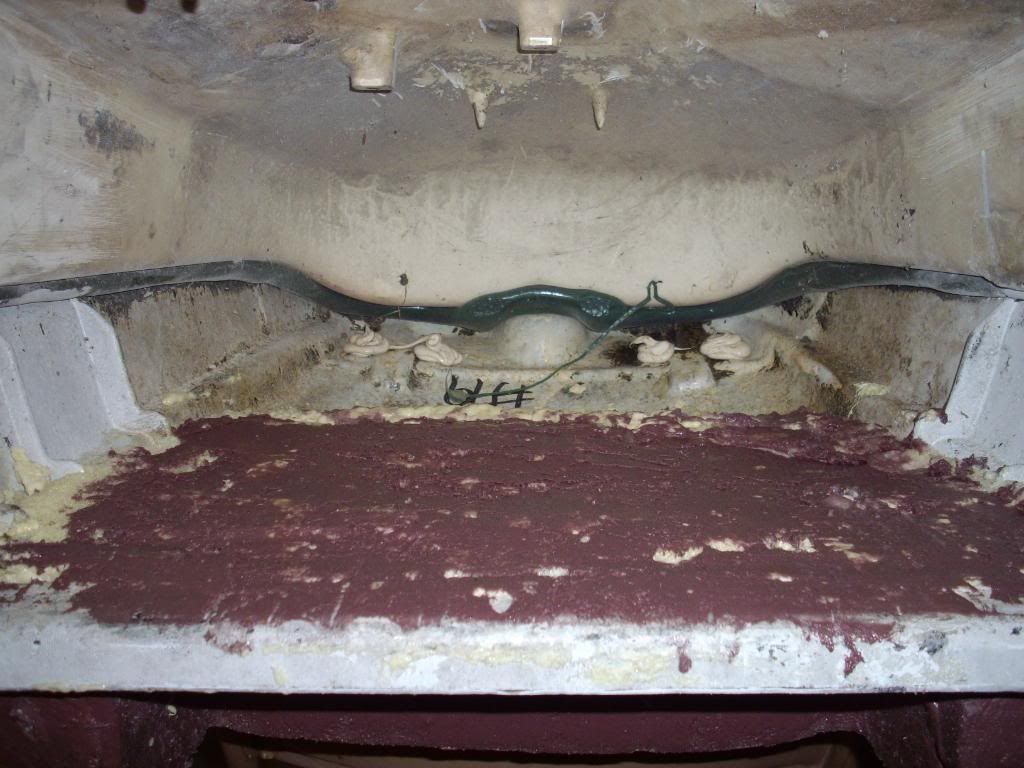
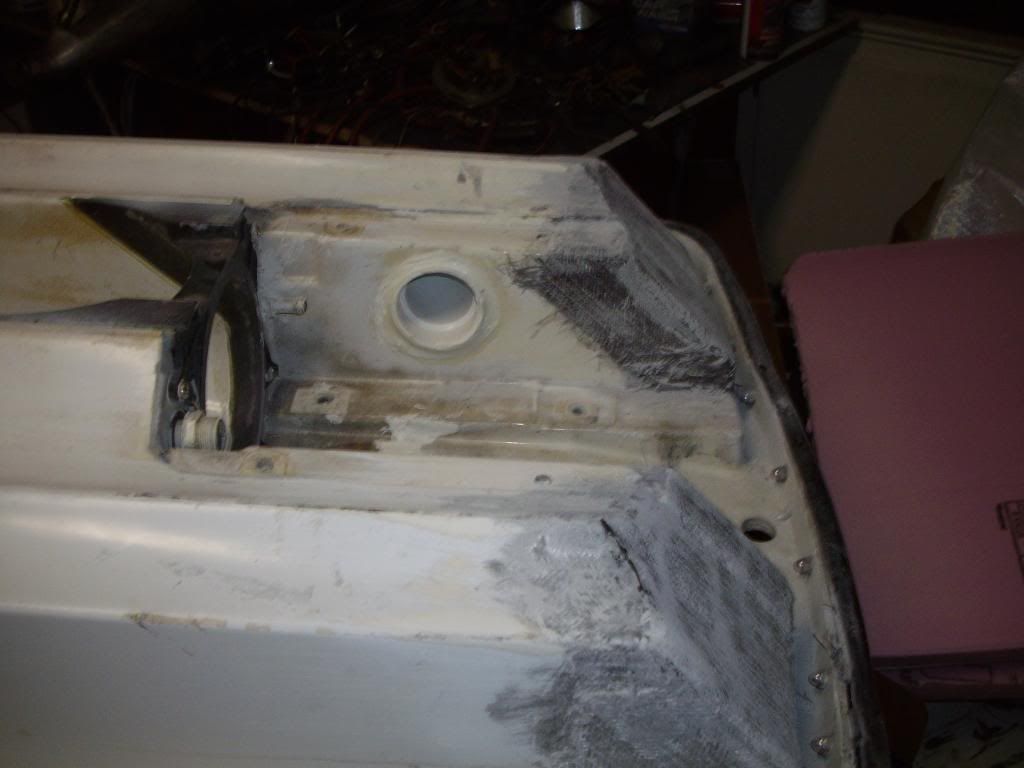
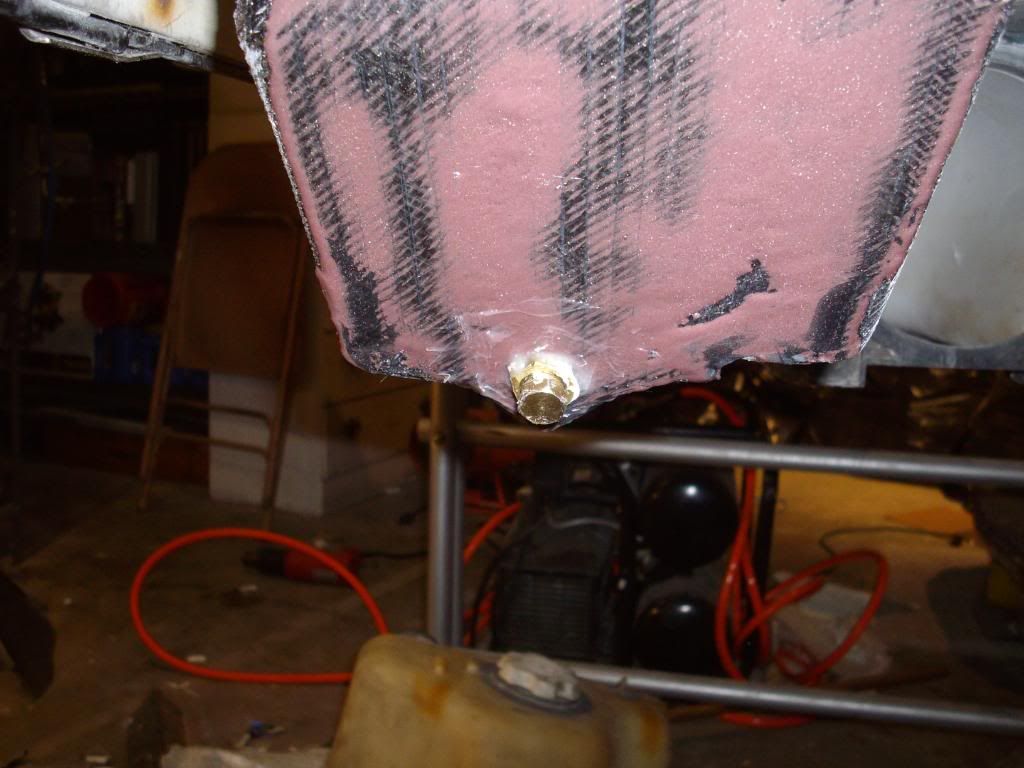
Got a couple of layers of 12oz on the hood tonight. I ended up using some really light weight cloth on the back side because the curves were really tough to make the 12oz conform, then I went back over it with 12oz that i cut to shape, I dont think I will have any issues as a majority of it has two layers of the biax. I will also be taking the foam out from it tomorrow and putting a layer or two on the inside to make sure it is tough. I also put two layers of biax on the pole mounting area, I still need to trim it. Finally, I installed two drain plugs in the back, 5200 all over the inside and epoxy/cabisol past on the outside, Im going to put a layer of glass over it as well so it doesnt come out while im riding.
IMGP0286.jpg

IMGP0287.jpg

IMGP0287.jpg

IMGP0290.jpg

IMGP0291.jpg
 
Last edited:

chrisdoc0608

insulting
Location
rocky mount, nc
I have been sanding and filling my ass off, IT SUCKS. In the mean time I got good news from my uncle. I will be getting free paint, primer, and use of a spray booth when ever I need it. The ski will be gunmetal grey. I also began installing footholds I got from Tom21. I have a front foothold on the way this week as well. I think I will get alot of use out of it because after mocking up my pole and standing in the footholds I cant believe how much further you have to lean with a -4 pole. It is going to take some time to get acclimated with for sure.

Motor update: I went ahead and spent some $$$ on a tl system and jetworks battery.
I will also be running a 48mm full spec, so I am expecting a very noticeable difference in my motor this season.

Hopefully this week I can be finished with all the footholds, sanding and filling the hood and nose, and mocking up something for my rn waterbox to run a front exhaust... I need to get the rag out of my ass and get finished soon, Its getting warm quickly
 

chrisdoc0608

insulting
Location
rocky mount, nc
between the girlfriend and my :):):):)ty soon to be old job I just have had a hard time getting this thing done. footholds are in now... kinda lol. I have to get more rivits, the damn hold pulled a couple of rivits out, hopefully the 5200 will not be completely dry tomorrow.
 

chrisdoc0608

insulting
Location
rocky mount, nc
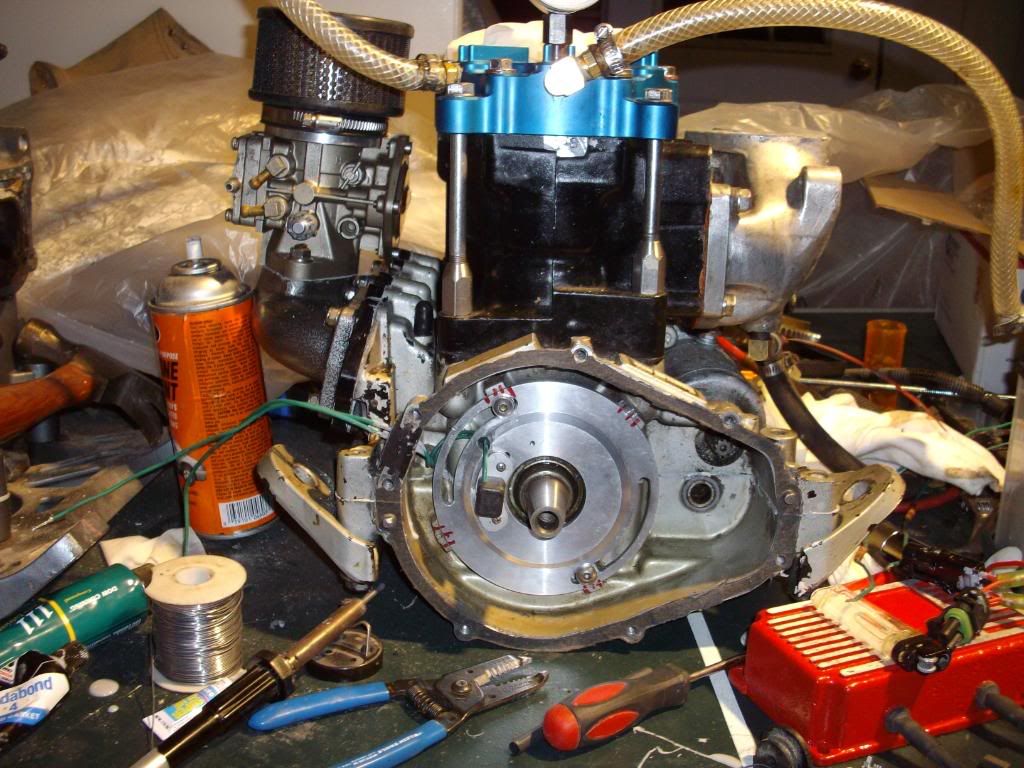
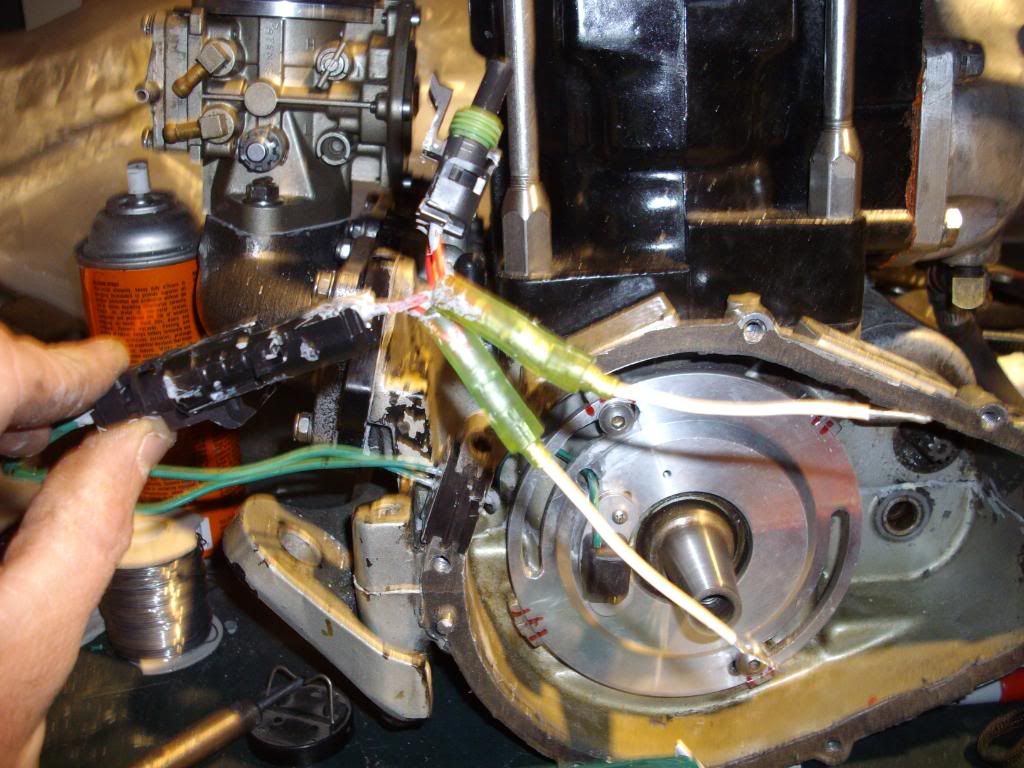
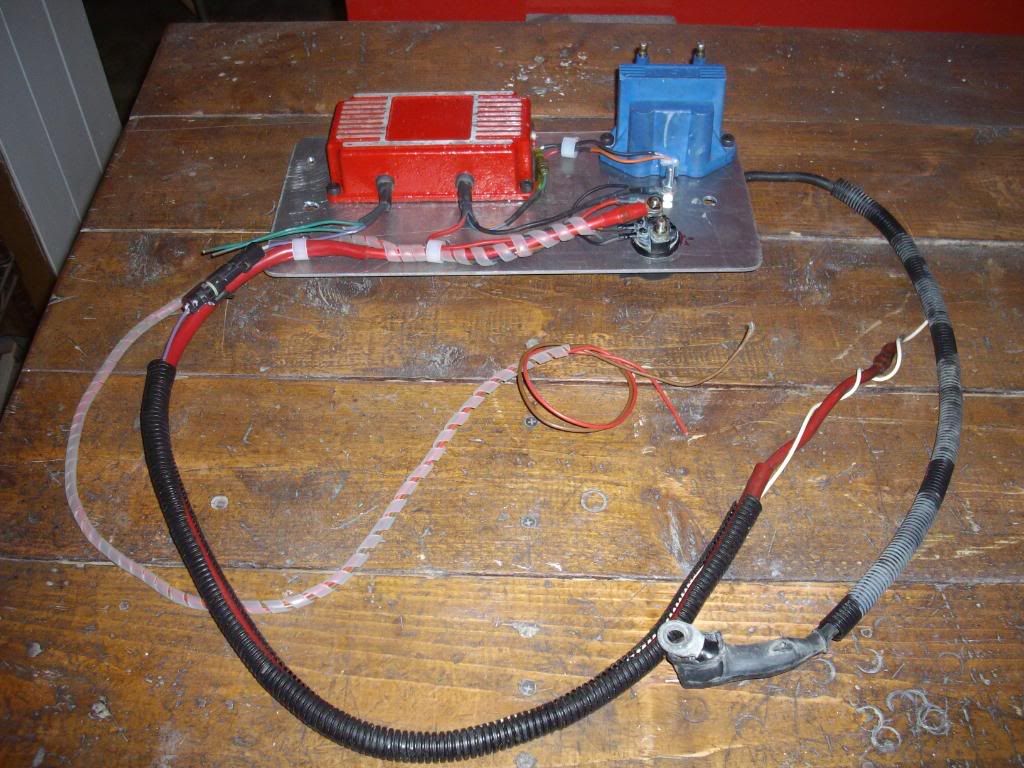
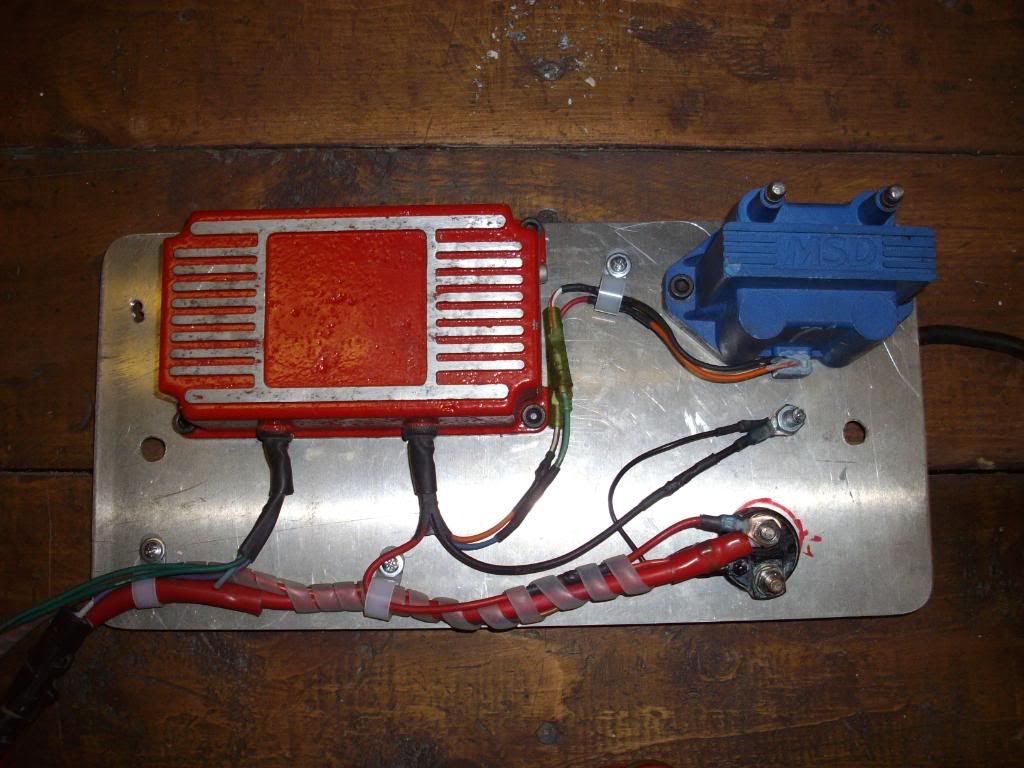
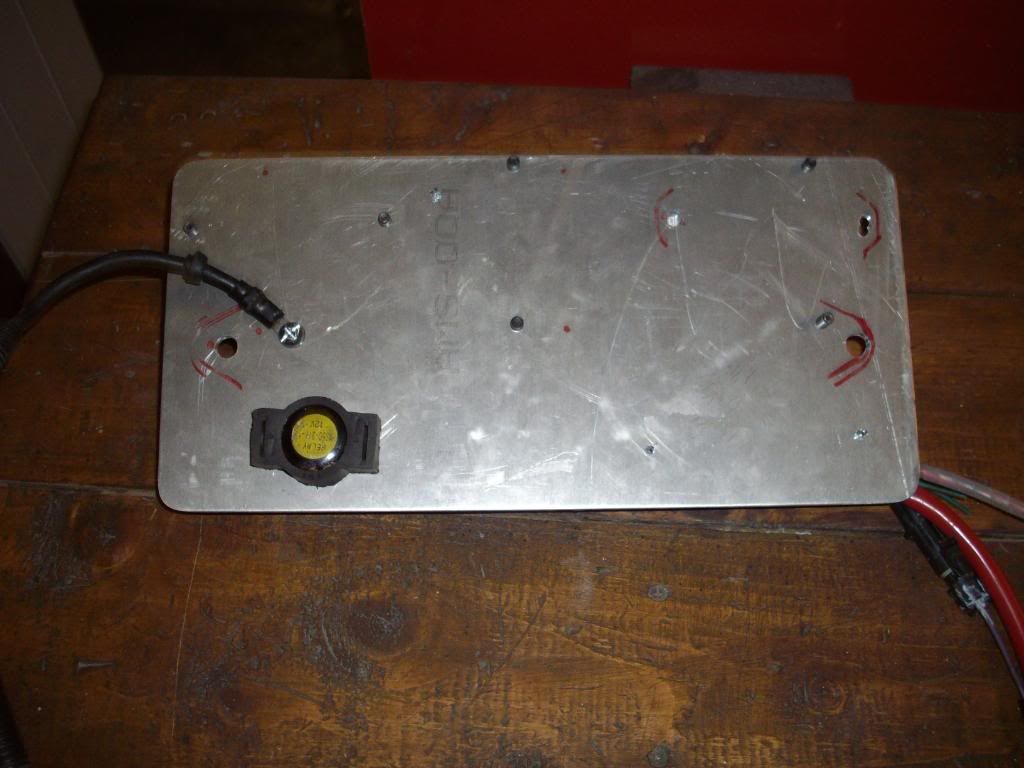
footholds in they are mighty comfy, still need to do some fitting for the front foothold though. Started setting up my total loss tonight. Soldering all connections, weather packs, lots of 111 di-electric grease, and honda bond to seal the back of the connectors. I dont think my connections are going to fail :icon16: Also added a pic of my ghetto azz way of running the stock start/stop switch lol
IMGP0318.jpg

IMGP0319.jpg

IMGP0320.jpg

IMGP0321.jpg

IMGP0323.jpg
 

chrisdoc0608

insulting
Location
rocky mount, nc
rarely ride salt, All connections are soldered and heat wrapped. Once I get everything fit I am coating the :):):):) out of everything with 111 grease. Is there something else I should consider?
 
are you leaving the foam in the nose? or removing it from underneath?
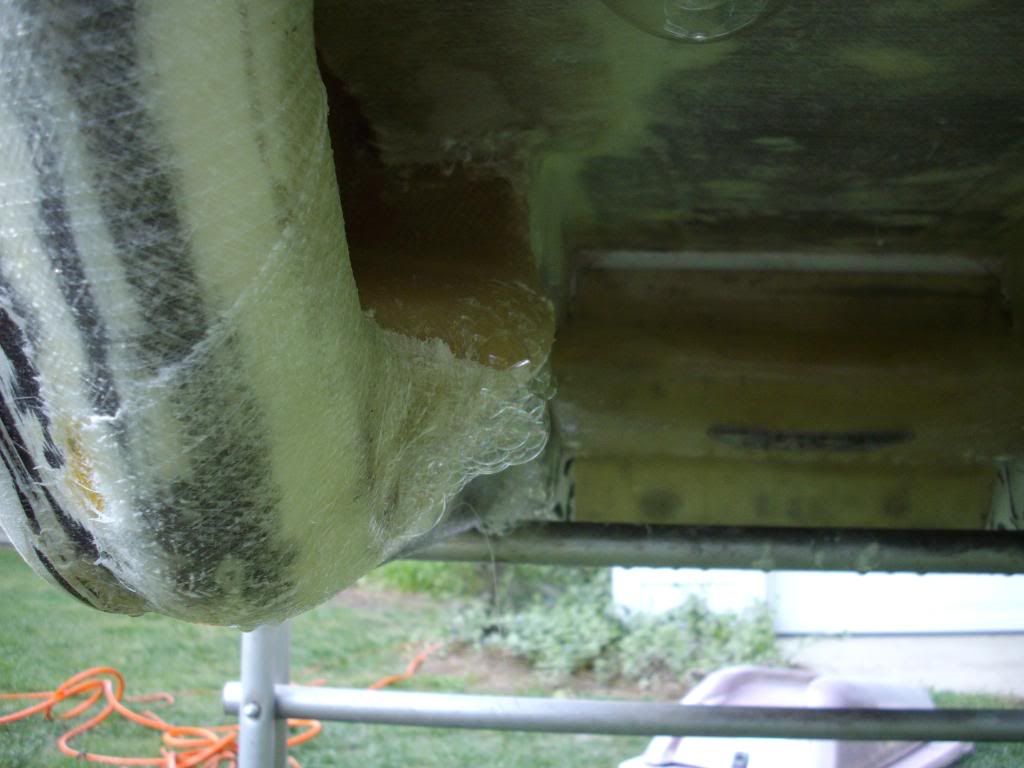
when i did my nose, i cut the front third of the nose off to drop the bond line, and the foam is visible from the bottom, didnt know if i should take it out or glass over it. i ended up glassing over it underneath but now i wonder how much weight i would have taken out, any thoughts, i used 4lbs foam
 

Attachments

  • 010.jpg
    010.jpg
    56.3 KB · Views: 100
  • 006.jpg
    006.jpg
    61.2 KB · Views: 108

Waternut

Customizing addict
Location
Macon, GA
I agree...even if that foam gets wet, it won't hold that much weight. Plus it'll cost a whole lot more if your nose wasn't reinforced completely since the foam adds some rigidity to the fiberglass. I know when I did mine, it was very strong...then after smoothing it, it got a lot weaker in some spots.
 

chrisdoc0608

insulting
Location
rocky mount, nc
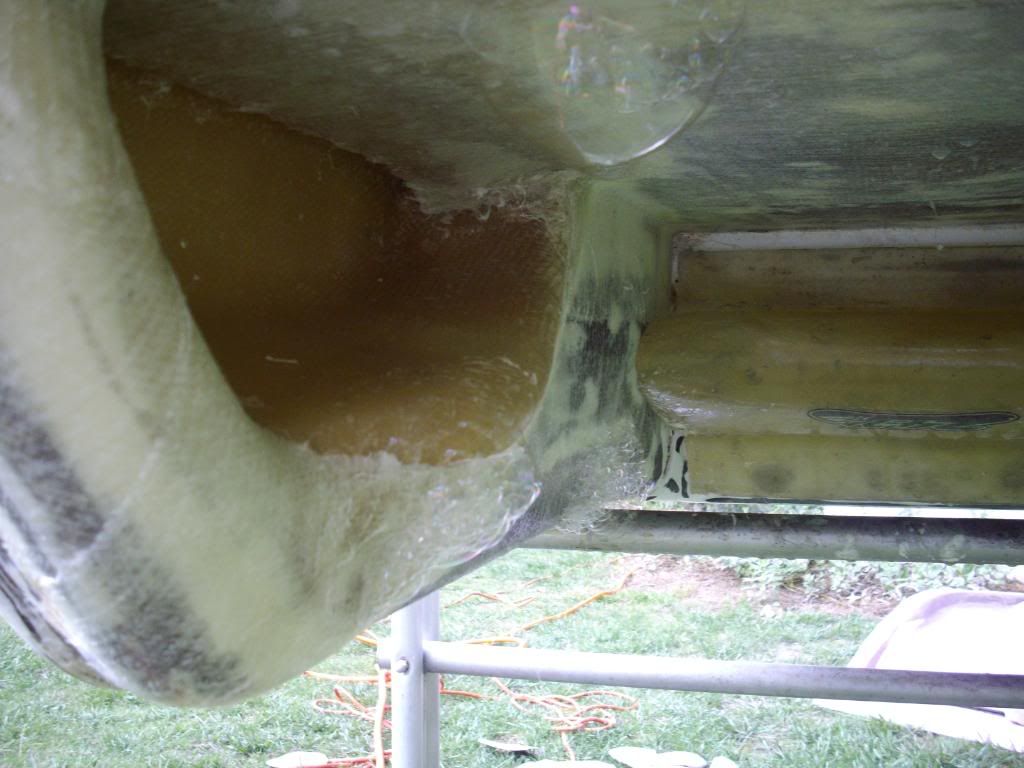
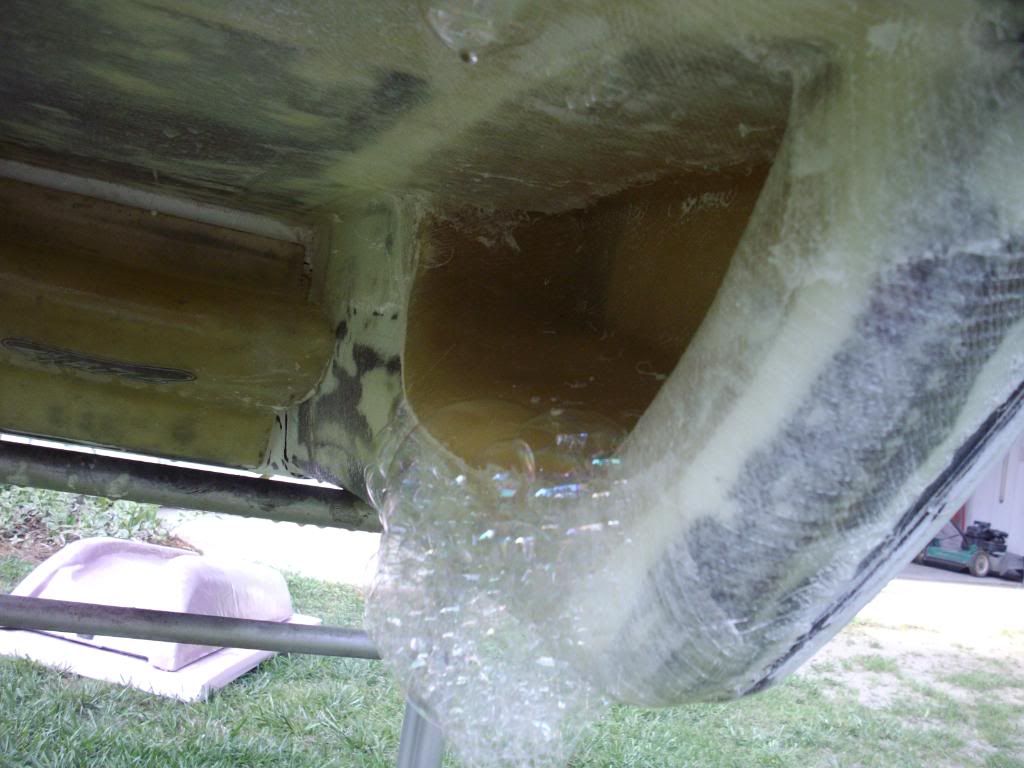
well I found out today that my hull sealing abilities are sub-par. I sprayed down everything with soap water and pressurized the back of the hull and here is what I saw :Eyecrazy: Looks like Im going to be doing more work. I guess the good news is there are no leaks inside, around the oneway, or at the back where I cut. Lots more sanding and filling has been done, and Im almost ready for paint... most likely within the next week.

IMGP0338.jpg

IMGP0337.jpg

IMGP0336.jpg

IMGP0334.jpg

IMGP0333.jpg
 

Attachments

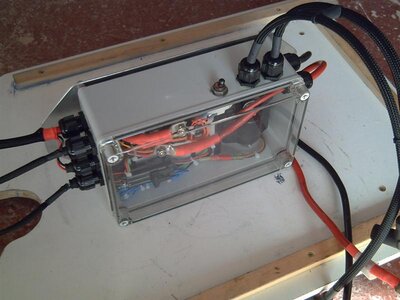
  • elec box (8) (Medium).JPG
    elec box (8) (Medium).JPG
    64.6 KB · Views: 75
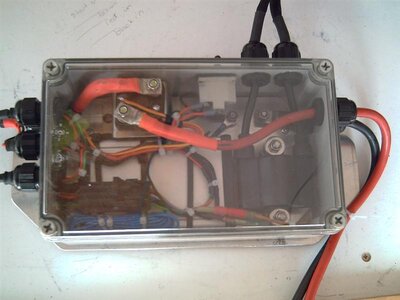
  • elec box (7) (Medium).JPG
    elec box (7) (Medium).JPG
    56.8 KB · Views: 85
I got mine in the Uk of Chris at ATP - I think they are pretty standard IP68 enclosures - If you follow the link I have detailed how i assembled the box
 
Top Bottom