Freestyle project hull

Location
Thailand
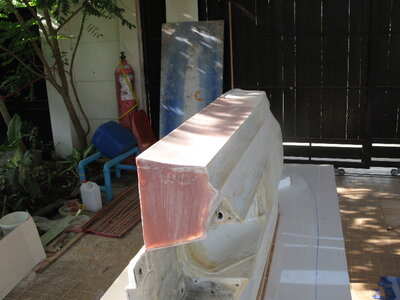
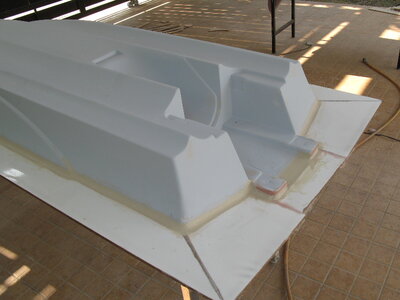
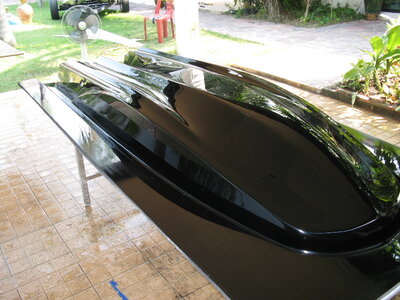
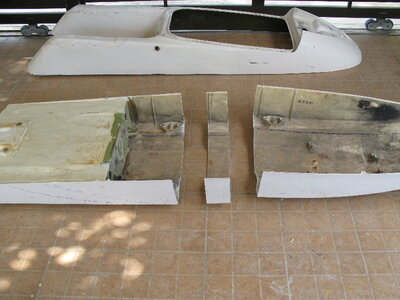
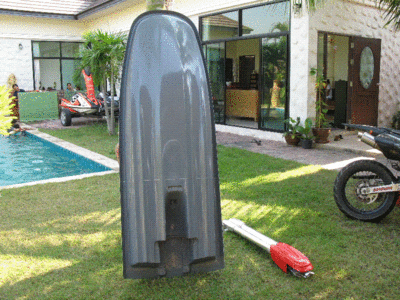
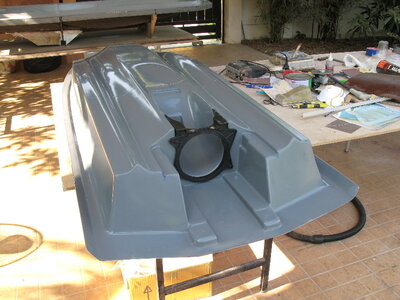
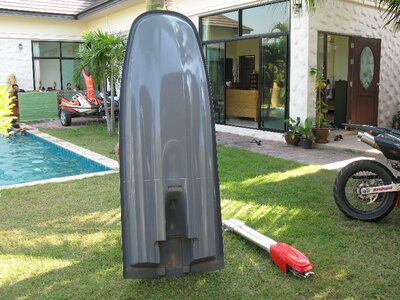
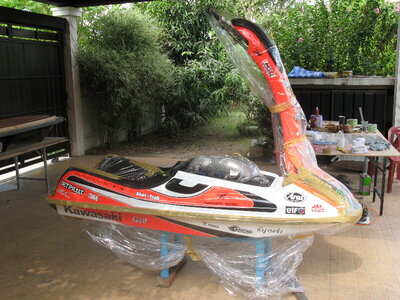
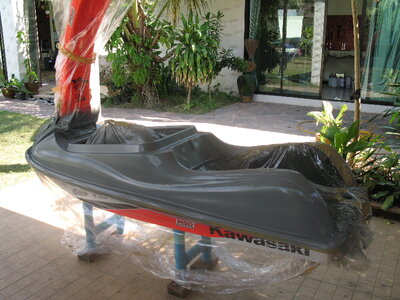
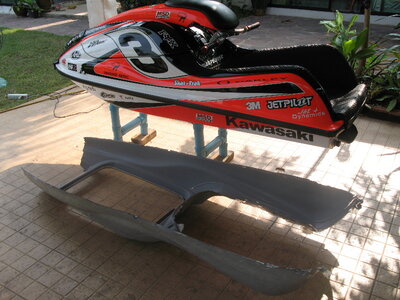
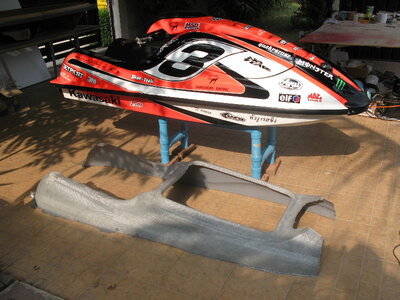
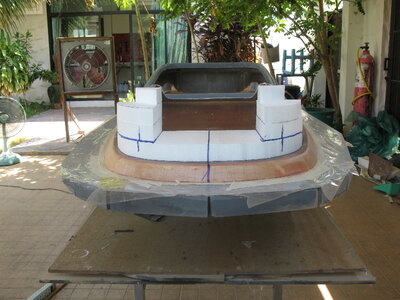
I am building a freestyle flat water hull taking moulds off a modified 06 SJ lower and a modified 06 SXR 800 top deck.
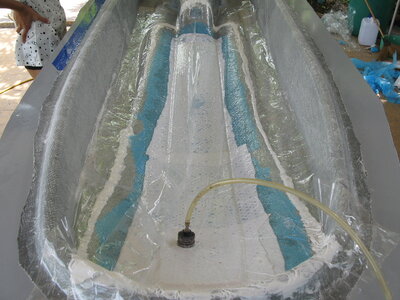
The construction will be vacuum bagged epoxy honeycomb glass cloth and carbon mix.
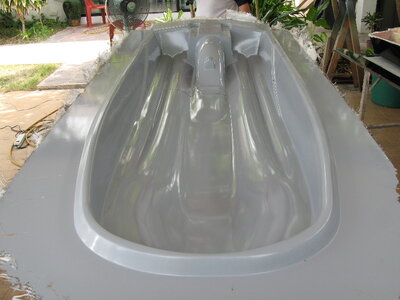
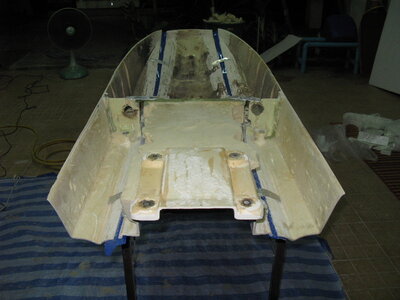
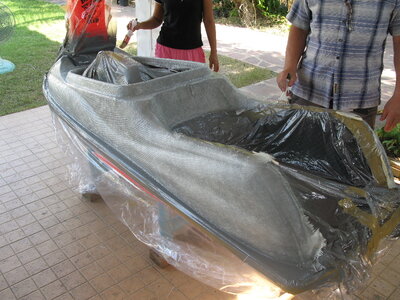
I have cut widened/shortened the plug for the lower deck made a mould and taken the first product, Its looking good !
I will post more pics at different stages.
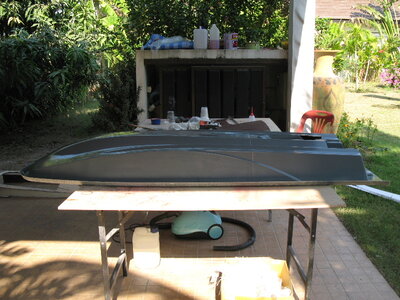
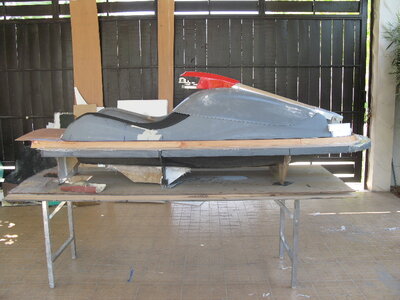
The topdeck is next I have just taken a mould off my SXR 800 hood yesterday( a bit nerve racking as I just spent a month painting it 9 months ago!) But it came right out OK. Plenty of wax and PVA followed by a soak in the swimming pool to devolve the PVA.

IMG_3621


Current Attachments (2.24 MB)
jpg.gif
IMG_3510.JPG (300.1 KB)
jpg.gif
IMG_3535.JPG (256.2 KB)
jpg.gif
IMG_3546.JPG (211.8 KB)
jpg.gif
IMG_3562.JPG (343.5 KB)
jpg.gif
IMG_3565.JPG (186.7 KB)
jpg.gif
IMG_3575.JPG (188.2 KB)
jpg.gif
IMG_3589.JPG (154.4 KB)
jpg.gif
IMG_3648.JPG (250.9 KB)
jpg.gif
IMG_3664.JPG (168.7 KB)
jpg.gif
IMG_3679.JPG (230.1 KB)
 

Attachments

  • IMG_3575.JPG
    IMG_3575.JPG
    188.2 KB · Views: 909
  • IMG_3589.JPG
    IMG_3589.JPG
    154.4 KB · Views: 965
  • IMG_3664.JPG
    IMG_3664.JPG
    168.7 KB · Views: 1,050
  • IMG_3565.JPG
    IMG_3565.JPG
    186.7 KB · Views: 1,034
  • IMG_3621.JPG
    IMG_3621.JPG
    261.9 KB · Views: 1,147
Location
Thailand
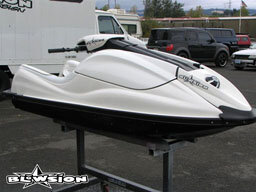
No reason really apart form I like the style ! and the hood seal lip is a stronger design.

IMG_2759.jpg
 

Attachments

  • whitey_01_small.jpg
    whitey_01_small.jpg
    36.3 KB · Views: 1,020
  • IMG_2759.jpg
    IMG_2759.jpg
    98.2 KB · Views: 1,499
Location
Thailand
What have I done my paint job ! Lets hope it comes off OK tomorrow !
I will post a pic of the result. :thinking:

jpg.gif
IMG_3734.JPG (305.7 KB)

jpg.gif
IMG_3741.JPG (265.9 KB)

jpg.gif
IMG_3743.JPG (274.2 KB)
 

Attachments

  • IMG_3734.JPG
    IMG_3734.JPG
    305.7 KB · Views: 1,121
  • IMG_3741.JPG
    IMG_3741.JPG
    265.9 KB · Views: 1,304
  • IMG_3743.JPG
    IMG_3743.JPG
    274.2 KB · Views: 1,077
Last edited:

haggis

its raining again!
Wow you're brave!!!

what you planning on doing for a tray once you've pulled the mold? will you fab one and add to the mold or fit once the top deck has been popped out and bonded to hull?
 
Location
Thailand
I am going to fabricate a tray along with the nose using foam shaped and then covered with glass cloth.
This will be done when the plug has been popped out of this mould......if it comes off the ski !
I am doing this for two reasons one being I did not want to de-turf my SXR , and the second it I want to re-shape and shorten the length of the tray and nose as my lower hull is shortened.

Thanks for your interest I will put pictures up during the shaping job

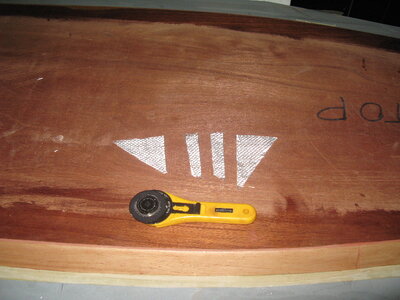
PS until today I found cutting glass cloth a chore , But I just bought a great tool, a rotary knife It cuts 48gram right up to 600gram as fast as you can move your arm! Its actually fun cutting the cloth now! and it leaves the edge perfect!


IMG_3744.JPG


Attachments

  • IMG_3744.JPG
    IMG_3744.JPG
    227.6 KB · Views: 777
Location
Thailand
Well lying awake early this morning wondering if the mould had stuck,
I got to thinking about the pro's and cons of moving the engine back a little to get the C of G Back , Then came up with the idea of making two fuel cells mounted through the bulkhead one above the scupper tube and one below the exhaust tube either side supported in moulded foam bagged to stop ingress of water, Bolting through the bulkhead using a flange on the cell would allow servicing if needed. The cells would be linked together inside the engine bay with a 10mm bore pipe at the bottom and a 5mm bore pipe at the top to allow the fuel level to equalise but not serge to on side during manoeuvres , The foam inside the cells would also control surging.
The filler and breather would be on the left side of the ski inside the engine bay while the feed to the carbs would be on the right hand lower cell .

I will try it and report the result


:sleeping:
 
Location
Thailand
Not sure about weight for this hull , I have targets for each moulding but I would like to make sure my calculations are somewhere near before spouting off figures!
The hull lower is done and bare with no tubes, Pump/ride plate fixings bulhead etc it weighs 9.1 kilos.

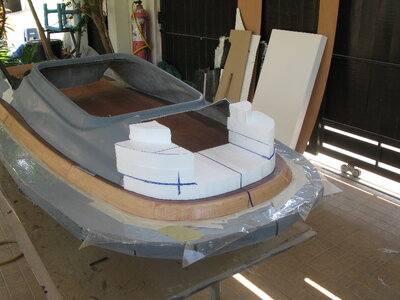
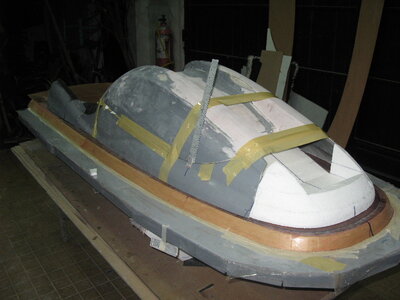
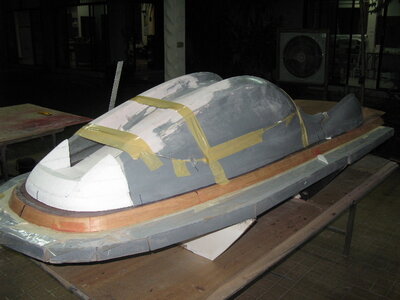
Good day today top deck wells started , Forming the nose from foam shaped with a hot wire cutter then sanded works well.

All the tape and rule is holding the hood in place as the inner seal flange is being bonded into the pattern hood to allow alignment and to add rigidity while shaping.

The hood is going to be single skin honeycomb sandwich with a seal flange around the lower edge ,The air supply for the engine will be via the pole tubes.

jpg.gif
IMG_3778.JPG (197.6 KB)

jpg.gif
IMG_3777.JPG (212.1 KB)

jpg.gif
IMG_3779.JPG (235.2 KB)

jpg.gif
IMG_3782.JPG (176.1 KB)

jpg.gif
IMG_3783.JPG (178.3 KB)
 

Attachments

  • IMG_3778.JPG
    IMG_3778.JPG
    197.6 KB · Views: 898
  • IMG_3777.JPG
    IMG_3777.JPG
    212.1 KB · Views: 1,115
  • IMG_3779.JPG
    IMG_3779.JPG
    235.2 KB · Views: 718
  • IMG_3782.JPG
    IMG_3782.JPG
    176.1 KB · Views: 927
  • IMG_3783.JPG
    IMG_3783.JPG
    178.3 KB · Views: 874
Top Bottom