Flash-FX
No Square..No Round..FX-1
- Location
- South Jersey Shore
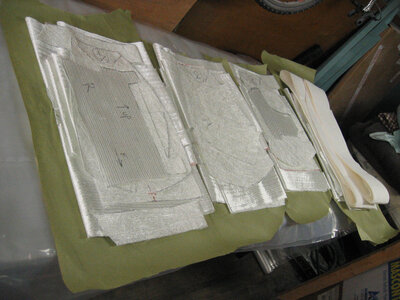
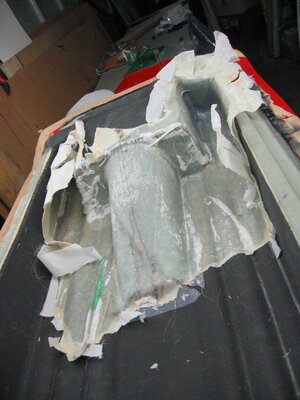
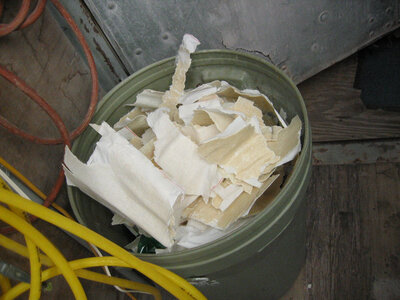
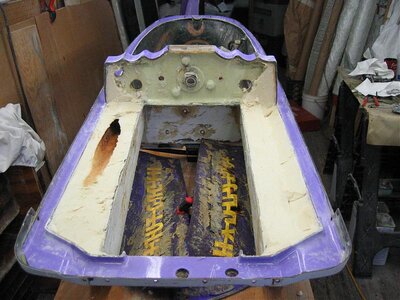
Time for more :banghead: :banghead: :banghead:. Now that I made some pretty decent patterns.The layers of fiberglass needed to be cut.(Here is another :sneaky: never talked about subject:sneaky: ). Do you just lay down like a bunch of thick glass and go for it? That's apparently what the factory did. But after cutting up the test boat and seeing the uneven fiberglass layers, I knew I could make improvements here...like cut down some weight.
During the last 2 years I had made some "test" patches of various mini-layups on a piece of 18" x 34" glass.(A old entertainment center glass door) This was really helpful. Just wax or Rain-X the glass surface real good, then cut the fiberglass/carbon (or what ever you need to determine the layup schedule) in 2" strips and do the resin work. What's cool about this is that you can see any air bubbles from bottom side of the glass and get a better idea how to work them out. After the resin cures in a day or so, the test pieces peel off the glass real easy for the "flex and break test". Another use for the glass is for making perfect "sheets" of carbon fiber for projects. The bottom side has a perfectly flat, high gloss finish. How about using a sheet of this stuff for the baffle under those SJ hoods? :bigeyes: Bling:cheer:
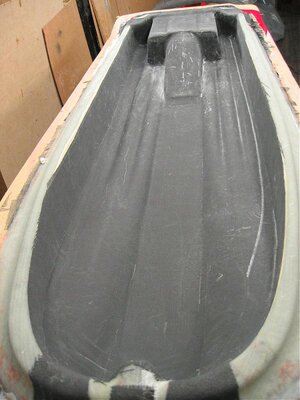
After all this testing I finally decided on a layup schedule. :sneaky: :sneaky:
1-Epoxy/graphite gelcoat layer (the outside)
3-layers of 12 oz. Biaxial fiberglass
1-layer of 2mm Baltek Coremat,
1-layer of 12 oz. Biaxial fiberglass
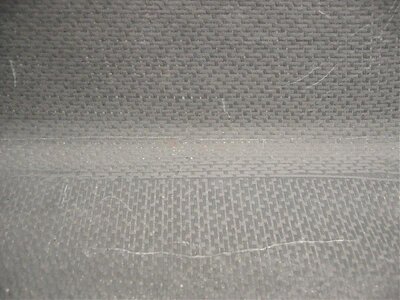
1-layer of 5.6 oz carbon fiber (to stiffen things up on the inside:bigeyes: )
2" 5.6 oz standard weave carbon fiber tape in between layers of cloth in all the corners. (5 layers)
3" uni-directional CF tape in the bottom side corners & in the sharp edges of the pump tunnel.
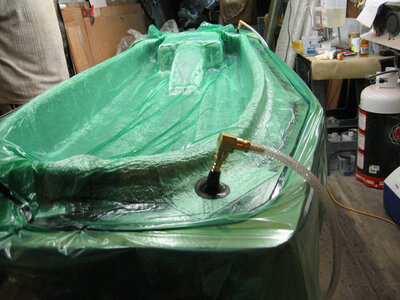
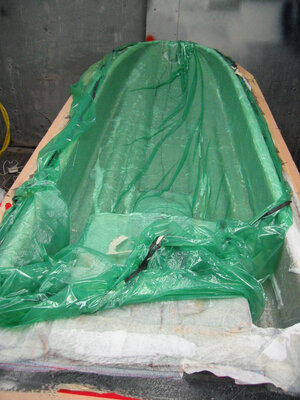
The Coremat is a super lightweight poly-spun material with microballoons that has perforations every 1/4" to let the resin bond both sides together real good.:sneaky: :sneaky: :sneaky: Also lets the air out between the layers when vacuum bagging.
Remember this is just my "test" boat and if something screws up, I'll just make another.:cheer:
Last edited:

