You are using an out of date browser. It may not display this or other websites correctly.
You should upgrade or use an alternative browser.
You should upgrade or use an alternative browser.
Super Jet Keepin it Square **DONE** (for now)
- Thread starter CBiDrive
- Start date
- Location
- Denver, ColoRADo
- Location
- Denver, ColoRADo
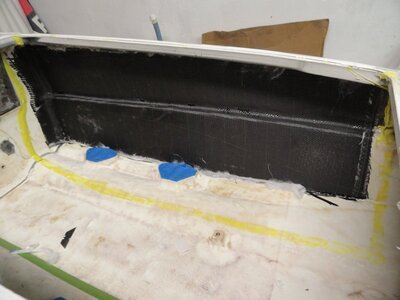
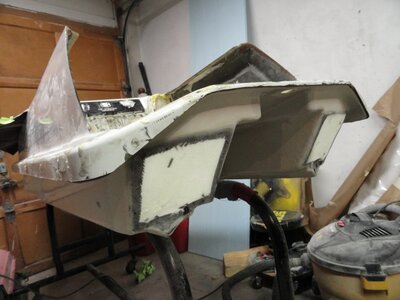
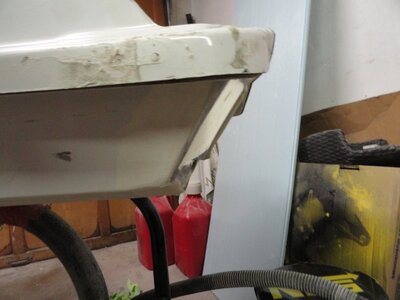
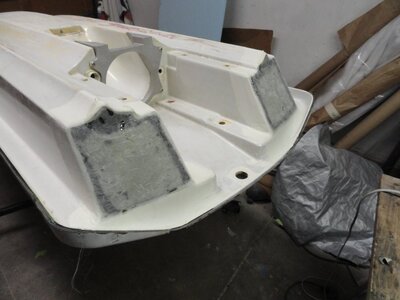
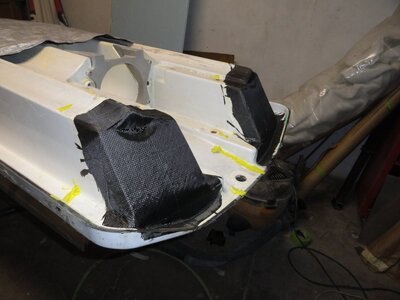
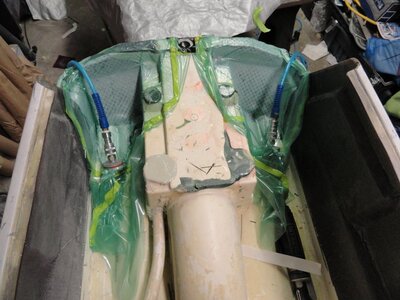
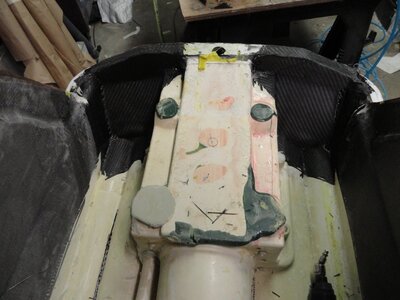
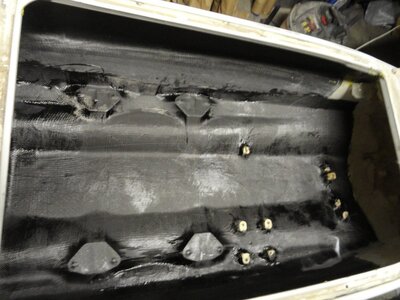
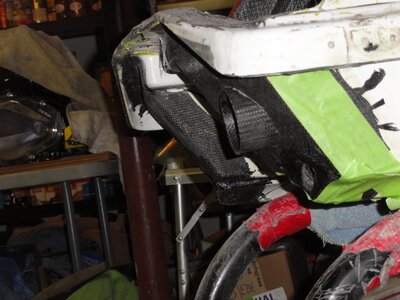
Not one to realize I am in over my head I decided to cut the rear three in since I do not want to have to open it back up to do this in the future. I went with the angle cut, I just kind of like how it looks. Made a the caps with a molded in drain plug recess so they would sit level. just have the caps bonded on at the moment. Now to bag some fabric onto both sides
Attachments
icecoled007
Captain of this ship
- Location
- Colorado
Wow, never saw this thread. Nice build man - your taking that old square to levels I never could. That thing has really came along way. You look like a pro with all that fiberglass work. That motor looks incredible.
If only you saw it when I first got it..... it was pretty much abandoned up in the woods, and now its been reborn!
@fast superjet chase look at my old square!
- subscribed
If only you saw it when I first got it..... it was pretty much abandoned up in the woods, and now its been reborn!
@fast superjet chase look at my old square!
- subscribed
- Location
- Denver, ColoRADo
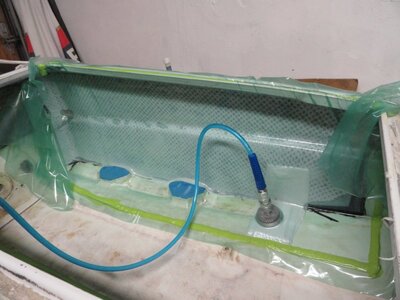
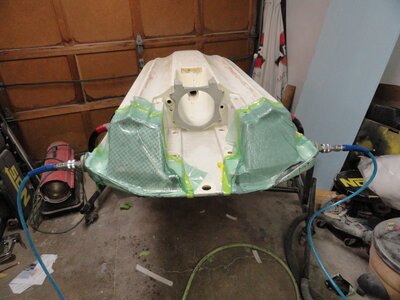
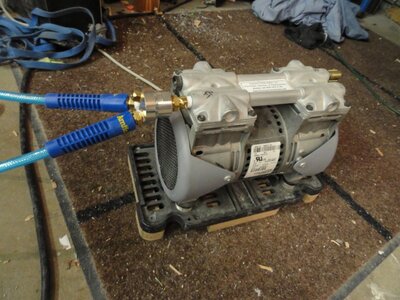
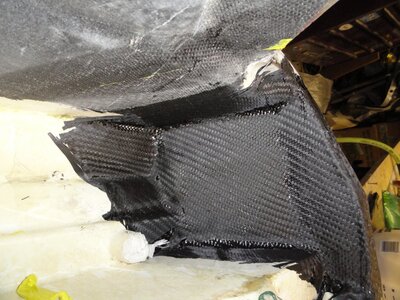
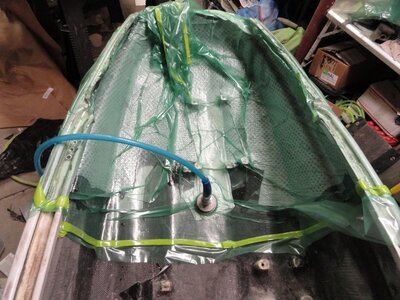
I know everybody is probably getting sick of bagging pics, but how about a double bagger. Thought I'd throw a pic of vacuum pump also since people have asked. If you'd like to try bagging this is a sweet setup, I'm constantly thinking of what else I can make with carbon fiber
Attachments
- Location
- Denver, ColoRADo
makejetskiinggreatagain
Brandon
wow! you gonna have that thing done before the mile hi freeride at the end of may?
- Location
- Denver, ColoRADo
It's gonna be close. I have still got a lot of work to do.
TontoM3
Manager of Gnar Shredding activities
- Location
- Lake of the Ozarks, Missouri
This is awesome
- Location
- Denver, ColoRADo
icecoled007
Captain of this ship
- Location
- Colorado
Whats the plan for the tray?
Not sure if you know this already but the top deck of the squares are known to be less structurally as strong as the bottom. The top deck is made out of different material as the hand laid filberglass on the bottom.
Not sure if you know this already but the top deck of the squares are known to be less structurally as strong as the bottom. The top deck is made out of different material as the hand laid filberglass on the bottom.
- Location
- Denver, ColoRADo
It will be a little wider than stock from the bulkhead back to the footholds. From footholds back the tray walls will be about an inch thick all the way back with a slight heel lock in. With the honeycomb that I put on the outboard tray walls, right now there is no flex in them at all. I know what you mean the deck material is way different its like grinding pressed cardboard but I will have enough carbon on there to make sure it wont go anywhere.
Last edited:
- Location
- Denver, ColoRADo
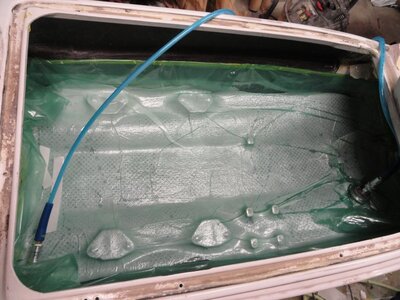
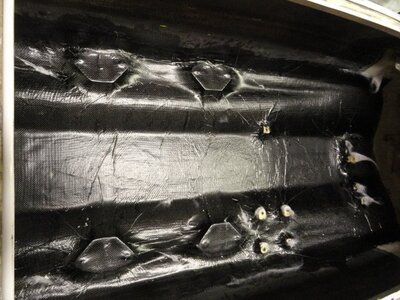
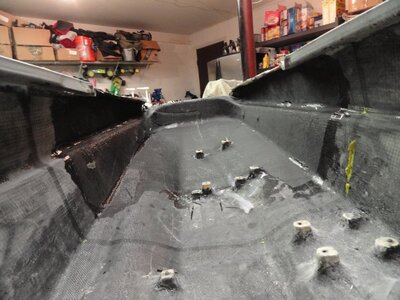
So I've showed a bunch of successful lay ups. Inexperience caught up with me. Total fail on bilge floor. Structurally fine and I got a good bond on last ply, but I decided to bag it because I couldn't get a clean hand lay up. Bagged it with no peel ply to get shiny finished surface. Problem is that the release ply does not stretch at all and wrinkles. All of the wrinkles you see are just high spots of resin which all need to be sanded down, and we are talking hours of prep before I can clearcoat it.
Oh Well. Live and learn
Oh Well. Live and learn
Attachments
Last edited:
- Location
- Denver, ColoRADo
TontoM3
Manager of Gnar Shredding activities
- Location
- Lake of the Ozarks, Missouri
Hey man, you at least seem confident in trying it in the first place! Doesn't look like you're cutting corners either
icecoled007
Captain of this ship
- Location
- Colorado
Agreed ^ looks really good
- Location
- Denver, ColoRADo
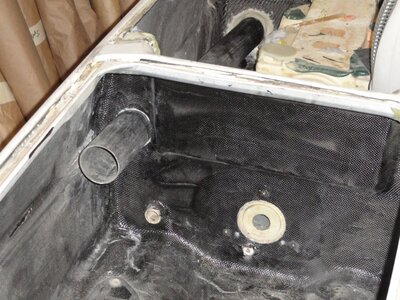
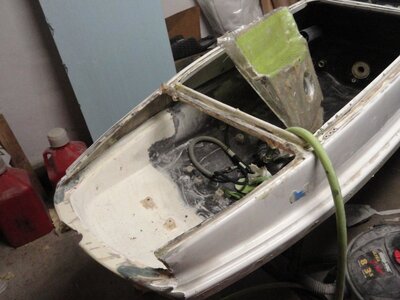
Got exhaust pipe bonded in, nose cap core roughed, nose bond line done.
I was thinking of leaving the exhaust pipe coming out like in the pic. Any reason that it would be better to flush it.
I was thinking of leaving the exhaust pipe coming out like in the pic. Any reason that it would be better to flush it.
Attachments
TontoM3
Manager of Gnar Shredding activities
- Location
- Lake of the Ozarks, Missouri
I like how it looks sticking out!
- Location
- Denver, ColoRADo
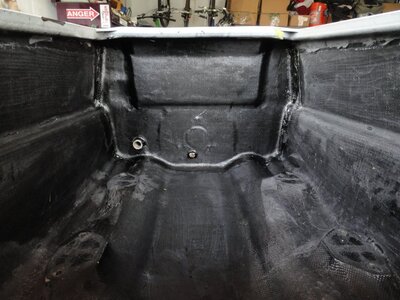
Since most of the nose cap will be hand laid up I bagged up the nose of the hull just to make sure I had a good bond. I did have to cut out the hood channel for now, really made it easy to work there. I'll just re-attach it when I do the cap
Attachments
makejetskiinggreatagain
Brandon
any progress this weekend?

