my -4 years SN project - no rocker, no short ;-)

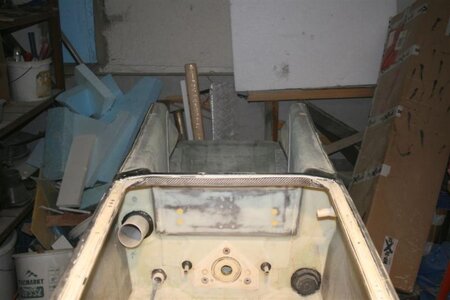
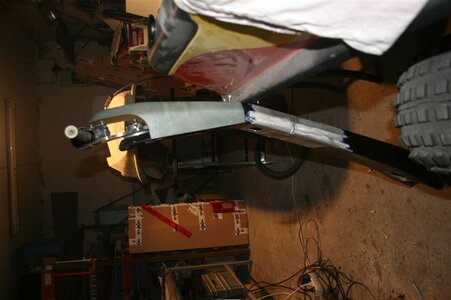
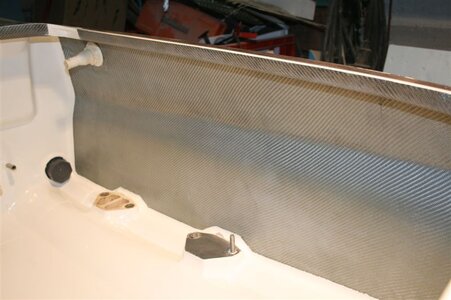
No trim tube just in case ?
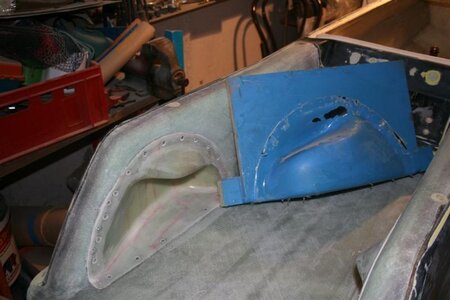
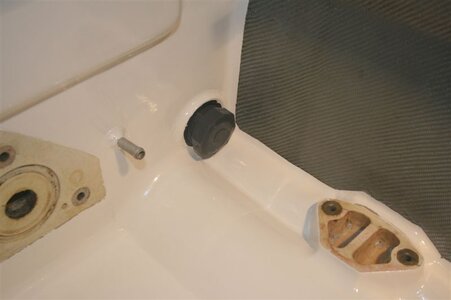
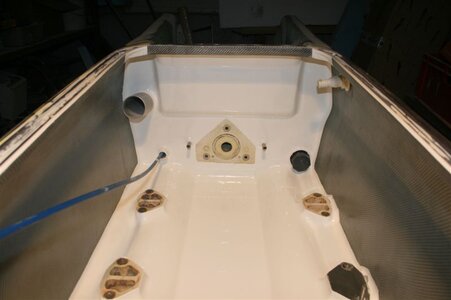
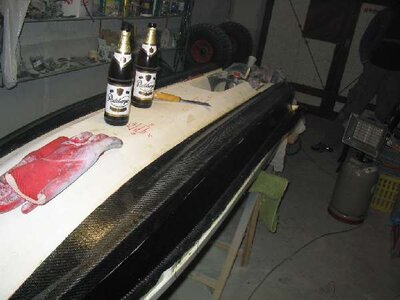
I'm not a fan of hose clamps inside the tray. My friend had them in his ski and just over a year into it, one gave up.

it´s a surf ski - no trim needed for me!

:scratchchin: never thought about the hose clamps. atp sets up their scuppers without the hose clamps, the joints on the coupler are glued. i just put on the hose clamps for security. so i hope there will never be a problem with them
 
-tray filled with extruded foam (XPS) pieces and shaped the tray form out of it
-widened tray ~3cm in the back on each side
-tray almost ready glassed
-enlarged ATP footholds (for underpadding) and buillt a mold out of them
-built new larger footholds
-built the footholds in
 

Attachments

  • IMG_3507.jpg
    IMG_3507.jpg
    58.2 KB · Views: 127
  • IMG_3499.jpg
    IMG_3499.jpg
    43.9 KB · Views: 97
  • IMG_3500.jpg
    IMG_3500.jpg
    53.9 KB · Views: 112
  • IMG_3502.jpg
    IMG_3502.jpg
    40.6 KB · Views: 85
  • IMG_3503.jpg
    IMG_3503.jpg
    42.4 KB · Views: 88
  • IMG_3504.jpg
    IMG_3504.jpg
    41.7 KB · Views: 88
  • IMG_3508.jpg
    IMG_3508.jpg
    49.5 KB · Views: 99
  • IMG_3505.jpg
    IMG_3505.jpg
    35.1 KB · Views: 86
  • IMG_3506.jpg
    IMG_3506.jpg
    43.1 KB · Views: 108
  • IMG_3501.jpg
    IMG_3501.jpg
    43.8 KB · Views: 92
some progress

made a chin pad for the ac-pole
 

Attachments

  • IMG_4105.JPG
    IMG_4105.JPG
    78.4 KB · Views: 71
  • IMG_4106.JPG
    IMG_4106.JPG
    53.5 KB · Views: 74
  • IMG_4118.JPG
    IMG_4118.JPG
    44.1 KB · Views: 77
  • IMG_4107.JPG
    IMG_4107.JPG
    59.6 KB · Views: 77
  • IMG_4108.JPG
    IMG_4108.JPG
    60.1 KB · Views: 72
  • IMG_4109.JPG
    IMG_4109.JPG
    58.6 KB · Views: 70
  • IMG_4110.JPG
    IMG_4110.JPG
    66.9 KB · Views: 66
  • IMG_4111.JPG
    IMG_4111.JPG
    54.1 KB · Views: 67
  • IMG_4112.JPG
    IMG_4112.JPG
    87.4 KB · Views: 64
Last edited:
painted the engine bay with white bilge paint
 

Attachments

  • IMG_4130.JPG
    IMG_4130.JPG
    39.6 KB · Views: 62
  • IMG_4120.JPG
    IMG_4120.JPG
    36.1 KB · Views: 68
  • IMG_4122.JPG
    IMG_4122.JPG
    46.8 KB · Views: 72
  • IMG_4126.JPG
    IMG_4126.JPG
    38.6 KB · Views: 64
  • IMG_4127.JPG
    IMG_4127.JPG
    71.9 KB · Views: 68
  • IMG_4128.JPG
    IMG_4128.JPG
    64.2 KB · Views: 69
  • IMG_4129.JPG
    IMG_4129.JPG
    52.8 KB · Views: 67
Looks awesome! I love all of the finishing details

Thank you!

Here are some pics (for ajmps1) of the outside carbon reenforcement i did in 2005.
 

Attachments

  • carbon1.jpg
    carbon1.jpg
    29.3 KB · Views: 41
  • carbon3.jpg
    carbon3.jpg
    32.5 KB · Views: 43
  • carbon4.jpg
    carbon4.jpg
    28.9 KB · Views: 42
  • carbon5.jpg
    carbon5.jpg
    29 KB · Views: 43
  • carbon6.jpg
    carbon6.jpg
    27.3 KB · Views: 42
  • carbon7.jpg
    carbon7.jpg
    30.4 KB · Views: 43
  • carbon8.jpg
    carbon8.jpg
    46.5 KB · Views: 42
  • carbon9.jpg
    carbon9.jpg
    50.7 KB · Views: 41
  • carbon10.jpg
    carbon10.jpg
    55.6 KB · Views: 40
and some more........
 

Attachments

  • carbon16.jpg
    carbon16.jpg
    40.2 KB · Views: 45
  • carbon11.jpg
    carbon11.jpg
    26.6 KB · Views: 44
  • carbon12.jpg
    carbon12.jpg
    43.3 KB · Views: 43
  • carbon13.jpg
    carbon13.jpg
    44.2 KB · Views: 43
  • carbon14.jpg
    carbon14.jpg
    29 KB · Views: 44
  • carbon15.jpg
    carbon15.jpg
    49.9 KB · Views: 44
Top Bottom