Neglected 96 RN Build

I think there are two trains of thought for break in... ride it easy under 1/2 throttle or ride it like normal to seat the rings. I think you'll be fine either way.

Looking good.
 
i run it for about 30 min constantly blipping the throttle not exceeding 1/2 throttle, making s turns to load the engine well. run it, let it completely cool off, run again for 30ish min, this time up to 3/4 throttle, let it completely cool, run again for 30ish min, this time going to wot but letting back off. then let completely cool. that should seat the rings. no sustained wot runs until first tank is finished. ill also open the screws extra 1/4 to 1/2 turn during break in to make it a little richer to seat the rings.
 
Thanks for the input guys. I’ll do the easy break in method but I’ll probably be tempted to do a few full throttle blips on the first tank.

The expansion chamber is rubbing on the hull at the end of the coupler flange. It’s been like that forever, but my head pipe has already cracked once. Was going to run it as is but I was reminded how much the motor vibrates after starting yesterday. Seems like a lot of people have been looking for head pipes, I’m assuming I’m not the only one that’s had one crack. I feel like all that force from vibration plus shock from landing definitely puts a lot of stress on the flange. So I’m going to pull the head pipe and clearance the hull some for more peace of mind before going out today.
 
The lake test was a success, no drama so far. This thing sips gas, especially without running it wide open. Only managed to burn 3/4 tank. Throttle response was pretty good, I started to get into it more towards the end of the tank. The low end needs some tuning but it really pulls in the midrange. Did a few pulls but nothing long enough to feel the high speed jetting.

Current jetting is 127.5 pilot, 155 main, 2.0 NS 19 psi, single 46mm. Started at 1.5 turns on both screws. Idle to WOT blips seemed more responsive at 1.75 to 2 turns on the low speed. The plugs were a nice mocha color, but seemed a little lean looking and were fairly dry. From what I can gather it seems it needs a richer pilot jet and / or lower pop off. ~20 psi seems to be about normal with AM arrestors. Can / should I try lower, or will it cause dribbling? This jetting seems rich compared to most the setups I can find, does the porting mean it needs that much more fuel? I have other springs to play with, but no larger pilot jets on hand. I'm still running 32:1 for another tank before going back to 40:1. Will that affect the jetting at all?

Compression tested it and got 187/190 on 35cc domes.

Thanks for the input so far.
 
Last edited:
that jetting is very similar to the jetting on my 46 on my ported sp 750 with a blaster chamber. you could try playing with popoff, mine is at 25 psi- 2.0 n/s with 95g spring. sounds like you have the black spring. if you lower the popoff, definitely get a larger n/s and run a heavier spring, that should reduce dribbling.
 
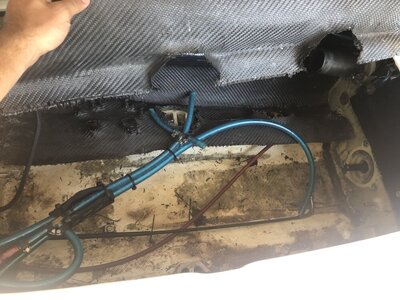
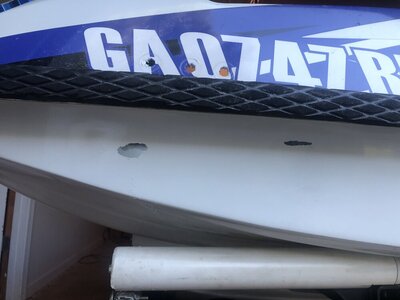
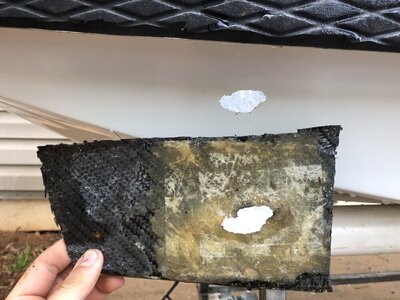
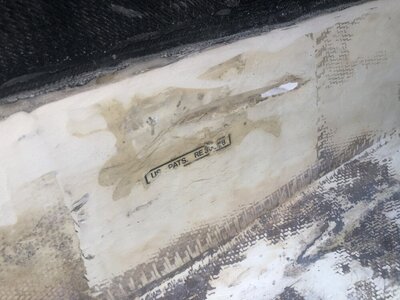
Time for the latest chapter in this old things dilemmas. Put the ski in the garage and noticed water dripping from under the engine. Discovered a 6" crack in the bottom that turned out to be a lot bigger. Remember that carbon from the previous owner I decided to leave alone? Big eff up on my part. Once I got a corner going I could pretty easily pull it in large sections. It was more so a cosmetic patch over some equally half assed repairs. I didn't hit anything and haven't even beached this thing. Must just be fatigue from jumping and the 1708 I put on the bottom is the only reason it lasted for 2 seasons.

1625770703219.jpeg
1625770742109.jpeg
1625770778471.jpeg
1625770815516.jpeg
1625772022797.jpeg

"Yeah man lets leave that sticker on for better adhesion"
1625770832644.jpeg
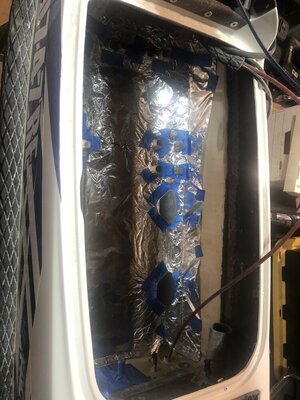
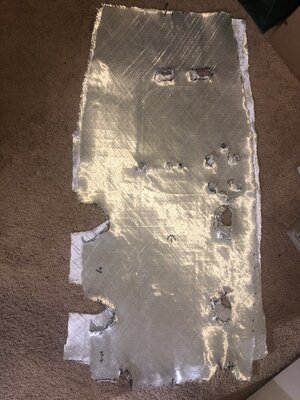
Made some of the usual aluminum foil templates.
1625770946500.jpeg
1625770984481.jpeg
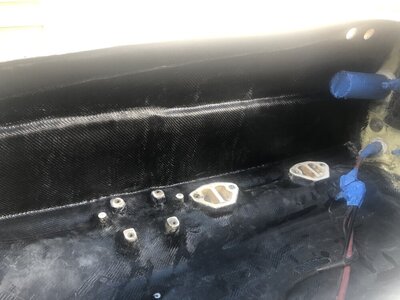
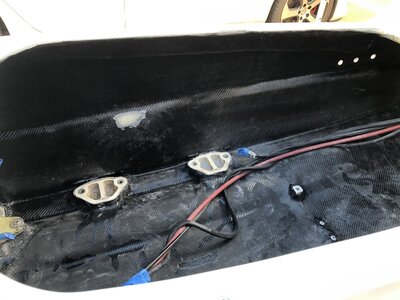
Decided to go with 2 layers of 17oz biaxial with no mat and 2 layers of 7725 2x2 twill all around for the ultimate redneck carbon appearance. Laid the bottom layers of 17oz without the dye since it makes it almost impossible to see if the fabric is wetted out and free of bubbles. Then used dye on the top 2 layers of twill that wets out super easy. Also 2 extra layers of 4" wide conform tape all around the hood lip. Biaxial without the mat uses so much less resin and is way easier to conform and get to adhere. Never using 1708 again. I decided to try some peel ply on the bottom, never doing that again. It didn't want to stick to the tacky epoxy at all like wax paper does. Ended up leaving an ugly ununiform appearance. Live and learn I guess.

The bottom was done first with a 2-3" overlap up the sides. Then each side was done with the ski on its side with a 2" overlap onto the bottom.
1625771375195.jpeg
Little notch in the glass for where the B pipe coupler rubs on the hull.
1625771429544.jpeg
 
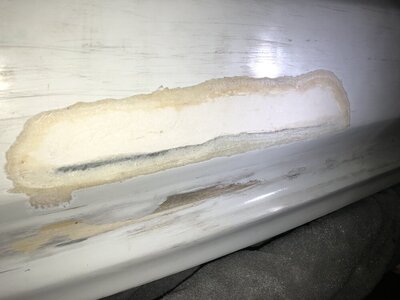
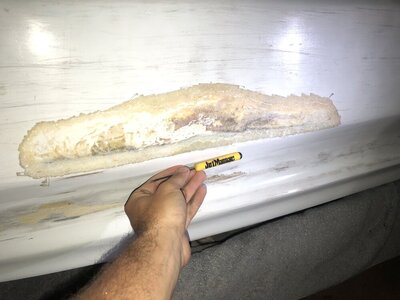
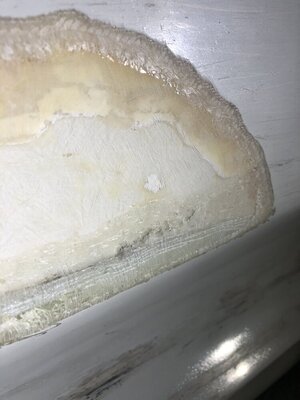
Next came the crack on the bottom that I thought would be just a simple V notch with the dremel. Was grinding at it and could tell the whole area was delaminating. Turns out there must've been a deep gouge that was painted over and then epoxy filled. Kept using a small screw driver to try to peel at the edges to see if it's poorly adhered. Ended up with this huge area that I hit with a 2" 60 grit flap disc on the die grinder to get down to SMC. Feathered the edges nicely with that then used various layers of the 8.5oz twill depending on the depth in that area. 5 layers everywhere and another 2-3 to get it flat.
1625772474667.jpeg
You can see where the idiots just put thickened epoxy over paint.
1625772602852.jpeg
1625772449082.jpeg

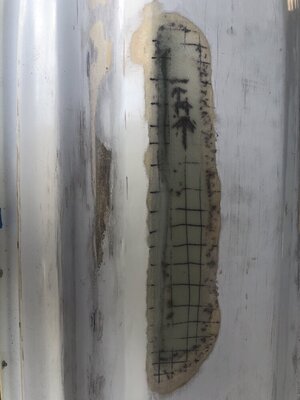
Let it dry then hit it with the orbital and 60 grit to knock down the high spots. Used a grid of sharpie lines as a redneck guide coat to find the lows.
1625772719872.jpeg
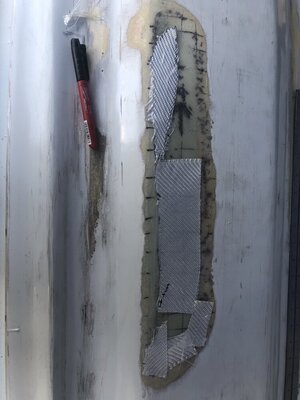
Then a few more layers of cloth in the low spots. I'd much rather add glass than just thickened epoxy. Once this dried it was sanded and just a skim coat of thickened epoxy over top. This way I didn't need but just 1/16" of filler in the lows and nothing in most the area.
1625772756386.jpeg
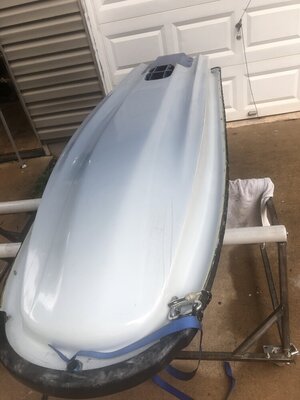
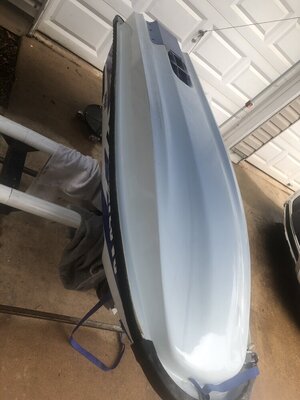
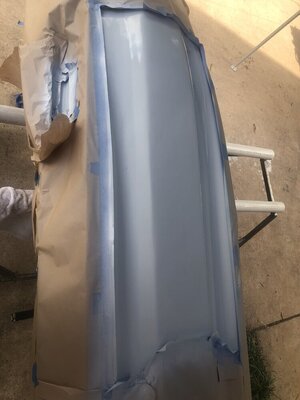
After sanding this just a skim coat of glazing putty to fill the pinholes. Decided to repaint most of the bottom. Used the leftover epoxy primer and paint from before. I didn't want to mess with the spray gun so I went with a couple $5 Preval sprayers. It's like a refillable rattle can, but it also sprays like one. Plenty good however for small areas like this, especially the bottom. Same process as before, wetsand the next day with 400 and 600 then paint. Then 1k, 2k, 3k, buff on the paint. I haven't done much paint blending, or paint at all for that matter, but I'm pretty happy with it. I curled the edges of the masking tape back and sprayed at an angle so it leaves a feathered edge instead of a hard one.
1625773395638.jpeg
1625773451152.jpeg
1625773470881.jpeg
Took about 2 weeks out of the summer but I grinded to get it done before the 4th. Hopefully it holds, but only time will tell. At this point all the previous repairs are gone, so if it gives it's on me lol. Definitely not planning on buying any more skis with previous glass work. Will report back here if anything comes up or if I finally get (or build) a bigger motor for it.
 
man, you sure did a lot of work on this! I guess that's why they call this a hobby!
I thought hobbies were supposed to be fun :p I don't mind wrenching and the mechanical side of things, but I absolutely hate fiberglass and bodywork. This thing has become a vicious cycle of having too much time into it to give up on it, so then I end up putting more time and money into it lol. It is more rewarding to ride something you brought back from the dead than something turn key though, so that's a plus.
 
Top Bottom