- Location
- Cumming, Georgia
You are using an out of date browser. It may not display this or other websites correctly.
You should upgrade or use an alternative browser.
You should upgrade or use an alternative browser.
Neglected 96 RN Build
- Thread starter Carrera911
- Start date
smokeysevin
one man with a couch
- Location
- Houston
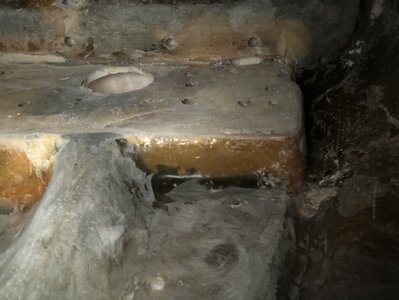
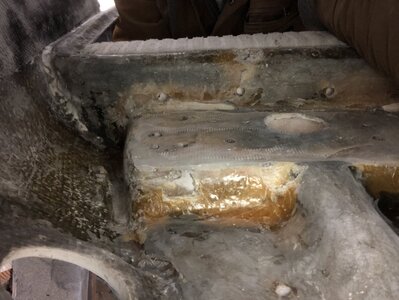
Those "repairs" look like they were done by the same person who did the work on my JS550 Project before I got it.
Great work on the ski so far.
Sean
Great work on the ski so far.
Sean
- Location
- California
I would consult some of the experts here on your transfer porting. I know everyone says unless you have a lot of experience and know exactly what you are doing to never touch the transfer ports. You can't just port match them like the exhaust and can actually cause a lot of problems.
- Location
- Cumming, Georgia
I would consult some of the experts here on your transfer porting. I know everyone says unless you have a lot of experience and know exactly what you are doing to never touch the transfer ports. You can't just port match them like the exhaust and can actually cause a lot of problems.
I did a lot of back and forth in my head before doing it and read as much as I can find on here. Bro science says more flow is more better, I know that’s not always true but I figured it couldn’t possibly make it worse. To me, it seems like when the piston comes up it actually seals when it passes the window in the sleeve. It doesn’t seem like it could affect the transfer timing if the sleeve window is still the same. What ultimately made me decide to do it was Erickson machine on YouTube. He posts a lot of helpful videos and I did it basically the same as he did his. He said yamaha made the cylinder casting for the 650 and didn’t bother changing it when they went to a 701. Ive also read about some X cylinders that have a good factory matchup. Assuming those sleeves are the same as mine, this should be basically the same thing. Who knows, hopefully it’ll work just fine.
Sent from my iPhone using Tapatalk
- Location
- California
I am not an expert, and that is why I typically leave transfer port roofs alone but I have definitely done a bit of massaging like @Carrera911 has done (on my own personal cylinder) and the engine performed very well, I think it should be a ripper.Actually messing with the transfer ports can make it way worse if you don't do it correctly.
@yamanube should be able to give some input on the transfer ports.
Nice work all around, I look forward to your ride report.
- Location
- Cumming, Georgia
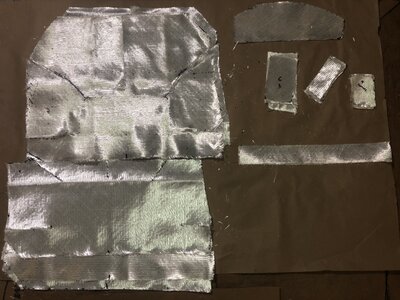
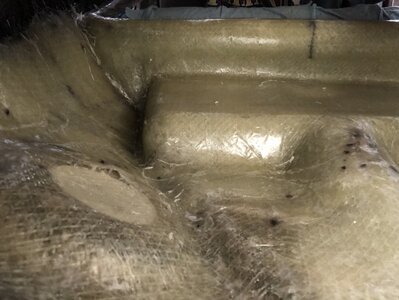
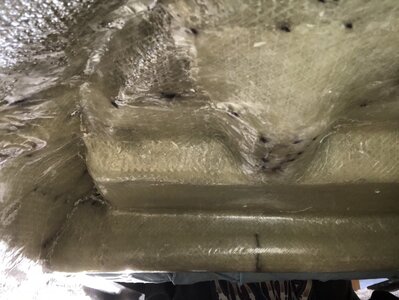
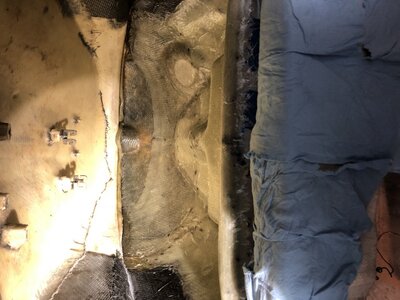
Got a little more work done. I was dreading glassing the inside of the nose, spent the whole day doing it yesterday, glad that's over with. Went with one full layer from hood lip to nose, 3 more layers from lip half way to nose, 3 inch strips over the relief cuts and one additional 3 inch strip on the lip. All in 1708. Instead of wetting it all out on cardboard beforehand like last year, I tried wetting it in place as suggested by uscomposites. Cabosil in all the low spots and V'd out cracks, wait 2 hours, paint tack coat, wait 30 mins then lay glass. This method took a lot longer, especially in the tight spots inside the nose, but I'm sure it saved some resin waste. Ended up using about a quart on 10 sq. ft of glass. Covered it in wax paper, babysat it for a couple hours pressing things back down. Hopefully it will be pretty bulletproof now, I'll still use the top and bottom bracing plates though.
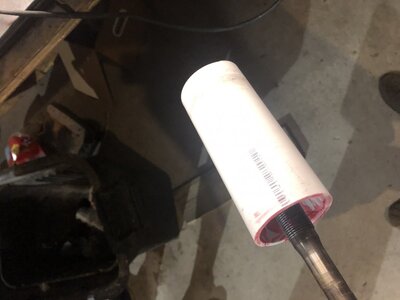
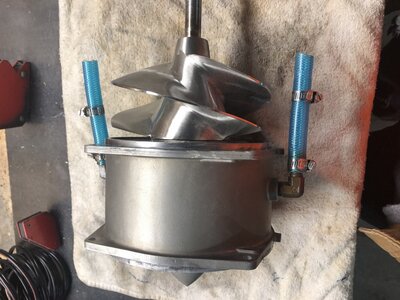
Got the pump rebuilt too, pressed it apart at my buddies place and used the freezer / torch method for assembly. Cleaned up the stator veins with the dremel. Packed the bearings with some M1 synthetic grease that I had on hand, should be good enough. Found out 2" pvc fits perfectly on the bearings to put it in the freezer. Glad I had a socket on hand when putting it together. The rear bearing and entire assembly needed a few love taps to go together. Thanks @john zigler for confirming the seal orientation. New wear ring and hooker 9/15 from @JetManiac. That thing is about as close as you can get to the stator section.
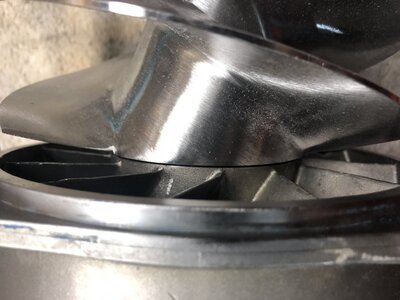
Now that hurdles out of the way, I'm hoping for a test ride next weekend. Still need to epoxy / port cases, paint cases / cylinder, powder coat fw cover, bedplates, ebox and b pipe then put it all together.


Got the pump rebuilt too, pressed it apart at my buddies place and used the freezer / torch method for assembly. Cleaned up the stator veins with the dremel. Packed the bearings with some M1 synthetic grease that I had on hand, should be good enough. Found out 2" pvc fits perfectly on the bearings to put it in the freezer. Glad I had a socket on hand when putting it together. The rear bearing and entire assembly needed a few love taps to go together. Thanks @john zigler for confirming the seal orientation. New wear ring and hooker 9/15 from @JetManiac. That thing is about as close as you can get to the stator section.


Now that hurdles out of the way, I'm hoping for a test ride next weekend. Still need to epoxy / port cases, paint cases / cylinder, powder coat fw cover, bedplates, ebox and b pipe then put it all together.
smokeysevin
one man with a couch
- Location
- Houston
Good work on the nose job, that is awful to do.
Sean
Sent from my LM-G710 using Tapatalk
Sean
Sent from my LM-G710 using Tapatalk
- Location
- Cumming, Georgia
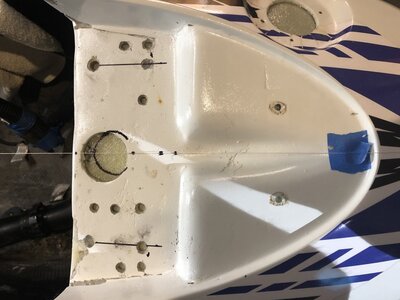
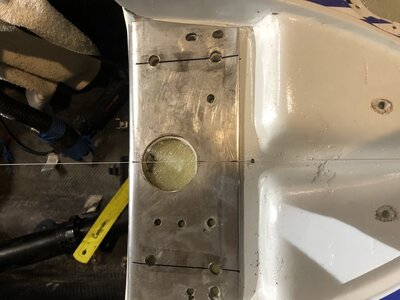
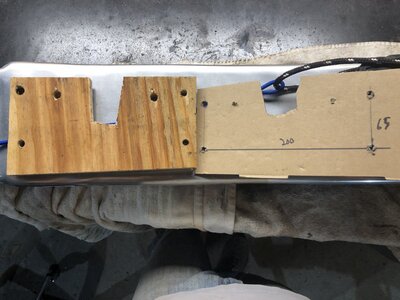
Got the reinforcement trimmed up, it feels really stout now. Absolutely no flex in the hood lip area. Hit another snag today. After assembly last year I noticed the pole was offset left about 1" on the handlebars. Couldn't notice while riding the ski, but it bothered me just knowing how it was. So I decided I'd fix that while I'm here and before I drill holes in the fresh glass. Laid a string from eyelet to eyelet, tried to measure things and make sure it's as centered as possible. It looks like the P/O redrilled some or all of the mounting holes, and they're all effed up. The cable hose hole isn't even close. V'ed out all the cracks and countersunk the edges of the mounting holes. Made a few templates off the pole bracket to use to drill the new holes. My plan is to fill all of them with chopped strand / cabosil tomorrow and drill them all from scratch. I'll weld up the worst holes on the reinforcement plates and redrill them as well. This is going to set me back a good bit, it would have been a lot easier to elongate 2 holes, but I want to do it right while I'm here. Most of this is hidden under the plate, I'd rather not have to use the spray gun for such a small area. Trying to keep as much of the paint as possible and just hit it with a touch up brush then wet sand.
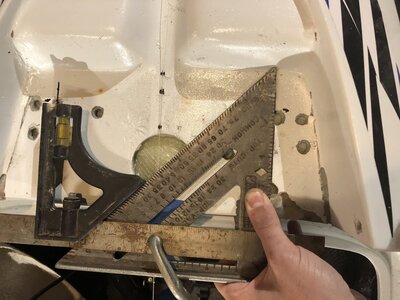
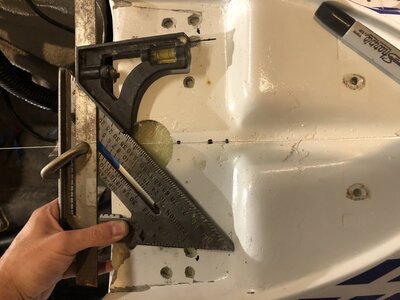
WTF
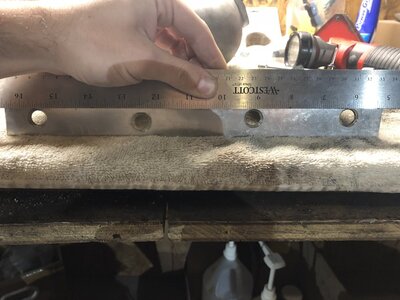
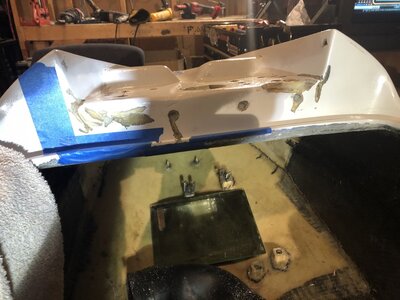
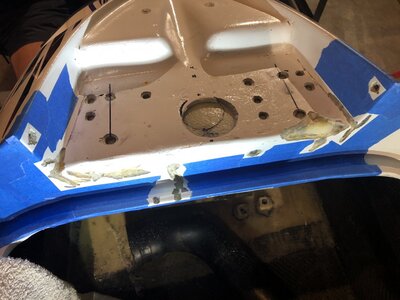


WTF


- Location
- Cumming, Georgia
Got a couple rounds of filler in the cracks and holes. Filled the breather hole with 5 layers 1708. Did one round chopped strand / cabosil, wait 3 hours and another round with just cabosil. Sanding today and hopefully just one more round of epoxy filler then glazing putty. 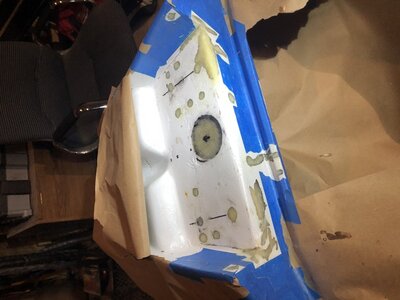
Roughed out the cavities in the case with the burr, used the ball burr to grind a notch about 1/2" down the full diameter of each hole. Sprayed it with brake clean and cleaned with a small brush. Bottomed out case bolts, shimmed them to get it as level as possible. Did 3 batches of JB weld, using a pick after each pour to work out the air pockets. Heated up the tubes beforehand with a heat gun so it would flow a bit better. Once full, used a bondo card and intentionally curved it slightly to level it just below the surface. Pulled the tape and went over it with a fresh razor blade to make sure it was flush, or just below the gasket surface. Going to fill the area behind the flywheel later today.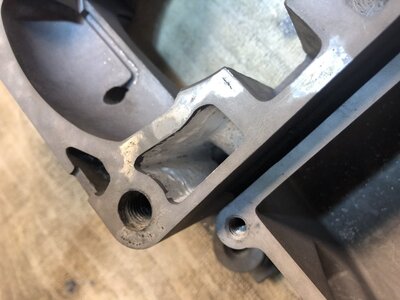
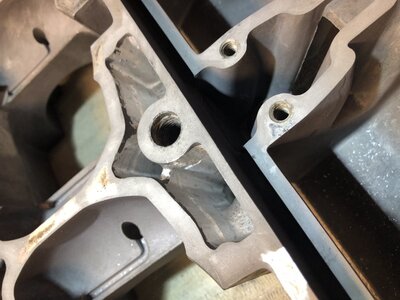
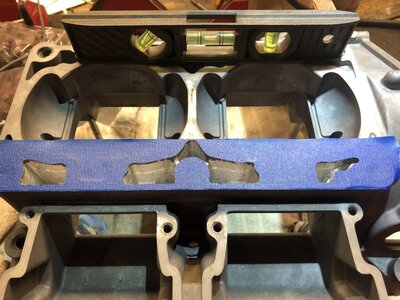
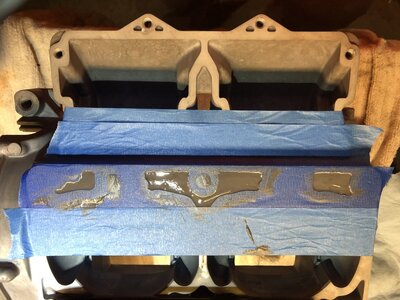
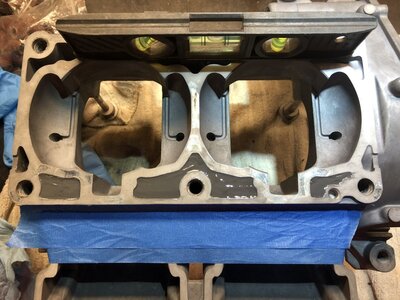
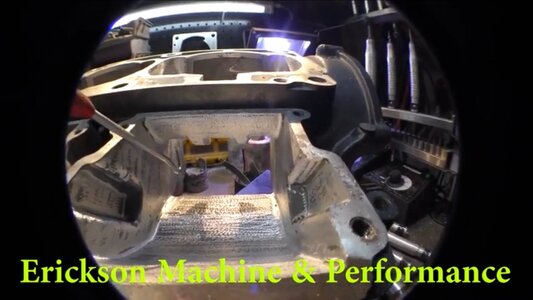
Erickson Machine posted another helpful video on his Youtube channel outlining all of this. Here are come pics of his porting and some others I have found. Any advice of any changes for better bottom-mid power vs mid-top?
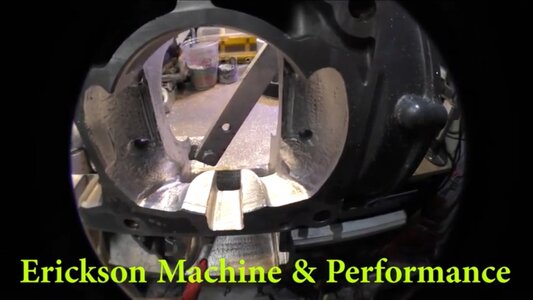


Roughed out the cavities in the case with the burr, used the ball burr to grind a notch about 1/2" down the full diameter of each hole. Sprayed it with brake clean and cleaned with a small brush. Bottomed out case bolts, shimmed them to get it as level as possible. Did 3 batches of JB weld, using a pick after each pour to work out the air pockets. Heated up the tubes beforehand with a heat gun so it would flow a bit better. Once full, used a bondo card and intentionally curved it slightly to level it just below the surface. Pulled the tape and went over it with a fresh razor blade to make sure it was flush, or just below the gasket surface. Going to fill the area behind the flywheel later today.


Erickson Machine posted another helpful video on his Youtube channel outlining all of this. Here are come pics of his porting and some others I have found. Any advice of any changes for better bottom-mid power vs mid-top?


- Location
- Los Gatos, CA
What is the benefit of filling those cavities in the case? I haven't seen that before.
- Location
- Cumming, Georgia
For in case you break through into the cavities. Not sure if I’ll be going that extreme with it, but easier to do it now in case I do break through. Or if maybe in the future I do go more aggressive than whatever I do now.


Sent from my iPhone using Tapatalk


Sent from my iPhone using Tapatalk
- Location
- Los Gatos, CA
Oh! Okay, incase you break through with extreme grinding/porting work. I see now...
- Location
- Cumming, Georgia
Not as much progress as I would like but getting closer. Epoxy filling is done on the pole area, just some glazing putty before paint. It ended up being extensive enough I think I'll have to use the spray gun. Filled the misaligned holes in the stainless reinforcement plate and ground it down.
Got the case porting done and painted the motor. Ground out 1 finger then made a masking tape template from it to do the rest as close as possible. Only ended up breaking through into the epoxy behind the flywheel. Really didn't feel like making blockoff plates for the gasket surfaces to bead blast, so I just scuffed it all with red scotch brite and used the dremel discs for the tight areas. Used some Duplicolor engine primer and their gloss black paint. I'll bake it in the oven at ~200* for an hour or so to cure it before assembly.
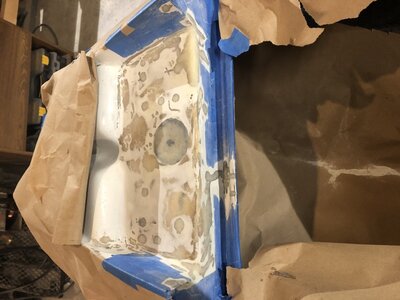
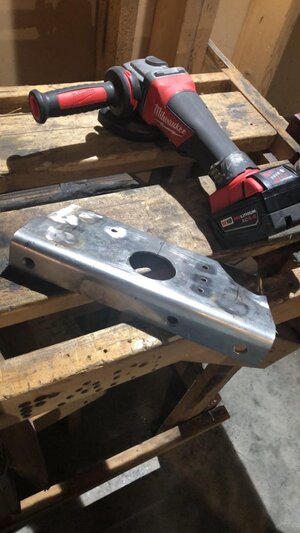
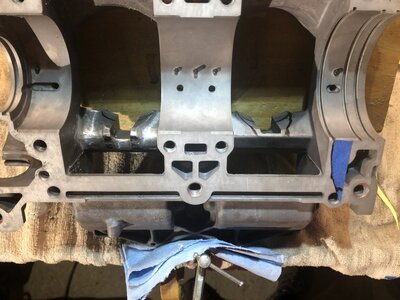
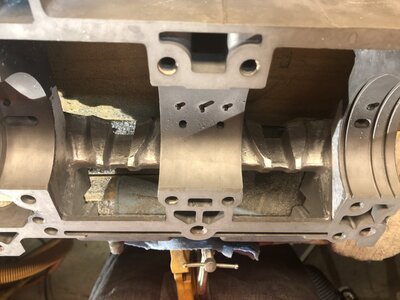
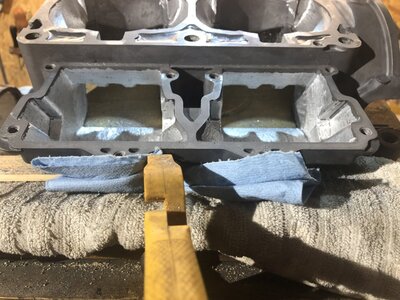
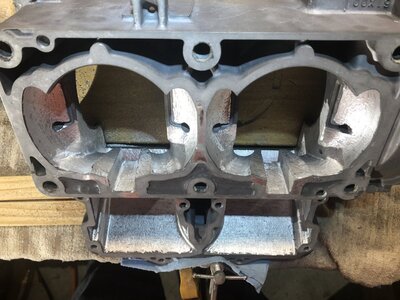
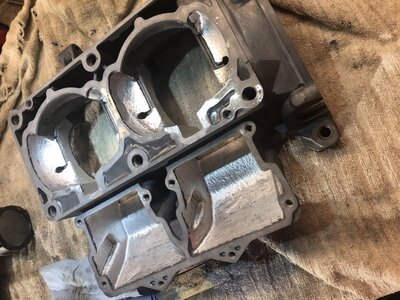
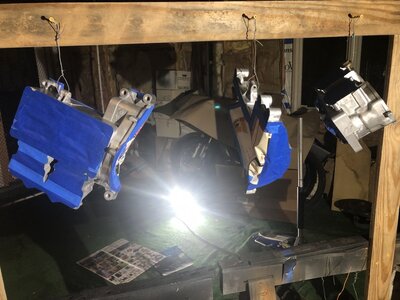
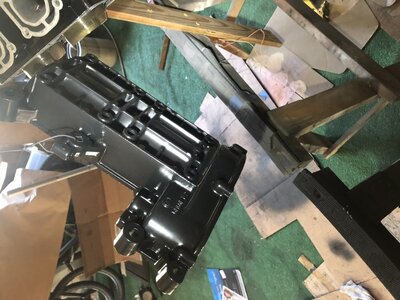
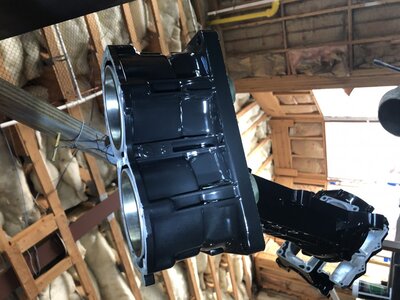
Got the case porting done and painted the motor. Ground out 1 finger then made a masking tape template from it to do the rest as close as possible. Only ended up breaking through into the epoxy behind the flywheel. Really didn't feel like making blockoff plates for the gasket surfaces to bead blast, so I just scuffed it all with red scotch brite and used the dremel discs for the tight areas. Used some Duplicolor engine primer and their gloss black paint. I'll bake it in the oven at ~200* for an hour or so to cure it before assembly.


- Location
- Cumming, Georgia
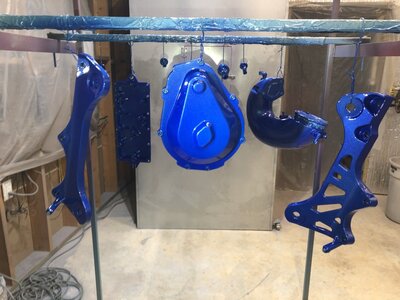
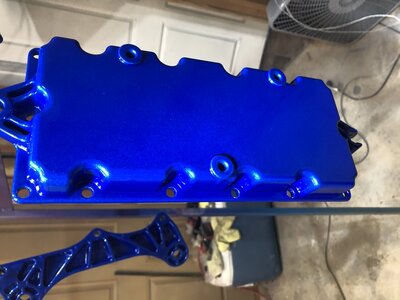
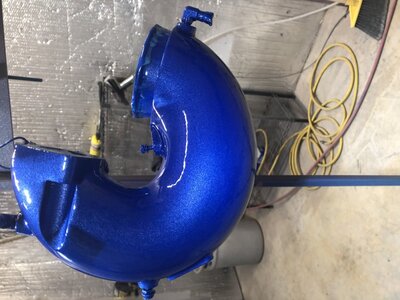
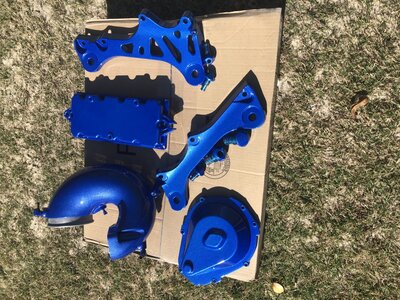
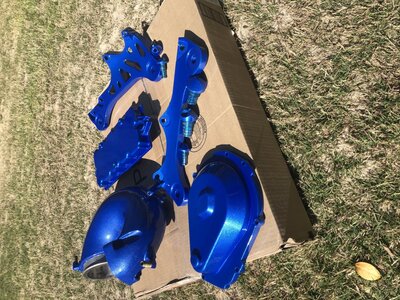
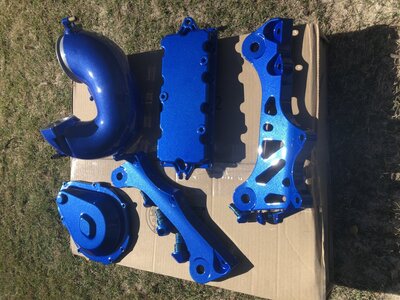
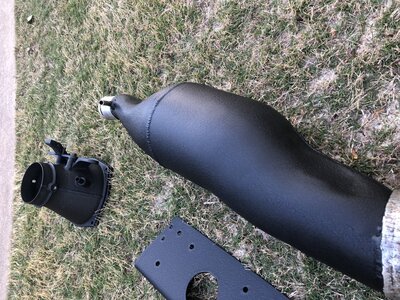
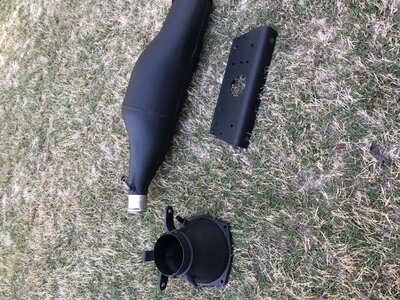
Got the powder coat done today and planning on assembling the motor tomorrow. Epoxy primer on everything, the same illusion blueberry as last year and wrinkle desert night black. The pissers and bilge fittings were already fading after just a season so I threw them in the batch. Also did the trim nozzle and girdled head that came with the ski in black, they'll be up for sale soon. Feel free to message me if you need some parts done.
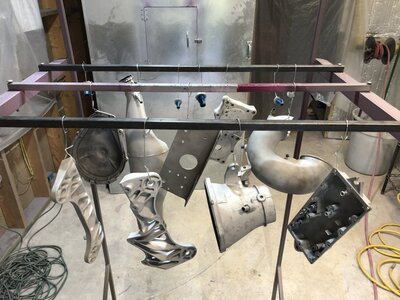


- Location
- Cumming, Georgia
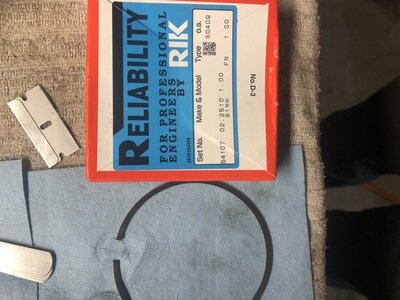
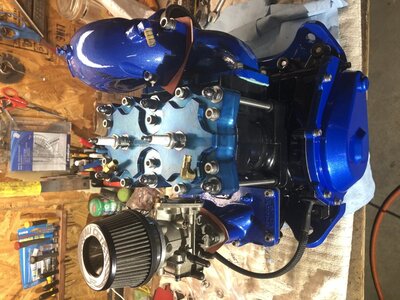
Got some more done, dumb things keep getting in the way, like the water heater rusting through yesterday. Anyway, the motor is together, 82mm ProX pistons, SBT crank, CarbonTech reeds. For some reason the pistons came with rings labeled as 81mm. Checked the ring gap and got .018" on 3 and .024' on 1 of them. I know spec is .008-.016", but it seems like a bit looser gap is alright from what I can find. The squish was about .0335", seems a bit tight, it seems most people are around .040-.050". Thoughts?
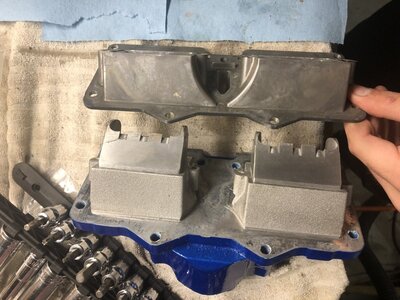
Westcoast / Wetjet intake vs stock for those curious.
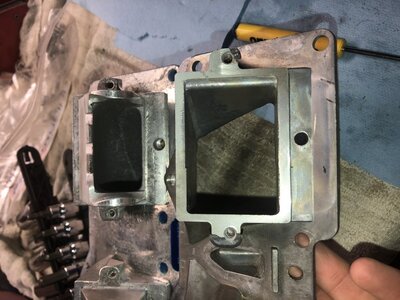
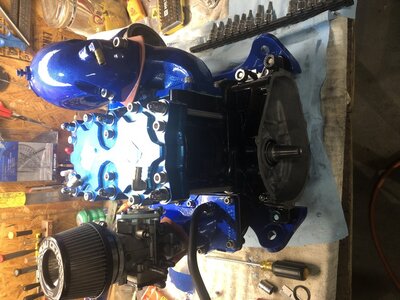
Pressure test. 8 psi for 10 min. ADA head already looks kinda crappy too, wish I had powdered it. There's always next year I guess.

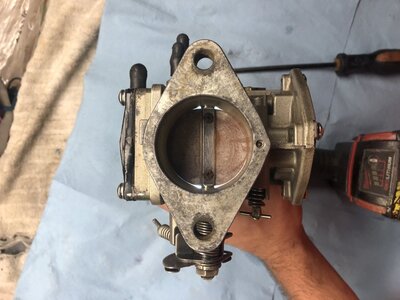
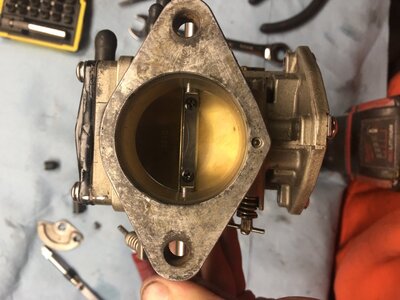
New carb shaft and butterfly. I'm sure its never been done, but it's definitely a lot tighter than it was. Jetting last year was 125p, 150m, 2.0NS, 19psi, 46mm carb. Jetted it richer for the porting and break in to 127.5p and 155m. Probably going to be too rich but I guess that's good for break in. Thoughts?

Westcoast / Wetjet intake vs stock for those curious.


Pressure test. 8 psi for 10 min. ADA head already looks kinda crappy too, wish I had powdered it. There's always next year I guess.


New carb shaft and butterfly. I'm sure its never been done, but it's definitely a lot tighter than it was. Jetting last year was 125p, 150m, 2.0NS, 19psi, 46mm carb. Jetted it richer for the porting and break in to 127.5p and 155m. Probably going to be too rich but I guess that's good for break in. Thoughts?


- Location
- Los Gatos, CA
Looser ring gap is ok, but you may be giving up some performance. Can you find 82mm rings?
The carb butterfly comparison, wow!
The carb butterfly comparison, wow!
- Location
- Cumming, Georgia
I ordered both pistons from different places and they both came with the same rings. I figured if they were in fact 81mm rings the gap should be more off than that. The box says 1.00 so I guess that must be for 1mm over stock. I'll just have to check the compression after break in and see where it's at.
And yeah the old butterfly was shot. People act like that makes a big difference in low end tuning / performance since the air goes around the sides and not over the little pilot jet holes. I guess I'll see. But so much will be different from last year it's going to be hard to know what did what.
And yeah the old butterfly was shot. People act like that makes a big difference in low end tuning / performance since the air goes around the sides and not over the little pilot jet holes. I guess I'll see. But so much will be different from last year it's going to be hard to know what did what.
- Location
- Charlotte, NC
The throttle shaft leaking will make tuning impossible. You can have great idle, low end and crappy top end or vise versa. Throttle shaft will fix that.
- Location
- Cumming, Georgia
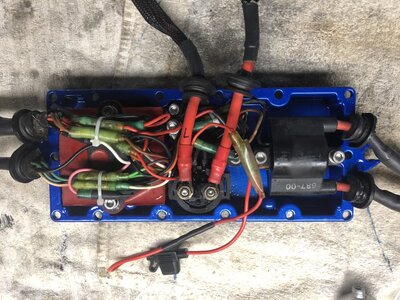
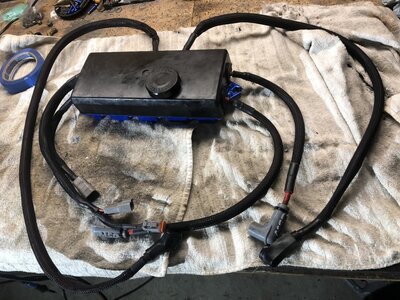
Finally got it all back together. Ended up painting the pole bracket area with an artist paintbrush. Couldn't justify masking the whole ski and messing with the spray gun for such a small area. Did the same epoxy primer, wetsand, paint, wetsand and buff. Turned out pretty good for my first blend job. Fuse wire in the ebox was split, replaced it with a standard mini automotive fuse. The ebox start / stop connectors were rough so went ahead and replaced them with deutsche connectors. Regreased everything with dielectric grease.
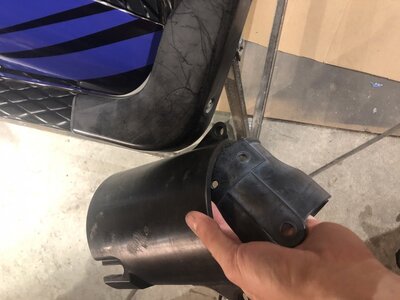
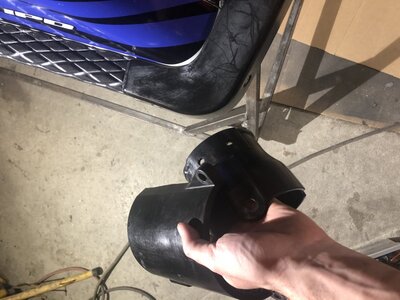
Put some Cerakote plastic trim restorer on all the plastic parts. I've tried a bunch of the creams in the past, they last a month and leave the part greasy. This stuff lasts 6 months to a year on vehicles that sit outside, and it dries with no residue. Relatively pricey but worth it. Crappy pics but its a big improvement.
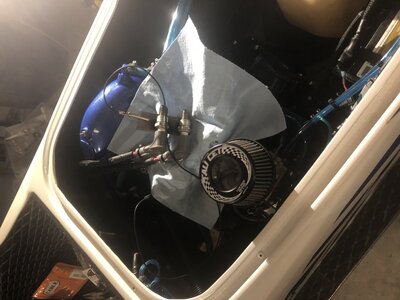
Got the motor in. Also pictured is my ghetto spark tester / plug ground. Previous owner had the engine grounded to above the exhaust manifold. Ran it last year like that with no issues, but made a new cable anyway and ran it to the starter.
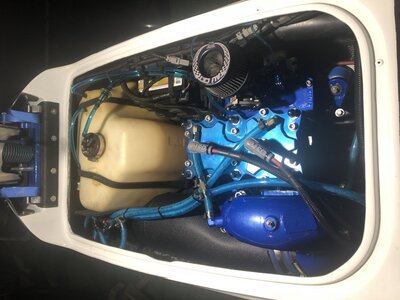
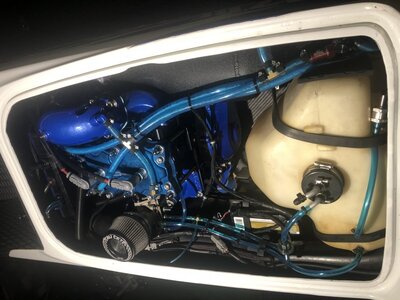
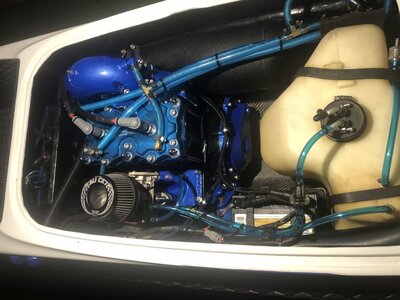
Saw an instagram ad for these little hose clamp end protectors from clamp aid. They were cheap ($6 for 25) and figured it would be nice for soft skin after riding for a while. They stick on well and I think they look pretty clean.
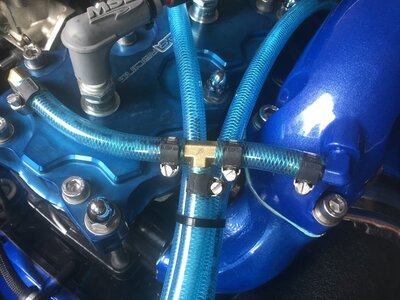
Mixed up some 32:1 and ran it on the hose for a couple minutes. I'm going to finish up a few things tomorrow and take it for a test ride. Any recommendations for break in, other than mixed throttle under 1/2 for the first tank and more aggressive but no WOT for the second tank? Let it cool off some and get in a few heat cycles?


Put some Cerakote plastic trim restorer on all the plastic parts. I've tried a bunch of the creams in the past, they last a month and leave the part greasy. This stuff lasts 6 months to a year on vehicles that sit outside, and it dries with no residue. Relatively pricey but worth it. Crappy pics but its a big improvement.


Got the motor in. Also pictured is my ghetto spark tester / plug ground. Previous owner had the engine grounded to above the exhaust manifold. Ran it last year like that with no issues, but made a new cable anyway and ran it to the starter.


Saw an instagram ad for these little hose clamp end protectors from clamp aid. They were cheap ($6 for 25) and figured it would be nice for soft skin after riding for a while. They stick on well and I think they look pretty clean.

Mixed up some 32:1 and ran it on the hose for a couple minutes. I'm going to finish up a few things tomorrow and take it for a test ride. Any recommendations for break in, other than mixed throttle under 1/2 for the first tank and more aggressive but no WOT for the second tank? Let it cool off some and get in a few heat cycles?
Last edited:

