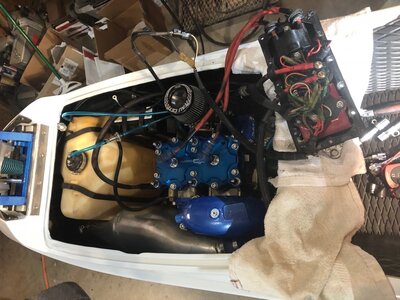
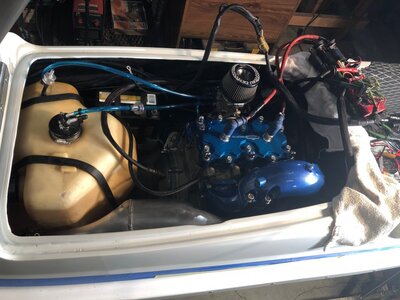
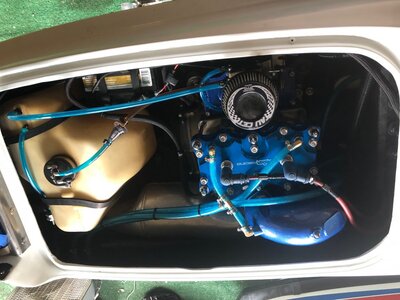
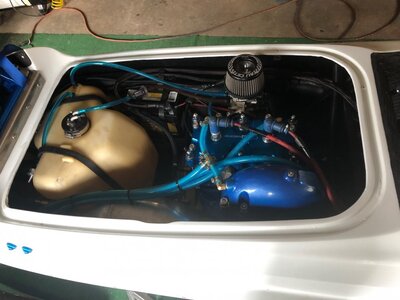
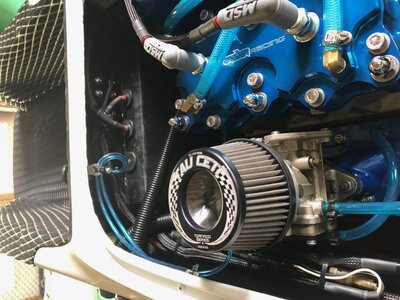
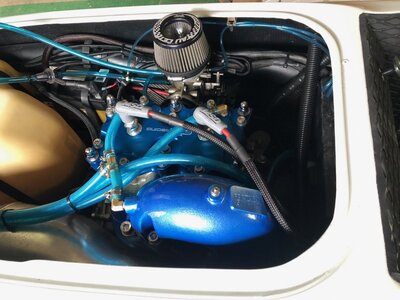
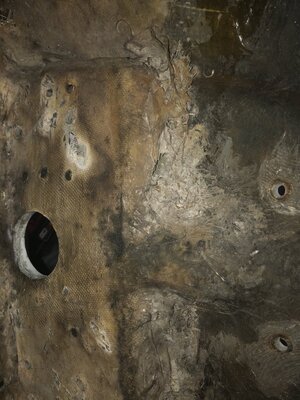
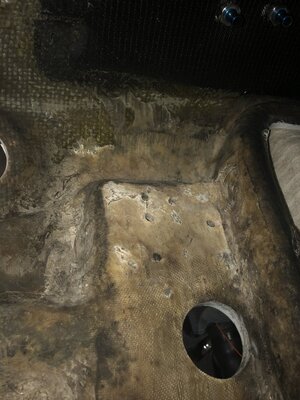
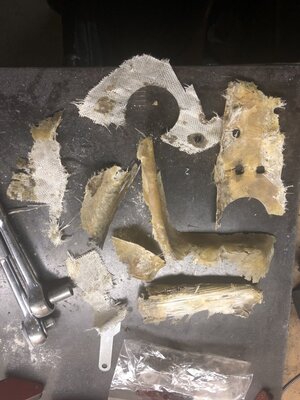
Neglected 96 RN Build

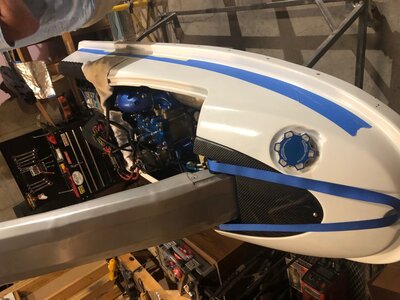
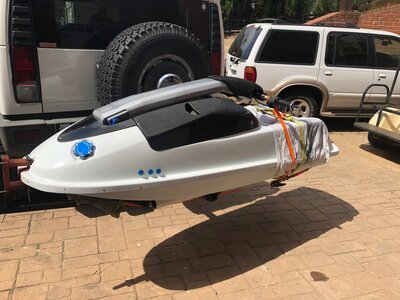
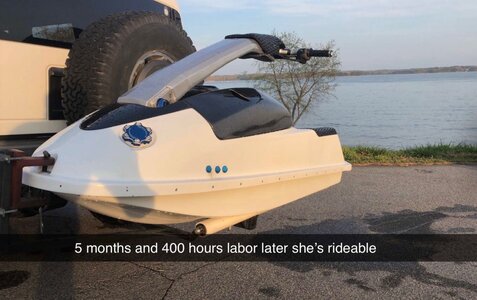
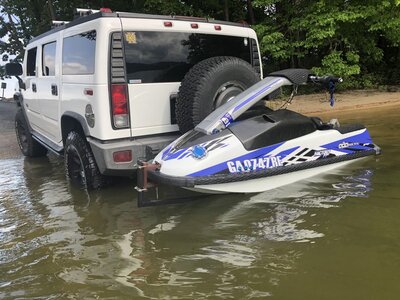
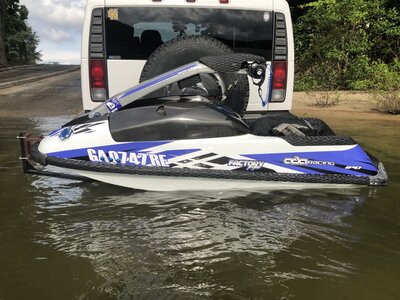
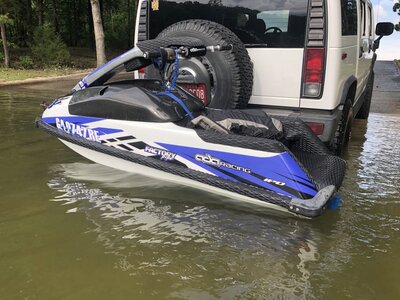
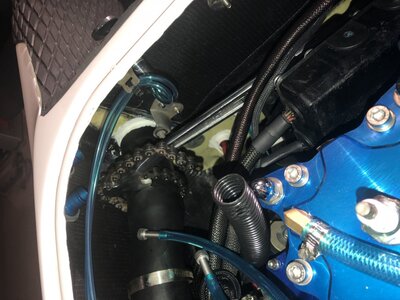
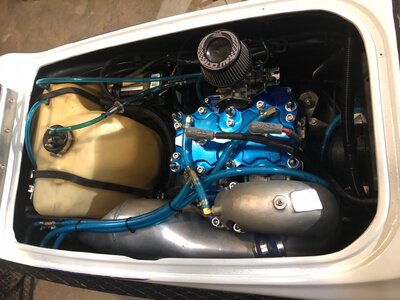
I can hardly believe it, but I took it for its maiden voyage yesterday. While I'm thinking about it, I weighed the hull bare with the aluminum pump shoe and it was 108 lbs. But anyway, all went well. The lean bog is gone now but the carb still needs some adjustment. The only issue I noticed when I got home was the silicone coupler on the exhaust was coming off the chamber side. I noticed when I was tightening it, no matter how far I could get it in or where I put the hose clamp it tries to slide the coupler off as it's tightened. So I need to address that today and probably turf the rails. As much as I'd like to ride it again today, the responsible side of me says to do it now or it'll get put on the back burner.
I was lucky enough to find a yacht making a 4-5' wake and I noticed the sound when I pancake jump is much different. Kind of less of a hollow slap which doesn't make me cringe as much. Just something I wasn't expecting to be different.
Another issue I ran into was with the new $8 amazon solenoid. The 4th time cranking it got stuck on and I had to scramble to undo the battery. Pulled the ebox (already glad I added the deutsch connector), hit it with a hammer and manually cycled it 40 times, all seemed well. Put it back together and the first crank, same thing. I ended up robbing one off a couch to get it in the water. Moral of the story is to stay away from those chinese POS solenoids.

IMG_4880.JPG
IMG_4881.JPG
IMG_4891.JPG
IMG_4892.JPG
IMG_4884.JPG
IMG_4888.JPG
IMG_48932.jpg
 
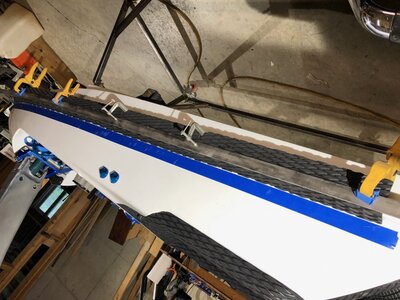
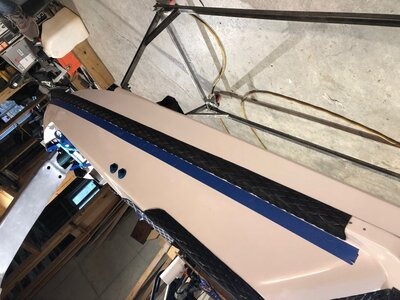
Got a few more finishing things knocked out. Trimmed the rails at a 45, thanks @SXIPro. I clamped a strip of steel about 3/16" above the bottom of the rail to get a straighter edge than I could by hand.
IMG_4932.JPG
IMG_4933.JPG
IMG_4936.JPG
IMG_4935.JPG
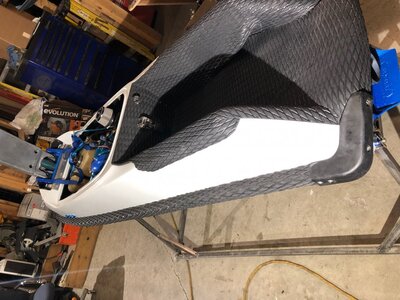
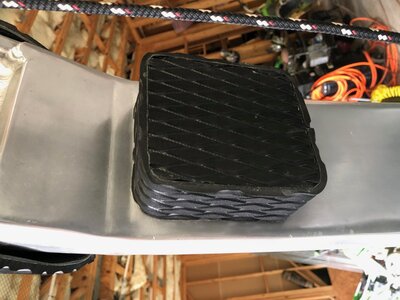
Turfed the pole pad and mounted it.
IMG_4968.JPG
Got another order from @JetManiac, new plug boots, primer lines and some other small bits. Ordered Tuesday afternoon, got it Thursday. Can't beat that.
IMG_4965.JPG
IMG_4967.JPG
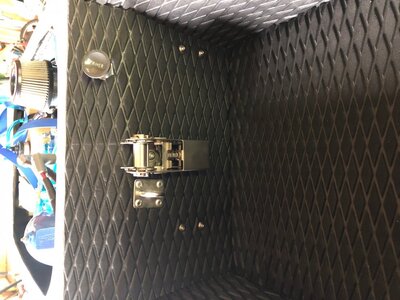
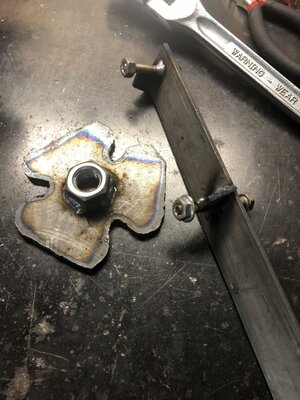
Also got a cheap pad eye and riveted it on for the limiting strap. Used the same aluminum rivet backing washers as the bond line and rear bumpers.
IMG_4969.JPG
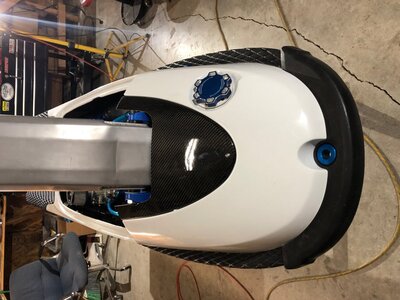
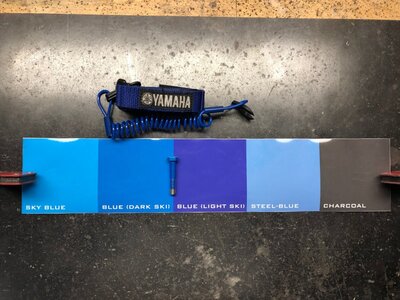
IPD sent me out some color samples. Apparently, their dark ski blue is different from their light ski blue. I called before I ordered and asked what difference the color made but they never mentioned that. Anyway, they said the best they'll do is $160 for another set. I'm really torn on this and I'd rather not have 500 bucks in stickers. Plus I think this is from a lack of clarity on their part. So what do you guys think? Run what I have now and try to get some money back, or pay for another set? Here it is with a powder coated bolt and OE Yami lanyard for reference.
IMG_4972.JPG
Other than that, all is good. Took the ski out yesterday for the better part of the day and enjoyed the weather. Still gotta tune the carb though. I have it pretty rich just to err on the safe side and I'd rather ride than turn carb screws right now. lol
 

Attachments

  • IMG_4894.JPG
    IMG_4894.JPG
    108.7 KB · Views: 54
Last edited:
I thought I could call this thing done, but I guess these things are never truly done.
I ended up just using the graphics I had since I wasn't paying any more for decals. I cut each piece out individually and mocked them up. Then used masking tape to mark where the edges need to be. Smothered the decal and ski in Rapidtac then squeegeed it all out. That stuff works great and makes vinyl way easier to work with. The hood piece wouldn't fit the lowered hood well so I cut part of it off and used it on the pole. Went back and sealed all the sharp edges and wear areas with a graphic edge seal pen.
20190504_220130834_iOS.jpg
20190504_220140472_iOS.jpg
20190504_220207714_iOS.jpg
Also swapped out the old SN waterbox for a baffled TDR. Thanks @Jacob0117 . What a difference in weight and sound. Had to rotate the exhaust hose to make it work. That thing was so tight I had to use grease to get it on originally and it didn't want to rotate the 1/4 turn I needed. I thought I might have to pull the motor back out but a oil filter chain wrench worked well to turn it.
20190429_214304617_iOS.jpg
20190430_133419866_iOS.jpg
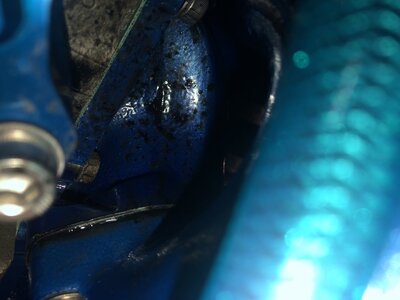
Got it all back together and went to the lake. This was when I thought I was "done". Well, 30 minutes later the steering got loose and the cable snapped before I could get it back. Got home and noticed this mess on the motor too.

20190504_234803953_iOS.jpg
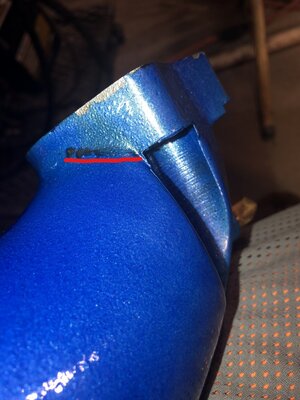
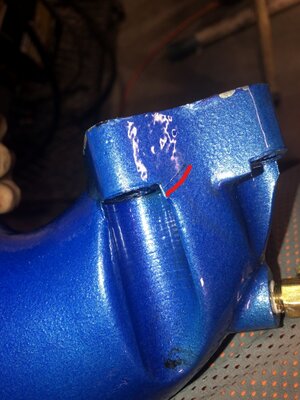
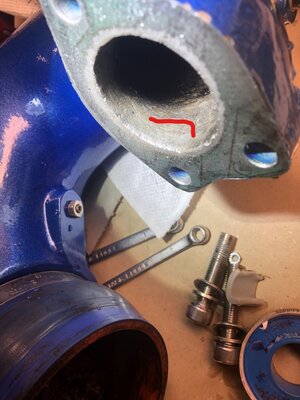
The 3 mounting bolts were a little loose, but on further inspection I noticed it's cracked all the way through. The red lines parallel the cracks.
Inked20190505_010734366_iOS_LI.jpg
Inked20190505_010742464_iOS_LI.jpg
Inked20190505_011521124_iOS_LI.jpg
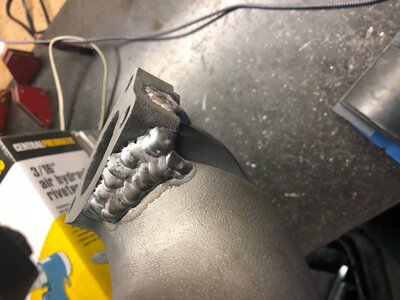
Do you guys think it's worth having someone weld it or just get another pipe? The fact that it's aluminum, cast, and oily probably make it one of the toughest things to weld. I'd hate to have someone weld it and powder coat it again just to have another crack in the same spot or elsewhere.
 
Last edited:
  • Like
Reactions: Req

Yami-Rider

TigerCraft FV-PRO
Location
Texoma
Turned out nice.

I know it's too late now, but you didnt need to run those rivets, the glue holds the two halves together. Non of my aftermarket skis have bolts going threw the rails like the stock SJ. The stock bolts were just there to hold the bumpers on.
 
Wow, cracks in the b-pipe header, what a hassle! I agree it should be weldable, yes oil + cast aluminum is a huge hassle but this isn't exposed to motor oil like a car cylinder head, and it can be ground out along the crack and then baked to help improve chances of success. Or maybe FP can sell you a new header only, and skip the powder coat?
 
Turned out nice.

I know it's too late now, but you didnt need to run those rivets, the glue holds the two halves together. Non of my aftermarket skis have bolts going threw the rails like the stock SJ. The stock bolts were just there to hold the bumpers on.
Thanks. I did that because I read a post somewhere that they added strength. I figured for 10 minutes of time and next to no weight they couldn't hurt anything.

Wow, cracks in the b-pipe header, what a hassle! I agree it should be weldable, yes oil + cast aluminum is a huge hassle but this isn't exposed to motor oil like a car cylinder head, and it can be ground out along the crack and then baked to help improve chances of success. Or maybe FP can sell you a new header only, and skip the powder coat?
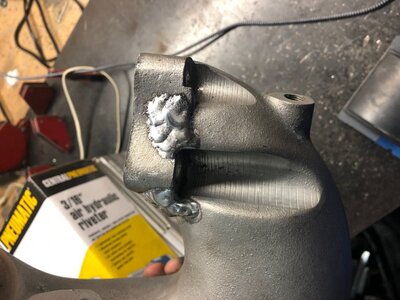
Thanks for the input. I know a place with an AC tig that did my exhaust pipe. Those welds were ok but this is a lot more challenging piece and they could just as easily turn it into a piece of scrap. I can strip it, drill the ends of the crack and V out the crack, I just need to find someone I trust locally or ship it to someone. That or find one used as I really don't wanna pay probably $350+ for just this piece.
 
Try an engine shop since they more than likely weld a lot of aluminum heads. I have a local one that has done my cast parts. He cleans them really good pre heats them then lets them cool in his oven.
 
Came here to look at your tray work, and ended up reading the whole thing. You are a more determined man than me, as many wouldn't want to tackle the level of mess you started with. The thoroughness and attention to detail here is very good, and will pay down the road. Of course a build will always have some engine gremlins left to fight, hope you get all that settled soon and enjoy summer on her!

I agree, IPD could've done a better job. Instead of emailing what they did, they should've sent the sample they eventually sent anyway, even if for a modest $5 fee. Or send an image taken of the samples in shop and outdoor lighting, instead of a computer generated image. That's how I went through color samples when ordereing my JetTrim mats, and it worked great. Got exactly what I wanted, as the stock sample images on their site weren't truly representative. Maybe send them those suggestions due to your issues, and they'll change how they do things. All that being said, thinking of getting my graphics from them.
 
Thanks for your compliments @shockwave538. To tell the truth, I didn't even know about the whole wet foam issue on Yamis when I bought the ski. I was originally just going to generally clean it up, put an aluminum plate over the cracked tray, returf and rattle can paint job. Things kind of snow balled and the whole "do it while I'm here" mentality is what made me do all that I did. Would I do it again? Probably not. Just a refoam isn't too bad but bodyworking a whole ski in that bad of shape was what took most the time.

Anyway, I finally got my pipe back from the shop. I took it to a racing shop where they do a lot of custom aluminum intake manifolds and charge pipes. He did a pretty good job IMO for $30. He tried to weld the inside but he said it was too contaminated to weld most of it. I just finished building a large powder coating oven but I'm still waiting on the gun. I'll run it bare for now and coat it at some point when I find the time.

New OEM steering cable from @JetManiac. Very smooth and much less crunchy than the old one ever was.
IMG_5196.JPG
IMG_5197.JPG
IMG_5198.JPG
IMG_5199.JPG
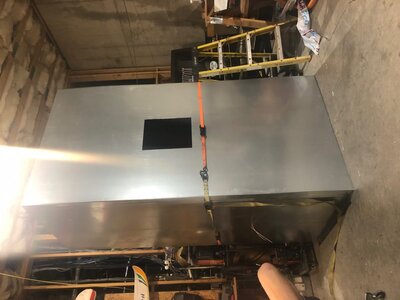
Don't have any finished pictures of the oven but it's done now. 3'x4'x8' outer dimensions.
IMG_5162.JPG
 
Well, it's that time of year again. I got the ski where I wanted it cosmetically last year, but I didn't touch the motor or pump. Started the season on glazed cylinders with 165/185 psi (35cc domes) and ended about 3 psi lower, compression was still even though. Thankfully I didn't have any more real issues with the ski, just toasted another solenoid and a charging problem was just the rectifier. The plan was just a simple motor / pump rebuild but of course it always ends up being more.

Got the motor torn down and worked on the cylinder. I was originally planning on powder coating the entire motor, but I've decided not to due the possibility of the sleeves or crank bearing pins shifting. The paint was flaking pretty bad so I decided to strip it anyway. I spent probably 10 hours last year scraping paint off parts for this thing using EPA approved home depot stripper. Not this year. Since I've started powder coating I got some good stuff, Benco B17. Dip it in the dunk tank, come back in 10 minutes and everything is falling off. It's some serious stuff though, my buddy got some on his hand the other day through the glove and it's not pretty.

Started breaking down the motor when I realized I forgot to get a crank holder and coupler tool. Didn't feel like waiting for them so I just made some quick and dirty ones. Used an autozone rental puller for the flywheel.
20200104_183438169_iOS.jpeg

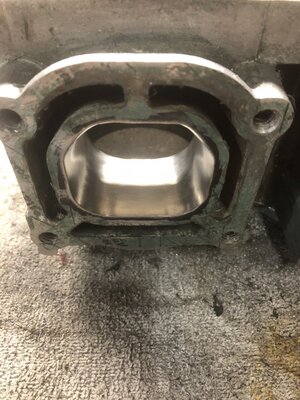
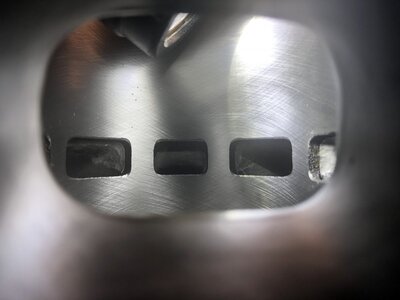
Got some porting templates from @yamanube and they were great. Used an air die grinder with carbide burr to rough it out then dremel sanding drums. Finished up with a 4 grit kit of scotch brite discs. The transfer matching was horrible so I matched them to the sleeve window and blended them in just a bit. It was tight but the dremel flex shaft / 90* attachment worked well with a carbide burr. Then took it locally for boring 1mm over to 82mm.

20200119_191358934_iOS.jpeg

20200118_212942956_iOS.jpeg
20200224_015352407_iOS.jpeg
20200224_015249509_iOS.jpeg

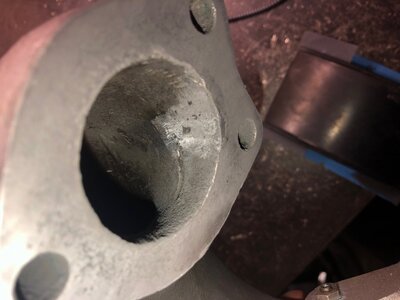
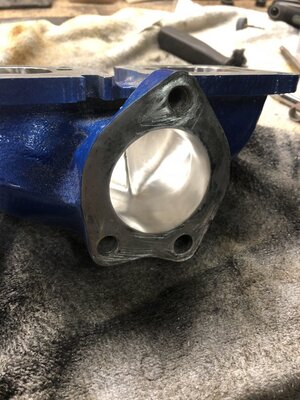
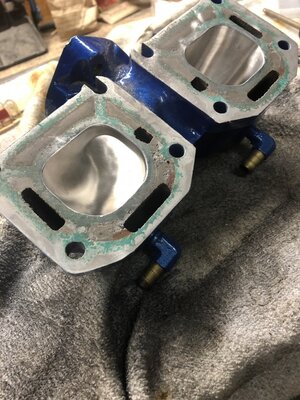
Gasket matched the exhaust port / manifold, opened up mani and head pipe to @JetManiac big bore gasket size. Opening that up required a lot of material removal. Used the die grinder with burr, followed by 1" flap discs from 40-120 grit then the scotch brite wheels. The flap discs work great for removing a lot of material, while making it much easier to smooth things than the burr.
20200131_203933679_iOS.jpeg
20200131_204009671_iOS.jpeg
My biggest regret from last year is not reinforcing the pole mount area. The previous owner did some "reinforcing" and installed some (custom?) top and bottom reinforcement plates. I knew this last year but really didn't want to tear out their half ass job and figured it was fine for what I was doing. Well, I'm glad I took the pole off. Found a big crack hidden under that plate and started getting it down to factory glass. I'm not sure if they used epoxy or not but a lot of it could be pulled out by hand. Chiseled and pried out what I could, then ground the rest out with the angle grinder and die grinders. Still not quite done getting all of it out.

Anyone know how thick the pole mount is stock? It was about 1/2" when I started and I got it down to I believe factory glass about 1/4-5/16" thick. I have 1208 and 1708 on hand and would like to repair it with that. I was thinking about 5 layers 1708 going from the hood lip forward about 1', up each side into the nooks and back down towards the bondline. 1708 doesn't really like to stick in tight bends like on either side, maybe fill them about 3/8" with cabosil to make the radius easier? Or maybe use 1208?
20200216_211700971_iOS.jpeg
20200216_211732886_iOS.jpeg
Nicely wetted out. Check out that adhesion!
20200224_014823373_iOS.jpeg
 
Top Bottom