Neglected 96 RN Build

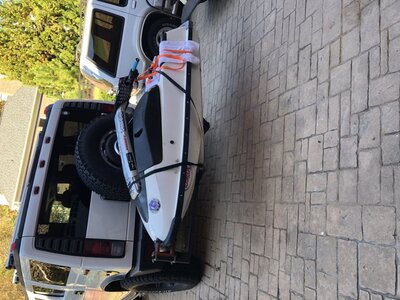
To start this off, I got my first stand up this past summer, a mint 88' 650SX I found a deal on. Having ridden dirtbikes and sit downs most my life, I was soon looking for a faster and more nimble ski. I stumbled upon this 1996 Superjet which looked pretty decent and seemed to have a lot of aftermarket parts on it. After seeing it in person, it had most all the listed upgrades but was in much worse shape than the pictures, and I now know it's worse than I originally thought lol.
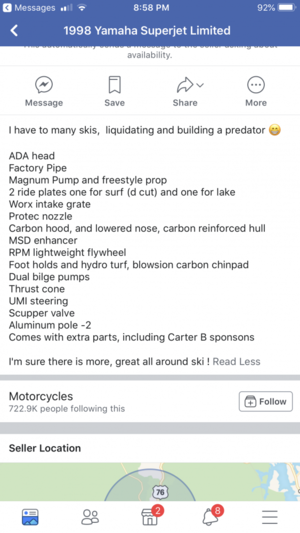
Photo Oct 06, 8 58 35 PM.png
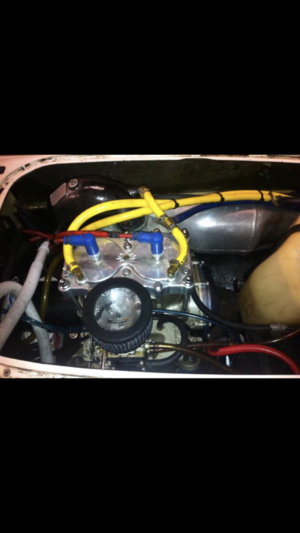
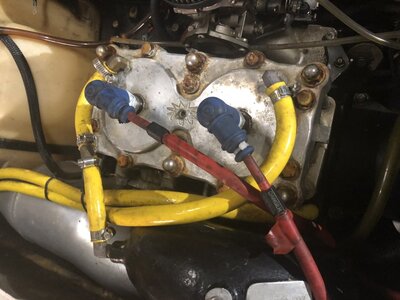
It's really a 1996 but whatever, it already has a decent list of aftermarket parts, there's a handful more on the ski too.

Photo Oct 06, 8 58 01 PM.png
Photo Oct 06, 8 58 08 PM.png
Doesn't look too bad, I'd say it's in decent shape.
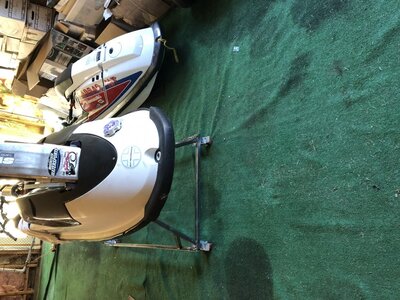
Photo Nov 03, 1 25 26 PM.jpg
Photo Nov 04, 5 44 25 PM.jpgPhoto Nov 03, 1 54 45 PM.jpg
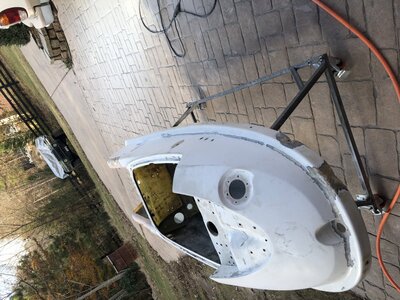
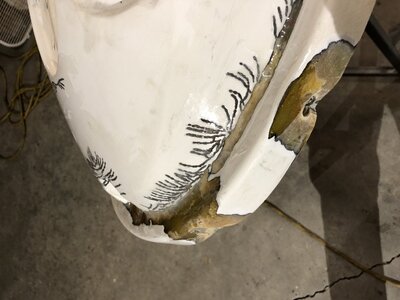
This is how it really looked when I got it. Cracked tray, cracked nose under the bumper, a good amount of spiderweb cracks, 2 cracks in the hull and a whole lot else. I got the guy down on the price a good bit and it ripped hard when I test rode it. After Georgia weather went from high seventies to mid fifties in the span of a couple weeks, I decided it was time to do some work on it.
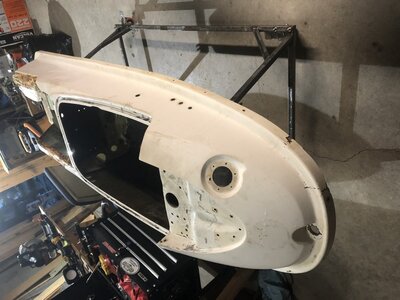
Photo Nov 10, 4 35 30 PM.jpgPhoto Nov 10, 4 35 22 PM.jpgPhoto Nov 09, 8 57 19 PM.jpg
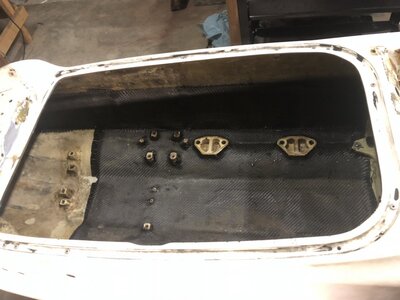
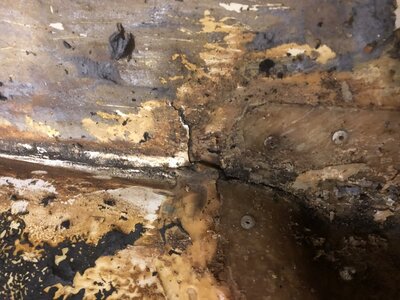
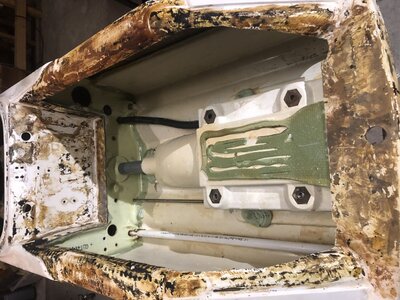
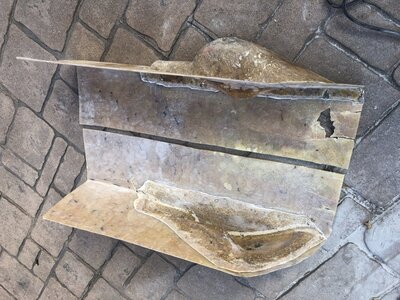
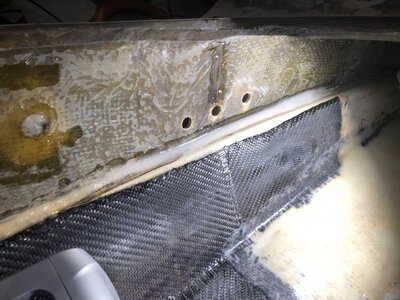
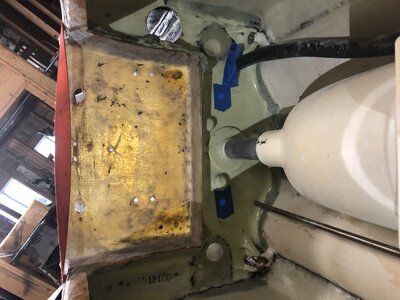
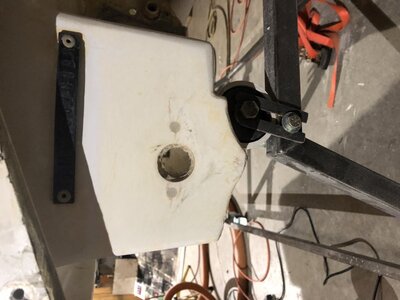
Got everything stripped down in a few hours and learned what I needed to do. The carbon job I would rate 5/10. It's delaminated in a few spots on the sides and it doesn't look like they used enough resin to wet it out good. However it is stuck good enough for the most part and I think it would be more work, hassle and cost to take it out and redo it than it's worth. It seems like someone spent some decent money in parts on this thing but didn't really care to install it properly or take care of it at all. Evidently, one of the pump mounting nuts got stripped so rather than tap it larger, or helicoil it, or replace the nut, or just run with 3 bolts, they decided to drill through the tray and put a nut on top. Obviously, once they tightened it crushed and cracked the tray, also soaking the foam.
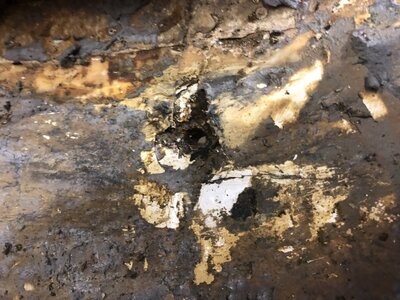
Photo Nov 09, 8 57 08 PM.jpg
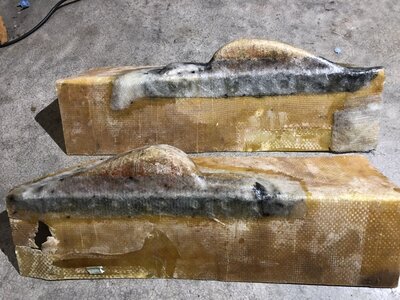
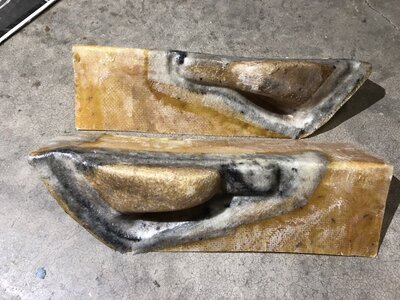
A close up of the hackery. Also the footholds were installed with just thickened (hopefully epoxy) and no glass. Needless to say, one of them is cracked pretty good.
 
Photo Nov 09, 8 57 14 PM.jpg
index.php

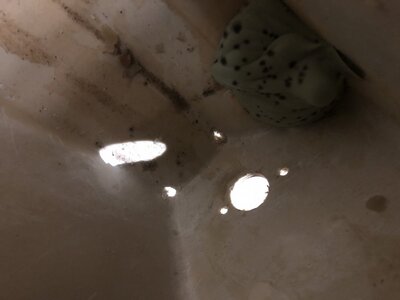
Hmmm water dripping out of a thin spot in the hull... no bueno. Obviously the foam had to be soaked so that was the next step.
Photo Nov 09, 10 12 43 PM.jpg
Photo Nov 09, 10 12 47 PM.jpg
Photo Nov 09, 10 12 56 PM.jpgPhoto Nov 10, 4 35 16 PM.jpgPhoto Nov 10, 4 35 08 PM.jpgPhoto Nov 10, 4 44 23 PM.jpgPhoto Nov 10, 4 44 30 PM.jpg
Photo Nov 10, 4 36 16 PM.jpg

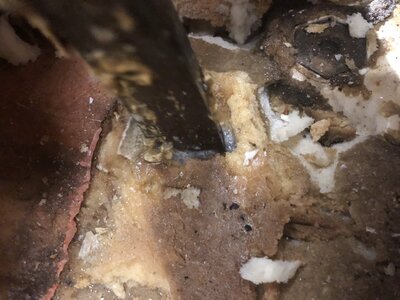
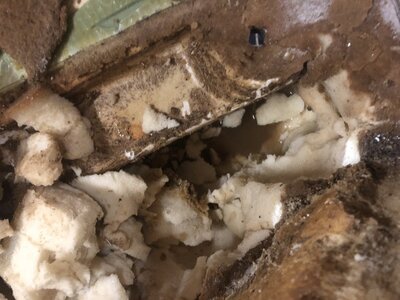
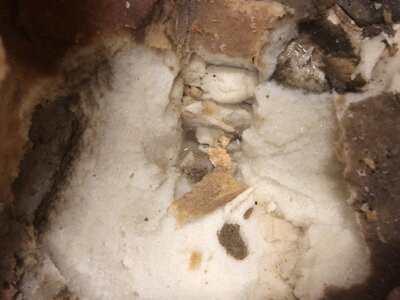
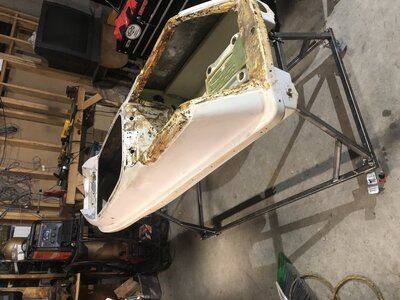
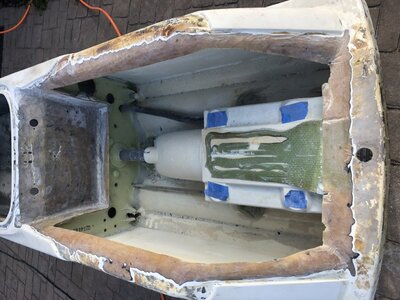
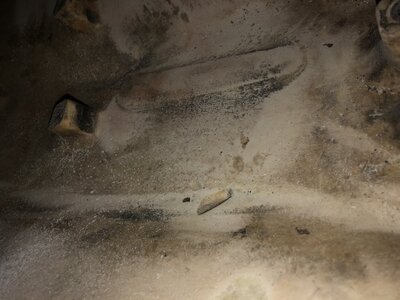
Got the tray cut out and removed all the foam. I found the best tools for the job were a nail claw, 1 inch chisel and a large crow bar. I pressure washed the last little chunks out. The total wight of the foam was about 40 pounds, maybe more. All of the foam under the bond line was soaked and so was a little up the sides. The spot leaking the water was so thin, the pressure washer shot straight through them.

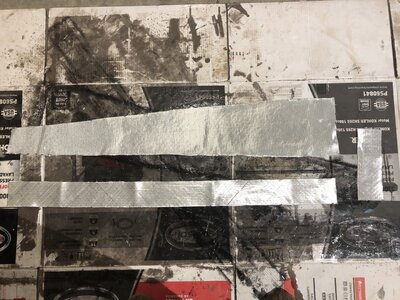
I plan on fixing all the obvious damage, reinforce the side walls under the tray with 1708, reinforce the upper sides and nose of the engine bay with 1708 dyed black and put a layer of 1708 on the bottom of the hull with a layer of 4oz over top. Also put some conform tape over the back seam of the footholds and maybe a piece of 1208. Oh, and fix all the cracks under nearly every area I just said lol. I'll redo the foam with the Pink Panther polystyrene.

I also plan on running a versiplug R for the bilge and 2 thrust micro drains for the tray cavity. My US Composites order should be here this week and I plan on knocking a lot of the glass work out during my Thanksgiving week off.

This is my first build so any comments, criticism or tips are all appreciated.
 

Attachments

  • Photo Nov 10, 9 33 32 AM.jpg
    Photo Nov 10, 9 33 32 AM.jpg
    134.7 KB · Views: 866
Is that hood and nose piece Visual Carbon or painted black
Pure visual carbon, as well as the chin pad but it's turfed. The hood is a watercraft factory, which to my amazement cost $1400. Unfortunately, the ski was left outside uncovered for some time and it has some haze to it. Not a huge deal, I was bored and hit a small spot with a rag and buffing compound and it cleaned up real easy and looks good. Shouldn't take much time to clean up with a buffer.
 

Big Kahuna

Administrator
Location
Tuscaloosa, AL
I was trying to figure out who use to have that hull. I sold a friend of mines to someone in the ATL area with a WCF hood but it was painted white. No idea who that one was. Rough!
 
I was trying to figure out who use to have that hull. I sold a friend of mines to someone in the ATL area with a WCF hood but it was painted white. No idea who that one was. Rough!
The guy I got it from lived way up in Young Harris, 5 min from the Tennessee border. Not sure if I can post his name due to site rules or whatever. He claimed to have had it for 5 years and bought it from a guy in TN. He said it was mostly the same as when he bought it. Though he told me he personally bored the nozzle and I'd bet he probably had the pump off at some point and is responsible for that atrocity. But it's whatever at this point lol.
 

Big Kahuna

Administrator
Location
Tuscaloosa, AL
Its an old ski that has been ridden alot. But you can easily bring it back to a great ski! All of that is fixable. I ripped the nose clean off my SJ 2 different times. Those cracks can be repaired to better than new.
 
Got some more work done over the last few days. Started off by stripping the gel coat off most the surfaces I'll be glassing to. This took forever even with a 60 grit flap disc on an angle grinder. I picked up a harbor freight finger sander for all the tight corners which was especially helpful on the spider webs running down the bond rail radius. Then all of the major cracks got ground out with with a carbide burr on a die grinder. I used a small burr on a dremel to get all the rest of the spider webs down to glass.
Photo Nov 18, 3 25 39 PM.jpg
Photo Nov 18, 3 25 56 PM.jpg
Ground out all the damage under the nose bumper.

Photo Nov 18, 3 25 31 PM.jpg
Ground down the resin infused foam from some previous repair and scuffed everything with 80 grit.
Photo Nov 18, 4 10 57 PM.jpg
Filled the bond line with cabosil thickened epoxy then covered it with a 3" wide strip of 1208, followed by a full layer of 1708. Also used a little piece of 1208 for the corner where the chines were worn through.
Photo Nov 20, 11 33 59 AM.jpg
Photo Nov 20, 11 06 54 AM.jpg
Photo Nov 21, 9 21 59 AM.jpg
This is what happens when you decide to use a midshaft dampener under the water box.
Photo Nov 21, 9 51 43 AM.jpg
Filled in the low spots with thickened epoxy and covered with a sheet of 1208.
Photo Nov 22, 10 09 12 AM.jpg
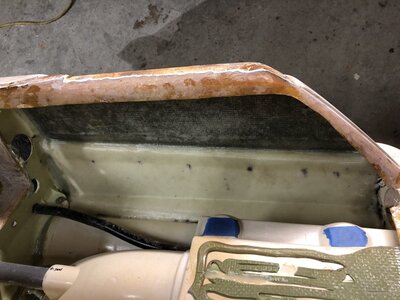
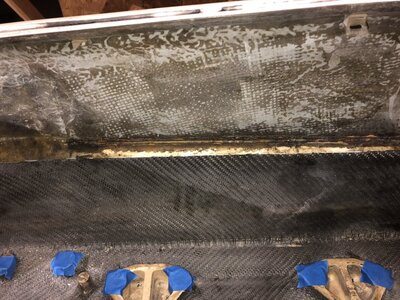
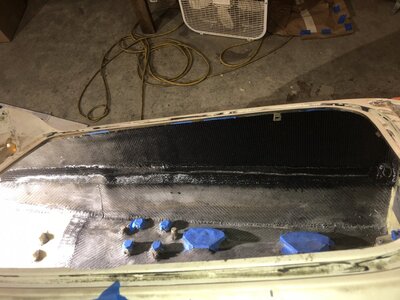
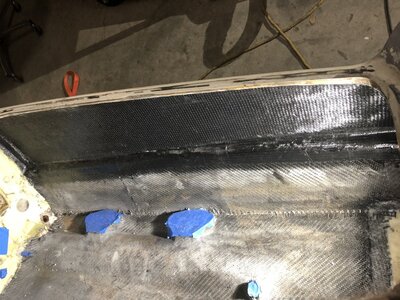
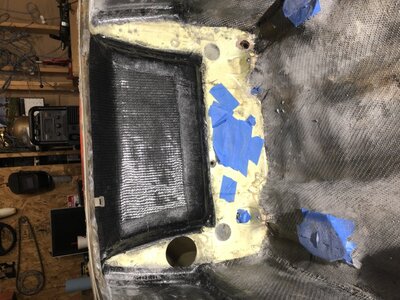
Trimmed the old carbon at the bond line where the edges were delaminating then filled the area they didn't bother to do? Also filled the gap between the bulkhead and side wall. I covered it the same as the back with a strip of 1208 on the bond line, up the bulkhead seam and a sheet of 1708 dyed black for that poor man's carbon fiber appearance. Also plugged all the unnecessary holes in the bulkhead.
 

Attachments

  • Photo Nov 20, 11 06 54 AM.jpg
    Photo Nov 20, 11 06 54 AM.jpg
    125.7 KB · Views: 82
Last edited:
Photo Nov 21, 9 41 32 AM.jpg
After this pic I laid some wax paper over the bond rail radius to help it conform better. As the epoxy tacked up, I went back every 20 minutes or so to press it back down until it eventually held its shape.
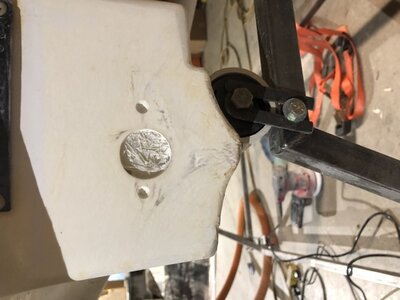
Photo Nov 22, 10 24 14 PM.jpg
I've been filling all the spots I ground down as I go with leftover thickened epoxy. I wasn't joking about there being a lot of spider cracks.
Photo Nov 20, 4 57 42 PM.jpg
This is definitely slow and meticulous work. More than 40 hours into prepping and glass alone just to get to this point. Shout-out to all the people who post all the glassing tips, it's been a huge help learning all the material selection and techniques.
 
Last edited:
Made a little more progress. Patched an unused hole, not sure what it was for maybe the stock pisser then duplicated the reinforcement on the other side.Photo Nov 23, 1 40 08 PM.jpg
Photo Nov 23, 1 58 29 PM.jpg
Photo Nov 24, 11 11 34 AM.jpg

Photo Nov 24, 11 11 55 AM.jpg
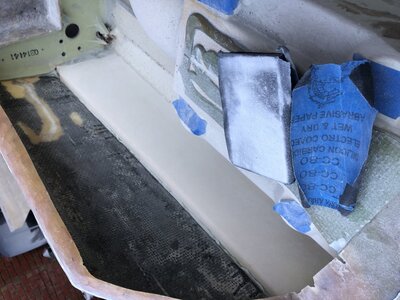
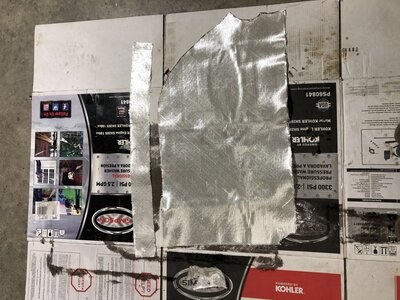
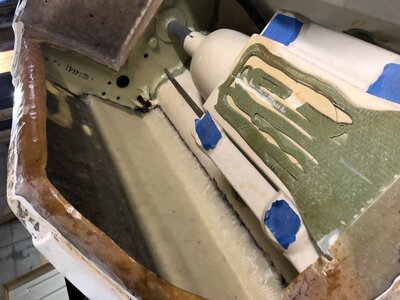
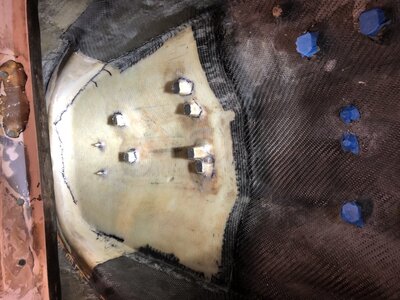
Reinforced the engine bay side of the tray. The large piece is 1708 up to the edges with conform tape on the ends. Filled the smaller bulkhead holes with cabosil thickened epoxy and used 3 pieces of 1708 to fill the foam pour holes with a larger piece over the back. Once it cured, I removed the duct tape from the engine side and smoothed with thickened epoxy.
Photo Nov 25, 11 16 20 AM.jpg
Photo Nov 23, 11 39 48 AM.jpg
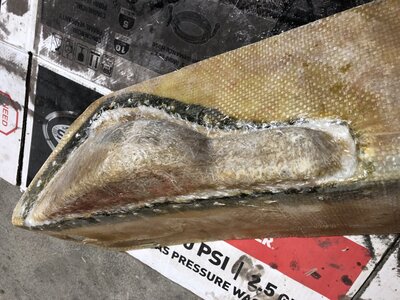
Also reinforced the back of the footholds to the tray using 3 inch strips of 1208. I also used some 1708 over the cracked areas and the corner where it was delaminating. Still need to patch the hole from the redneck pump mounting.
I started by cutting back the overhanging edges to get a flush seam from the tray to the foot holds. Then used thickened epoxy with 1/4" chopped strand for a little extra strength. Then I laid all the pieces and once again used wax paper to help conform it.
Photo Nov 24, 1 38 24 PM.jpg
Photo Nov 24, 6 14 22 PM.jpg
Photo Nov 25, 11 25 15 AM.jpg
Photo Nov 25, 11 25 24 AM.jpg
That's all I can get done until next weekend. I now know why so many of these projects go unfinished. Almost 60 hours in and not a whole lot to show for it lol. But I have everything here to glass the tray back in minus the pump insert nuts and pink panther foam. Hoping to get that done soon which ought to be a good motivator.

I got tired of coming up with places for excess mixed epoxy and came up with a way to measure out less than 4 oz at a time. Just marked some ticks a half inch apart on the pumps. This makes it easy to mix up little batches for small areas or to make a little more to finish wetting out fabric.
 
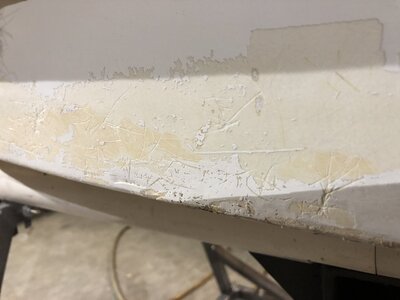
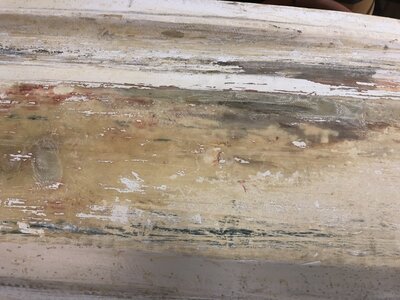
Worked on the ski for a good 12 hours this past weekend doing body work mostly. Not sure how the previous owner managed to get so many gouges in the sides of the hull. Sanding with an orbital and 80 grit was slow going but fortunately a razor blade paint scraper worked a lot faster for removing most of the paint. I'm not sure what it is but it seems like cabosil w/ epoxy shrinks as it dries. I put it on like bondo with a plastic spreader but most areas only 1/16" deep or less end up just low enough to require another round of filler after sanding. What a pain. I've considered putting a layer or two of painters tape on the ends of the spreader to level it just above the surface. But then again sanding epoxy sucks so I'd rather not do more than I have to.

Anyway the sides are getting close. I really just needed to get the back done so I can 5200 the thrust micro drains and attach the versi plug R before I seal the tray. Sanding around those would be a royal pain.
Photo Dec 01, 1 13 06 PM.jpg
Photo Dec 02, 3 36 45 PM.jpg
Photo Dec 03, 11 20 10 AM.jpg
Photo Dec 01, 1 13 22 PM.jpg
Photo Dec 03, 11 19 32 AM.jpg

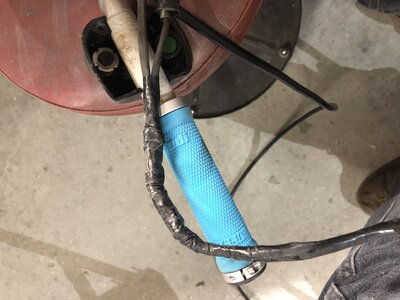
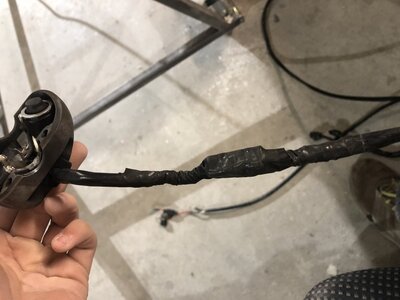
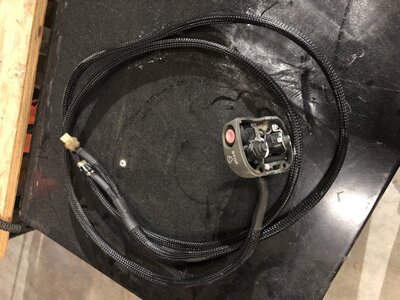
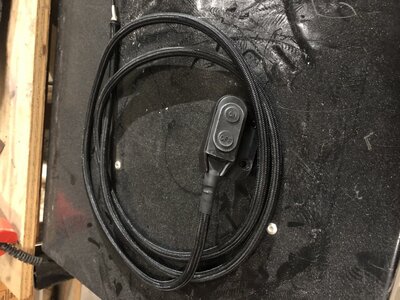
Anyway, I got so fed up with body work I decided to do some electrical. The start/ stop harness had been cut and butt crimped in 2 places for whatever reason. At least they used some electrical tape when they were done lol. Pulled all that crap off then soldered and heatshrunk all the connections with some nylon loom over top. Also loomed the bilge switch while I was at it. If anyone is interested, the loom is sold on amazon for real cheap, like 10 bucks / 100'. I keep the 1/4" and 1/2" sizes around for all my wiring projects.
Photo Dec 02, 3 39 59 PM.jpg

Photo Dec 02, 3 36 16 PM.jpg
Photo Dec 03, 9 44 38 AM.jpg
Photo Dec 03, 9 56 35 AM.jpg
 
Your in GA? Did you buy the 650 from a guy named Ronny? Anyway, if your in GA come ride with us when it’s done. We have a good ride group. Oh and, I like Porsche too. Assuming you do cause your screen name. Good luck with the build!


Sent from my iPhone using Tapatalk
 
you can also use measuring cups and spoons to measure out smaller amounts. Just pour excess back in the containers (unmixed)
Good idea, that will come in handy making little batches for final body work.

Your in GA? Did you buy the 650 from a guy named Ronny? Anyway, if your in GA come ride with us when it’s done. We have a good ride group. Oh and, I like Porsche too. Assuming you do cause your screen name. Good luck with the build!


Sent from my iPhone using Tapatalk

Yeah I did actually, I happened to see it on marketplace one day and that's what has me here now lol. It's mostly the same as when he had it, I just did some basic work to it
(finned ride plate, finger throttle, oil inj. delete and some ODI grips). I appreciate the invite, I remember he invited me to a ride in September IIRC but I couldn't make it out. I'm guessing you guys ride Allatoona? I'm about 15 min from Lanier and 45 from Allatoona but I could still make it out. Yeah I like Porsche, I have a manual 02 996 w/ the IMS done and muffler delete. Nothing too crazy.
 
Cool! Let’s hook up and ride next season. We usually start early April but will be out earlier next year. Race season starts in March so need to test and tune. We mostly ride Allatoona but also go to Lanier a few times a year. We put together a big ride in Chattanooga a few time a year as well.


Sent from my iPhone using Tapatalk
 
Time for a little update. I started cleaning up the thru hull exhaust and cooling tubes to seal them in when I noticed how pitted they were. After some digging I found onlinemetals.com sold the 2 inch aluminum exhaust tube and 3/8 OD 316 stainless for the cooling lines. I ordered those for $63 and decided to work on the bottom of the hull in the mean time.

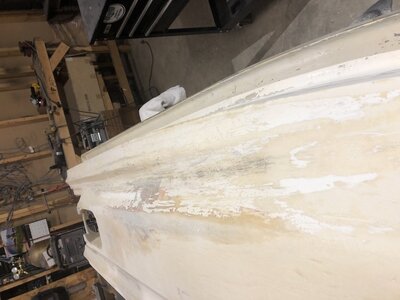
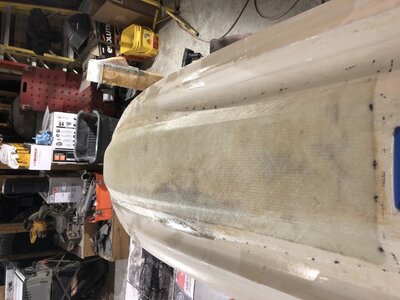
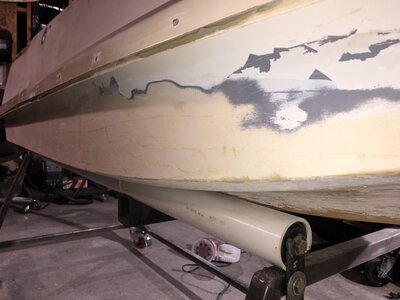
Spent a good 4 hours sanding all the old paint off using an orbital with 60 grit. I knew there were some repairs on the bottom but this revealed the extent of it. Also pictured is the crack which I suspect is much of the reason this thing took on some water. I was second guessing whether or not I wanted to put a layer of glass on the outside but after seeing these previous repairs, I knew I would regret not doing it.
Photo Dec 09, 1 03 05 PM.jpg
Photo Dec 09, 1 02 56 PM.jpg
Photo Dec 09, 2 07 34 PM.jpg
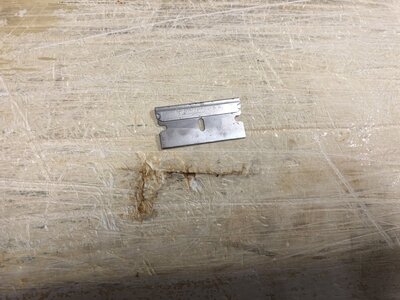
After sanding, there was a lot of paint down in the scratches so I got what I could out with a razor blade. Then ground out the crack with the die grinder and carbide burr, followed by 36 grit everywhere I was glassing. Next was a skim coat of cabosil epoxy over the entire surface to get a smooth surface to glass to. After an hour of tacking up, I laid a piece of 1708 down the center with a piece of 4oz cloth over top with a 1 inch overlap. I rolled it all out every half hour or so for a couple hours then gave it another skim coat of slightly thickened (syrup consistency) epoxy. This worked well but I should've used a brush or foam roller instead of a plastic spreader to get better coverage. I'll go back and scuff it then try that.
Photo Dec 10, 4 38 08 PM.jpg
Photo Dec 10, 4 38 22 PM.jpg
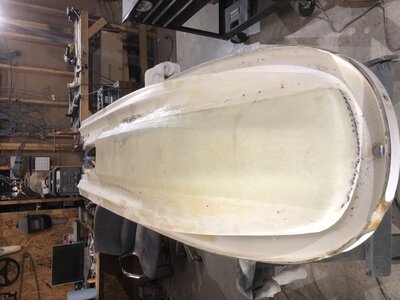
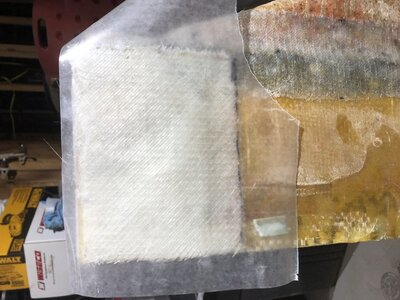
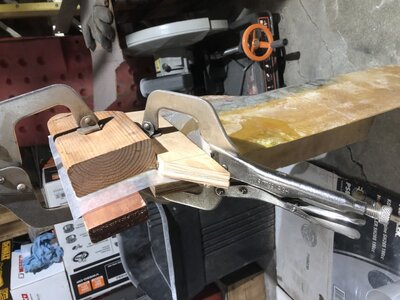
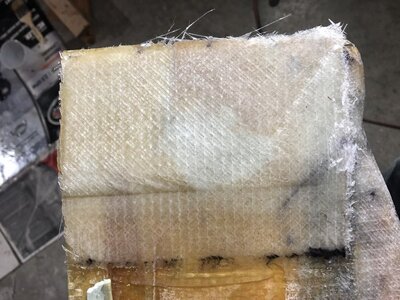
I went ahead and repaired the rest of the tray while I was glassing. Just 2 layers of 1708 with a ghetto compression mold over top. This turned out really well and is more sturdy than ever.
Photo Dec 10, 4 41 02 PM.jpg
Photo Dec 10, 4 50 38 PM.jpg
Photo Dec 11, 10 55 48 AM.jpg
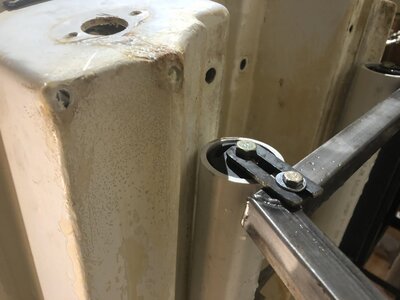
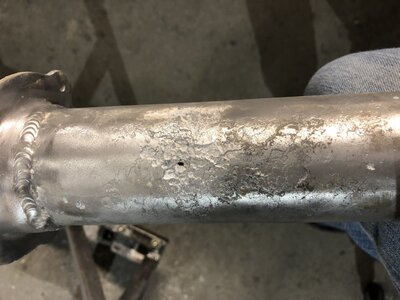
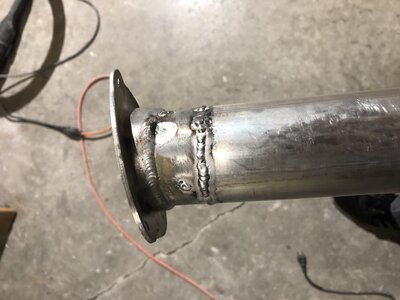
The exhaust pipe came today. Cut the flange off the old exhaust with the chop saw, cleaned and prepped it, then took it to where my buddy works ( I don't have an AC tig welder ). It was welded in all of 10 minutes and as I'm about to walk out the door, the boss man walks by and says that'll be 25 bucks :rolleyes:. I guess I need to up my welding rates lol. Anyway, the exhaust is ready to go back in. I'm still debating whether to seal up the tray before or after paint. If I paint first, it'll be a while before I can glass the tray back in and I have to worry about damaging the paint in the process. If I do paint second, I'll have to mask off the exhaust, versi plug and micro drains which probably won't give as clean of results. In any case, I plan to use epoxy primer and single stage paint, probably the cheap stuff from PPG.
Photo Dec 08, 3 41 22 PM.jpg
Photo Dec 11, 5 53 04 PM.jpg
 
Last edited:
Top Bottom