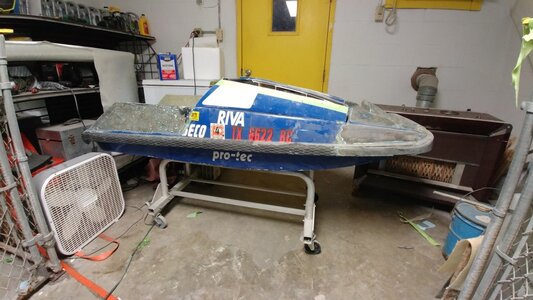
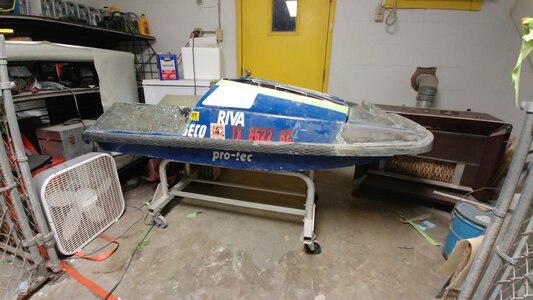
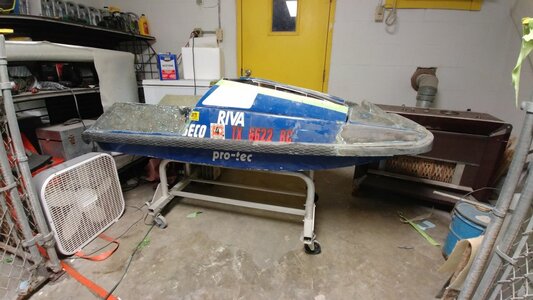
Super Jet Project Dance-floor

Req

Location
SW Tenn
I have a question for any of you composite guys out there about the nose reinforcement.

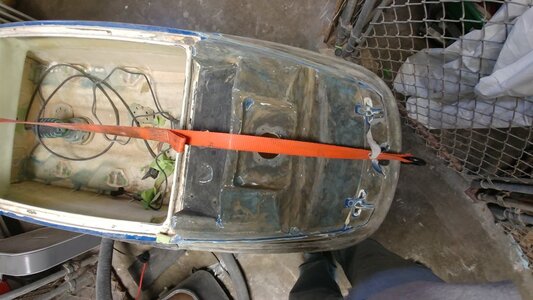
I am filling all of the low spots of the outside of the squares nose with 4lb pour foam so I can reshape it a little bit and improve its aesthetic. Additionally I am extending the pole bracket area a few inches forward, so I will be pouring foam on the inside of the pole bracket area as well. This creates a backer for when I start cutting out that raised section on the squares nose, just in front of the bracket area.

My question is will the foam and the fiberglass, once its shaped and covered, be enough strength to skip reinforcement on the upper part of the nose? Should I reinforce before I pour the foam and cut out the area I am planning?

Additionally I am re angling the rub rail for a fake rocker look. I am going to cut it like a horseshoe starting at the front hood seal and kick it up at the nose about 2" without changing the geometry of the wetted surface of the hull. I will then fiberglass it back to the hull where I want and then shape the nose to match the new lines. Does fiberglass (or smc/metton) do ok under tension or will I need to slice the rub rail a bit to allow it to follow the arc?

Thanks!
 

Req

Location
SW Tenn
If you want the foam to be structural and left in place you can get the 16lb pour foam that sets up as hard as a rock and is super dense.

That stuff is like granite! I think for sandability, which is pretty important for what I am doing, 4lb is about as heavy as I want. I guess I could reinforce before I pour the foam to ensure its plenty strong and not consider the reshaped area structural.

My thinking was that if its completely encapsulated and tabbed to reinforced sections of the hull it would be plenty strong, also cored areas have extra structure compared to non cored areas, at least they do on boats. That was why I was thinking I could get away with it.
 

Req

Location
SW Tenn
So I ended up working a deal with Aalamo and got a set of Tom 21 bolt-on sponsons. These things are trick, I can't wait to install them.

Anyone have any best practices for the installation of these things? I would like them to rest against the rub rail and sit 3/8 of an inch off the chines however they seem to lift out at the front, many installations I've seen have used some stainless steel screws to tweak them into place.

20190221_143358.jpg
 

Quinc

Buy a Superjet
Location
California
I got a set from carterb and the fit was not great. If you are going to glass them you might need to clamp them or something to hold them in place?

This is best pic I have showing mine.
IMG_20190121_114042599.jpg
 
  • Like
Reactions: Req

Req

Location
SW Tenn
Awesome! It seems you mount this style more flush with the chine than some of the others. I imagine since it has an aggressive chine built in to this tubby it doesn't have the same chine walk destroyers have when mounted flush.

They are the bolt on style but I think its out of the same mold. I am not sure if its necessary to glass them in but I was planning on mixing up some thickened epoxy and rivet the front and back to ensure they dont lift when in use.
 
Last edited:
I don't think they will ever lift. Just put a bead of marine sealer/silicone around the edge so that it makes good contact with the hull. I have destroyers. I just held them up to their proper mounting area, and used the mounting holes as a stencil to mark the hull where I needed to drill.
 
  • Like
Reactions: Req

Req

Location
SW Tenn
I did another thing... I'm reshaping the nose and with that I wanted to raise the Bond line. I didn't really want to cut up the whole hull with a legitimate rocker, however I like the look and thought it would go well with lines.

I used my magic Dremel attachment for the majority of it and a Sawzall to finish cutting through spots. The pictures show the bond line raised a little over a half inch. I'm probably going to raise it another inch once I cut reliefs in the bond line so it can Flex more. I will Stitch it back to the hull with fiberglass when I reinforce the outside of the nose.

I may also widen the bond line like Aalamo did on his FX1 and some freestyle hulls do but I'm not sure yet.

20190225_160750.jpg20190225_160731.jpg20190225_152513.jpg20190225_160857.jpg20190225_160849.jpg20190225_160844.jpg20190225_160824.jpg20190225_160913.jpg
 

Req

Location
SW Tenn
I cut a relief in the bond line and mocked up where I think it looks best. It will require a bit of fairing but I think the look is right.

20190226_142555.jpg20190226_142621.jpg20190226_142611.jpg
 

Req

Location
SW Tenn
I masked off all of the gaps and sealed it thoroughly so I can flip the ski over and pour thickened epoxy resin to fill the voids. Once it's cured I'll flip it back over peel the tape and fiberglass the joint.

I put the hood on and I think it really highlights the full effect. I'm very happy I decided to take the time to do this to the bond line.

20190226_211521.jpg20190226_211605.jpg20190226_211541.jpg20190226_211530.jpg
 

Quinc

Buy a Superjet
Location
California
kind of looks like the stryker
http://www.x-h2o.com/index.php?threads/operation-stryker.134226/page-2
index.php
 
The nose piece transitions really well into the hood! It is nice and parallel too! Nice work! Will you eliminate the flange at the front so that it's just a lip?
 

Req

Location
SW Tenn
I think I'm going to keep the flange. I may widen the entire Bond line and kick it out at a 30 degree angle but I'm not sure.
 
Top Bottom