Superfreak badass restoration-"make superfreaks great again"

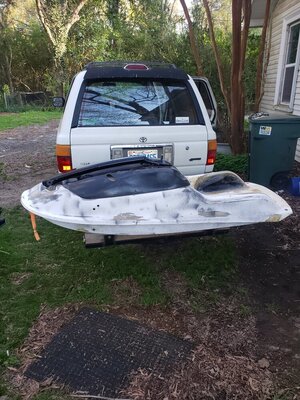
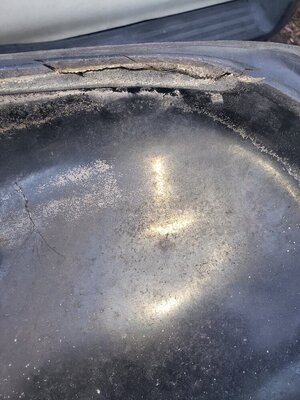
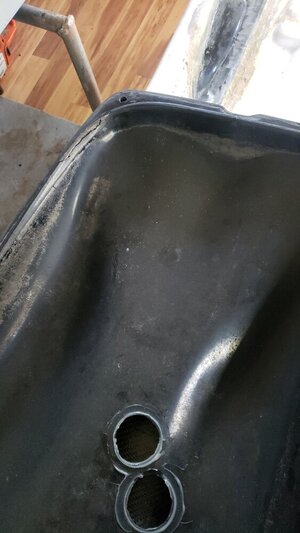
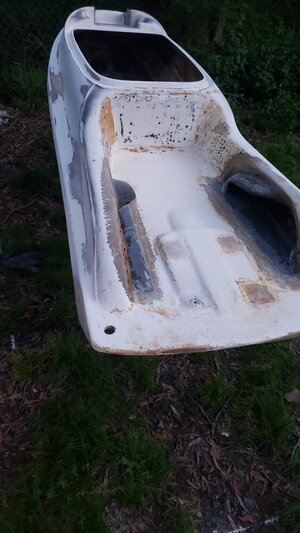
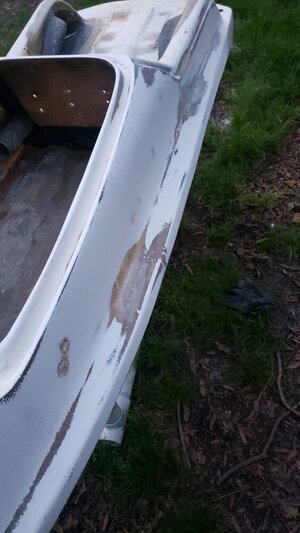
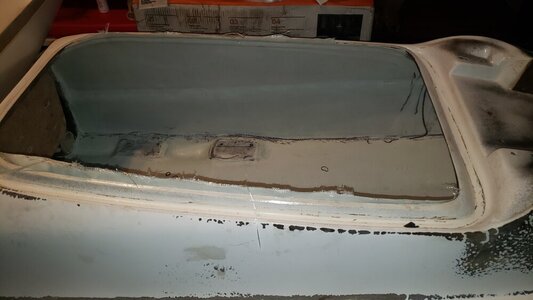
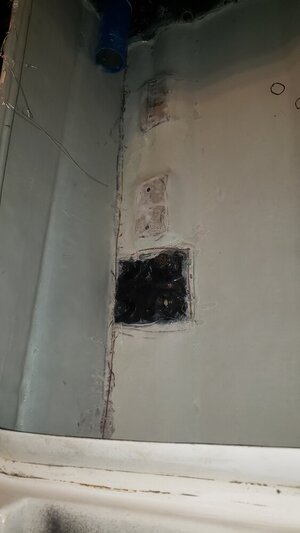
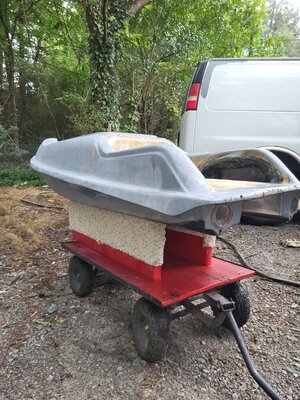
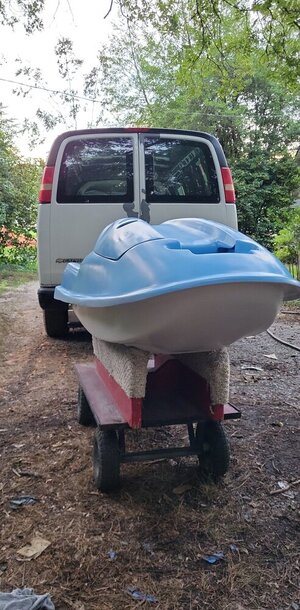
Through some mutual friends, I heard about a badass "project" hull coming up for sale about a year and half ago. I knew the seller so I immediately contacted him about the hull. Worked out a deal and I made the hour long drive to pick it up one evening. It's a 2012 Superfreak badass -4.3. Of all of the Aftermarket hulls out there now, the badass has been a favorite since I first seen one. I just love the look yet have never ridden one before. This hull in particular is a fiberglass built ski which I later found out is pretty rare as most Tem built freaks were carbon. Also found out the nose was lawn darted in the sand and busted the nose up just after it was assembled by the original owner. Tem reinforced the nose with carbon and it feels super solid. The gel coat was pretty rough and there were pin holes and low resin spots throughout. I knew it would be lengthy project but I didn't care. I was a superfreak owner! Some pics when I got it home for the first time. She was rough in a few spots but overall solid
 

Attachments

  • 20210330_175905.jpg
    20210330_175905.jpg
    241.6 KB · Views: 115
  • 20210330_180029.jpg
    20210330_180029.jpg
    214.7 KB · Views: 96
  • 20210401_153939.jpg
    20210401_153939.jpg
    82.8 KB · Views: 75
  • 20210412_200059.jpg
    20210412_200059.jpg
    107.9 KB · Views: 74
  • 20210412_195739.jpg
    20210412_195739.jpg
    93.8 KB · Views: 78
  • 20210401_154328.jpg
    20210401_154328.jpg
    75.2 KB · Views: 81
Last edited:
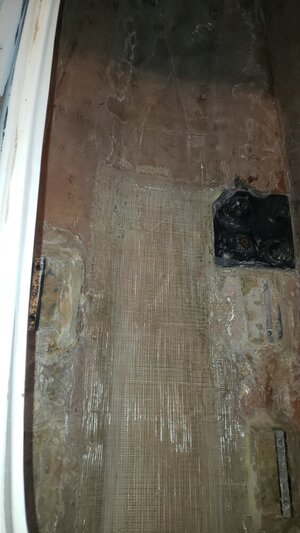
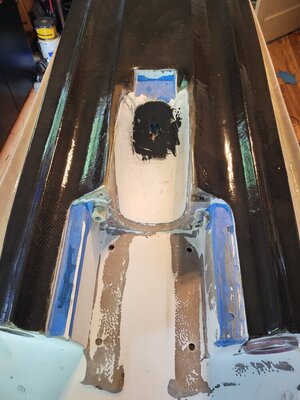
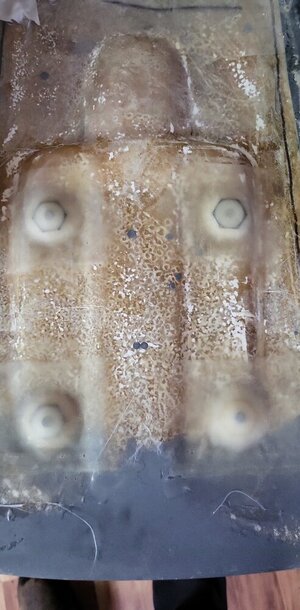
Got started sanding all of the gelcoat off. Took for what seemed like eternity. The engine bay was pretty rough as well. Sanded that down and started with complete reinforcement of the sides and bottom. For reinforcement, I went with 3 layers of an 8oz, 8 harness satin weave on the bottom and 8oz 2+2 twill on the sides. I cut it 2 pieces to make it easier to lay out the large pieces of glass. Peelply over the top and used a dry 4 inch foam roller to remove as any air bubbles as possible. My goal was as light as possible without compromising strength. The 8 harness weave is very strong for its thickness and weight. Highly recommend it over 17oz biaxial. I also had to grind out the original t nuts used for the strap mounts. Once getting all of the gelcoat off I could see what I was actually working with.
 

Attachments

  • 20211218_102457.jpg
    20211218_102457.jpg
    103.8 KB · Views: 76
  • 20211219_154433.jpg
    20211219_154433.jpg
    96.2 KB · Views: 65
  • 20220104_181500.jpg
    20220104_181500.jpg
    70.6 KB · Views: 61
  • 20220104_181554.jpg
    20220104_181554.jpg
    48.4 KB · Views: 77
Last edited:
I was given what turned out to be quite solid advice for doing glass work from the previous owner of the Ski. He recommended using "peel ply" on top of your layup for a few reasons:
- absorbs excess resin
-helps hold layup down and remove air bubbles
- eliminates amine blush from the curing process and leaves a nice finish that's ready for more layup and reduces sanding.
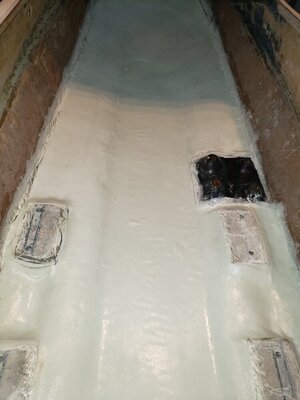
I wanted all of the reinforcement done on this hull to keep it light as possible as this hull being glass is still a good 15-20 lb than my superjet hull. Once getting the gelcoat off I could see that the pinholes were mainly in the gelcoat and chopped strand under it. Sanded that smooth and used a mix of fairing filler with cabosil to fair the majority of the hull. I did add reinforcement to the bond rail on both sides. Added a little reinforcement behind tithe bulkhead on the outside of the hull as well since I couldn't reinforce the inside without cutting the tray up. I did cut an inspection hole into to the tray to check the waterline for corrosion. Thankfully they were ok.
 
Last edited:
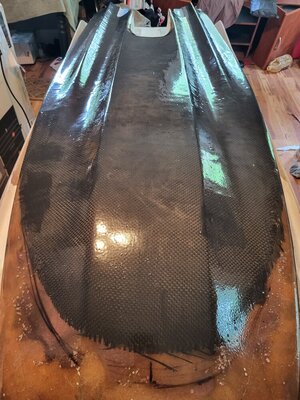
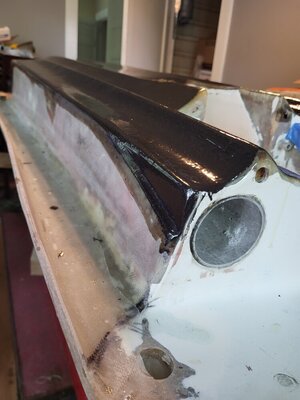
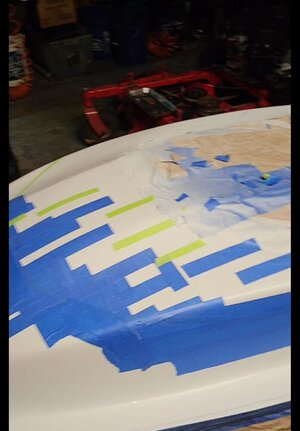
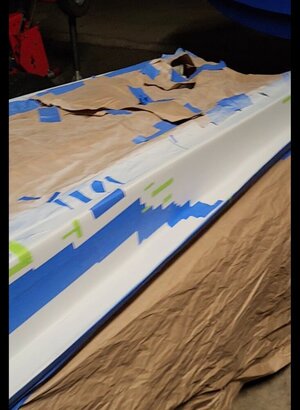
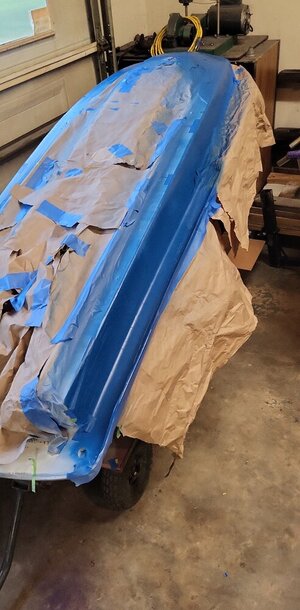
Since this is a glass hull and I really like the look of some if the og freak paint jobs with the black or carbon on the bottom. So I did the same thing and also wanted an extra layer of protection on the bottom to beaching. I added a few extra coats of resin and will add clear coat once I paint it. You can see the reinforcement I added on the bondrail in the 2nd pic as well as the finish left from the peelply
 

Attachments

  • 20220607_134334.jpg
    20220607_134334.jpg
    186.8 KB · Views: 81
  • 20220607_134357.jpg
    20220607_134357.jpg
    98.4 KB · Views: 78
  • 20220607_134438.jpg
    20220607_134438.jpg
    149 KB · Views: 80
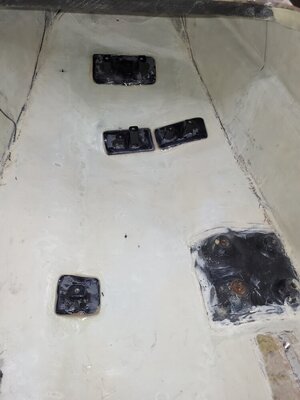
Since I ground out the t nuts in the engine bay, mainly cause they're std thread instead of metric. One afternoon I was on this site actually and came across @schicks Inverse build and saw what he used for the mounts. Contacted him and he layed some very nice mounts for me and I was easily able to cut, and fit into the freak. Came out great and he was awesome to work with. Also replaced the tnuts used to bolt the pump in with some oem brass inserts.
 

Attachments

  • 20220619_211145.jpg
    20220619_211145.jpg
    83.7 KB · Views: 78
  • Snapchat-1120438078.jpg
    Snapchat-1120438078.jpg
    99.3 KB · Views: 76
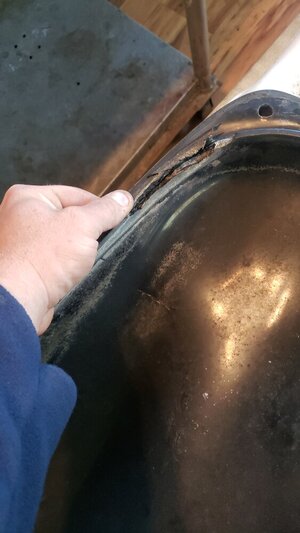
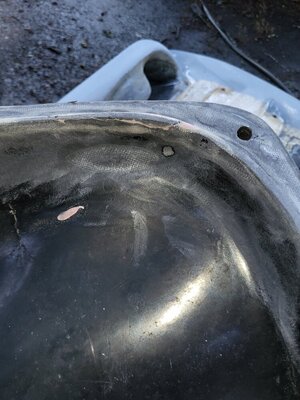
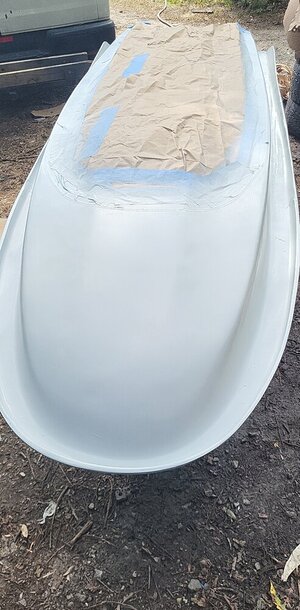
Lastly, the Crack in the hood needed some attention. I used some cabosil/fairing filler mix to glue it down, then reinforced the entire hood seal lip which I don't have pics of unfortunately. Finally getting to primer and paint. For primer I used "Awlgrip" 545 epoxy primer to seal everything up. That primer is excellent stuff
 

Attachments

  • 20220711_202800.jpg
    20220711_202800.jpg
    152.5 KB · Views: 72
  • 20220706_161906.jpg
    20220706_161906.jpg
    230.4 KB · Views: 75
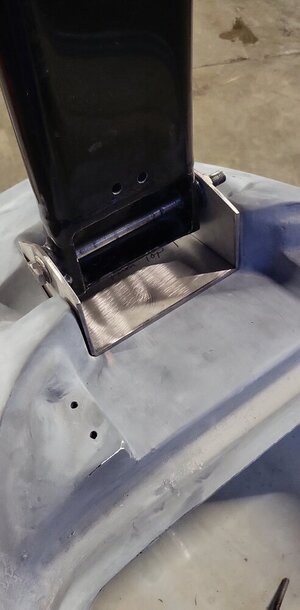
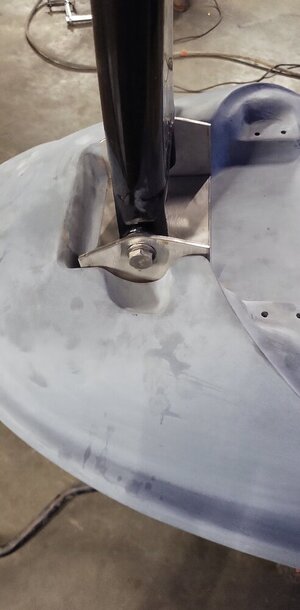
Found a local metal superstore and was able to get a piece of 304 stainless 3/16 thick metal stock cut 5x18 to fab up a custom handle pole bracket. I didn't like the pinch bolt/tight pole setup and after some research of what others did to get a pole spring in as well as a pivot bolt. My solution was to just make a bracket. Still needs a little work but a blowsion pole spring should get the job done. I wanted to make it look stock "appearing" also wanted the bracket to be tall enough to get the pivot bolt in and out without contacting the nose or having to remove the bracket. Had to move the pivot bolt hole up right around 9/16 of an inch
 

Attachments

  • Snapchat-987863651.jpg
    Snapchat-987863651.jpg
    63.3 KB · Views: 71
  • Snapchat-1689448683.jpg
    Snapchat-1689448683.jpg
    57.2 KB · Views: 69
Last edited:
Since this is a glass hull and I really like the look of some if the og freak paint jobs with the black or carbon on the bottom. So I did the same thing and also wanted an extra layer of protection on the bottom to beaching. I added a few extra coats of resin and will add clear coat once I paint it. You can see the reinforcement I added on the bondrail in the 2nd pic as well as the finish left from the peelply
I should have put another layer of carbon on the bottom of my titan like that, good idea!
 
Keep it up!!!!!! I learned alot when I bought my freak. Had to do alot of what your doing.............
Yessir I can finally see the light at the end of the tunnel and it feels soo good haha. I viewed your thread many times over the course of this build for ideas. Along with many others haha
 
Last edited:
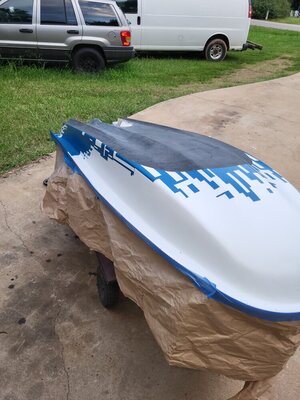
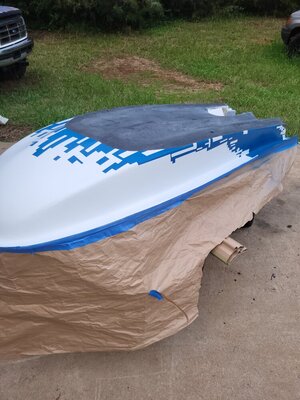
Let's put some clear on Dat bish! Ain't a show car but good enough for a jetski that will be going inverted
 

Attachments

  • 20220817_195153.jpg
    20220817_195153.jpg
    153 KB · Views: 70
  • 20220817_195146.jpg
    20220817_195146.jpg
    154.4 KB · Views: 81
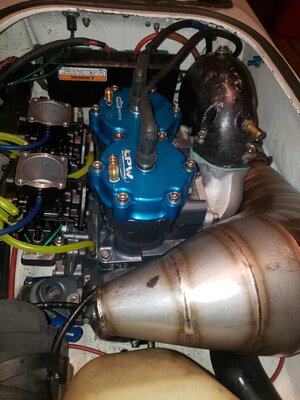
This is the power train that will go in her. 62t lpw ported cylinder and cases, a02t zeel setup, dual r series 44s, tnt chamber. Pretty solid little setup.
 

Attachments

  • 20210213_191216.jpg
    20210213_191216.jpg
    142.2 KB · Views: 98
Last edited:
Top Bottom