FX-1 Swapmeet's Sloppy Seconds

tom21

havin fun
Location
clearwater FL
I have a hard time believing that the hood weighs almost 20lbs. a stock sj hood weighs just over 20. take the fire ext and hold off it. its a light hood and you would be hard pressed to make a lighter one. even if you did it would be bagged and carbon so there goes the budget. cmon dude that hood has to be 8-10 minus the extras.
 

swapmeet

Brotastic
Location
Arlington TX
I have a hard time believing that the hood weighs almost 20lbs. a stock sj hood weighs just over 20. take the fire ext and hold off it. its a light hood and you would be hard pressed to make a lighter one. even if you did it would be bagged and carbon so there goes the budget. cmon dude that hood has to be 8-10 minus the extras.

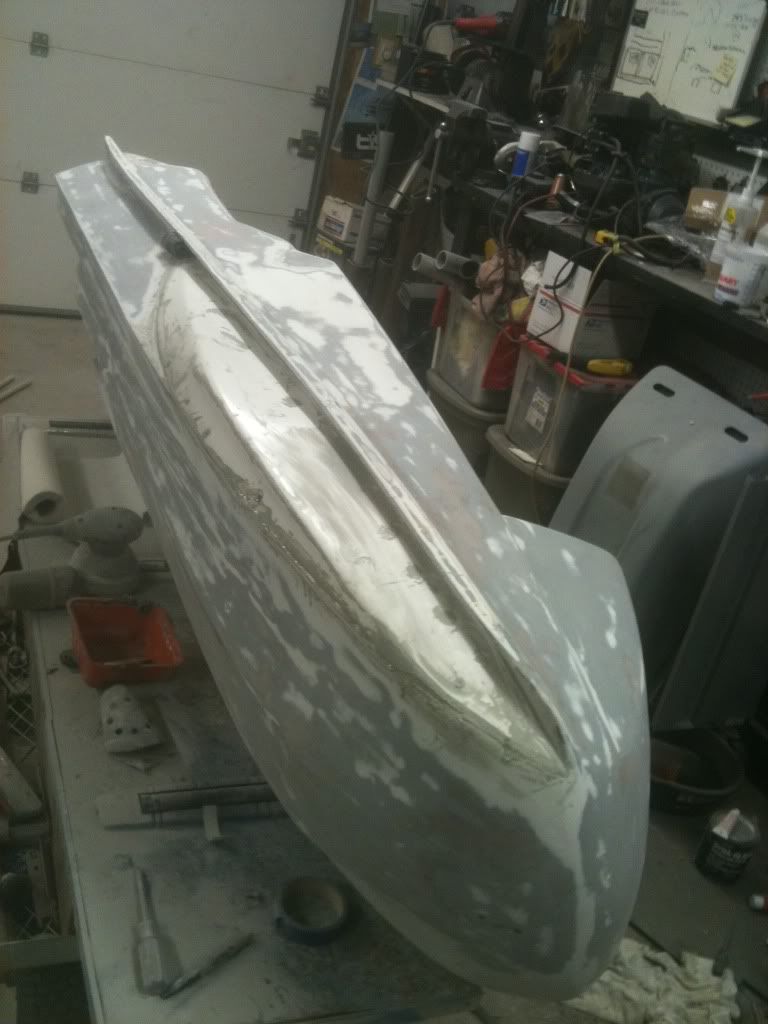
Thats Brett's hood. It has no fire ext, or the pocket. Its all been shaved. I thought it shoulda been lighter as well.
I'll try it on another scale... but that is what my scale says. Its a brand new scale. Maybe I need to calibrate it.

See pic below.

DSCN4394.jpg


You can see it in the back ground in this photo.

IMG_2297.jpg
 
Last edited:

chadetroit

Get Wet
Location
Bay Area, CA
Swap I'm at just under 13lbs on the stock hood with the fire ext compartment on just for reference. Nice work on the build thus far, you are motivating me to get my butt in gear.
 

swapmeet

Brotastic
Location
Arlington TX
Back to work some tonight.

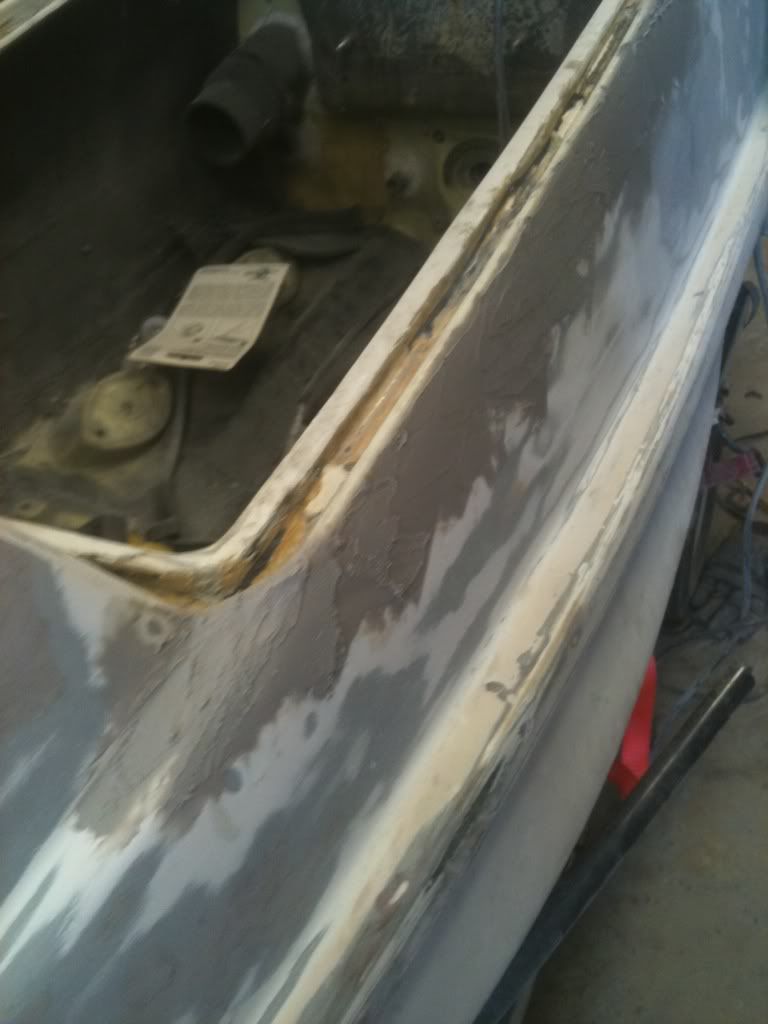
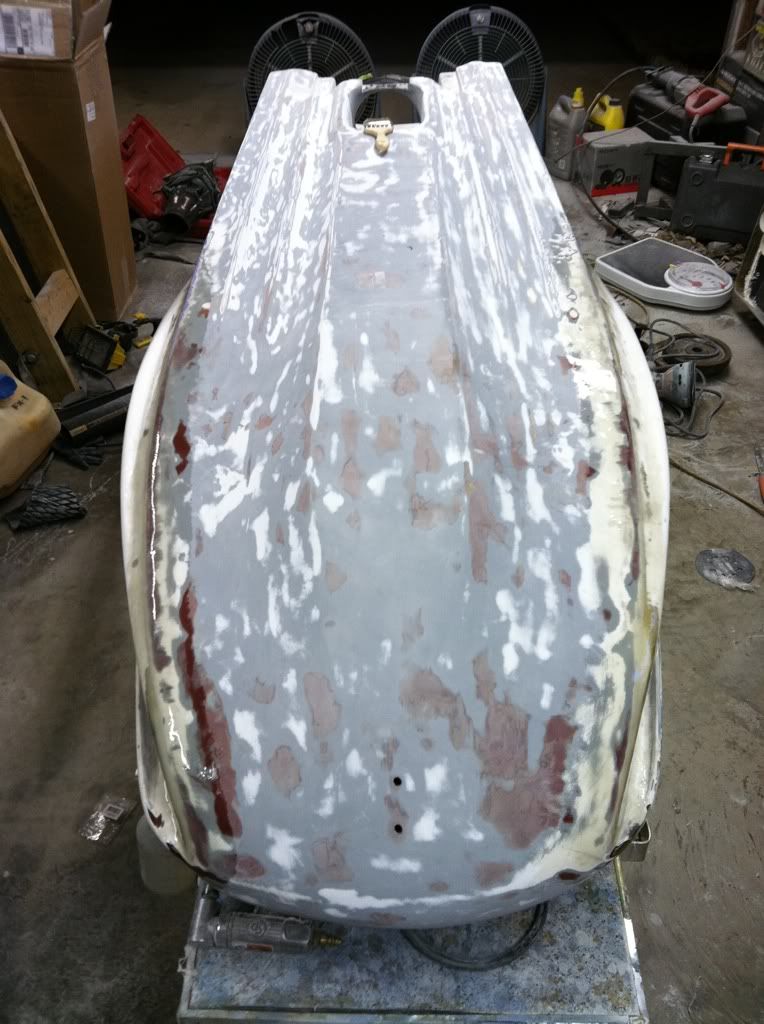
Sanded the primer off the other side and the rest of the bottom. Went a little faster, not as much of a whoopin.
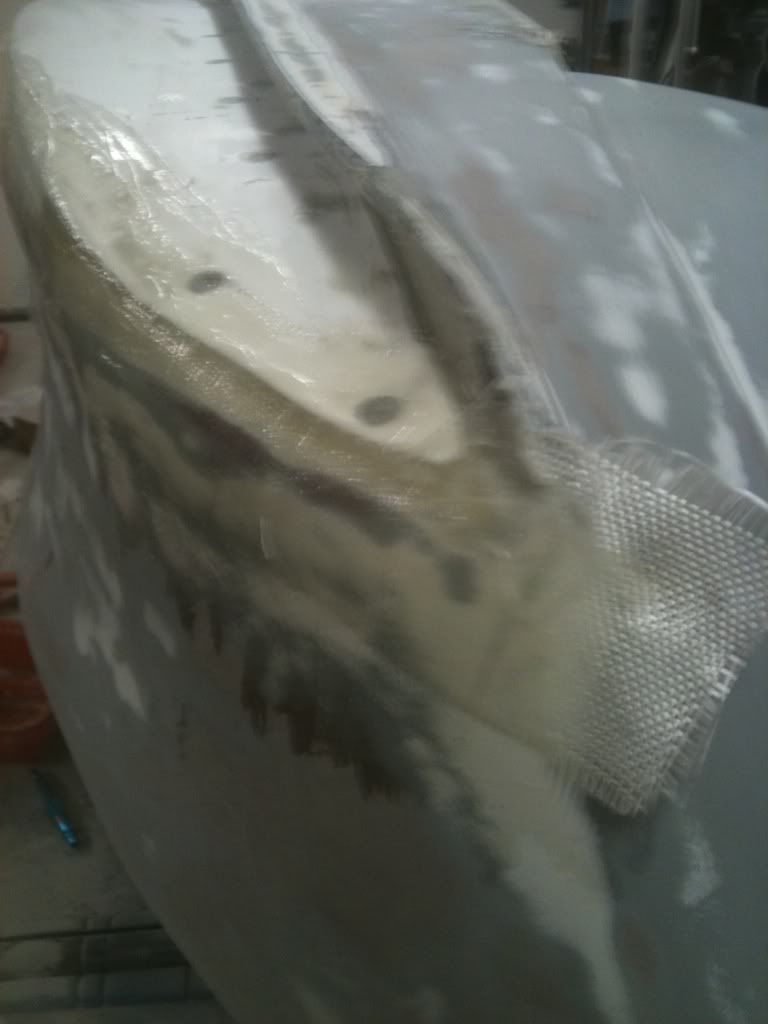
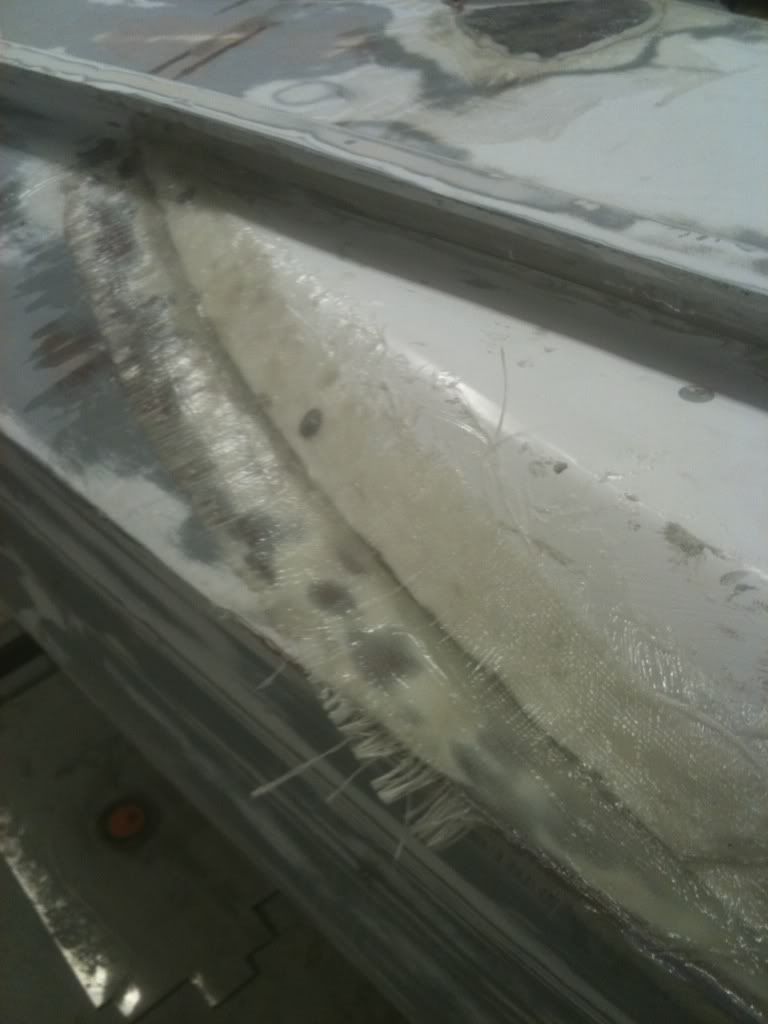
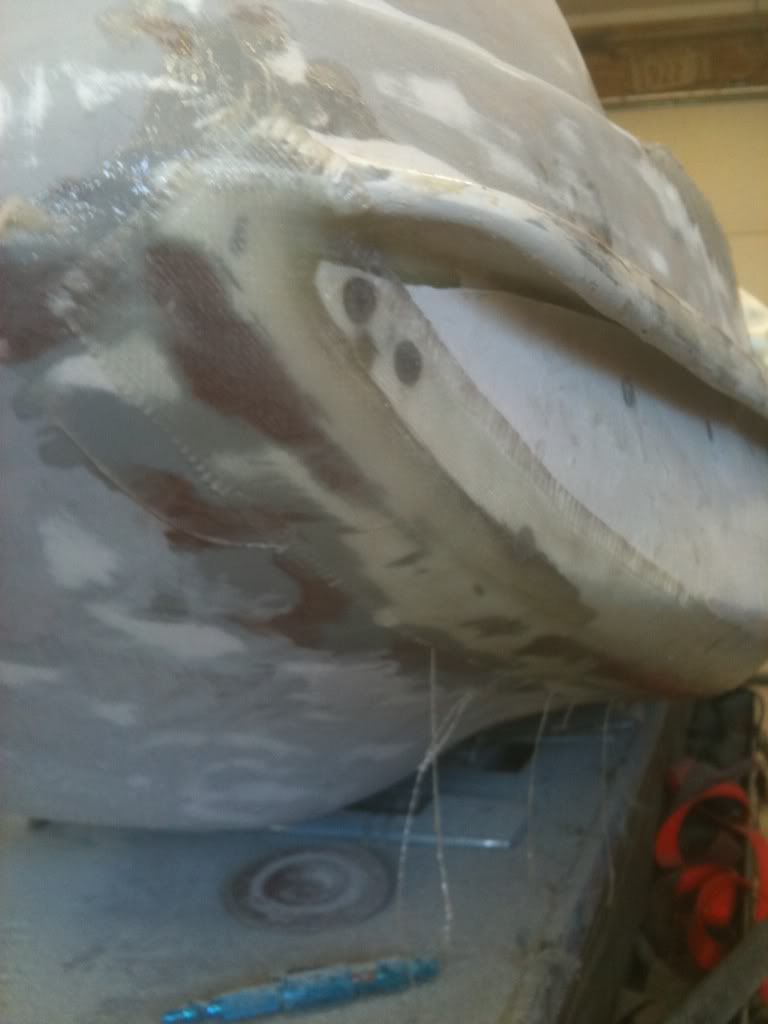
Prep'd the sponson for a layer of glass as reccomended by Tom. Mixed up some more resin and cabosil for a nice paste and layed this down. Pics are blurry but you get the idea.
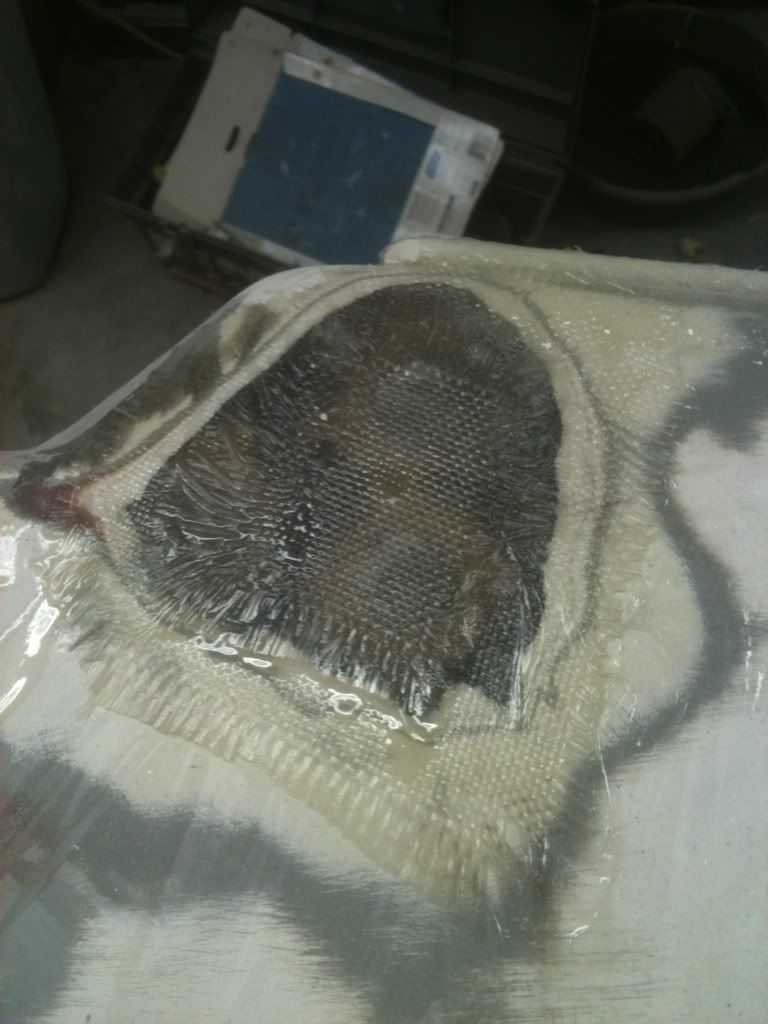
Including a pic of the pisser/ bilge holes that i've repaired. Two layers of 12oz inside, Dynaglass as a filler, and two layers of 12oz on the outside.

Also, I put two 10 pound weights on my scale, came out to 22 or 23 lbs. I dialed the knob back and re-weighed the hood. I think it was 13 or 14 lbs, but I can't remember for sure.

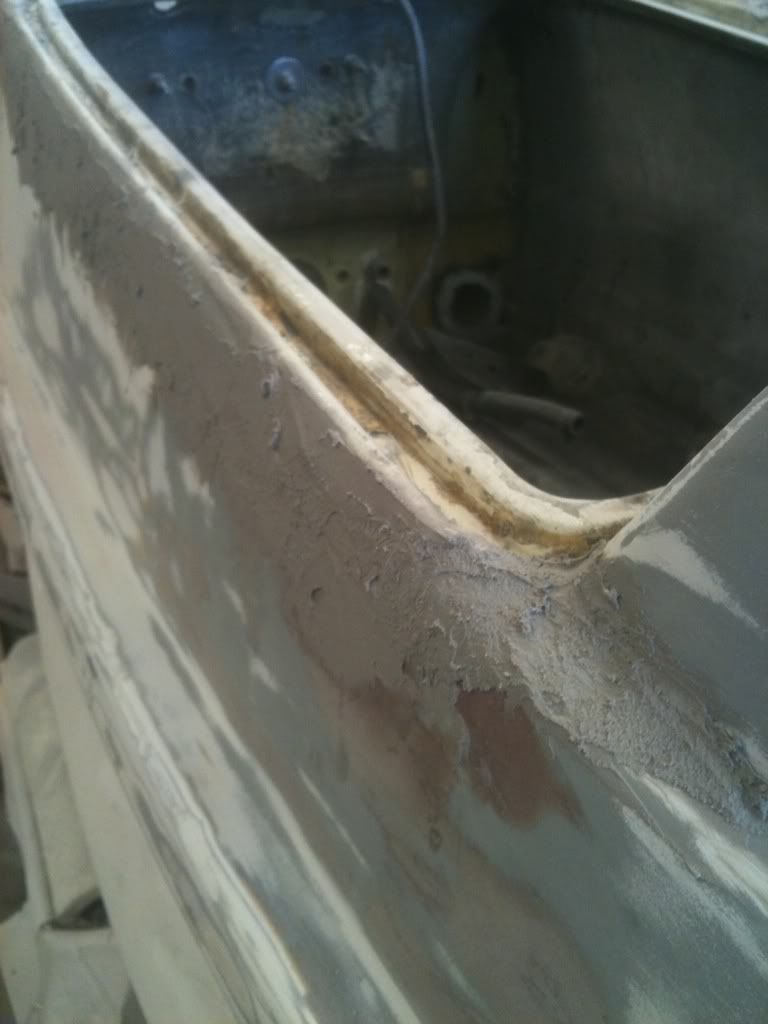
Not sure if this is normal, but I ended up with a bunch of air bubbles beneath the glass on my hood keepers. The resin hasn't fully hardened because its so cold here (20* this morning) but it should be completely cured tomorrow, and the weather is supposed to warm up as well. Any thoughts on the bubbles or gaps between the glass and rods? There is every possibility that its user error, but I don't know what I did wrong, so I can't fix it.

c36e2c9c.jpg


ce7b45df.jpg


b05e09bf.jpg
 

chadetroit

Get Wet
Location
Bay Area, CA
were you laying the glass in the cold? minimum temp recommended I think is around 70 degrees for proper curing. Also did you squeegee it out the best you could, I realize the angle and shape was a little difficult but that will help prevent air bubbles.

What is that last shot a picture of?
 

swapmeet

Brotastic
Location
Arlington TX
Yeah, it got up to the mid 60s here today, but thats way warmer than its been. Tomorrow will be warmer.
Its all drying, and some of it i've been leaving thick, which is probably a mistake, I was treating it like a filler instead of a resin. Living and learning... this is the first time i've done glass work on anything other than repairing the nose on my first FX.

The last pic is where i'm filling in the holes Brett had for bilge/ pisser etc. There were 3 holes, and I'm gonna run my pissers elsewhere and no plans for a bilge at this time.
I could have just stuck some bondo in there or something but that area is a weak spot on these hulls. Theres two layers of 12oz inside, dyna glass filling the holes, and two more layers on the outside. It feels pretty solid, I think it will be fine.
 

swapmeet

Brotastic
Location
Arlington TX
Got a little more done today. The slow cure rate on the resin is defintely holding me up. I was expecting it to be more like bondo, where you can mix it as hot as you like.

Anyhow, the warm weather will defintely help, as will a little experience.

I mixed up another batch of resin and cabosil, and reinforced the other sponson. I did try to squeege out the resin more on this side. The results will speak for themselves...
Went ahead and spread a little mud on the the hood keepers and sanded it down also.

Got sick of sanding and called it a day. Hopefully tomorrow the first sponson reinforcement will be dry.
I'll throw on a skim coat of bondo on the keepers again. Fill in what I missed, might throw down some dyna glass along the back to make it flow back into the rest of the hull.

24850c33.jpg

22ee86ab.jpg

a1b79bc3.jpg
 

swapmeet

Brotastic
Location
Arlington TX
2 days worth of updates... gonna try to keep it coherent.

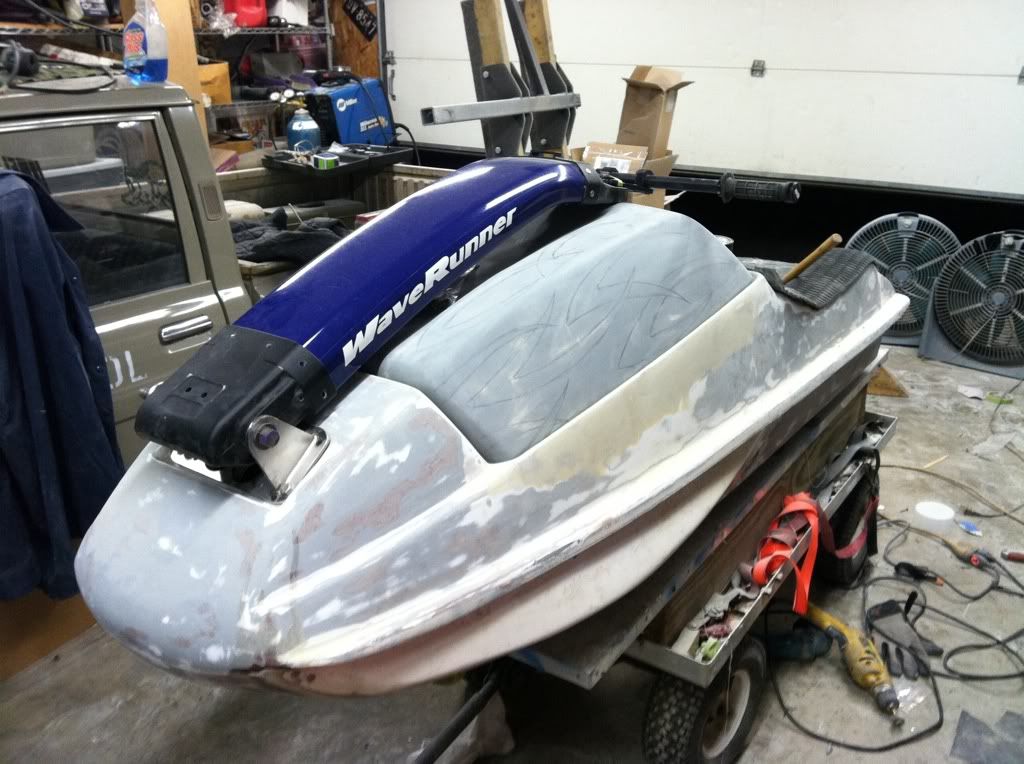
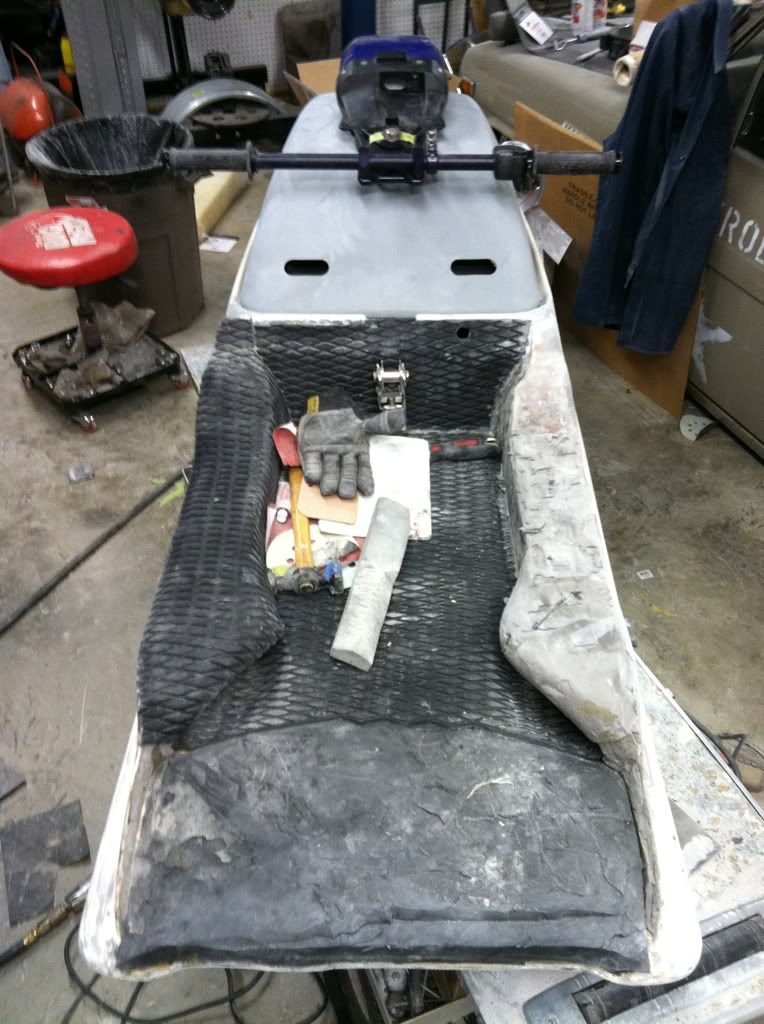
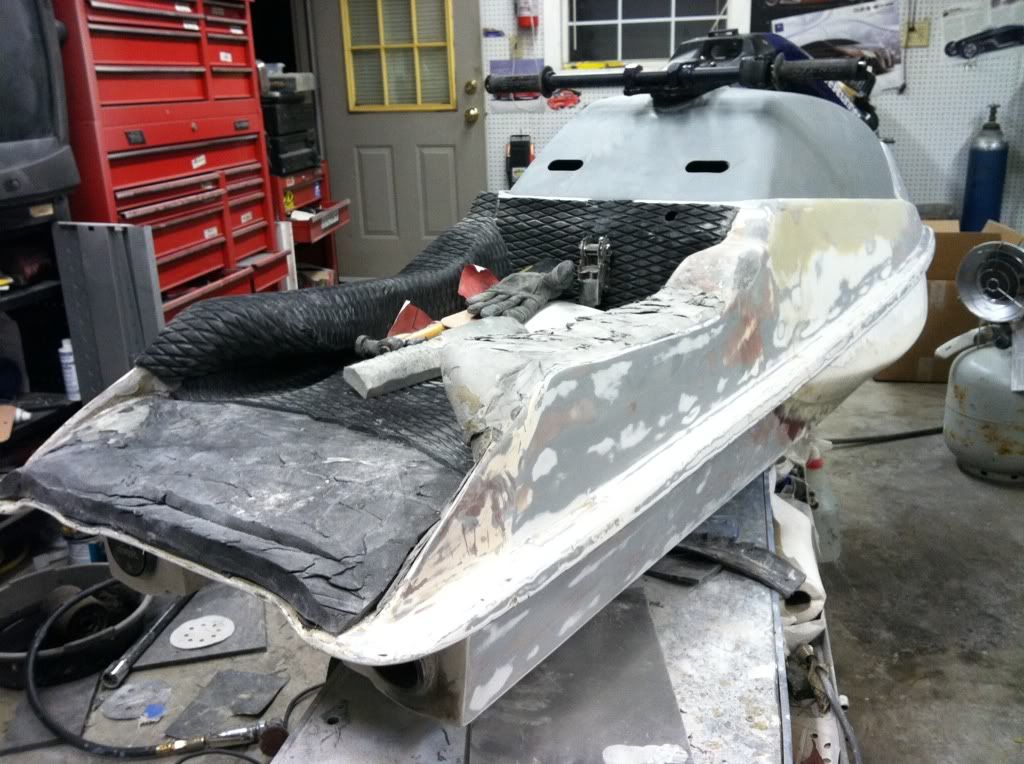
More sanding, bondo etc. Getting close. Just need to body work the tubbies in, but i'm having resin drying issues. Dragginblazer says its user error LOL... probably right.
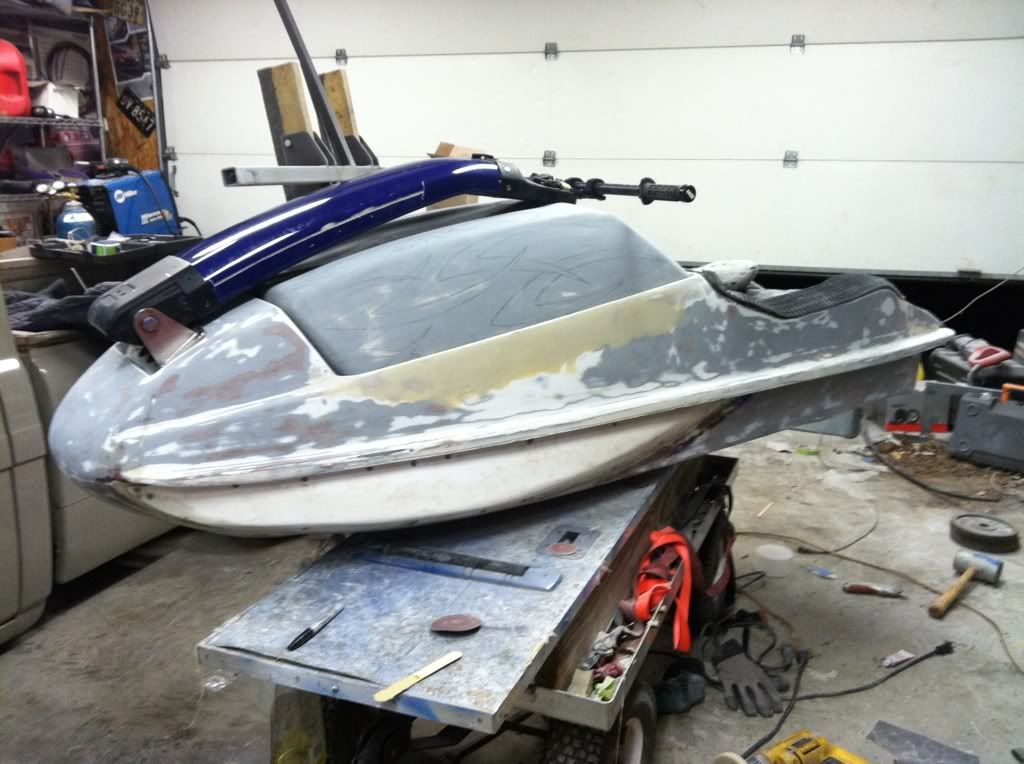
I mocked up the shortened 08 pole, threw on the hood. Really like the way it looks, can't wait to get it on the water.

Oh yeah, threw it on the scale, hull and turf alone weigh 110 lbs.

Yesterday I got my carbide burrs for Aluminum, and got the spool gun working. Still needs some dialing in before I try to tackle the handle pole project.
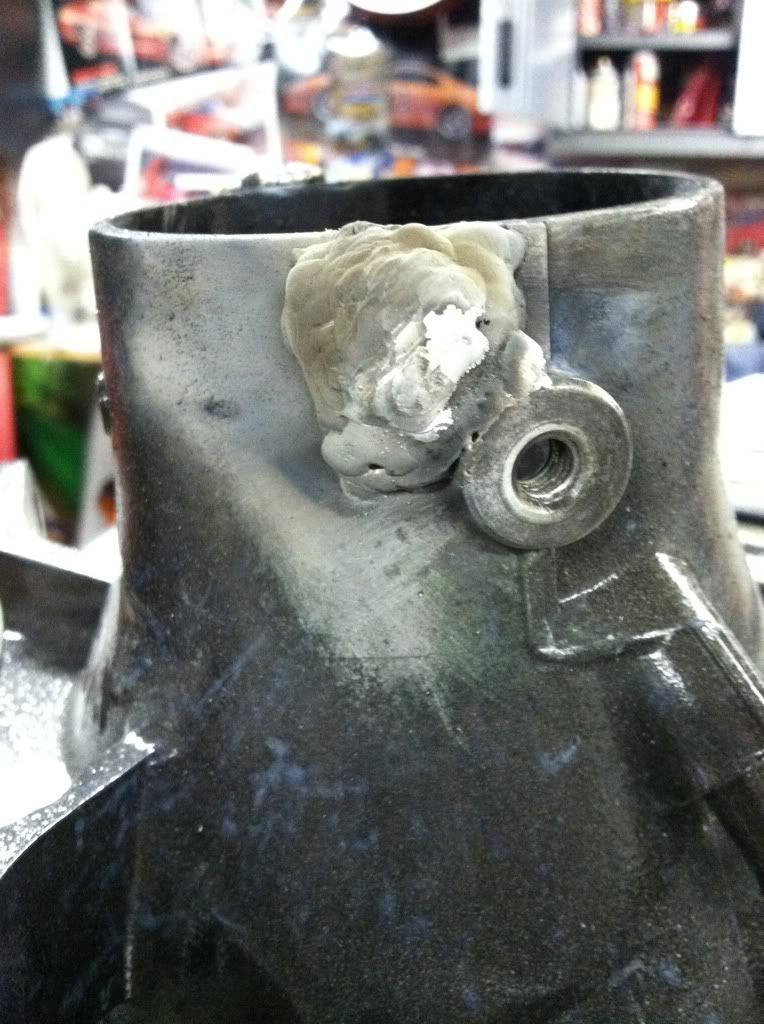
I welded up a boss on the reduction nozzle for relocating my CATS, need to finish sand it, drill it and tap it. Should get a ton more throw.

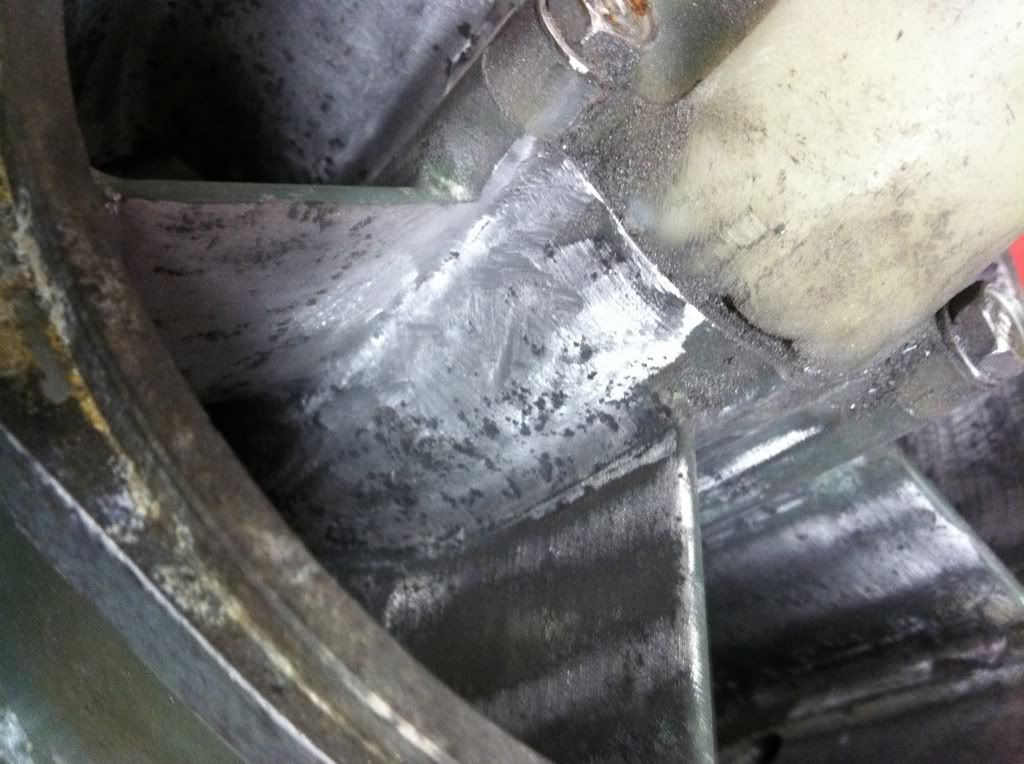
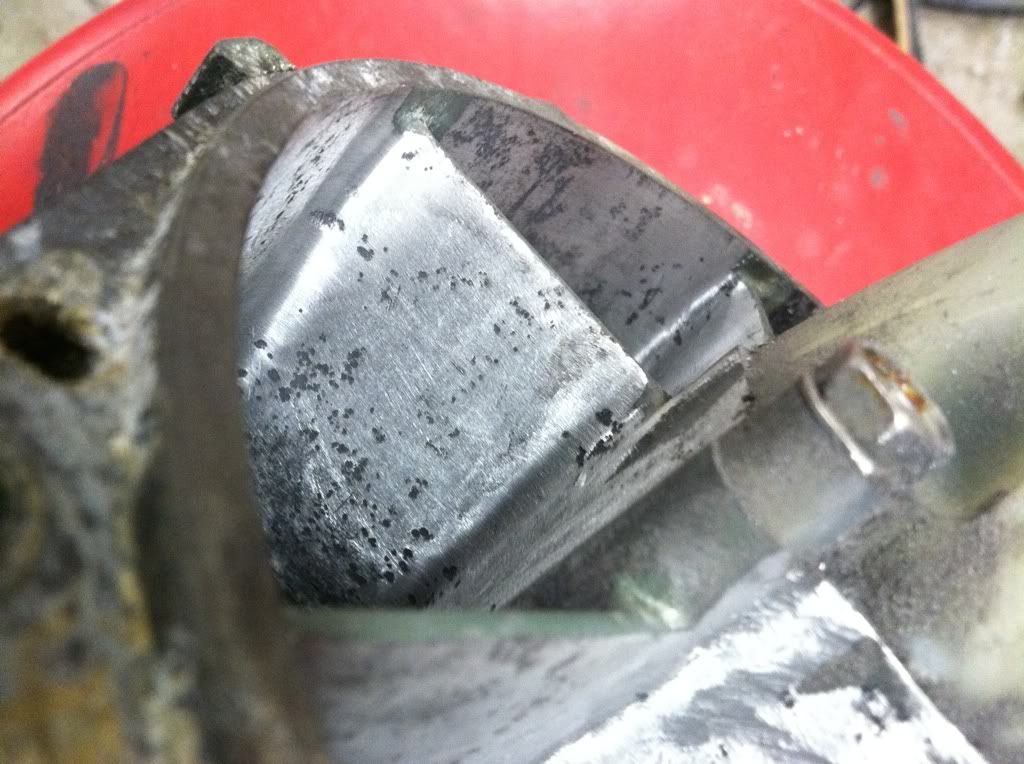
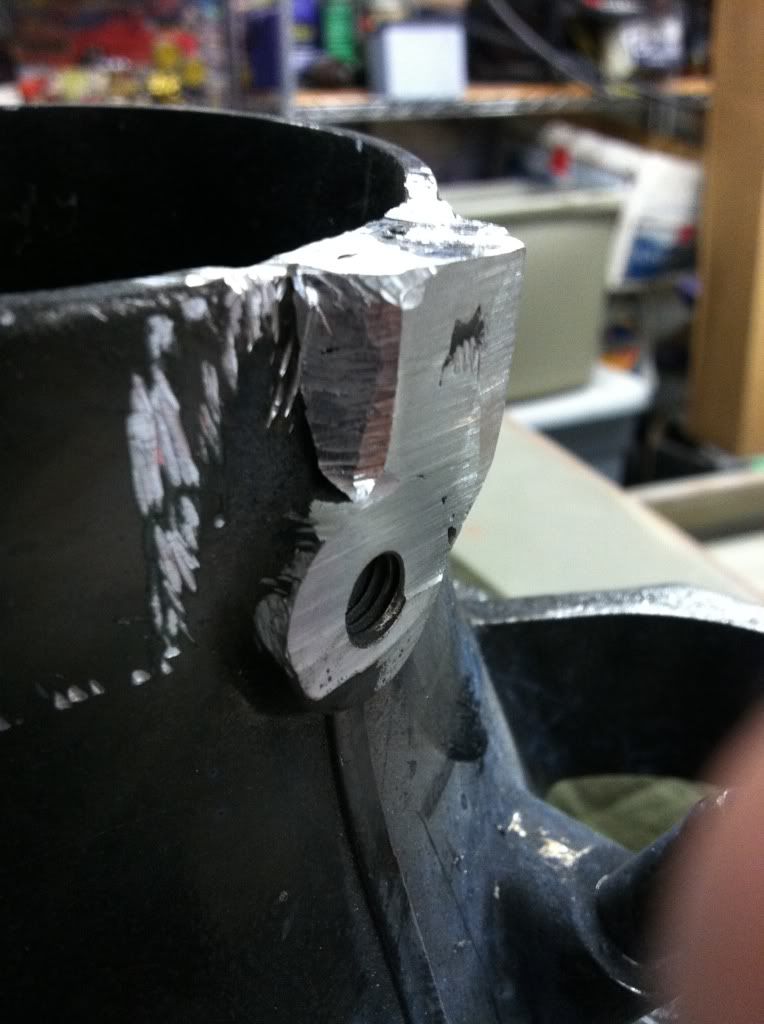
Lastly I started blueprinting my pump. Its already pressed together, so I can only get at it from the exit nozzle side. I got the majority the big chunks smoothed out with the burr.
I'm working on some finish sanding to get it super smooth, but I have a question.

The pump has quite a bit of pitting inside. The vanes etc. Is this a casting quality issue, or is it because the pump was possibly used in salt water?
More importantly, should I address it? If I try to sand it down i'll weaken the pump without a doubt. I was thinking I could spread some sort of epoxy to fill in the holes and then sand it back out. But i'm not sure if it's necessary and would help... so any input would help. Here's the pump pics first.

12835a4a.jpg


473958e2.jpg


eb73eac9.jpg


629a56e4.jpg


d0b11ab1.jpg


325526ee.jpg


678fe773.jpg


72a33691.jpg


7bf39816.jpg
 
Last edited:
Thanks, 1971 Toyota Hilux. Not bodied, just layin frame.
http://www.minitruckinweb.com/features/toyota/1001mt_1971_toyota_hilux/photo_05.html

Didn't do anything last night besides trying to get some imroperly mixed resin to dry. :doh:

Should be a busy weekend though, hope to hand it off to my painter Sunday.

i would try mixing a hot batch or resin. my first batch didn't have enough catalyst so i mixed a hot batch up and layed it over the other stuff and it hardened right up! my dad tought me that. (he used to build boats) it should only take 30 mins to an hour or so for properly mixed resin to be completely set up... nice ski tho! digin the head!
 

swapmeet

Brotastic
Location
Arlington TX
i would try mixing a hot batch or resin. my first batch didn't have enough catalyst so i mixed a hot batch up and layed it over the other stuff and it hardened right up! my dad tought me that. (he used to build boats) it should only take 30 mins to an hour or so for properly mixed resin to be completely set up... nice ski tho! digin the head!

Thanks for the suggestion. I have a call into UScomposites to get their opinion and i'll ask about your idea. I've been told by some that because its epoxy resin (vs polyester) that it doesn't work like that. But who knows, I know I don't. I will be adding a little extra hardener in my future batches for insurance.
 
Thanks for the suggestion. I have a call into UScomposites to get their opinion and i'll ask about your idea. I've been told by some that because its epoxy resin (vs polyester) that it doesn't work like that. But who knows, I know I don't. I will be adding a little extra hardener in my future batches for insurance.

ohh ya i used polyester.... it may or may not work. just mix a real hot batch, like double your catalyst. it couldn't hurt.
 

swapmeet

Brotastic
Location
Arlington TX
Ok talked to the tech support guy at US composites.

Good info, I hope this helps others.

1. When mixing into your cup, add/ pump hardener first, and spread it around the sides etc. You don't want the resin touching the walls, becuase it won't get any hardener to it, and therefore never cure correctly.

2. DO NOT VARY from the ratio. Be very careful with your measurements. If cold, do not use pumps because the resin is too frim to pump propperly. If you over harden, the mixture will be rubbery once it cures. To little and... it doesn't cure correctly.

2.5The ambient temprature for the first two hours is critcal for propper curing. Anything over 50 is ok. If necessary, use a heat gun under the mixing bowl to help facilitate the chemical reaction.

3. Mix/ stir the resin and hardener for 5 min. at the mininum. It takes that long to get the it mixed propperly ( I was mixing for 1 min or less.)

If resin isn't drying, wipe with lint free cloth and acetone. Rotate the cloths. It will remove any material that hasn't hardened.
Thats about it. Very helpful to me, hope others who don't know find this useful.
 
Last edited:

swapmeet

Brotastic
Location
Arlington TX
Wow, this was 3 pages back...

So... got the rough body work done and sent it off with my body man. He's tearing into it getting it nice and smooth. I've decided to paint it single stage white with Awlgrip. Anybody have any feedback on this product?

I'm gonna hold out on the graphics scheme, but it should be cool.

Drive shaft is 1.75" too long. Just got my prop tool so I can disassemble everything and get the shaft shortened.

I shortened the 08 pole and wrapped it in CF. Still working out the Resin on that, but its coming around.
I got my 'rhass' engine mounts in finally. They seem nice, We'll see once I get it going.

Not much else to report. I haven't taken any photos in awhile.... I fail! I know!
But i'm so ready to get this damn thing in the water, I can't even tell you. Its killing me LOL...

Oh yeah, I ordered turf...
 
Top Bottom