FX-1 Swapmeet's Sloppy Seconds

smoofers

Rockin' the SQUARE!!!!
Site Supporter
Location
Granbury, TX
For glassing in cold garages when using US Composites 3:1 resin, I have found that the dual halogen shoplights on a stand work wonders for curing glass. I set them up about a foot or two away from what I am curing. I have monitored this process with my temp gun and it usually keeps the surface of the part at about 105F. Haven't had any cracks show up with this method, I think the 3:1 resin cures slow enough that it doesn't get overheated.
 

swapmeet

Brotastic
Location
Arlington TX
Ok, for the haters... ^^^

Worked on stuff last night and made sure to take pics.

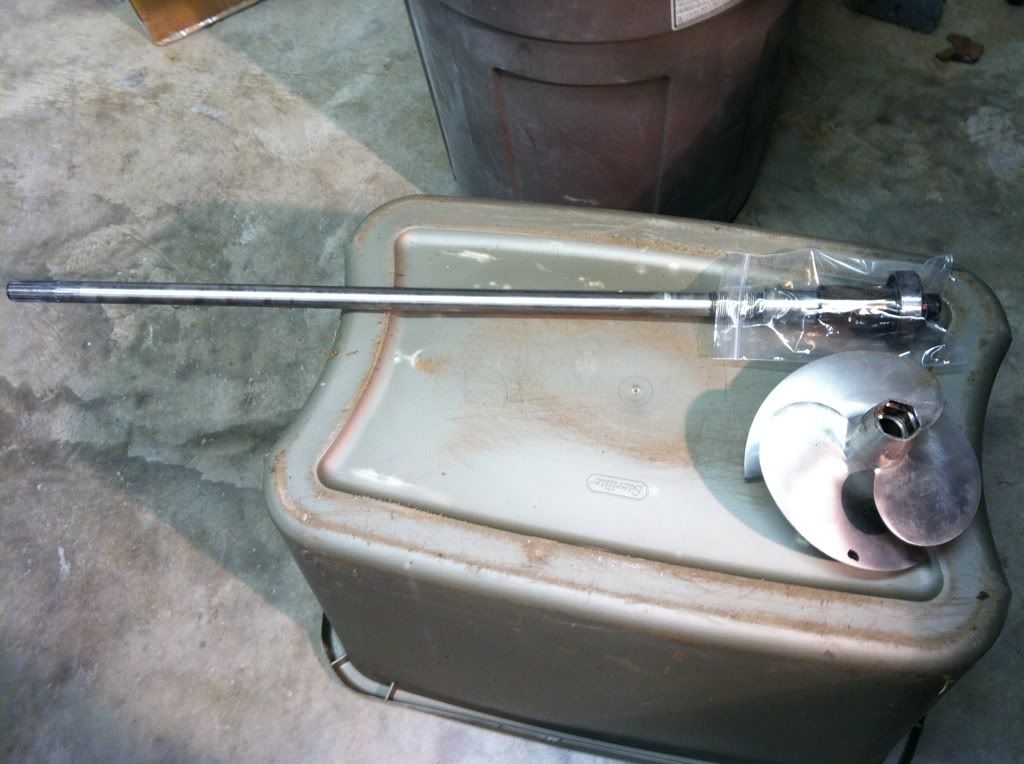
Took the prop off and shaft out. Took a little MAPP gas to get the prop off but I did good.
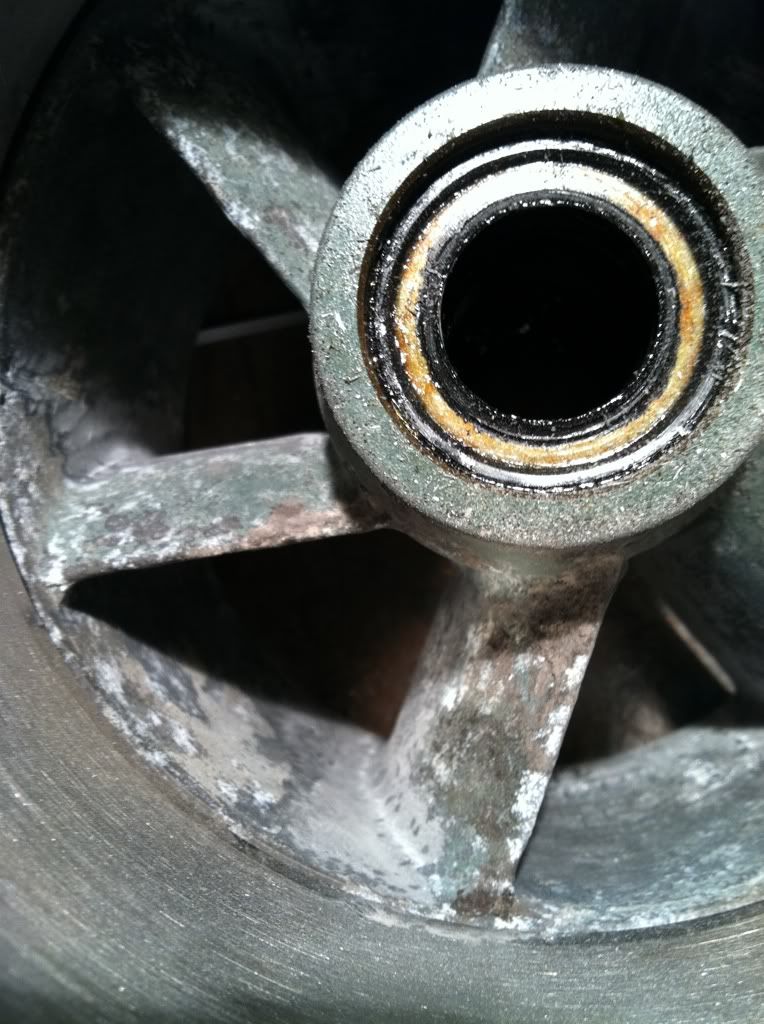
Kind of a PITA to have to get the shaft shortened but its a good thing cause the inside of the vanes were really rough.
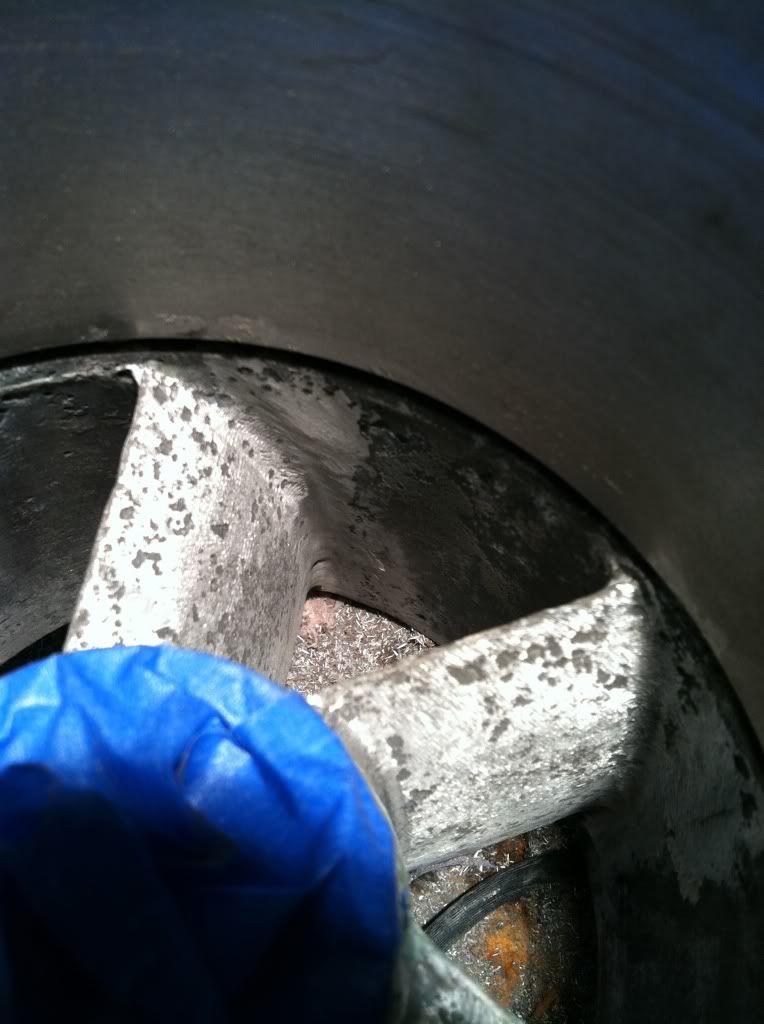
The pitting and corrosion was pretty bad.

I cleaned up as much as I could and then spread a little 404 Tooling Resin on the low spots. It'll be a little work to sand, but hopefully it makes the surfaces smoother and allows the water to flow better.

*Question: The leading edges were a little rough. What do ya'll do on those? They're tough to sand around because the wear ring is still on. Should I take that off and clean them up or just leave them be. I don't know how important they are.

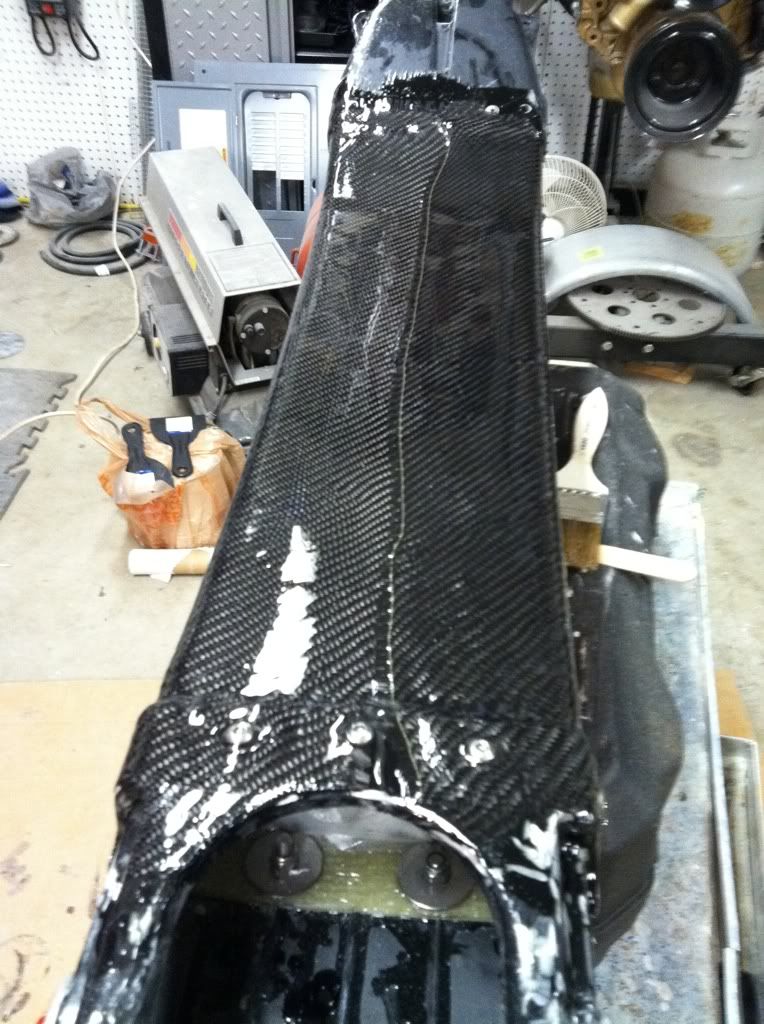
Moving on, I sanded the second coat of resin on the top of the handle pole, and applied the second coat on the back.

Thats it for now!
2c676618.jpg


fba9e43e.jpg


a7a4a347.jpg


219f8cfc.jpg
 
Last edited:

swapmeet

Brotastic
Location
Arlington TX
Just recieved my trim cable from Terry Cable!
Those guys don't mess around. I think I ordered it on Monday and they said I might have it next Thursday. Now I need a lever.
 

swapmeet

Brotastic
Location
Arlington TX
Finally recieved my paint from the tool on eBay. I don't reccomend using GCM distributors btw.

Anyway, got my awlgrip in. Should be primed tomorrow, painted by this weekend. Then its a mad dash to throw it all together and modify the pump mounts for the set back pump.

3 weeks till LSFR... Hope it all works out, i'm nervous.

BTW, any suggestions on fire ext mounting? Brett shaved the pocket out of the hood and I think the tray is too narrow to run one like an SJ. Right now I'm thinking i'll have to mount it to the bottom of the hood.
 
Last edited:

swapmeet

Brotastic
Location
Arlington TX
Well i'm finally back on this build.

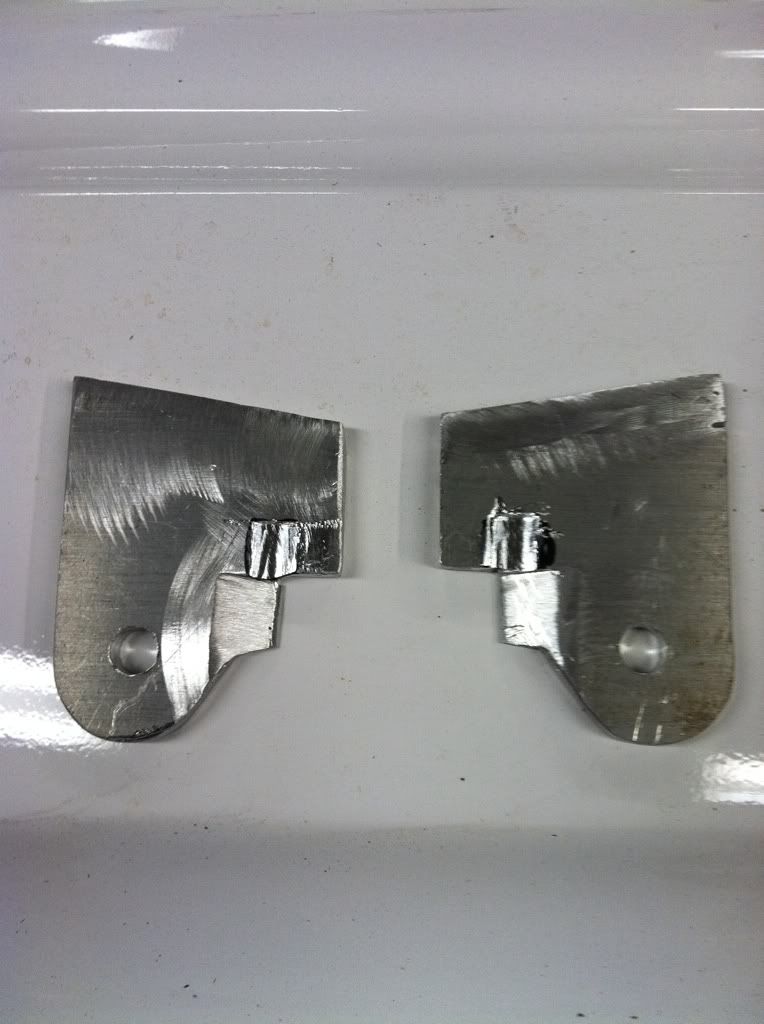
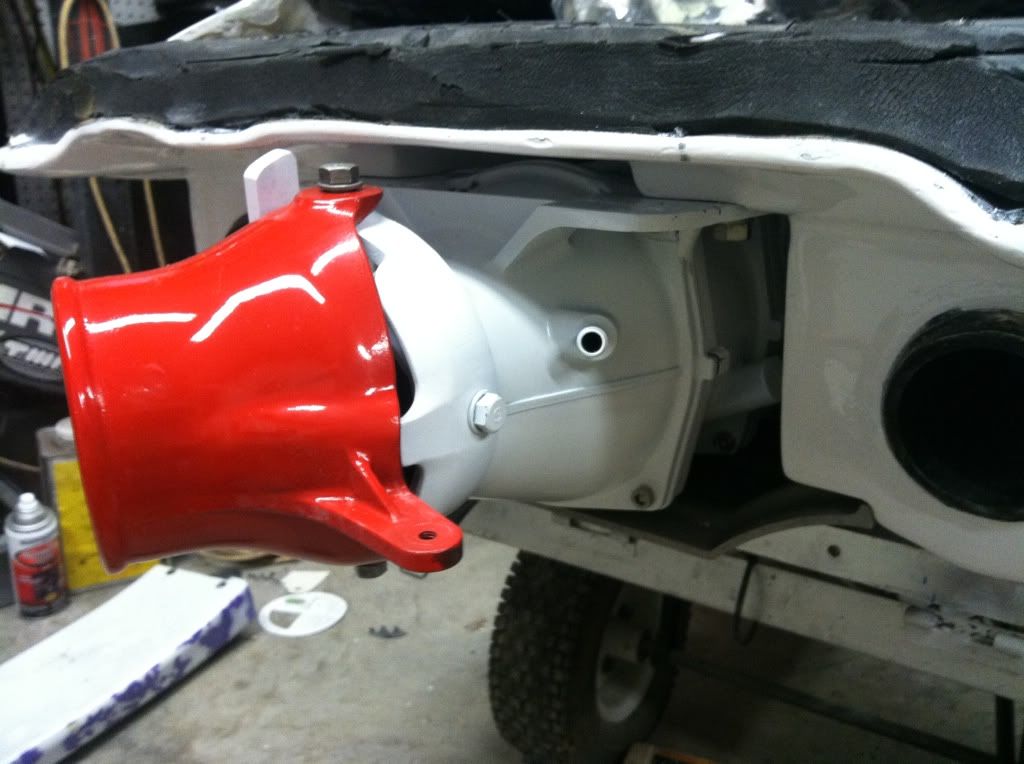
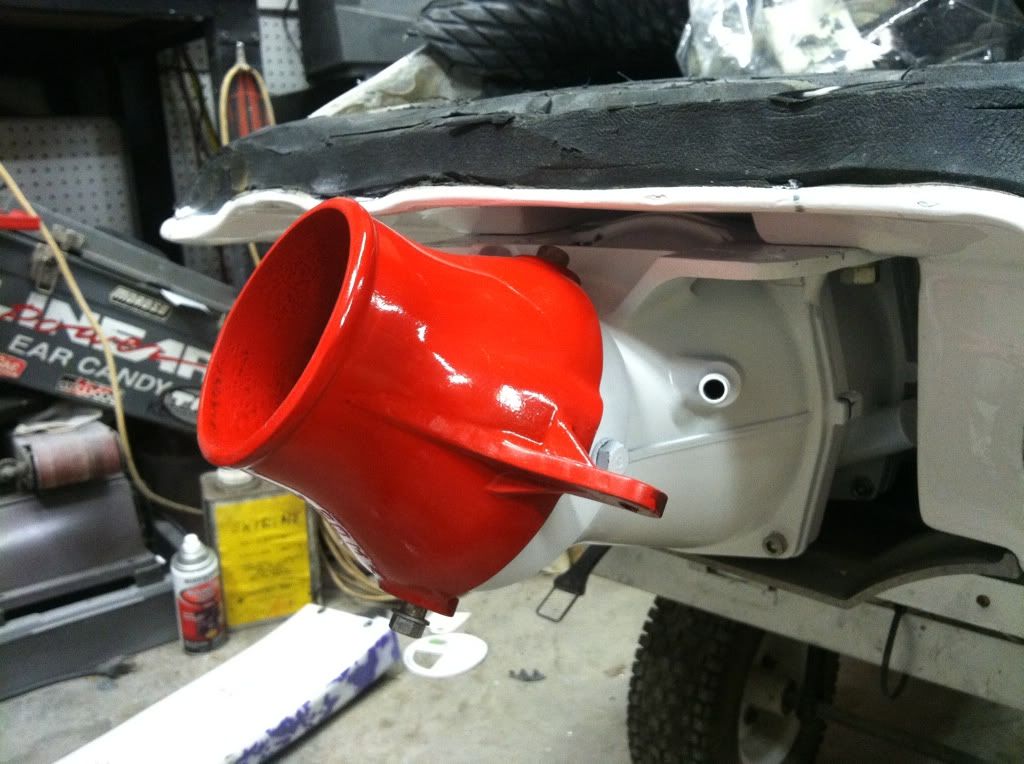
Last night I made the tabs for my ghetto setback pump. Hard to explain what they do but it'll all make sense soon if your confused.
845b5b10.jpg


Wasn't quite as hard as I expected but I haven't welded them on yet so i'll reserve judgement.

Still have to press the driveshaft and rear bearing into the pump, and then install the prop etc... Then I can flip it over and start with the engine etc.
Very excited to get this thing on the water.
 

swapmeet

Brotastic
Location
Arlington TX
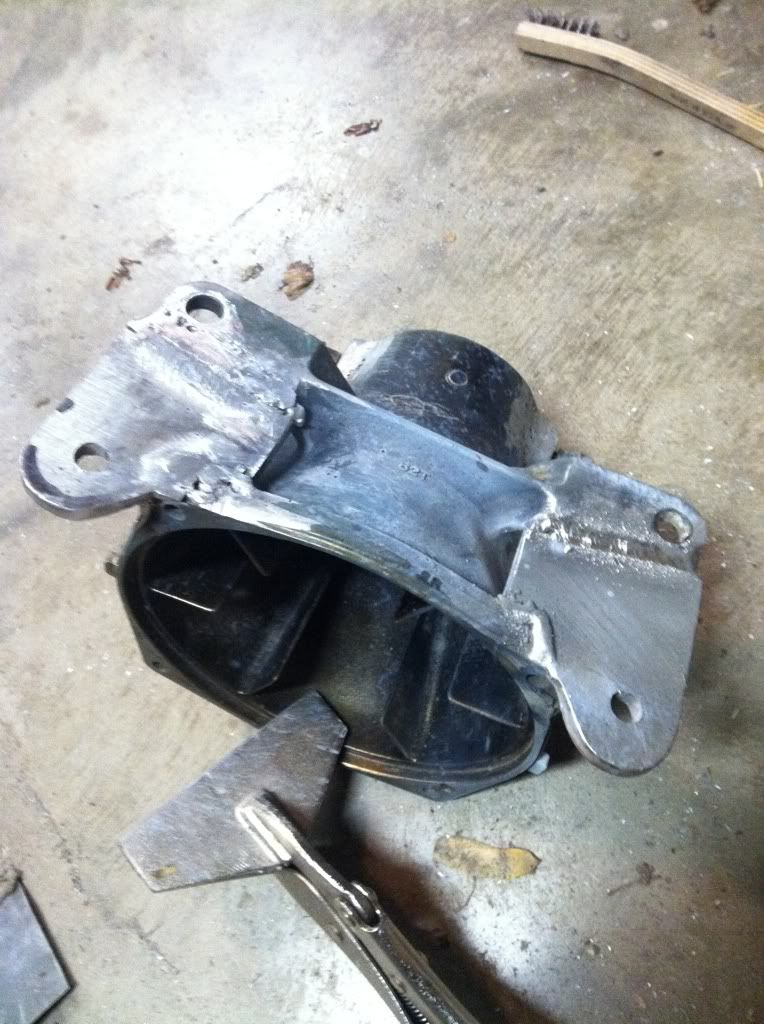
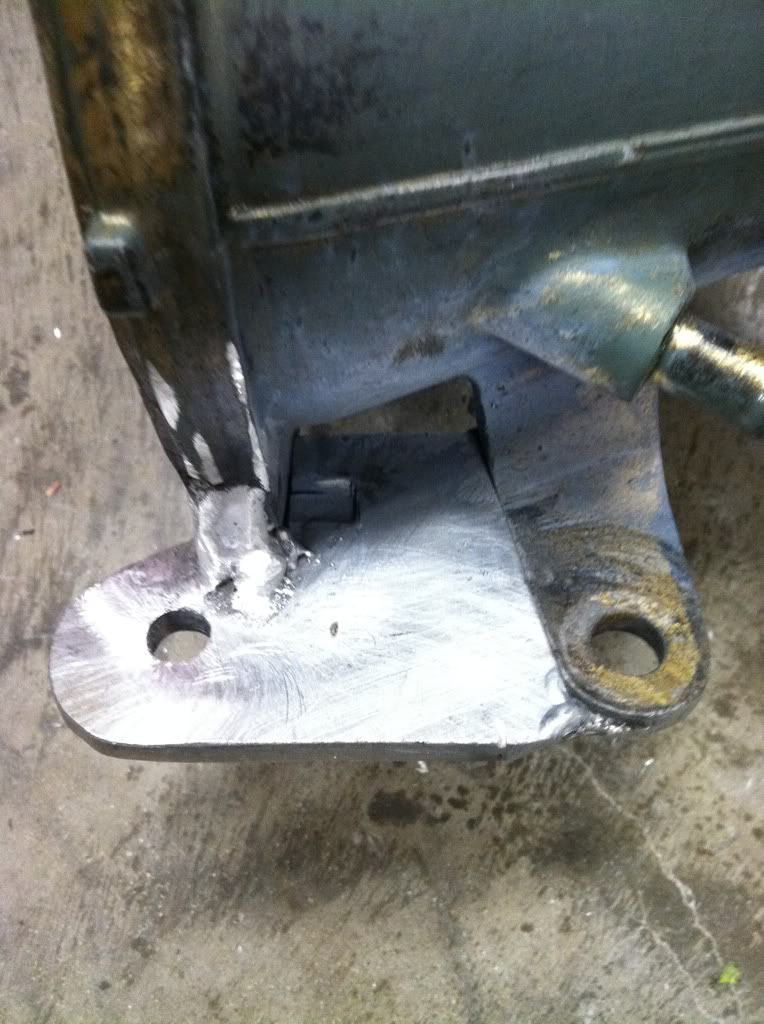
Welded the tabs to the reduction nozzle last night. Still have to smooth out the welds.
It was late when I stopped and I inadvertently inhaled a bunch of white smoke from MIG welding the aluminum so I wasn't feeling up to it right then.

I'll have to slot the holes a little as things shifted from my origional templates.

ff7e600a.jpg


7db7564c.jpg
 

swapmeet

Brotastic
Location
Arlington TX
I'm not sure if anyone is following along but i'll update anyway. Pressed in the driveshaft and bearing today. That went 1000 times smoother than I expected it to. Installed the prop and away I went.
Tossed the midshaft in and tested the re-shortened driveshaft. It isn't too long, but i'll do the grease test to see if its too short.

Put on the scale again. With 24mm pad and 80% of its turf, midshaft exhaust etc it weighs in at 115 pounds painted. When I left it with my painter it was 110, and he said that he took off a lot of filler which he believes should have cut some weight.
So.... yeah 115. I know Brett built the poop out of the nose so maybe thats where the addtional weight is over stock. It is what it is, I can't do much to make it lighter and I sure as hell can't afford a light hull so this will have to do.

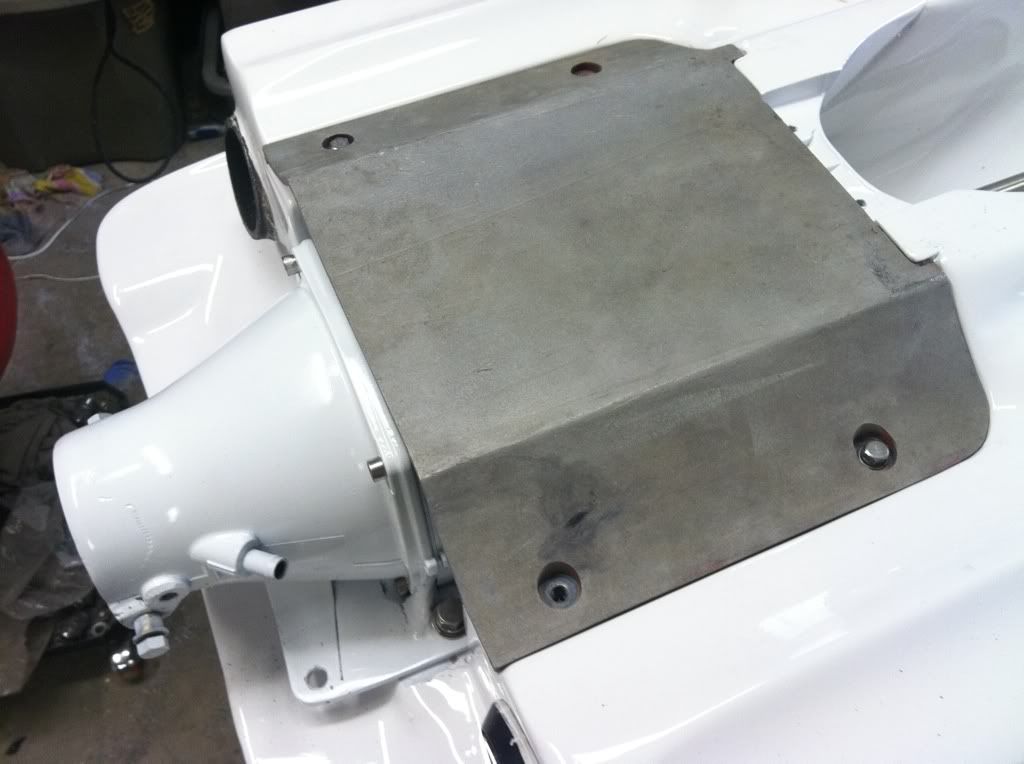
I put a few more welds down on the reduction nozzle, ground them down, sanded and and cleaned all the pump parts and painted them white. Tomorrow I hope to get the pump installed and maybe mess with the trim cable, although I really don't know what i'm doing there.

Coming right along though... ready to get it on the water!
 

swapmeet

Brotastic
Location
Arlington TX
Worked on it some today, bolted the pump together and mounted it. This is where my lack of experience is gonna bite me in the a$$... I didn't install my trim or steering cable and have already flipped the ski over etc.

So, back over it will have to go, pull the pump and get my cables mounted. I've made some brackets that mount off the engine mount bolts that will hold the trim cable in place underneath the exhaust. Probably a little over kill but I figure while i'm here might as well do it right.

Got the engine mounts bolted in and i've dropped the engine into the hull. Gonna mount the ebox first and then start on the engine. I'm confidant that i'll have to pull everything back out at least 2-3 more times. Long way to go but its all parts so I just have to figure it all out and go.
 

Sanoman

AbouttoKrash
Location
NE Tenn
Swap,fx's fans are following your build,just keep posting! Hey as far as forgetting things to do,you are not alone.........
 

swapmeet

Brotastic
Location
Arlington TX
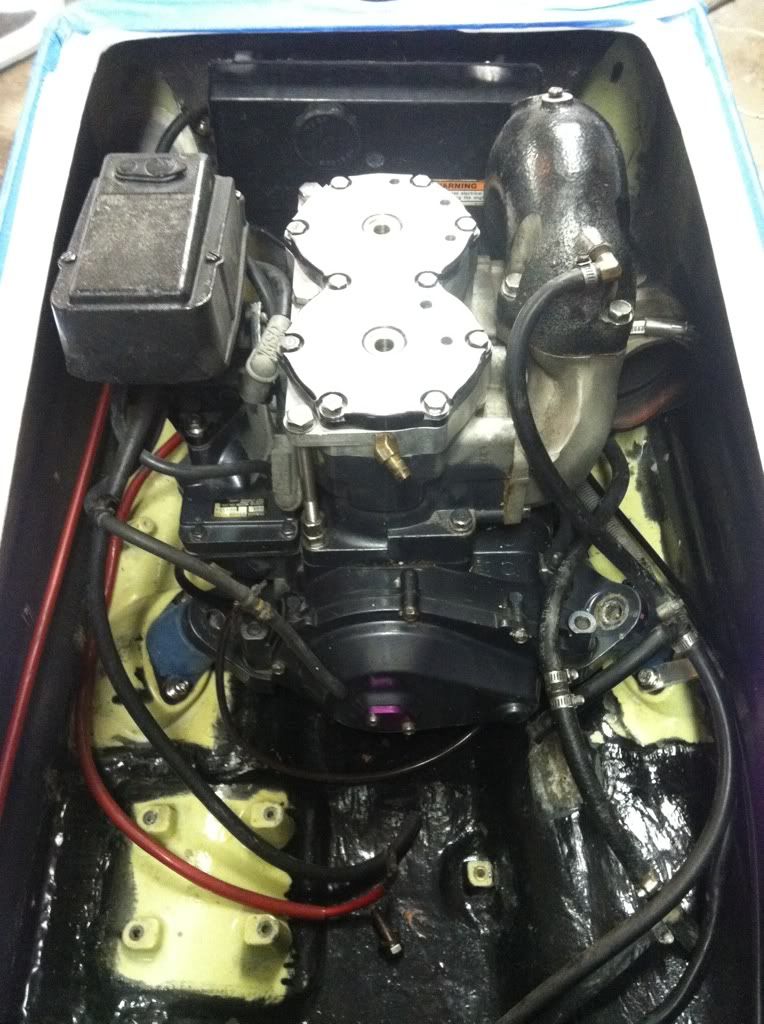
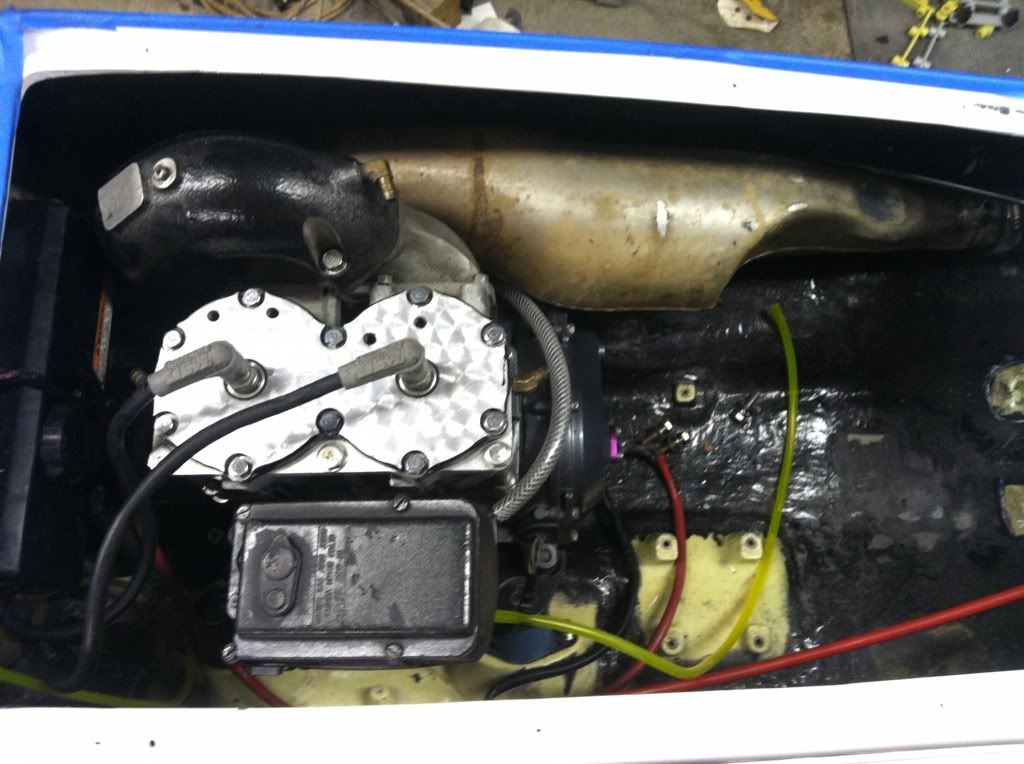
My buddy Joe (Kotajoe on here I think) came out last night and helped me properly install my head etc and get the motor into place.
Huge help even though he made it look easy.

8633e71a.jpg


Mounted the ebox. I lost the big washers that go on the bed plates. Is there any reason I can't use a couple stainless fender washers at each corner? Thats my plan for now unless somebody has an objection.

Feels like a lot more is done now that the engine is in place. I still need to make sure everything is in alignment etc.
 

wydopen

onthepipe
Id add filler and a layer of glass over the bottom of the sponson to make it flush with the bottom of the hull and eliminate the extra "chine" in the sponson so it looks like a tubbie 1 not tubbie 2..it allows the bow to track less and fx1s are hard enough to ride as it is...i think it will be a little more forgiving...u already have to glass the front anyways...

EDIT: nevermind i saw u already glassed the bottom..if u havent prepped for paint id consider adding another layer to fill the extra chine... personally i think they ride horrible with tubbie 2 style sponsons

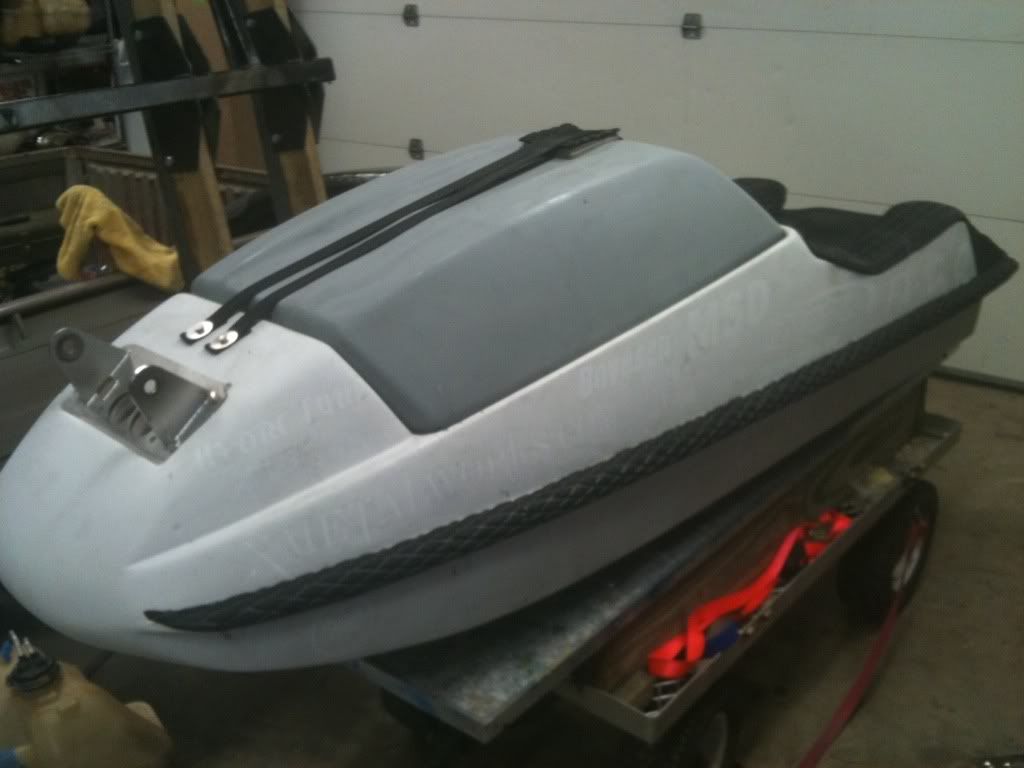
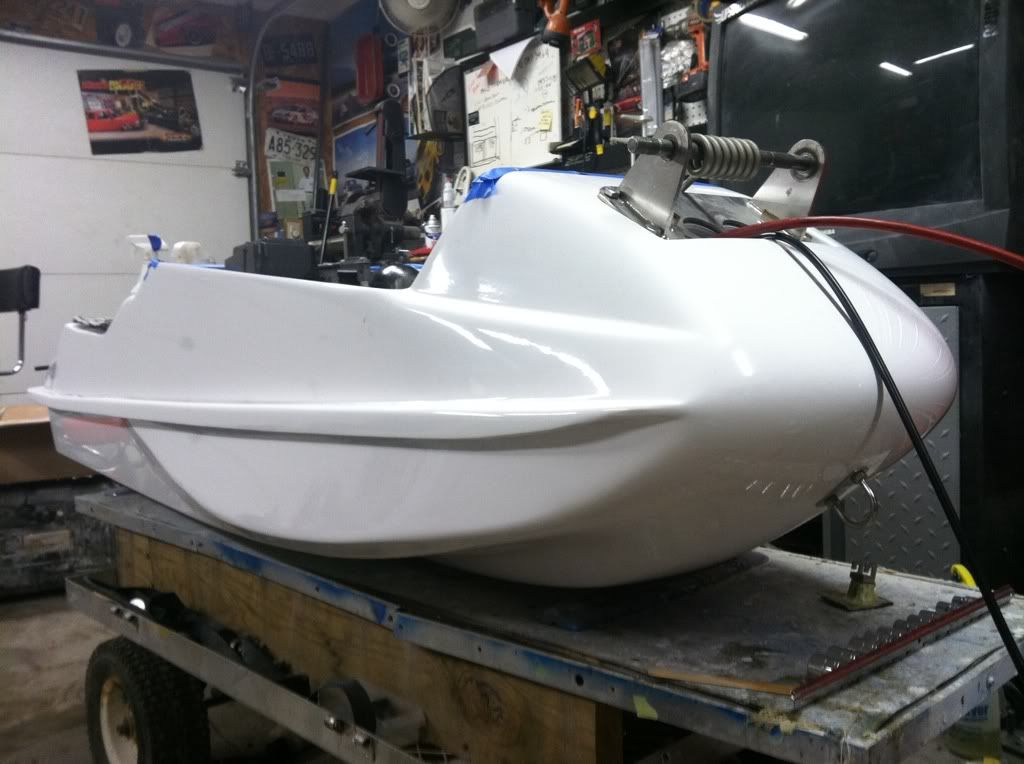
Its a kickace hull, and i'm really glad I was able to pick it up.

Last night I peeled all the stickers off one side... holy crap thats a lot of stickers!
1e310278.jpg


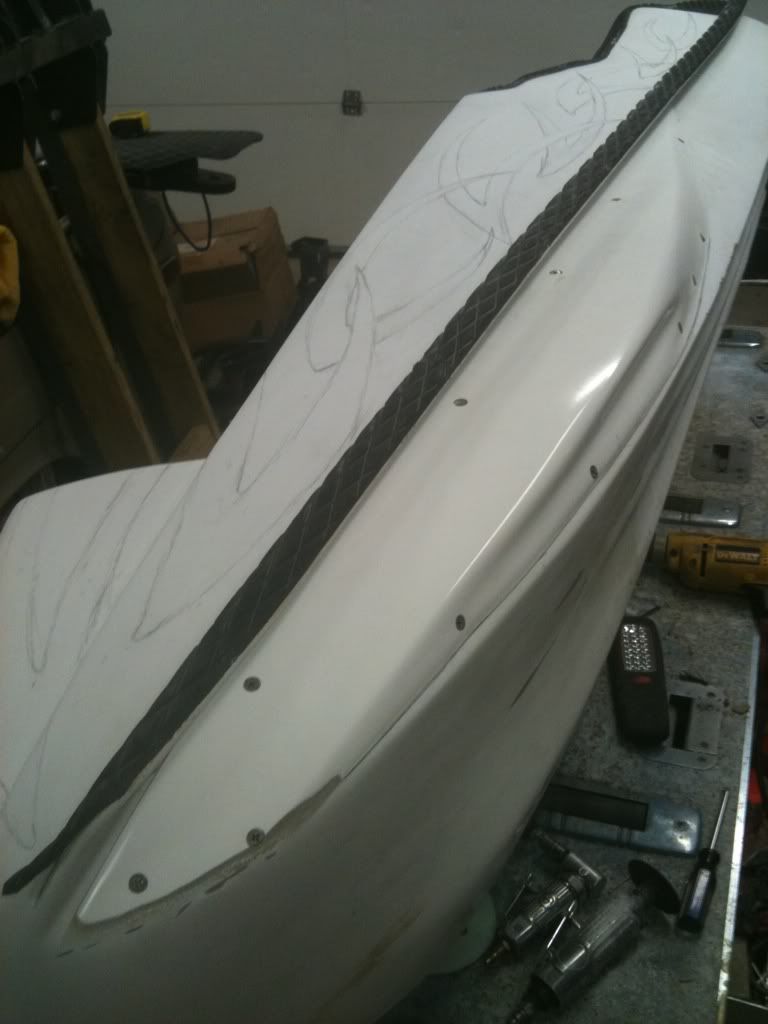
And tonight I played with what my graphics might look like, sanded some junk off the reduction nozzle and painted it. I ground down the trim ring and the reduction nozzle to get more throw out of the trim as well. No pics uploaded their on my big camera, these pics are from my phone.
Last thing I did was fit one of the tom21 Sponsons. The nose is so short I had to grind off a chunk of the sponson so it would fit. UScomposites order is on the way, once I have the sponsons on I can knock out the paint.
As Chris said, the Pump should be in the mail soon, and once I have it, I can work on mounting it and and then the engine.

2c1f8578.jpg
 
Last edited:

swapmeet

Brotastic
Location
Arlington TX
Wydopen, thanks for the feedback. Unfortunately its painted and done. I guess i'll have to ride it to find out what you mean.
I'm still new to this and didn't know there were different styles of tubbies etc. Can you post a picture of what your suggesting just for reference? I don't completely understand.

So I worked on the ski some last night. Dragginblazer and friggin Skippy came out last night and helped me with my ghetto internal fill conversion as well as mocking my every move. I used some 404 tooling resin to lock in fuel tank strap mounts that the previous owner removed for his setup. I might be able to run a stock waterbox after all which is very exciting. I was afraid i'd have to run a super tiny WB because the nose is shortned so much, but it appears the shortening only takes up the room where the polystyrene used to be.

My biggest challenges that I can see so far is aligning the pump, midshaft and engine, and figuring out how to run my trim. I'm pretty lost on the best way to attach the trim cable to the trim ring but i'm handy, i'll figure it out.

How bout a basic list:
Align everything
Trim
Run Cooling lines/ flow control valves.
404 in WB mounting points in.
Finish clearing handle pole.
Hood seal
Hood straps
Extend steering cable (might be tough)
Run all new tygon fuel line
Fuel Reserve Switch
Make exhaust hose from WB to bulkhead
Turf

There is a bunch of misc poop that i'm not listing like putting the intake grate on etc.

I'm ready to get this thing on the water so bad.
No pictures, I was using my phone as my iPod last night but i'll try to get some tonight or tomorrow.
 
Top Bottom