The Circus

Sanoman

AbouttoKrash
Location
NE Tenn
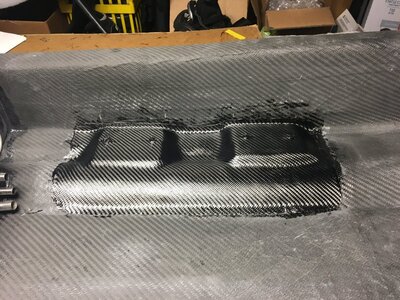
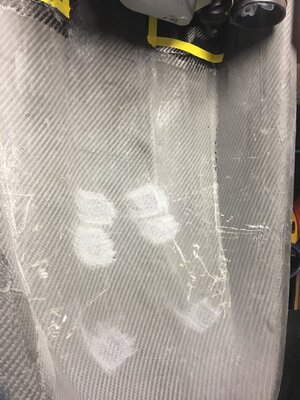
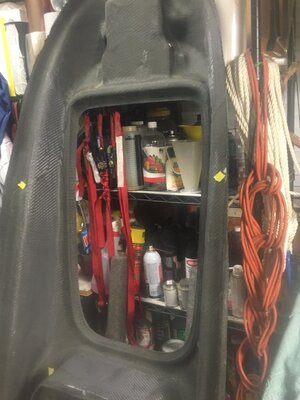
Some progress today.Finished sanding down the m/m blocks.l could have spend a lot more time squaring them up,but they are good enough for gov. specs.Tonight l laid 20oz of carbon over some 5oz that l had previously put down.Then l'll sand the rough edges down when it drys to make it smooth.
Now just have to get my son to drop the engine in. Inserts next!
 

Attachments

  • image.jpeg
    image.jpeg
    218.9 KB · Views: 269

Sanoman

AbouttoKrash
Location
NE Tenn
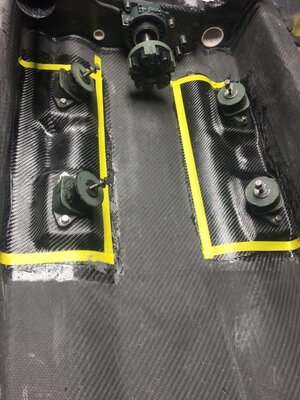
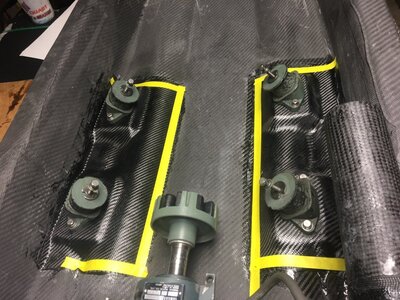
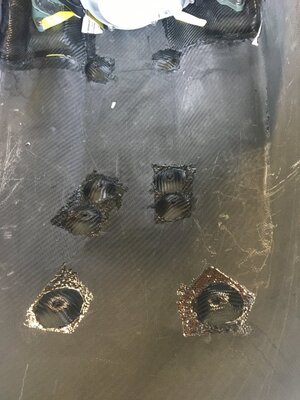
Got the inserts ground off blocks so l could bolt the motor mounts down this evening.l went ahead and ran a tap down each one of them to clean any epoxy that might have got in during the process.And installed the midshaft ahead of the engine.l want to work on mocking up the inserts next.Going with the ufo mounts.Used them the last time l built a ski and liked how worked.
 

Attachments

  • image.jpeg
    image.jpeg
    179.5 KB · Views: 251
  • image.jpeg
    image.jpeg
    186.7 KB · Views: 250

Sanoman

AbouttoKrash
Location
NE Tenn
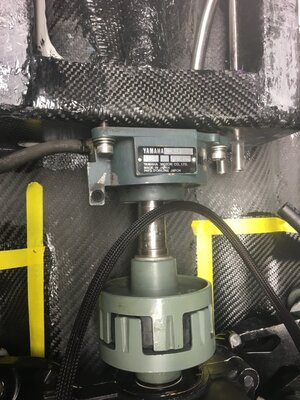
Installed the pump and midshaft :(
Sometimes l have have to hate on SF's........Driveshaft a wee bit too long,but not really a surprise.So a step backwards.No other way around it,will have to send it back out to be cut down.But at least l can still mock the inserts up while it's gone
 

Attachments

  • image.jpeg
    image.jpeg
    173.3 KB · Views: 208
  • image.jpeg
    image.jpeg
    129.2 KB · Views: 267
Yeah, all the weight as far forward as possible. The circus I had rode pretty nose high and rotated very quickly. I feel more nose weight would slow the rotation and make you go bigger ;)
 

McDog

Other Administrator
Staff member
Location
South Florida
Or press the midshaft out a little to accommodate driveshaft. All depends on how far forward you can get that engine.
 

Sanoman

AbouttoKrash
Location
NE Tenn
Easy now.One step at a time.Grinder! All l can say is holy crap BK! (Maybe if all else fails:) )
For right now l need to measure.And get time to work on it. @jo5hi3 When a circus hull driveline is first set up you can have a space between the rear pump bolts and hull of 3/8" and 1/2".l set mine at the minimum of 3/8"
 
Last edited:

Sanoman

AbouttoKrash
Location
NE Tenn
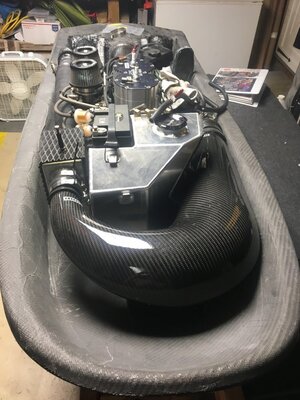
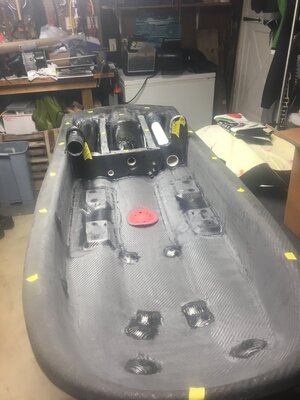
Driveshaft removed from the pump and shipped off to exchange for one 1/2" shorter with longer splines.Gave me some time to mock up the engine,pipe,waterbox,and gas tank.l need to tweek a few things for better alignment,but you get the idea.Not much room left for much else
 

Attachments

  • image.jpeg
    image.jpeg
    154 KB · Views: 271

Sanoman

AbouttoKrash
Location
NE Tenn
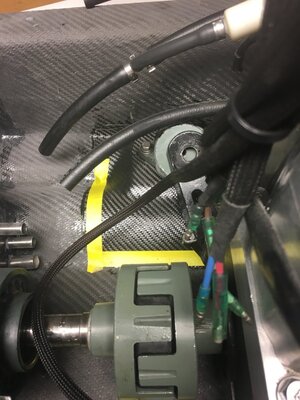
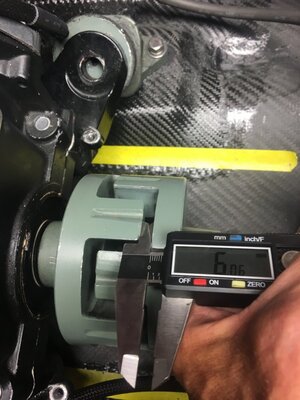
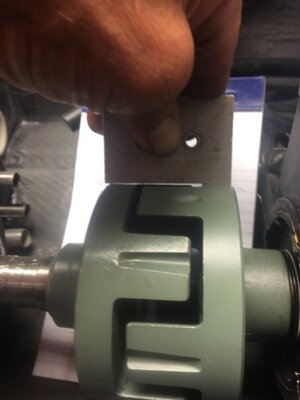
Back to building.l sent the driveshaft back to @Sasquachcrap and he sent me back a shorter one that took care of the length issue.l also had the mid shaft a little too forward.So l tapped it back about 3mm.Thats how l got the sweet spot of 6mm coupler to coupler.Guys run them closer sometimes but a little risky.
*l wanted to say that Stephen was great during the whole process of getting the correct length for my driveshaft.He is up there with OCD and JetManiac here on the X.Love supporting our own guys.

Now that l have the engine where it's gonna sit,l can place the inserts where they are needed for the gas tank.pipe,and w/box.Hope to do that this weekend.
 

Attachments

  • image.jpeg
    image.jpeg
    113 KB · Views: 222

Sanoman

AbouttoKrash
Location
NE Tenn
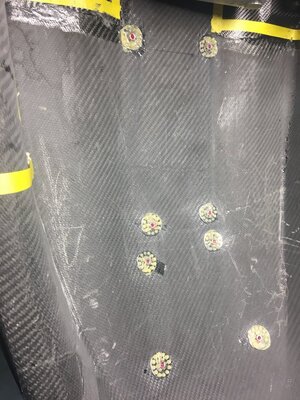
Got the inserts almost done.Just lack opening up the bolt holes a little more.l used gflex to glue the ufo's down,then let it dry overnight.Today thickened epoxy and some carbon fiber over it all.
 

Attachments

  • image.jpeg
    image.jpeg
    179.1 KB · Views: 177
  • image.jpeg
    image.jpeg
    174.4 KB · Views: 165
  • image.jpeg
    image.jpeg
    138 KB · Views: 193

Sanoman

AbouttoKrash
Location
NE Tenn
So all the work I've done preparing the driveline has paid off.Alignment is done for now,so the next time all the junk goes in will be after paint.
This week will be prep time for bonding the hull and deck.l sanded the engine bay (upper and lower) today prepping for clearing it.Tomorrow I'll grind all the contact bonding surfaces,make final fit changes and adjustments.
 

Attachments

  • image.jpeg
    image.jpeg
    119.1 KB · Views: 189
  • image.jpeg
    image.jpeg
    114.8 KB · Views: 197

Sanoman

AbouttoKrash
Location
NE Tenn
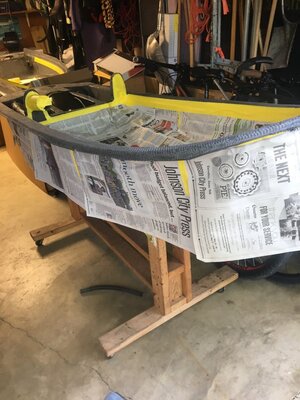
Time to put the ski together.Got the ski covered inside and out,all up except the mating areas.Looks pretty anal but the clean up is a ton easier.So easy to get your hands covered with epoxy somewhere where you don't want it or the resin.
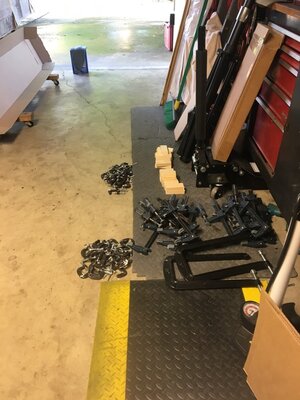
Not sure if l have enough clamps :) Never seems like you have that many once your done clamping it together.Thank you Harbor Frieght.But l have six more if needed.I'll have pics up later tonight hopefully all finished.Next stop is the painter.......
 

Attachments

  • image.jpeg
    image.jpeg
    150.8 KB · Views: 173
  • image.jpeg
    image.jpeg
    135.5 KB · Views: 171
Last edited:
Top Bottom