The Ressurection

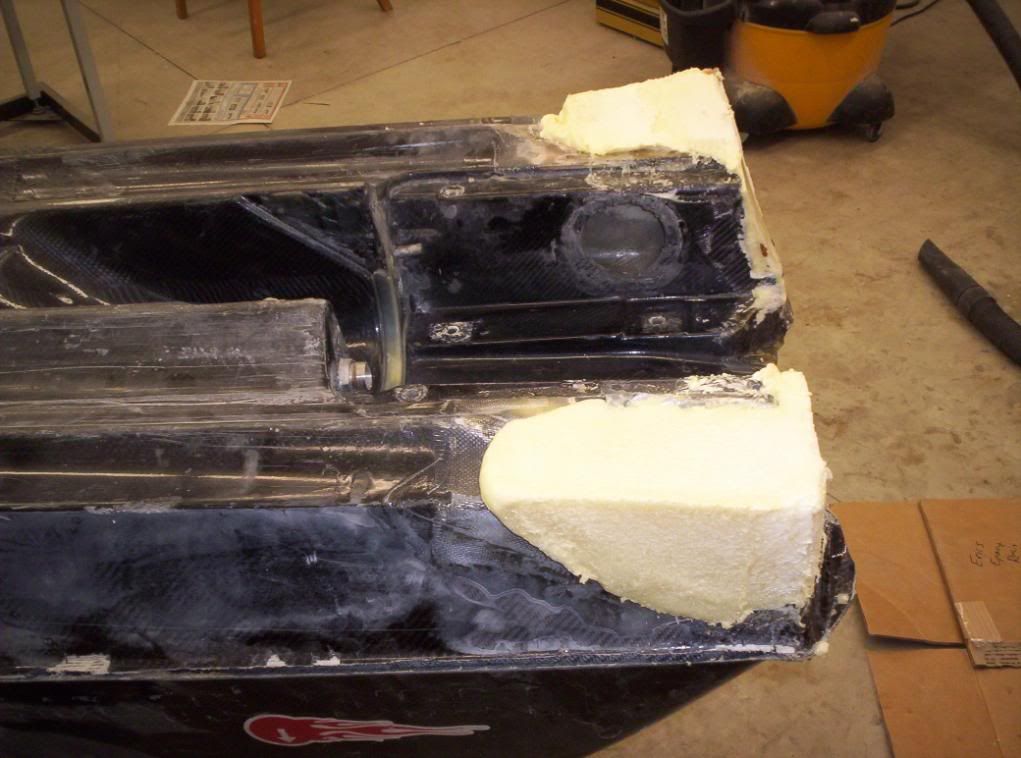
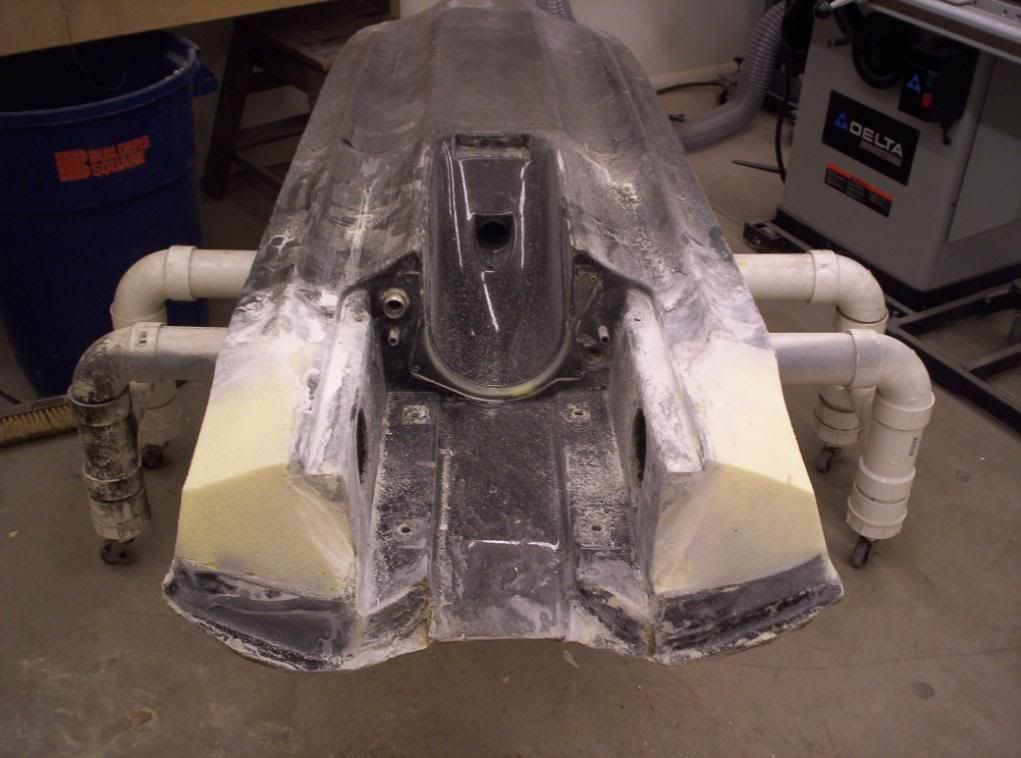
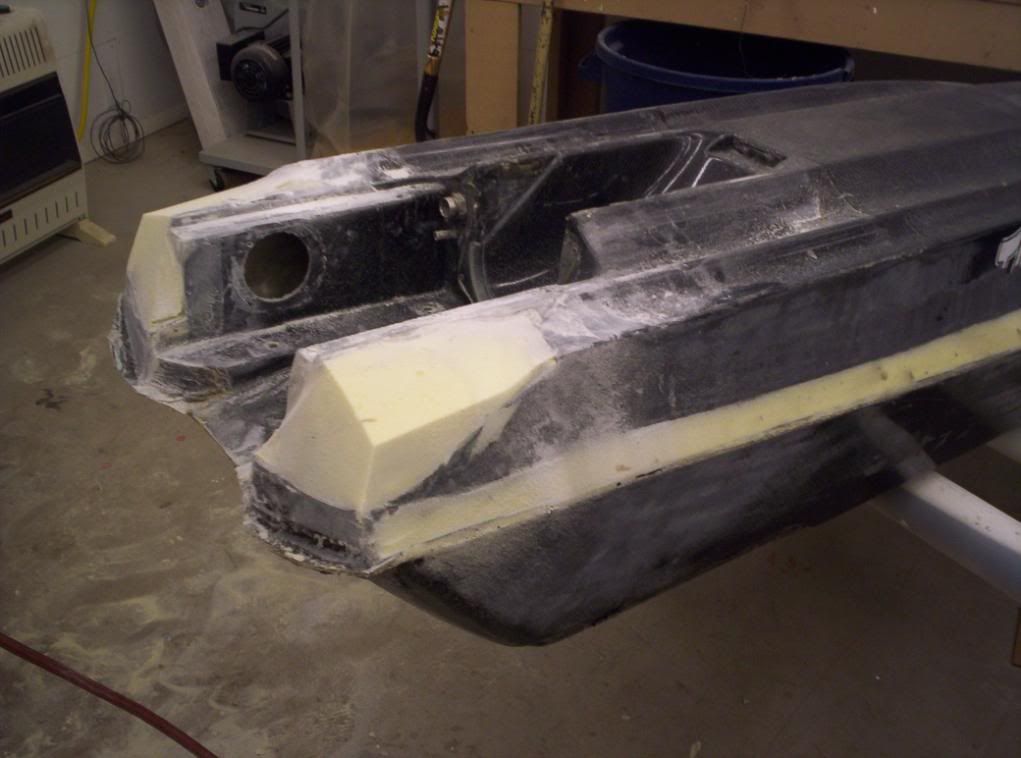
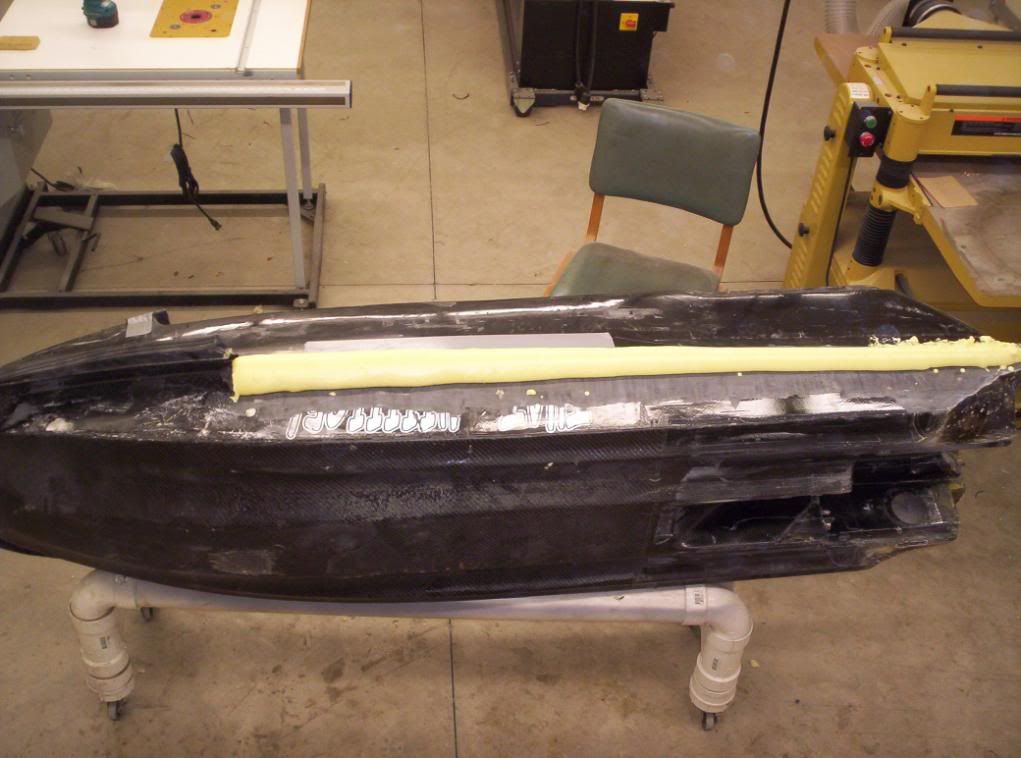
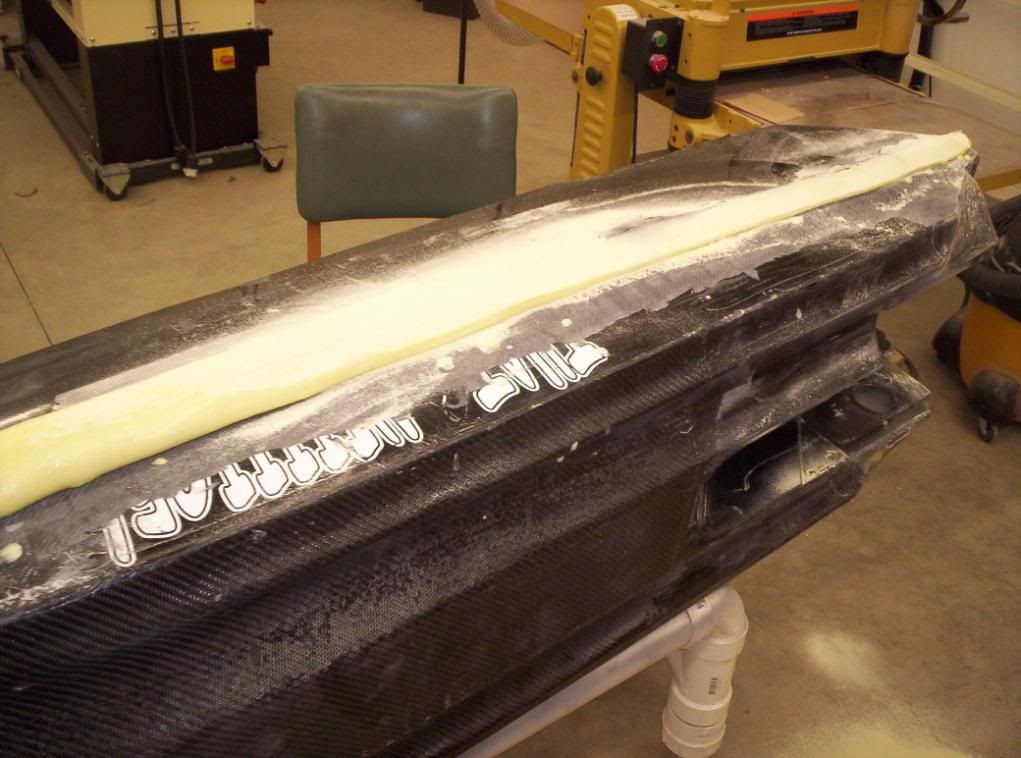
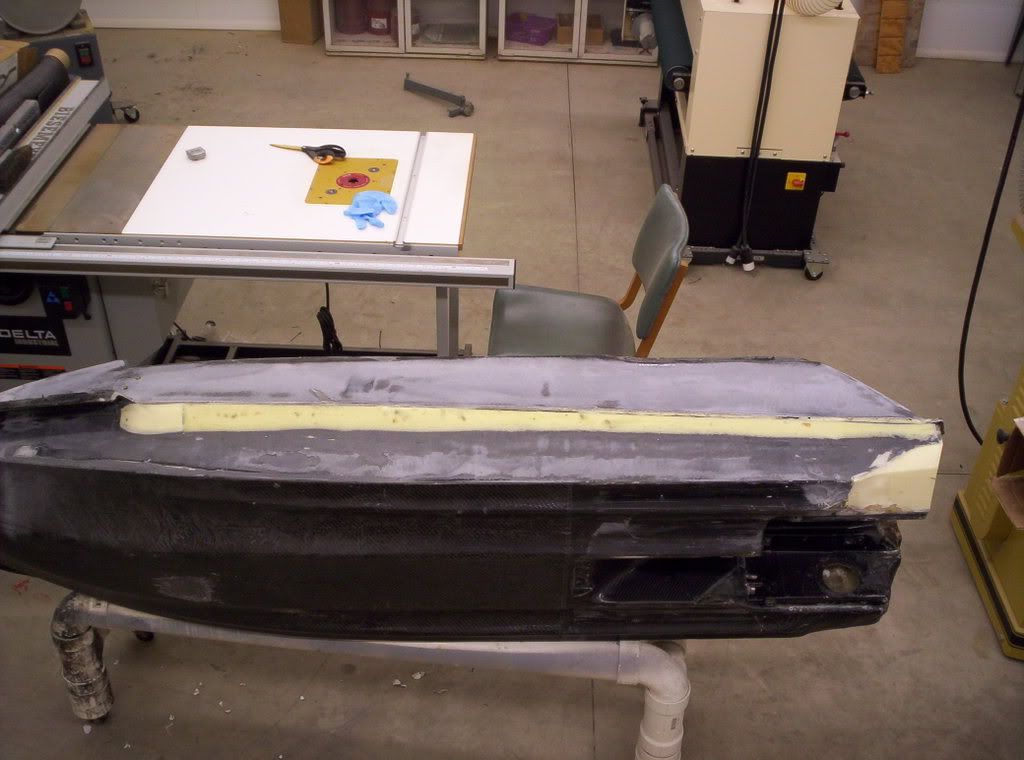
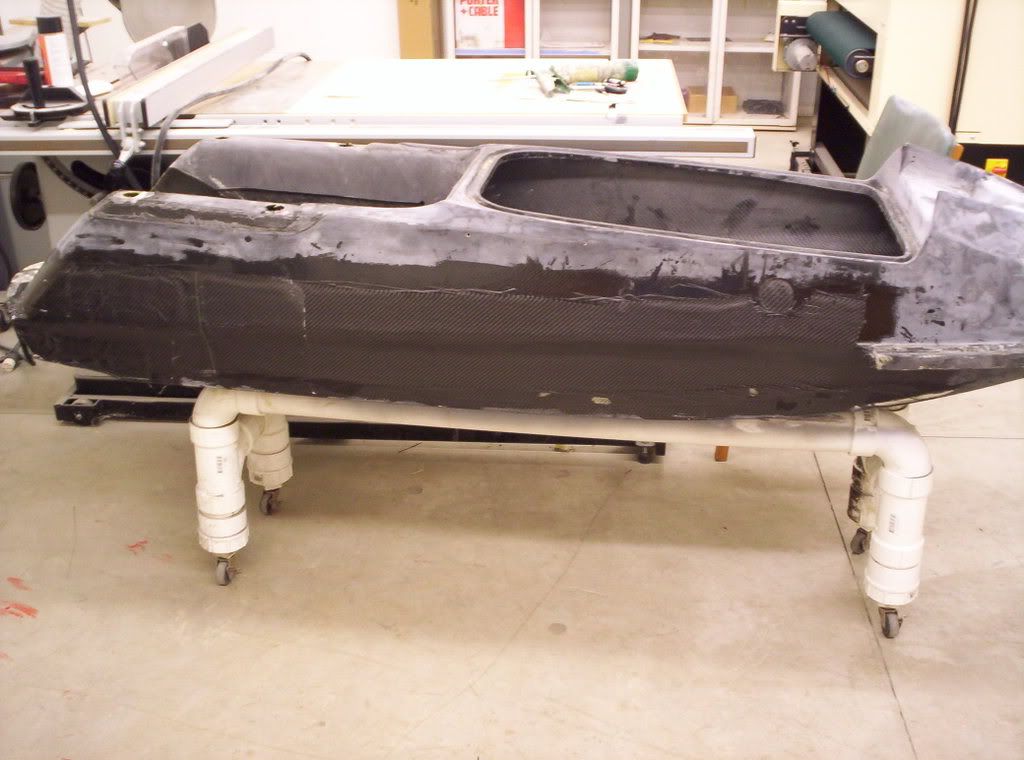
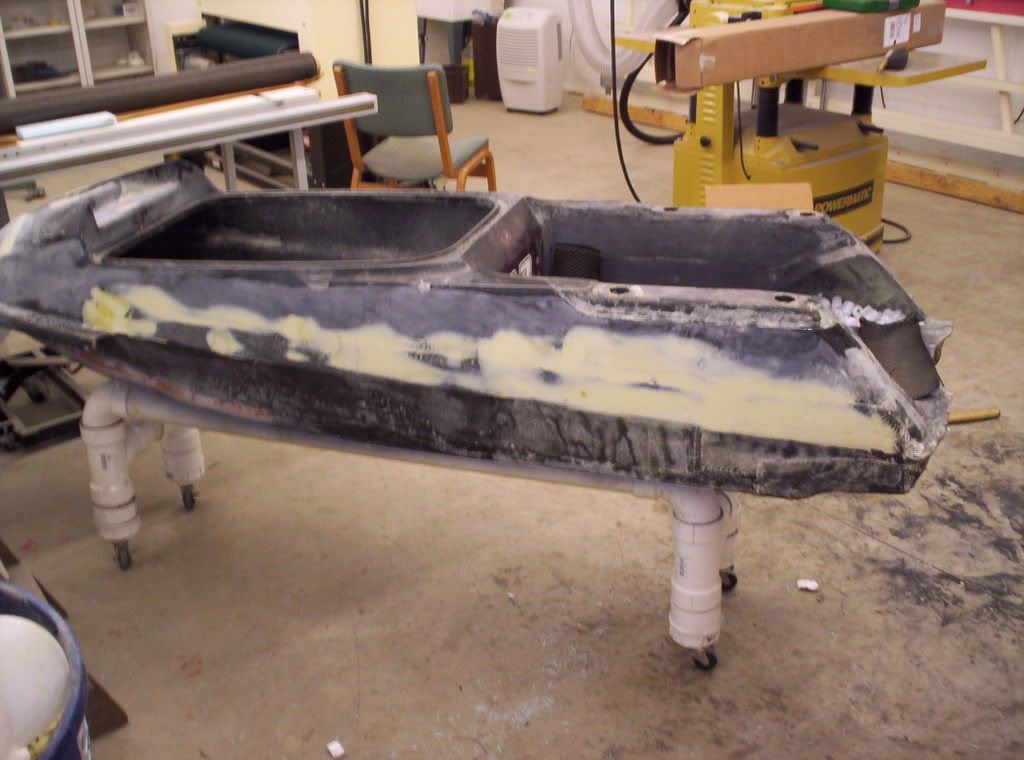
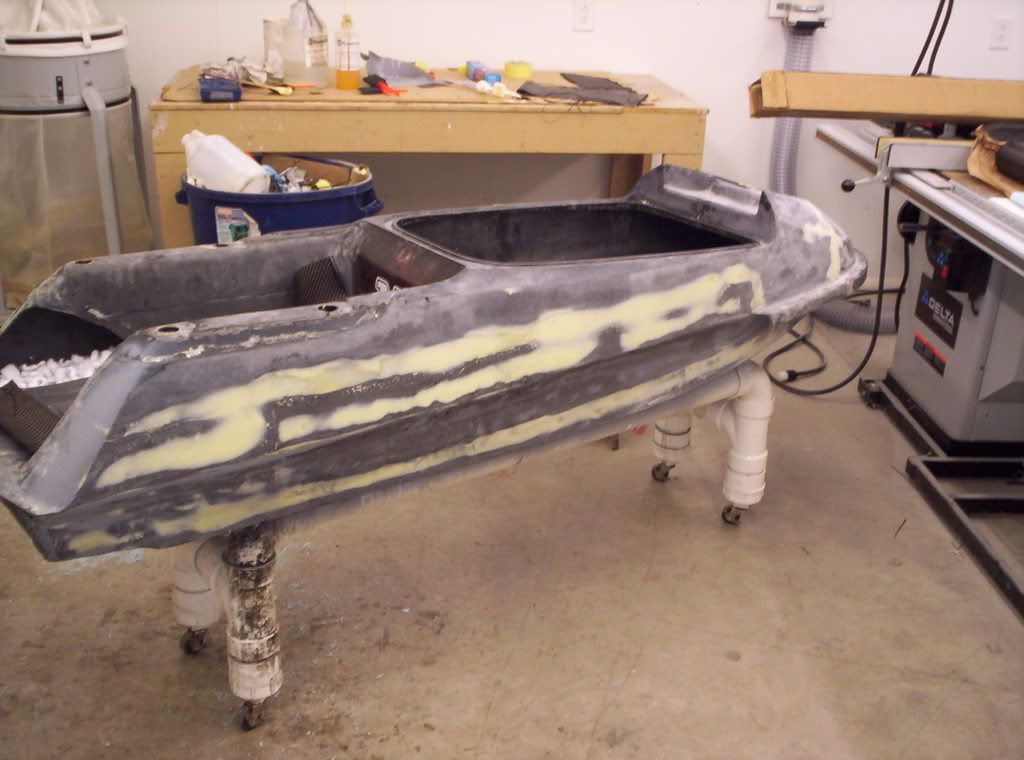
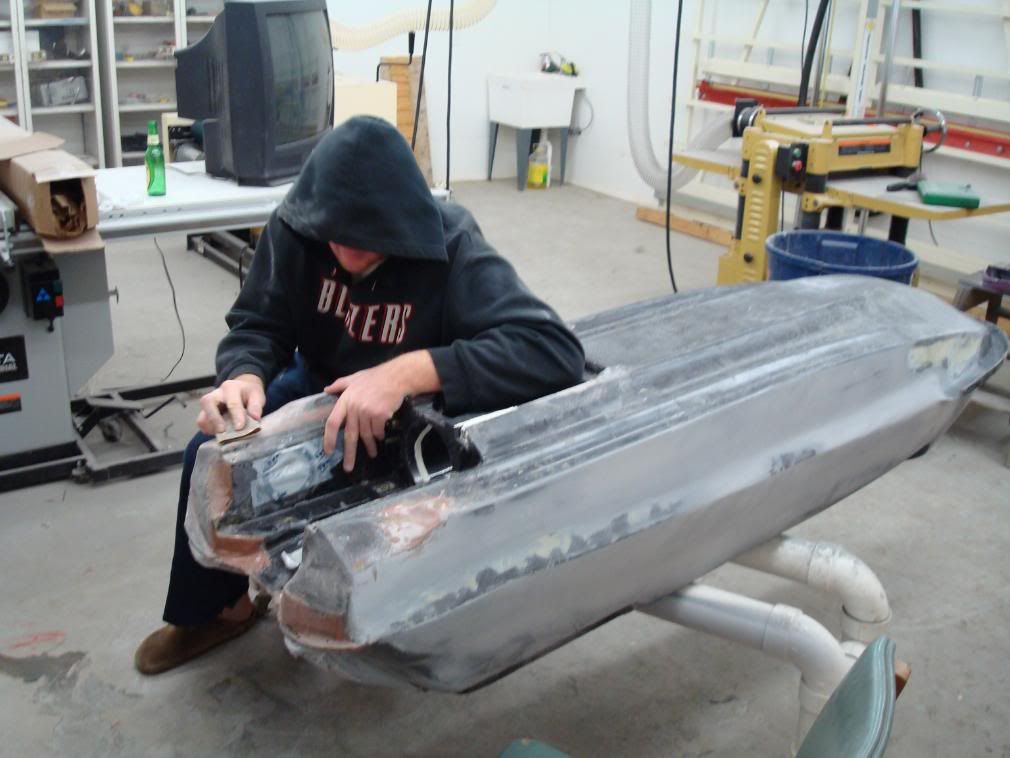
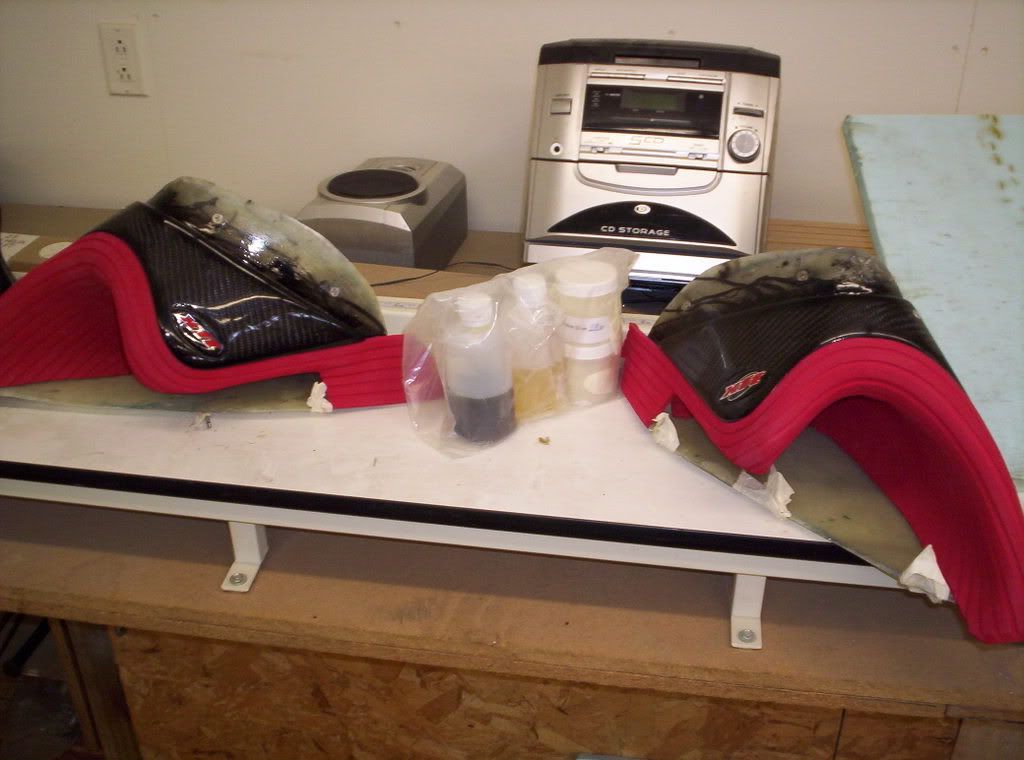
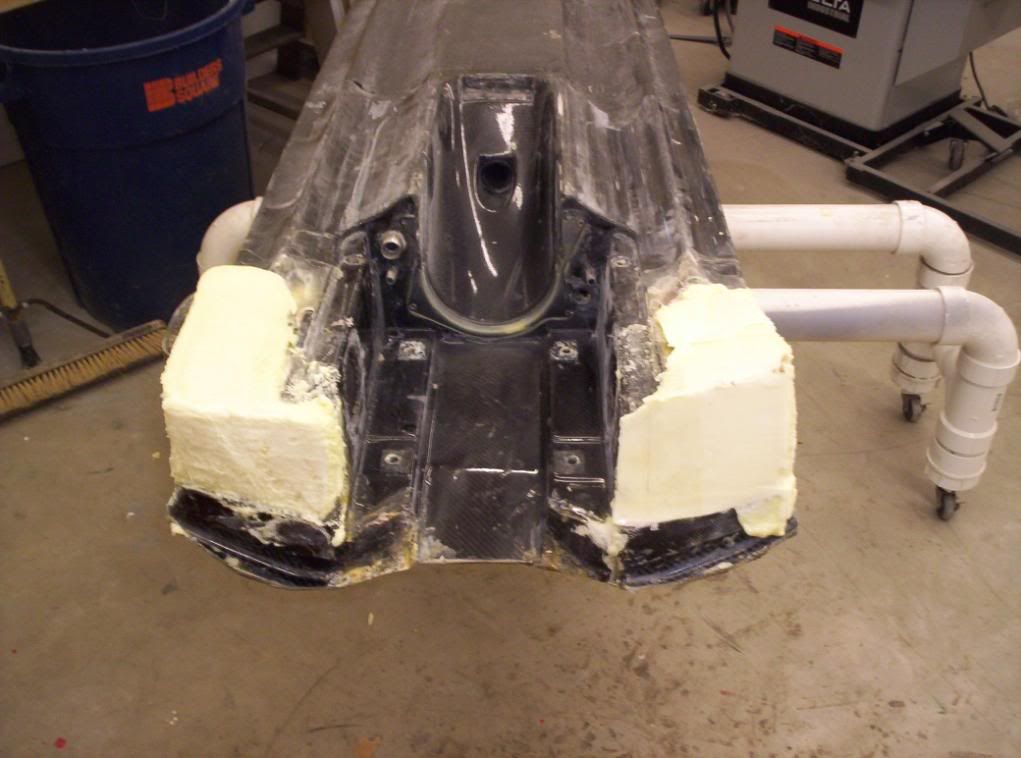
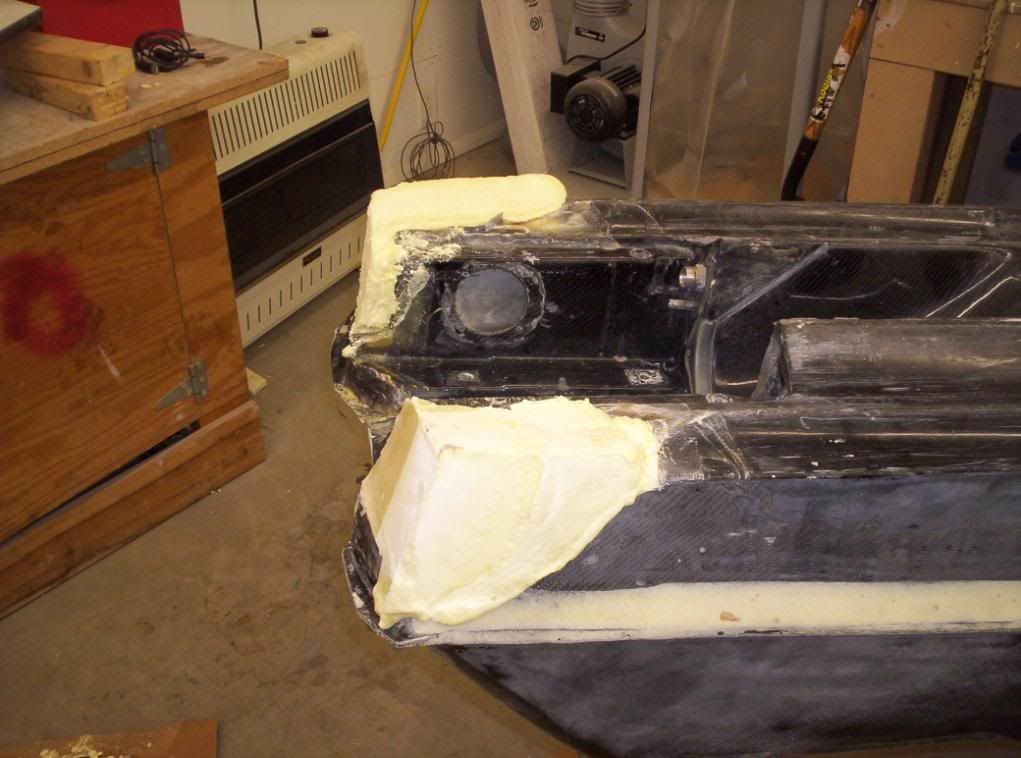
So this hull was shortened as much as possible without moving the two rear ride plate inserts and it was also scalloped. it was done with glass and shaped with bondo. Not a pretty job at all and I didn't want it as drastic as prior so I decided to strip it down to original material and shape out of two part foam. I just chizzled everything off and then made a box out of cardboard on each side and poured in the foam. From there I just tried to shape it how I wanted it and keep both sides even so it rides halfway decent. If I want it shorter in the future it won't be that difficult to redo but honestly right now I just want this bad boy done so I can enjoy the holiday season and make sure I can ride it before Daytona. Well here are the pics of what I did more or less. This weekend I should have some finished product pics of the rear.
Picture109.jpg

Picture110.jpg

Picture111.jpg

Picture114.jpg

Picture116.jpg
 
Wow

I was wondering what happened to this build. I was intriqued with the starting condition. With Xeon in the mix with his ski I thought you might be working at light speed too. Very impressive. The ski is really taking shape. Keep it up.

:cheer2:
 

Roo

it's all good
Site Supporter
The tray area where you stand is two layers thick, but the sides are more. The nose is probably about 5 layers thick but he uses that honeycomb stuff up front and in other areas too. All the cloth seems to be a lighter material like 5.4 oz. or somewhere around there. If you want any specific pics or details just let me know and I'll try to help ya out.

The honeycomb stuff... Soriac (sp?) maybe? Primarily used for Vacuum infusion applications.

Any pics to andrew@nuggets.net of the areas you mentioned would be awesome, especially hi-res shots... I have no size limit on this email account.

Thank you sir.
 
any new updates
your doing a great job

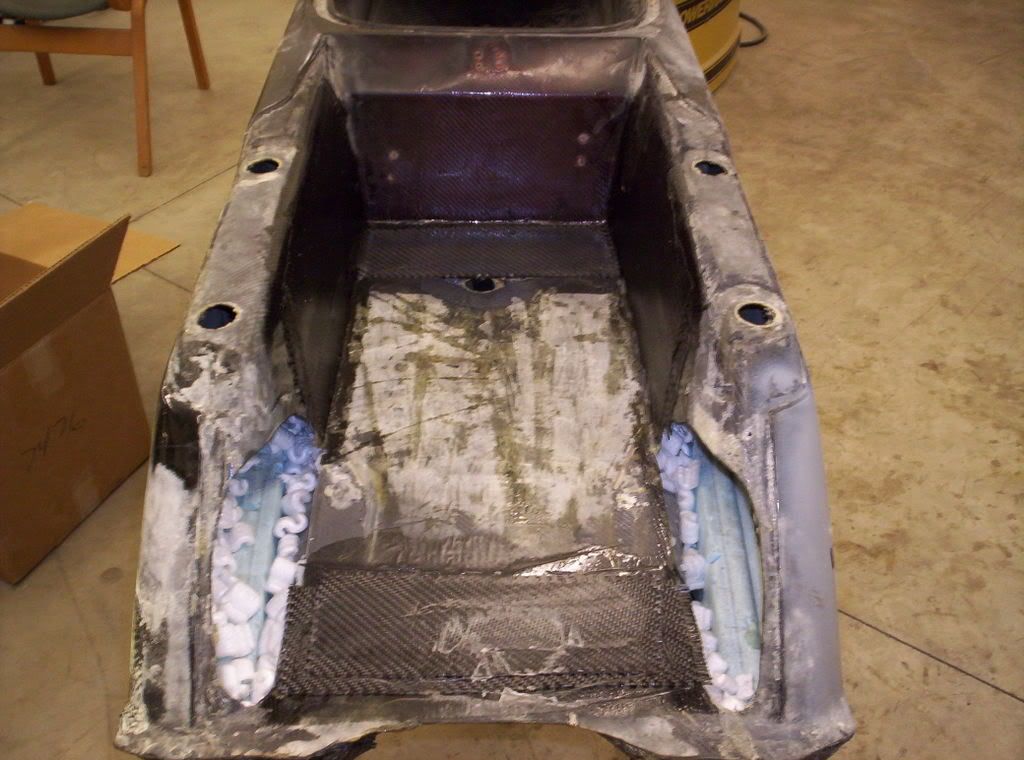
Well after doing about a weeks worth of sanding on the outside of the hull I got a little tired of doing that and decided to work on the tray. I got the footholds in and foamed the whole tray. I used a combination of the blue insulation foam, packaging peanuts and 2 lb. foam. Now I'm to the point where I might just say F*%K a paint job and just rattle can some urban camo on this thing. I'll have pics up soon but its hard when the only place I can get on the internet is at work but lately all I've been doing is plowing in the stupid loader. If anyone wants to come and give me some motivation to work on this thing I'll give you a free christmas tree :bananalama: Well back to life in the loader, see ya guys soon hopefully.
 
Keep up the work. I just got mine done. all bottom carbon looks killer. See you in Datona My ski white ,gray and blue .X-metal and Team Scream logos I know how you feel but dont stop. Spent every night in the garage for months till 12-1 am and @ work @ 6am but it a killer ride when done. Now f#*^ x-mas trees and get to work
 
got finished pics Eric?

sorry i missed your call yesterday, did you get the bracket?

They're coming don't worry, and yes I got the bracket. I just wanted to say thanks a ton and let you know I owe you big time, or atleast a ride on the ski.

So I foamed on the bondlines and basically sanded them at an angle. I tried to get it as uniform as possible but honestly I'm not perfect nor are the rails. So after both rails and rear were done I went ahead and laid down the carbon, thanks to a little help to skibums4life and h20desperado.

Picture105.jpg

Picture108.jpg

Picture455.jpg

Picture453.jpg
 
Last edited:
If I ever did this again, I would of just sanded it down and clearcoated it just as it sat in the last picture above. But instead I started filling and sanding. It was such a pain in the ass but after a few weeks I got the sides, nose and bottom to look like something I would be proud of. Basically pictures explain most of the work.

Picture462.jpg

Picture459.jpg

Picture231.jpg
 
haha pop corn in the tray nice!!!

You know it baby girl, got to save weight somewhere.

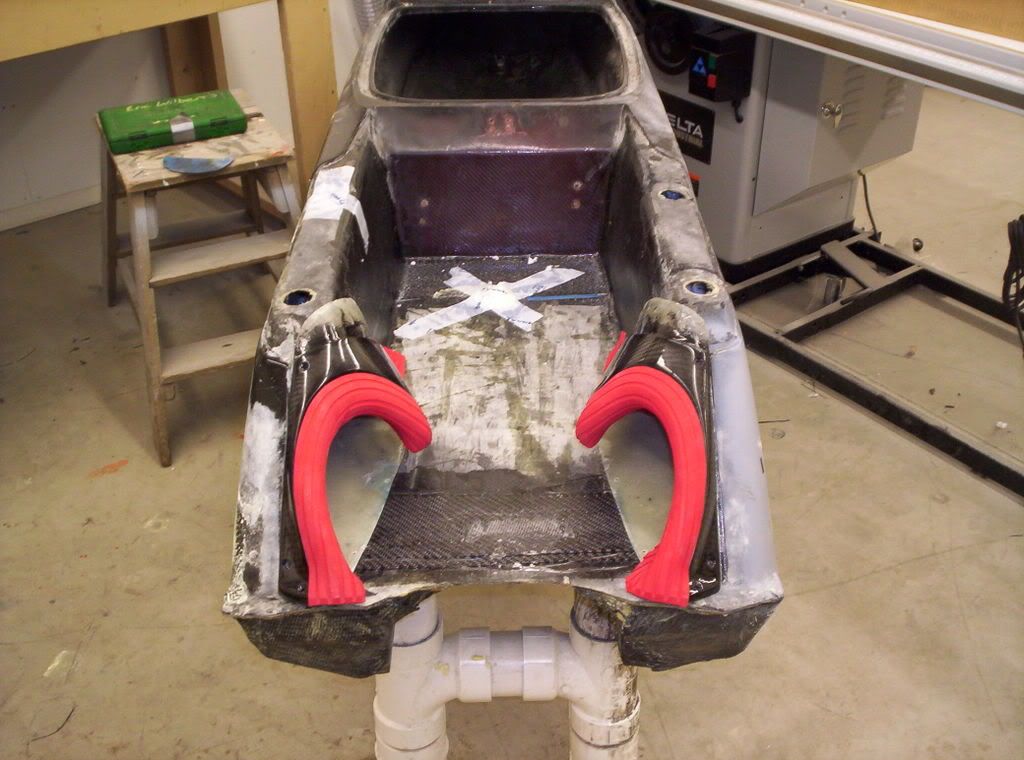
Ok so when the sides were almost done I just got really ******ing tired of sanding so I went ahead and installed the footholds. I went with xft's old style and could not be any happier. The hull had xft's in it but I just had to make the existing hole a little larger once I had the tray all put together. All I have to say is that composite glue sergio gives you is pretty damn strong and is pretty potent. Once I got the holds in I foamed the ski with 2 lb. two part foam and also used packaging peanuts along with a little blue insulation. Right before I painted the ski, when it was all done the hull weighed in a t 69 lbs. I was pretty happy with it, but very happy with the complete ski put together.

Picture461.jpg

Picture464.jpg

Picture469.jpg
 
Top Bottom