Quinc
Buy a Superjet
- Location
- California
Pretty cool seeing you do all these projects now that you have put fixing seadoos on the back burner. ")
The Waveventure I worked on yesterday had nuts epoxied to the adjustment needles, I have never seen that one before but it worked.It's a small and silly mod but it works! My quick answer to no T handled mixing screws on my oem 44's. A piece of 1/8" primer hose over the screw heads first, then a piece of 1/4" fuel hose on top of the primer hose, a tie strap to both give it some really good bite and a little knob for turning...works surprisingly well!
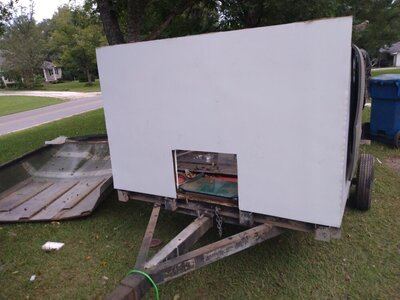
View attachment 427628


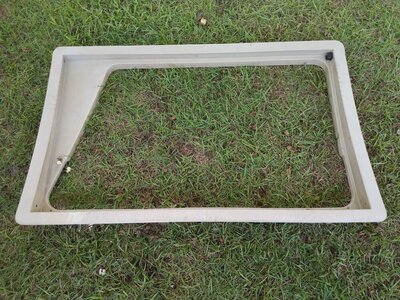
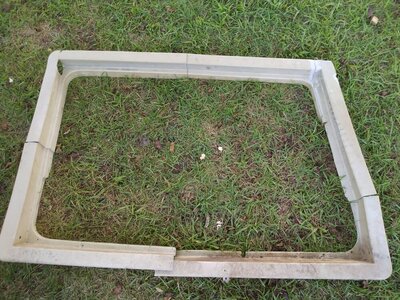
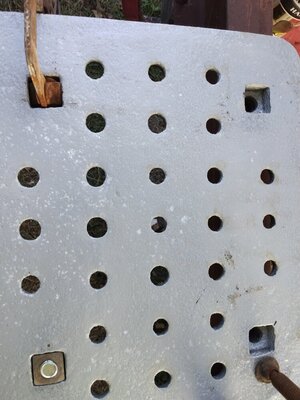
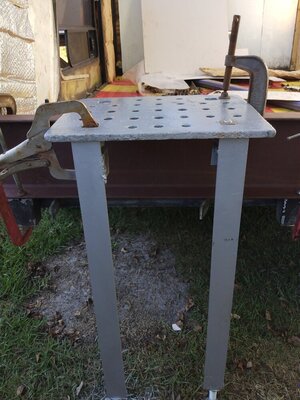
That is great you are helping him out. Missed you a SFFI got it mostly installed on his table yesterday , my stomach was giving me fits so I got a late start and he had things he was doing also, I still have some work to do on the legs, it ended up being installed a little higher thane we anticipated so I am making new longer adjustment bolts and we will give it another go. We still have to mount up the vise, so lots of drilling holes and fitting yesterday.
I have acquired quite a few spare cylinders here over the years , so in an effort to help both of us I have decided to have him bore them and sell them with pistons ready to go, that will hopefully put some money in his pocket , keep him busy and give me some much needed storage room.
It just wasn't in the cards this year, you gotta play the hand you are dealt. Me and him go way back to my first job in the motorcycle business right out of AMI at the Honda -Yamaha shop, I am really not sure how the Kawasaki -Suzukli -Polaris place is going to make it without him . he was pretty much all they had, he is one of those old school guys who has forgotten more about motorcycles than most of us will ever know.That is great you are helping him out. Missed you a SFF


Link for those lights? Building a 1500 sq ft shop and looking into lighting solutions.Not fancy but it worked.
Rigged up a jig for my router to help cutout 13” circles for custom recessed light housings for my new workshop.
108,000 lumens in under 800 sq/ft. All flush with the ceiling.
They’ll be flush once a layer of 5/8” drywall goes over them anyways.


How high will your ceiling be?Link for those lights? Building a 1500 sq ft shop and looking into lighting solutions.
Thankfully they are dimmable, otherwise it's way overkill. I already had them so I was obligated to make them work but if I was to do it again, I would drop down to a 12,000 Lumen model. Even at 10% they peg my light meter at its limit of 400 Lux. Working on the table directly under them at full intensity is amazing, just don't look directly at or anywhere near them them, lol.108,000 lumens? Make sure you apply plenty of sunscreen!