Super Jet 1996 Round Nose SuperJet Project

Thanks guys, I wish it could go faster but I would rather take a little longer and do it reasonably well than rush it and make mistakes. I like the idea of the Metallica black album cover perspective to the color. I never thought of it that way lol...plus they're one of my favorite bands, good call jloria =)
 
AC Racing Aluminum FX-1 Hnadlepole to SuperJet Adapting

It has been awhile since my last update. Although my build is complete and more updates will start to occur more frequently, I thought this update is a little bit of a special one and should be posted up fairly quickly. I have done a lot of searching over the last few days trying to find any info on how to make use of a misidentified used handlepole. Please keep in mind that I am by no means discrediting the seller or the pole I bought, the seller was awesome to deal with and the pole looks great. I believe it is just an unforeseen circumstance and nothing more.

The situation I ran into was that after I finally had my build done and the pole installed, I realized that my steering cable seemed to be too long, and yet not long enough. It was too long because the little fitted end that slides into the lock slot left a mile too much cable. This resulted in having no left turning. The sheath had to be shoved into the pole and the excess had to be tucked down into the hull in front of the waterbox now where it never was before. On the other end of the scale, it was not long enough because the sliding core did not have enough length to get the full use of my UMI quick turn set-up. So after much research and finding virtually nothing to cure the problem I spent the last 2 days trying to figure it out and came up with what I hope will be the cure to it. So far it seems to be alright on the trailer so hopefully it holds up and works out well in the end. From what I have read, it seems to be a common mistake that people do not realize the FX-1 poles are identical to the SuperJet poles until you get to the turnplate, that is where the changes are made. So here is what I found and what I did to try and cure it as much as possible...it would be a real shame to have bought this nice handlepole and not be able to use it.

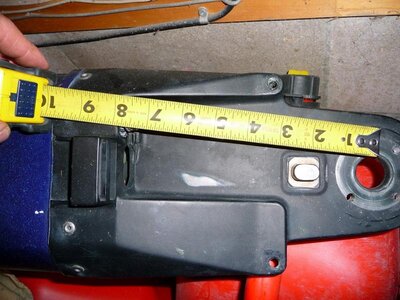
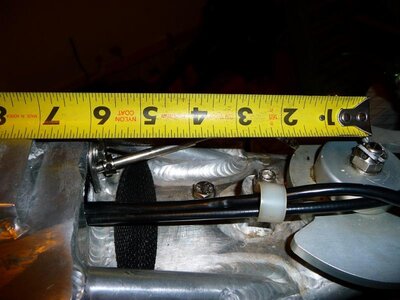
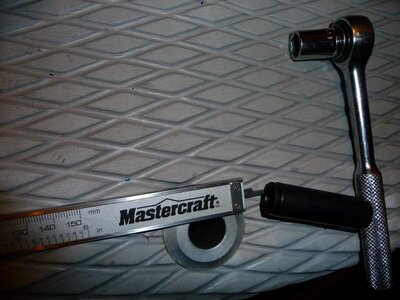
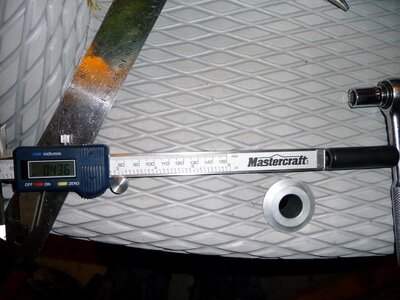
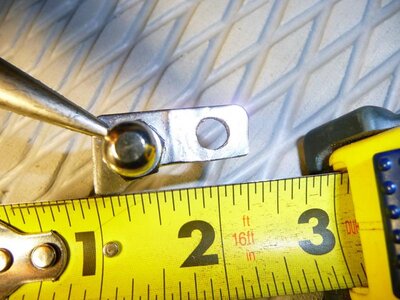
So to start, I measured the difference between the two turnplate arrangements. The FX-1 AC Racing aluminum pole is 2 inches shorter in the turnplate area than the SuperJet pole is. The FX-1 plate measures out at 6 inches from the steering cable lock tab to the center of the plate mounting post. The SuperJet plate measures about 7 7/8 inches from the cable lock tab to the center of the post.
 

Attachments

  • SuperJet Measurement.jpg
    SuperJet Measurement.jpg
    81.1 KB · Views: 145
  • FX-1 Measurement.jpg
    FX-1 Measurement.jpg
    66.2 KB · Views: 155
Last edited:
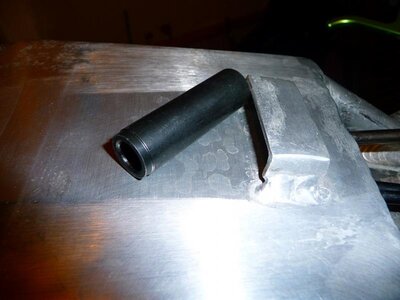
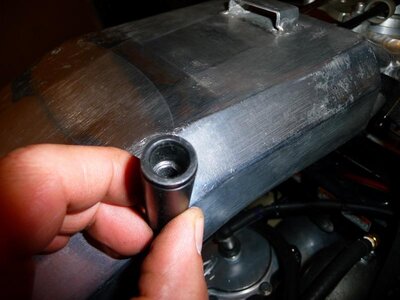
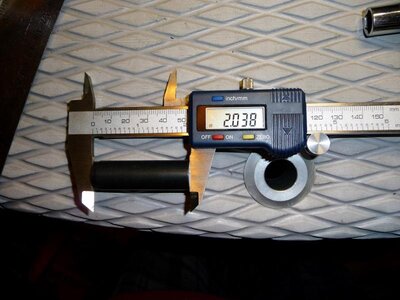
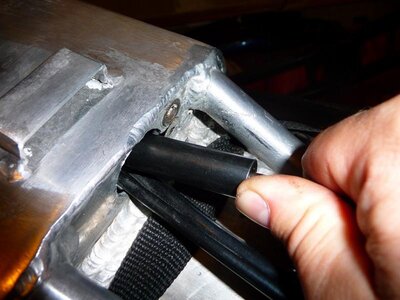
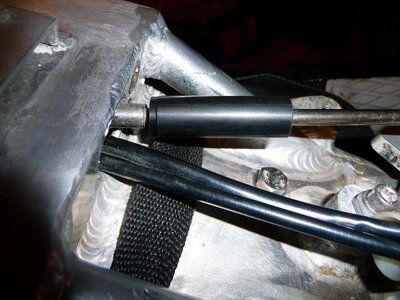
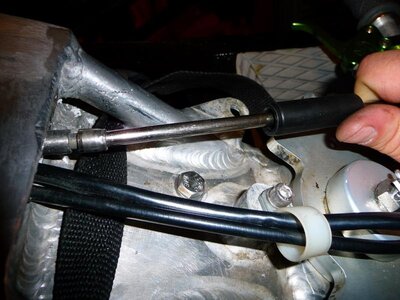
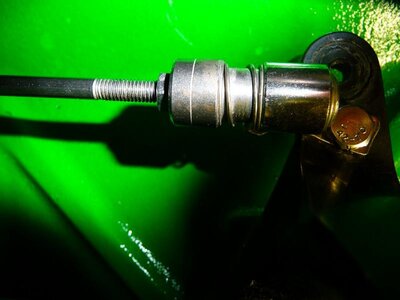
The first thing to do to compensate for this difference is get a piece of Delrin plastic round bar or even wooden doweling if that is all you can get to make a bushing. You want to reclaim the lost 1 7/8" so make the overall length of the bushing about 2" long, drill all the way through the center of it first with a slightly larger than 1/4" drill, then using a drill about 0.395 (I think I used a 21/64 drill) and drill out one end to a little less than 1/2" deep. This way you can slide the bushing over the steering cable and over the spot that was originally meant to be locked into the pole with the tab.
 

Attachments

  • Steering Cable Bushing 1.jpg
    Steering Cable Bushing 1.jpg
    48.7 KB · Views: 124
  • Steering Cable Bushing 2.jpg
    Steering Cable Bushing 2.jpg
    53.1 KB · Views: 122
  • Steering Cable Bushing 3.jpg
    Steering Cable Bushing 3.jpg
    66.2 KB · Views: 118
  • Steering Cable Bushing 4.jpg
    Steering Cable Bushing 4.jpg
    69.5 KB · Views: 117
  • Steering Cable Bushing 5.jpg
    Steering Cable Bushing 5.jpg
    64 KB · Views: 124
Last edited:
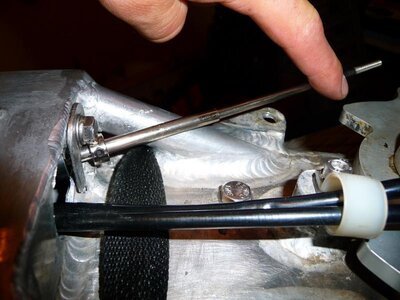
Then you want to pull the cable out as much as needed to slip the bushing over the cable and over the locking end. Shove the cable back into the pole and slip the small part of the cable into the locking mount. With a touch of blue loctite secure the cable as you would normally.
 

Attachments

  • Bushing Install 5.jpg
    Bushing Install 5.jpg
    67.2 KB · Views: 119
  • Bushing Install 6.jpg
    Bushing Install 6.jpg
    59.7 KB · Views: 130
  • Bushing Install 4.jpg
    Bushing Install 4.jpg
    53.3 KB · Views: 124
  • Bushing Install 3.jpg
    Bushing Install 3.jpg
    61.7 KB · Views: 126
  • Bushing Install 2.jpg
    Bushing Install 2.jpg
    71.7 KB · Views: 122
  • Bushing Install 1.jpg
    Bushing Install 1.jpg
    70.8 KB · Views: 122
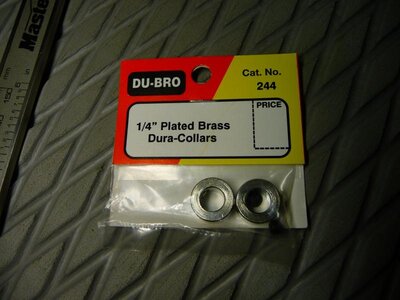
Next, go the local hobby supplies shop and get a pair of locking collars they use for shafts on the R/C cars. Try to get stainless if possible because the set screws will also be stainless. The only ones I found were coated brass which would be fine but the set screws are black oxided which is not very resistant to corrosion. Do be very careful with the little set screws, they are extremely hard to find if you drop one.

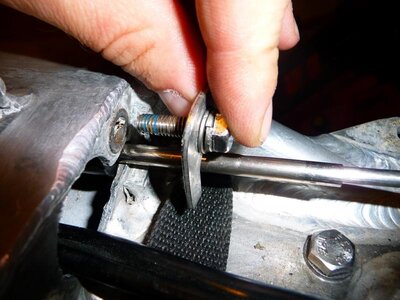
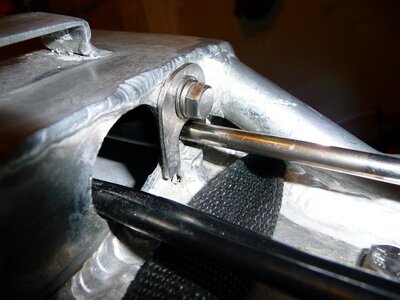
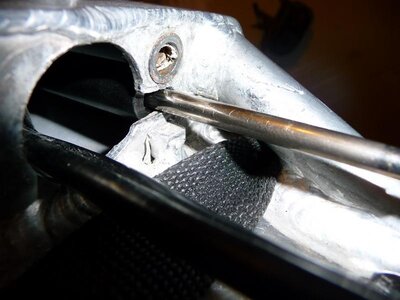
Now, extend the steering cable out to its limit making sure the bushing butts up against the inside of the pole, slip the collar on all the way to the lock tab and push the inner cable against the gusset tube . The reason for this is that it will automatically slide the collar away from the lock tab enough to allow the cable to move freely when you steer. Lock the collar into that position while still holding the cable up against the gusset tube. If you were to lock the collar against the lock tab, it would be too rigid and not allow the inner cable to move without binding. Encase you are wondering what the purpose of the collar is, it is to prevent the cable from potentially shoving backwards inside the pole. Feel free to use 2 collars if you can get them to fit just for added security.
 

Attachments

  • Collars 1.jpg
    Collars 1.jpg
    54 KB · Views: 118
  • Collars 2.jpg
    Collars 2.jpg
    64.7 KB · Views: 131
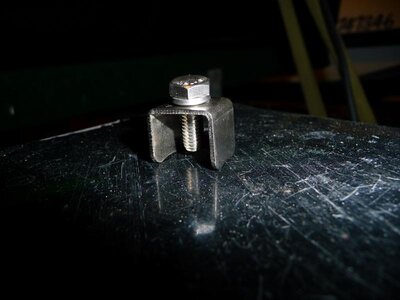
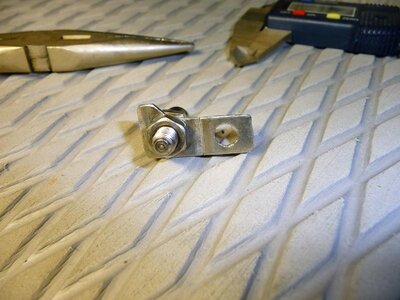
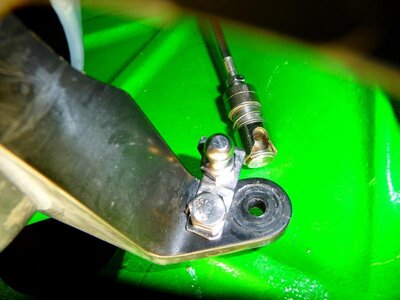
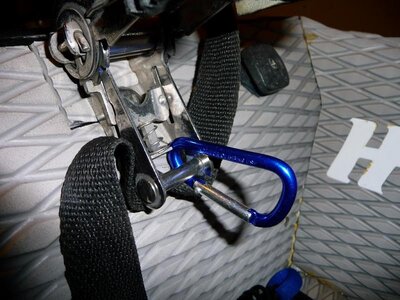
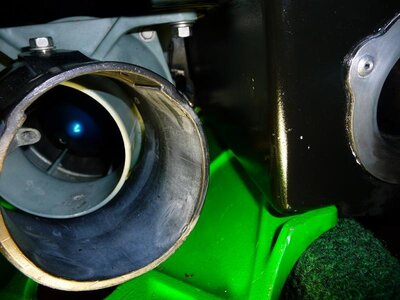
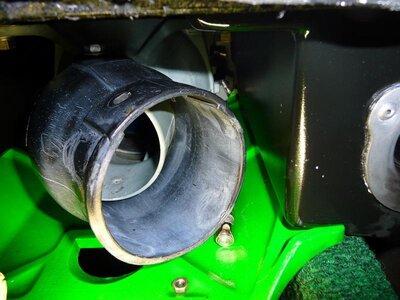
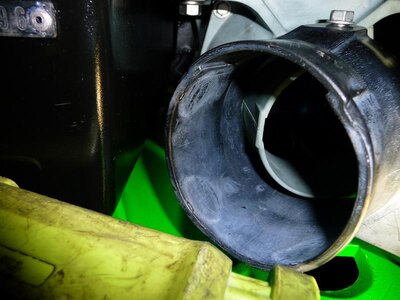
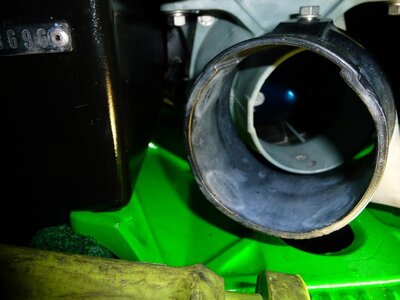
The next thing you will need to do is make a nozzle adapter plate. The plate I made came from a little screw mount found on a stainless 2 inch exhaust tip for automotive use that I had kicking around. I flattened out the piece, drilled out a new hole just one size smaller than 1/4" for a good fit to the little ball adapter for the cable end. I also had to cut a small amount out of one side to fit the nozzle after I did the nozzle mod for quicker steering. Do a little measuring and adjust the cable end as needed. I maxed out the steering both ways and adjusted the end until I had the same distance between the nozzle and hull. Granted you will lose a little bit of throw on steering travel just because you are using a stock SJ cable and not an FX-1 cable, but you should probably not notice it that much if at all. You will see in the pics the amount of nozzle throw based on the clearance inside the nozzle when using the stock handlepole vs. the retrofitted FX-1 pole. Although it is noticeable by sight, it probably would not be noticeable by feel when on the water. And one final thought was where to secure the limiting rope, so I did this (see below on the Brap Strap ratchet)... I hope this helps a few people out and gets those FX-1 poles off of the shelf from collecting dust. More build updates to come soon.
 

Attachments

  • P1010285.jpg
    P1010285.jpg
    45.4 KB · Views: 129
  • Steering Cable Adapter 1.jpg
    Steering Cable Adapter 1.jpg
    73 KB · Views: 121
  • Steering Cable Adapter 2.jpg
    Steering Cable Adapter 2.jpg
    60.1 KB · Views: 128
  • Nozzle Cable Hole New Position.jpg
    Nozzle Cable Hole New Position.jpg
    51.7 KB · Views: 131
  • Steering Cable Adjusted.jpg
    Steering Cable Adjusted.jpg
    42.1 KB · Views: 135
  • Limter Rope Hookup.jpg
    Limter Rope Hookup.jpg
    76.8 KB · Views: 150
  • FX-1 Steering Throw Right.jpg
    FX-1 Steering Throw Right.jpg
    60.7 KB · Views: 131
  • Stock Pole Steering Throw Right.jpg
    Stock Pole Steering Throw Right.jpg
    67.5 KB · Views: 125
  • Stock Pole Steering Throw Left.jpg
    Stock Pole Steering Throw Left.jpg
    59 KB · Views: 121
  • FX-1 Steering Throw Left.jpg
    FX-1 Steering Throw Left.jpg
    50.8 KB · Views: 128
Last edited:
Thanks Honda, I will look into changing that tomorrow. I have to do a little more work as it seems anyway. My little flat adapter on the nozzle broke tonight but understandably so. It was bent to be flat from being previously bent like a square...and that is where it broke, right on the pre-bent line. I will make another one tomorrow but using a piece of thicker flat stainless sheet. Aside from that everything seemed to work out alright.
 
Last edited:
Jet Pump - Impeller Install

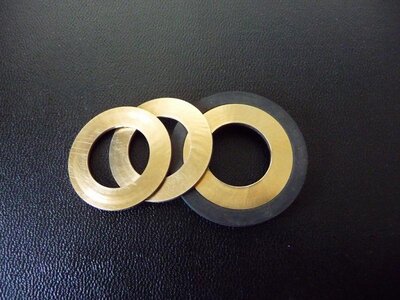
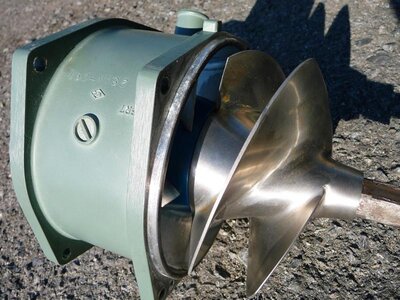
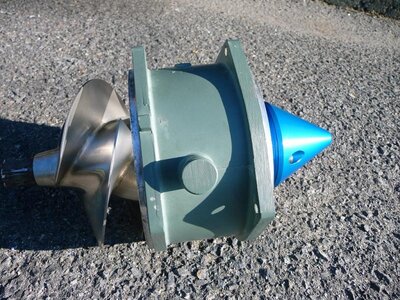
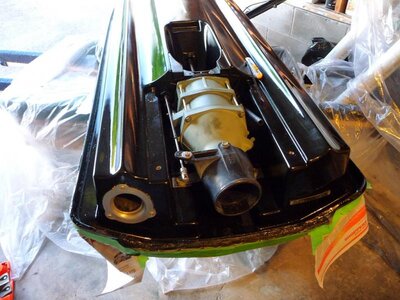
Well I have had a crazy busy last few months, but now that the ride season is well into hibernation for me it's time to touch up the build thread. Before the handlepole mods I was working on finishing touches to the color of the ski and the jet pump. So starting with the pump, it is pretty straight forward. I received my Hooker 9/15 and installed it, naturally the 3mm setback of the impeller hub made it lock up when tightened. So I took to some lathe work and turned out three 1mm shims made out of bronze instead of stainless. A common fault of stainless from my experience is that it likes to pick up against other stainless surfaces creating its own galling...then you have a real mess to contend with. This is why the general rule of thumb is to use dissimilar metals to prevent seizing. The shaft is stainless, the impeller is stainless, the shims are nice and shiny bronze. It's a very tough high wearing metal and did the job just right with the use of two 1mm thick shims. Now with the pump all finished and impeller installed it was time to install the entire assembly into the hull and get working on the top deck. More to come this week...
 

Attachments

  • 1mm Pump Shims.jpg
    1mm Pump Shims.jpg
    81 KB · Views: 111
  • Impeller Install 1.jpg
    Impeller Install 1.jpg
    86.5 KB · Views: 115
  • Impeller Install 2.jpg
    Impeller Install 2.jpg
    123.6 KB · Views: 117
  • Pump Install 1.jpg
    Pump Install 1.jpg
    78.3 KB · Views: 123
  • Pump Install 2.jpg
    Pump Install 2.jpg
    68.4 KB · Views: 130
  • Pump Install 3.jpg
    Pump Install 3.jpg
    74.8 KB · Views: 123
  • Top Deck 1.jpg
    Top Deck 1.jpg
    87.7 KB · Views: 123
  • Top Deck 2.jpg
    Top Deck 2.jpg
    75.6 KB · Views: 126
  • Top Deck 3.jpg
    Top Deck 3.jpg
    86.5 KB · Views: 126
  • Top Deck 4.jpg
    Top Deck 4.jpg
    83.7 KB · Views: 133
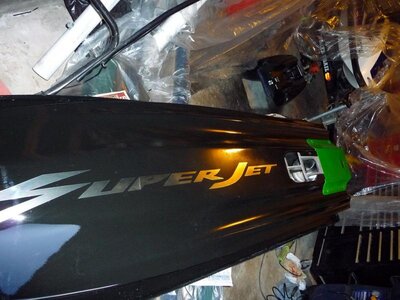
It turned out really well actually but one lesson learned...spar urethane does not like large quantities of water lol. First ride out my bottom deck decals were all gone. The big chrome logo, the green swooshes under the engine area, all gone. I will wait for the end of next year now to redo the clearcoat but the paint is holding up really well. I also turfed my rails on top of the clearcoat...gone lol. I have the turf but plastered in torn off clear =D
 
Surf Seal

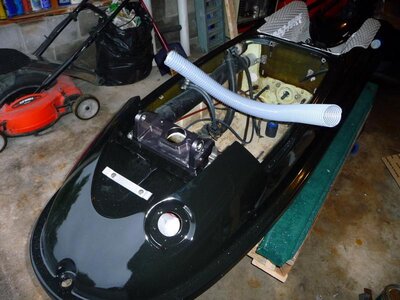
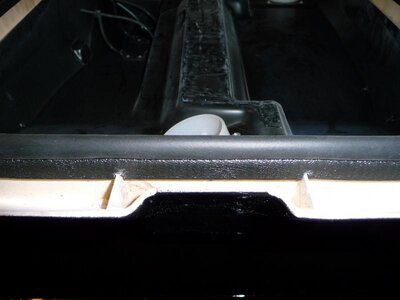
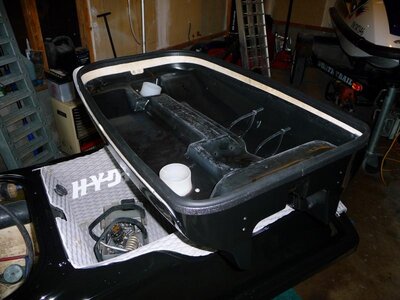
With the top and bottom deck all completed and the hood painted, it was time to install the Surf Seal and handlepole bracket tube. After completing the paint job and allowing it about a week to cure, the next little step was to install the Surf Seal hood seal. This was super easy, the hard part was getting rid of the stock torn seal and more so, the old adhesive. The press on Surf Seal is by far the best method. There is one required little mod needed however to the Surf Seal. When wrapping it around the mounting ledge, at the front of the hood by the breather tube there are two ribs formed in the hood. Either a small portion of these two ribs can be ground off, or a simple cut out on the Surf Seal can be done and the seal will fit nicely with the ribs. When the hood was finished the glass work and reinforcement needed to be done inside. The handlepole breather tube is nothing special, in fact it is identical to what some big name boys sell and all it is, is central vac hose found at Home Depot. You get about 4ft for around 20 bucks. The only downside is that you only need about 6" of the hose to work with the bracket. But it I am sure there will be somewhere else it will be useful.
 

Attachments

  • Surf Seal 1.jpg
    Surf Seal 1.jpg
    66.3 KB · Views: 116
  • Handlepole Mount Tube.jpg
    Handlepole Mount Tube.jpg
    72.8 KB · Views: 115
  • Surf Seal 3.jpg
    Surf Seal 3.jpg
    38.9 KB · Views: 111
  • Surf Seal 2.jpg
    Surf Seal 2.jpg
    66 KB · Views: 117
Paint And Decals

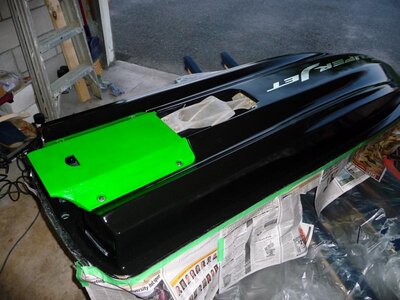
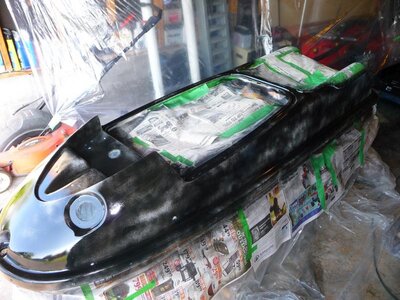
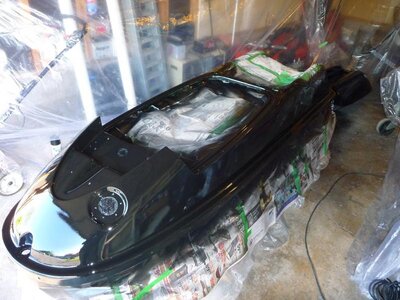
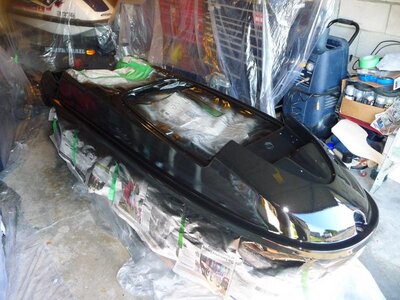
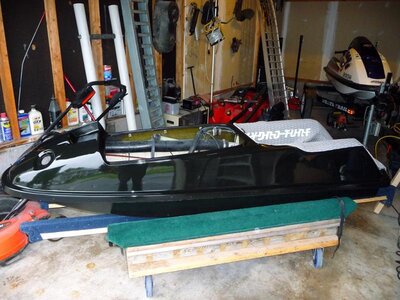
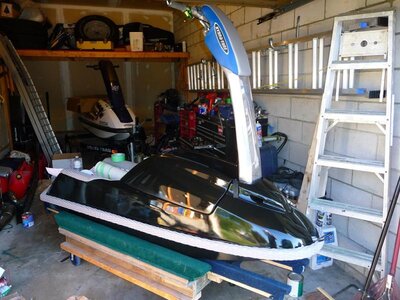
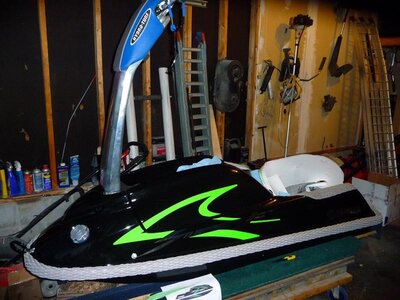
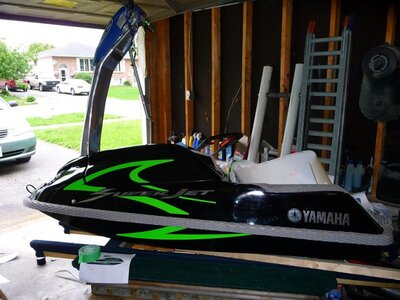
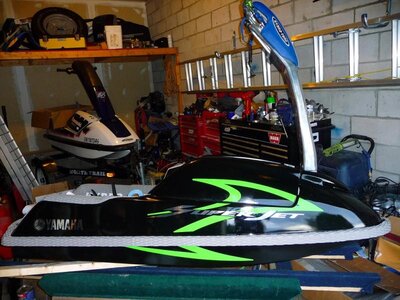
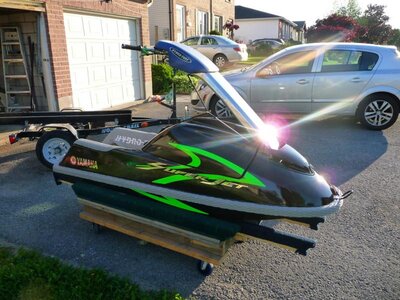
This is where my enthusiasm peaked, I finally get to see my progress in full swing. My completed paint, turf, and decal scheme. At first, when I bought the ski it was dirty, chipped, scratched, heavily oxidized, with a horrible decal scheme and totally bone stock. I then moved up a touch and went with a not too bad looking metallic blue and silver and some handling mods. It was ok for the first year but the color became old quickly and with a damaged hull having a breach under the bondline at the battery box location it gave me a good enough excuse to justify stripping the bottom and just keeping it going by stripping the entire ski all over again and just go nuts and deck it out to the best I could afford. This time I chose a water tux that I am really happy with and plan on keeping for a long time. Black, neon green, and silver. The decals are taken from the original design pattern used on the 2013 SuperJet. There are only few differences, I decided to use neon green instead of orange, I chose not to add in the carbon fiber looking background imaging Yamaha used on the inside of the swoosh on the engine compartment, and I had to assume the dimensions by comparing a print out to my ski and measuring A LOT, to get what appeared to be a proper size. In the end, I am very happy with the results. There were some decal mods needed since taking into account the breaks for the hood separation lines would be quite difficult to add into the decal dimensions, and bottom deck decal alignment. So I had the lines made as a single solid line for the top, and one for the bottom and I trimmed them as needed when I installed them. Many thanks to my friends at 3M Trimline for the outstanding work on the printing! :veryhappy: So, here it is, my finally completed (externally speaking), painted, decals and turfed 1996 Yamaha SuperJet round nose. Tadaaa...the entire ski is completed, but there will be more posted later. I just wanted to get these pics out first hehe =)
 

Attachments

  • Completed Paint Job 1.jpg
    Completed Paint Job 1.jpg
    86.6 KB · Views: 130
  • Decals 1.jpg
    Decals 1.jpg
    74.9 KB · Views: 141
  • Decals 2.jpg
    Decals 2.jpg
    75 KB · Views: 142
  • Decals 3.jpg
    Decals 3.jpg
    83.9 KB · Views: 138
  • Decals 4.jpg
    Decals 4.jpg
    95.5 KB · Views: 158
Last edited:
Hull Reinforcement

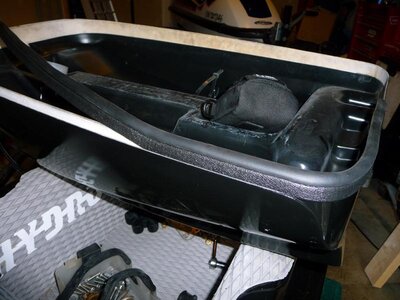
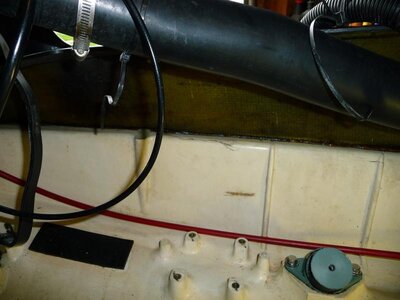
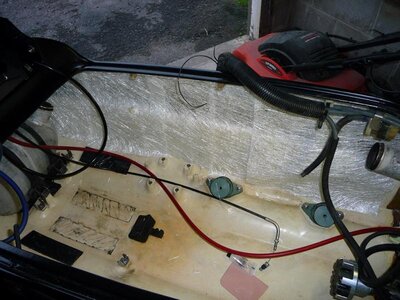
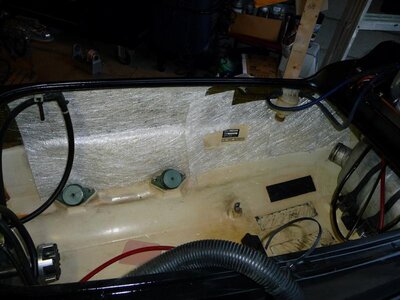
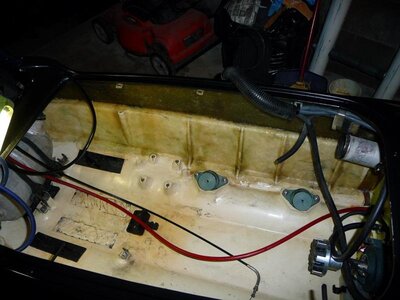
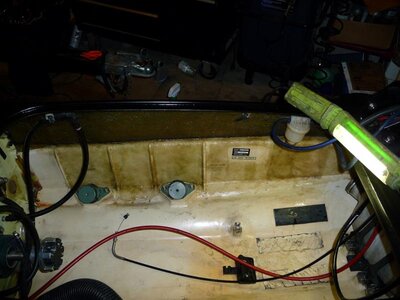
Now that the final product is out of the very long process of painting, it is time to get the hull reinforced. For this, I used Bondo brand mixed weave fiberglass matting because Bondo states that it is the maximum strength method they offer. The first thing to do was to start cutting strips with enough width to have about an inch or two of overlap. A little trick I learned about achieving the highest strength is to have these overlapping sections. What you are effectively doing is creating a band rib each time you overlap, two overlaps per strip...6 strips per side, 10 extra ribs of strength per side...not bad. I chose not to use the longstrand glass on the inside that I used on the outside in order to keep the engine compartment as lean as possible. Besides that the outside repair work was done with much effort and care to be strong enough to compensate for the lack of extra material inside. The left side of the engine compartment will need a very small sacrifice, I chose to keep the I.D. tag clearly visible which meant cutting a window out of the glass matting for it. Essentially this is all that I figured was needed. I have read that under the handlepole bracket should be done and after a season of riding I can see why, there is a bit of flex right there when really working the mount hard with rolls and all. Mine might get done next spring or I might just wait it out until the end of the next ride season. For the work that was being done and with the ride season closing in quickly I did the major work only so I could get on the water in time. With a bit of mixed resin and some shaping the glass went in well. I chose to keep the originally existing ribs in the engine compartment, they weren't in the way by any means and they do offer structural support so I kept them. Overall the glass work is easy, just remember to use a good heavy grit sandpaper to get a good scuff. I used 60 grit to get my scuff.
 

Attachments

  • Hull Breach Internal.jpg
    Hull Breach Internal.jpg
    49.6 KB · Views: 119
  • Hull Reinforcement 1.jpg
    Hull Reinforcement 1.jpg
    81.7 KB · Views: 124
  • Hull Reinforcement 2.jpg
    Hull Reinforcement 2.jpg
    66.1 KB · Views: 110
  • Hull Reinforcement 3.jpg
    Hull Reinforcement 3.jpg
    62.3 KB · Views: 114
  • Hull Reinforcement 4.jpg
    Hull Reinforcement 4.jpg
    59.1 KB · Views: 108

Roseand

The Weaponizer
Site Supporter
Location
Wisconsin
I just used the hardener that came with the Bondo...not good?
With what resin?
Did you use bondo resin?
Bondo resin is a polyester resin. Polyester will bond to the top deck because the top deck of an RN is made out of fiberglass. The bottom deck is made out of SMC-Sheet molded compound. Polyester resin will not stick to SMC, epoxy resin will however. Epoxy resin has better bonding characteristics anyways. It won't delaminate from the top deck, but it may from the bottom deck. And from what I understand, you would have been much better off reinforcing with biaxial fiberglass rather than bondo mat. Just a heads up.
 
Great info to know Roseand, thanks. I just went with the supplied materials in the kit. If it does start to de-laminate I will do what I can to remove from the bondline down and start fresh. I know having another layer of sheet on the top deck wouldn't be a bad thing when in the learning stages of barrel rolls lol. As mentioned here and there in the past, this is my first SJ and doing all of this hull work too. I have never needed or thought about doing it with any of my other skis in the past so it's all a new experience to me. I just try my best to detail how I am doing it all encase anyone else needs to see what they could potentially be getting into. Helpful hints like this are what make a thread go from a little personal build thread into an information station powerhouse! =D
 
Top Bottom