CoreyLKN
LKN Freestyle Militia
- Location
- Lake norman, nc
Not practical at all. It be easier, faster, and cheaper to just buy a replacement hull.
But the topdeck sounds more fun.
It would look cooler:cool2:
Not practical at all. It be easier, faster, and cheaper to just buy a replacement hull.
But the topdeck sounds more fun.
cough....updates?...cough
-cant wait for geeks post-weekend updates
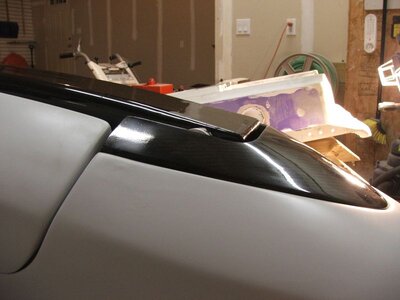
More progress folks!
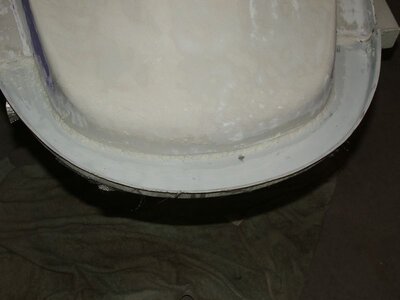
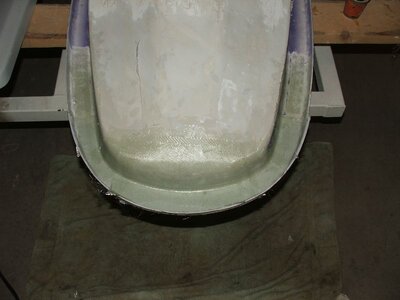
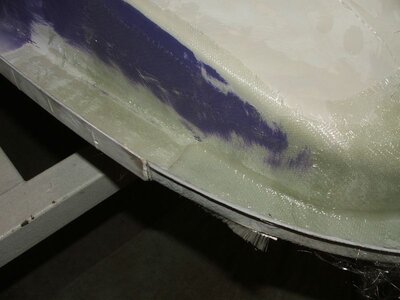
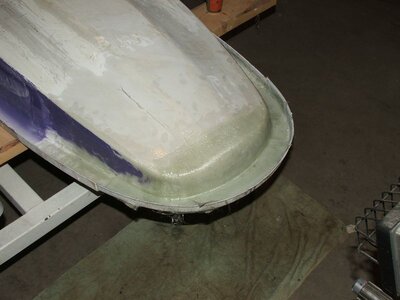
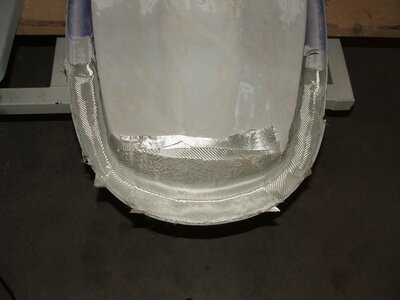
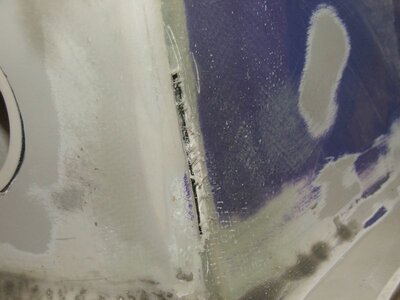
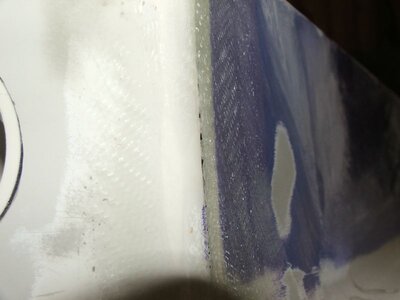
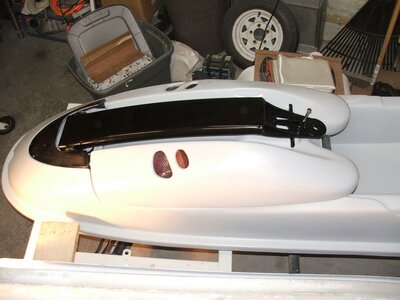
The nose is officially "ON"!
I used some lightweight filler to make the radius in the corner, then laid alternating unidirectional (7 oz) and bidirectional twill glass (9 oz).
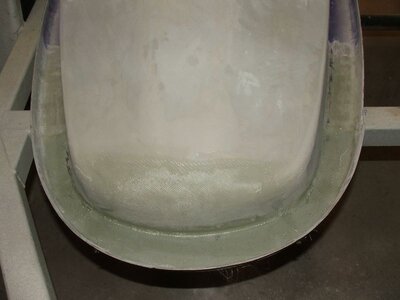
What did you use to make the new round front lip? I usually supply a front nose mold that you attach underneath the area and than just lay up glass right over it and voila!!:cheer: Afterwards, their is just minimal finishing work involved to blend in the transition points.
If I had any side exhaust left I would of sent you one right away! I'm just waiting on Pat to get me some more.:banghead:
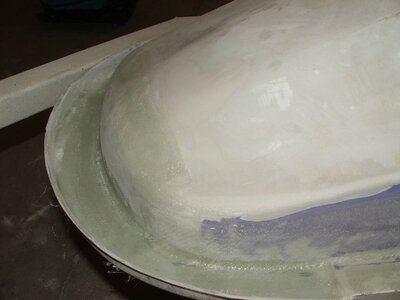
Why does sanding take so much time? :banghead: :banghead:
This weekend was a step backwards.:frown:
...Once you get the bottom squared away, bond the topdeck and that will be a big weight off your shoulders.
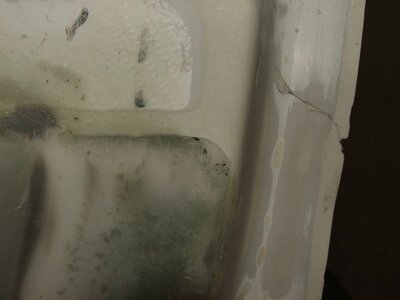
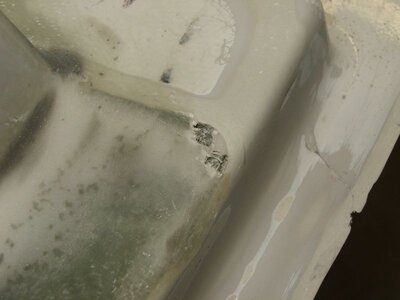
Well, the blister holes are filled and sanded, and the back is pretty much done. Now, on to the nose!:banghead:
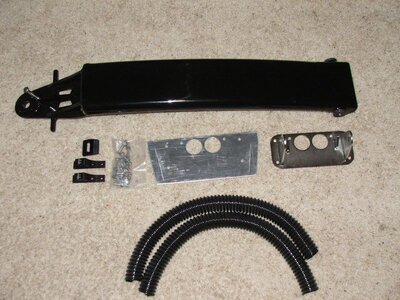
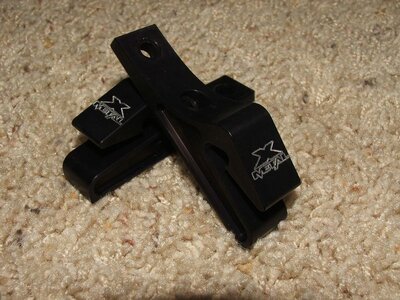
Last week, I got a little package from Mr. Patrick Bogart at Xmetalworks...
oooooh, baby, this stuff is sweet!
I love the etched logos on the hood hooks!
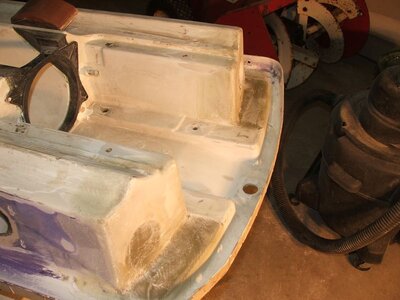
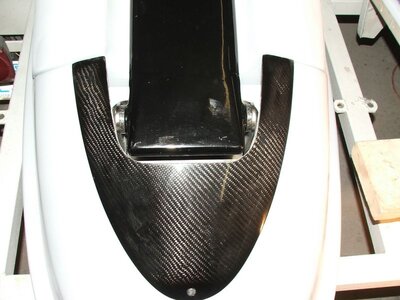
The pole is a -4, and I decided to make up for the shorter hull by moving the pivot bracket as far forward as possible (about 1"). In order to do this, I had to cut out about 2" of my XFT nosepiece. I still need to glass over the exposed divinycell foam, and paint it, but I think it turned out OK.
You know, if you weren't taking so many pictures, you would probably be riding already!
You know, if you weren't taking so many pictures, you would probably be riding already!
Daren stop killing my fun already!!! Go Geek Go :cheer: :arms: