I'm tryin' my man...
I only hope I can get my ski done before yours! :arms:
I hope for your sake you would be done before I am done or your fired.
:biggthumpup:
I'm tryin' my man...
I only hope I can get my ski done before yours! :arms:
i wish my mate bought that peice from steve for the nose i think it going to be a prick of a job but he was to tight to buy it so his prob not mine
hope that link for the plexus comes good for you
any tips on mounting the hood hooks and fingers i am wondering how to so i get the right down preasure on the seal?
looking good geek wait till that top is on oooo so close then
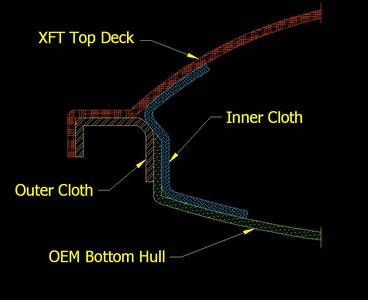
That is a nifty little illustration
That is a nifty little illustration
Easy to do on paper (or a computer), but A LOT harder to do in reality!
shrink that text... :biggthumpup: :biggthumpup: :biggthumpup: :bigeyes:
I was going to mention that.....the store where I bought my paint had all kinds of panel fuser.
Matt, have you gone to a paint and body shop supply store, they usually have Panel adheasive, If you want, I can pick some up and ship it to you, Do you have an OReilley's up there, they carry 3m SMC Panel Fuser.
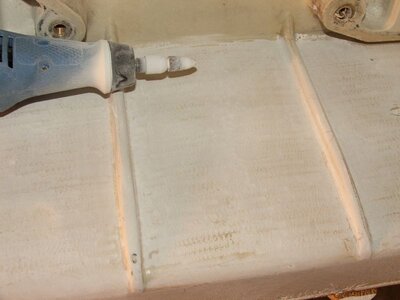
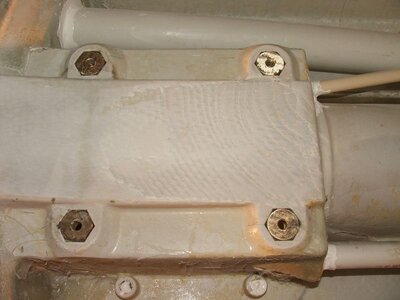
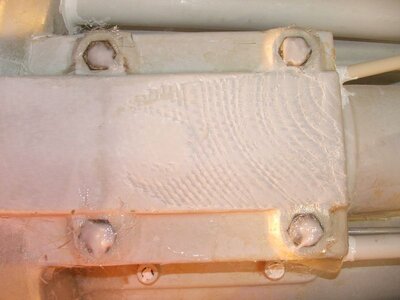
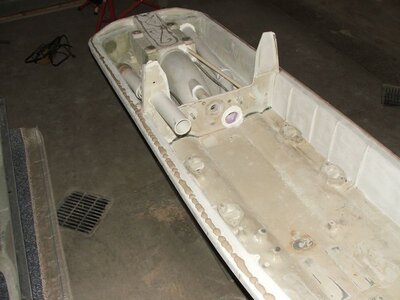
GASP! OMG, you left the ribs in! Don't you know that goes against every self educated post on reinforcing your ski??? Do a search dammit!... Those ribs are purely structural, so it is best to grind them off and replace them with several flat pieces of overly resin-saturated fiberglass. Geez, your ski is gonna crack for sure! I hope you are not payed to be an engineer.
(BTW, that was sarcasm) :haha: LOL! But seriously, looking great man. Wish I had time to keep up with mine. I know you are not gonna use it, but the panel bond I have used has like an hour working time... dunno which one you were considering? But anyway hope you are using the slow cure hardener for the epoxy and keep it all chilled until you are ready to apply it... but I'm sure you know that already. That way you will have plenty of time.