Th3g3rm4n4t0r
Brawlin' n Flippin'
- Location
- Ajax, Ontario, Canada
Also havent played the pop off game yet... Just rebuilt them this aft. Pop off tool is at the shop.. (WOOOW) Art said 20, @x2stroker said 24. I see a ballpark!
Only on the top, wont matter as there will be a gasket over it doh! Seems extremely rigid; hard as a rock, we epoxy the odd motorcross motor at the shop and this is par for the course - no problems that i am worried about.
If there on the top as much as they are, they are throughout the whole cavity.They are only on the top like i said... theres no other signs of air bubbles on different spots. Its the way it was cut.
If there on the top as much as they are, they are throughout the whole cavity.
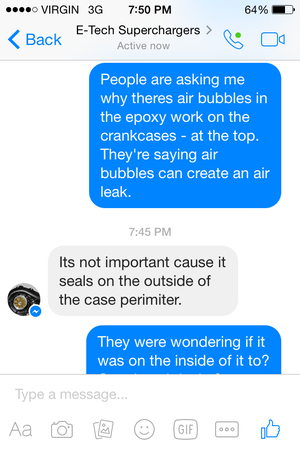
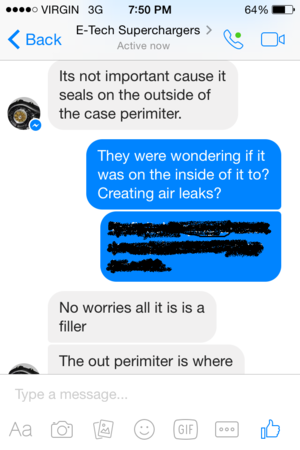
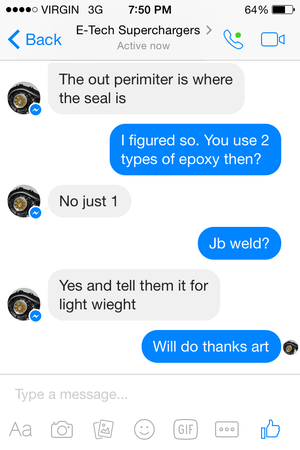
I don't see how they would affect anything either? Perhaps take away slightly from the rigidity of the epoxy, but I don't see it being a big deal? I wouldn't see how an air leak would happen either because that part of the cases doesn't lead to the outside air? Perhaps If it was in the epoxy in the bottom that led through to the outside, but it seems to be totally solid in the bottom.
Good luck!!! You can see how hard Zeski had to work to get that ski to do anything. There's nothing fluid about any of his tricks. If you watch his other videos, he makes it look effortless on other hulls.Whether ill be able to lip it or not we'll see.. it takes practice, heres what a 1000cc brawler can do.
Zeski is a beast.Whether ill be able to lip it or not we'll see.. it takes practice, heres what a 1000cc brawler can do.
Whether ill be able to lip it or not we'll see.. it takes practice, heres what a 1000cc brawler can do.
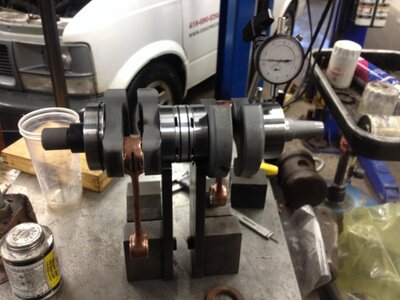
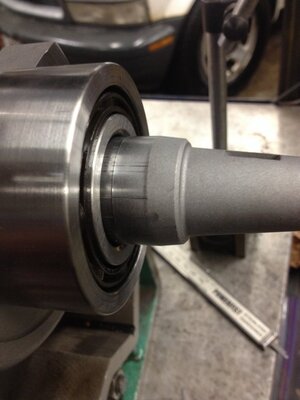
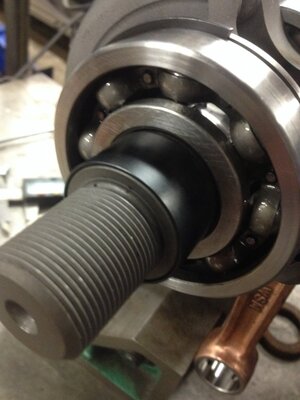
Eek.Not happy with PHP.. first a bushing, then when i start truing it i see galling marks from pressing the bearing on. ffs use heat you animals. I wouldve been more pleased with the ADR crank. This crank has failed my expectations to this point.
Going to have to do something about that, it will tear the seal. Anyways, .003" out on coupler side and "002 out on mag side.Going to see if i can get it better early tomorrow morning. Forgot to mention the WSM bearings lol, cross referenced this is a polaris 650 bearing apparently.
Seals and crank bolts will be arriving from Quebec Jet Crew (Remi) in the afternoon! Then its build time!
View attachment 303848
doesnt look like its deep but you can feel it with your finger nail.. Not taking the chance.
View attachment 303846
Had to put a new bushing on right out of the box.
View attachment 303847
Eek.
I would be too. Thats alot of money on "the best cranks out"..Pissed.
I would be too. Thats alot of money on "the best cranks out"..
Totally disagree. And not because im friends with that crew. Its because it was his first time riding a new ski. I can do the same tricks on my ski but wont on most others as they arent set up properly for me. Chris is highly skilled and was able in 5 minutes to ride the ski like that. Know the facts.Good luck!!! You can see how hard Zeski had to work to get that ski to do anything. There's nothing fluid about any of his tricks. If you watch his other videos, he makes it look effortless on other hulls.
Totally disagree. And not because im friends with that crew. Its because it was his first time riding a new ski. I can do the same tricks on my ski but wont on most others as they arent set up properly for me. Chris is highly skilled and was able in 5 minutes to ride the ski like that. Know the facts.
