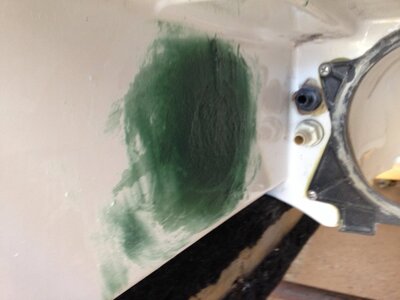
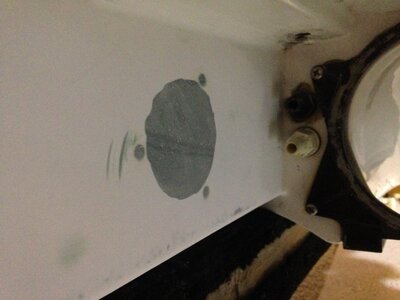
Blaster Rick's Detailed 1100 Blaster Conversion

ItsRixter

SoCal Wav Jumping shiznit
Location
Sunny Diego
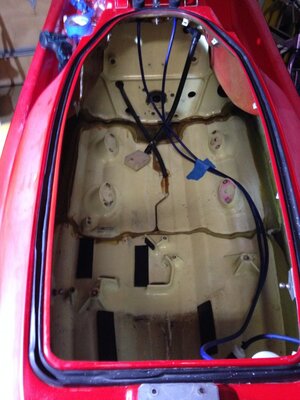
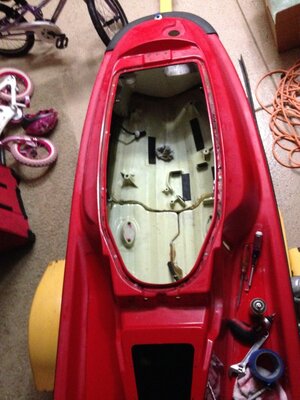
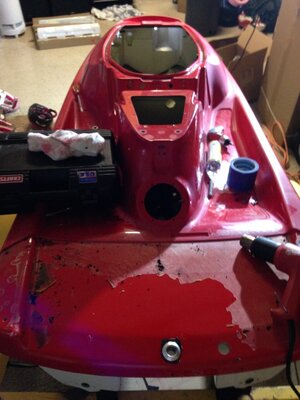
So with the decision to go all black, I have to work on more removal and stripping

Now, I have to remove the turf, corners, fire extinguisher trim ring, seat post pins (near the battery box), seat loops, and hood seal. Additionally, my blaster had side bumper trim which needs to be removed.

IMG_1675.JPG
 

ItsRixter

SoCal Wav Jumping shiznit
Location
Sunny Diego
More parts to remove off the top part of the hull. Hood hinge, front bumper, those rubber gas tank vapor collectors. I didn't want any masked off lines, so I even took the HIN plates off.

IMG_1673.JPG

Getting there. To get to the front bow towing bar, you have to remove the nose foam. To get the nose foam out you have to drill out the rivets under the hood seal which hold the (gas tank) water separator. Pain

IMG_1676.JPG
 
Last edited:

ItsRixter

SoCal Wav Jumping shiznit
Location
Sunny Diego
There are two nuts inside the hull behind the nose foam. Once you undo those, you can take the tow bar off.

The bumper looks straight forward. Remove the nuts behind the bumper. Once you do that, you have to carefully pull the bumper off. It appears to be glued on the top portion of the bumper. If to just rip it off it could tear and edge.

IMG_1683.JPG
 

ItsRixter

SoCal Wav Jumping shiznit
Location
Sunny Diego
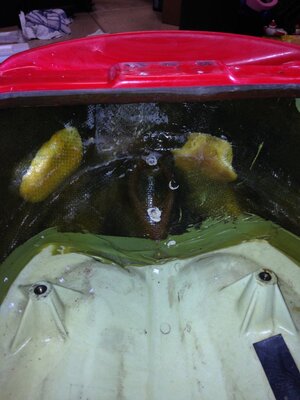
Once I took the nose foam out, another SURPRISE! Delamination of the fiberglass in two areas from previous repairs. It looks like the repairs were fixed from the outside but the inside portion was never touched. From the inside, I tapped it with the back of a screw driver. It sounded soft.

IMG_1684.JPG
 
Last edited:

ItsRixter

SoCal Wav Jumping shiznit
Location
Sunny Diego
I sanded down the two areas to removed the delaminated fiberglass. Then I glassed in two pieces. The first was was thick mat that filled the sanded area. Afterwards, I laid down a larger piece of glass mat over the smaller piece.
IMG_1701.JPG
 

ItsRixter

SoCal Wav Jumping shiznit
Location
Sunny Diego
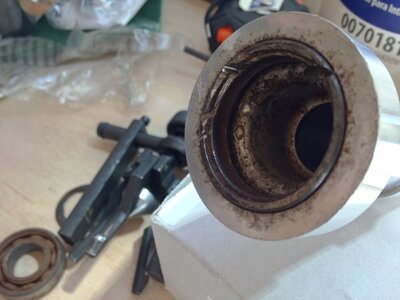
So frustrated! This darn UMI steering was a bitch to remove. The stainless steel bearings are not 100% stainless. The ball bearings are steel and rusted. The stainless bearing to aluminum housing bonded like a weld! I finally removed the steering unit from the hood after torching the crap out of it and using a bearing puller. However, the bottom bearing I had to tear apart. That left the outer race still stuck to the steering without much to grab onto? Any ideas?

photo-2.JPG
 
Last edited:
I know I have extra UMI bearings somewhere if you can't find any.
Here's from my HX that I redid last season.
uzatanav.jpg
 

ItsRixter

SoCal Wav Jumping shiznit
Location
Sunny Diego
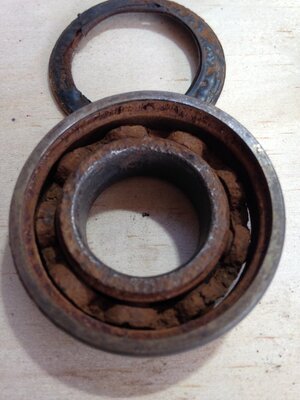
Dayum! This is one of mine "cleaned up". I saw a thread about installing bearings into a pump. That guy used real "sealed" bearings, he didnt even pack grease into the pump because the bearings were sealed with grease.

photo-3.JPG


I know I have extra UMI bearings somewhere if you can't find any.
Here's from my HX that I redid last season.
uzatanav.jpg
 

ItsRixter

SoCal Wav Jumping shiznit
Location
Sunny Diego
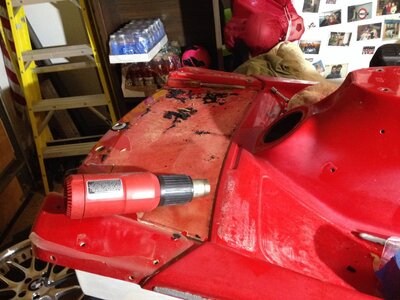
Removing the turf. The heat gun really helped when pulling the mat off. Removed the rear handles and also the rear HIN. BTW the HINs have white sealant on the inside portion of the rivets. One you pull off the HIN you need to push the remaining portion of the rivet. I just a center punch.

IMG_1679.JPG

IMG_1681.JPG
 
Last edited:

BruceSki

Formerly Motoman25
Location
Long Island
So frustrated! This darn UMI steering was a bitch to remove. The stainless steel bearings are not 100% stainless. The ball bearings are steel and rusted. The stainless bearing to aluminum housing bonded like a weld! I finally removed the steering unit from the hood after torching the crap out of it and using a bearing puller. However, the bottom bearing I had to tear apart. That left the outer race still stuck to the steering without much to grab onto? Any ideas?

View attachment 245457


Use a mig welder and load up the race section of the bearing that's stuck in there. Once the weld cools and shrinks it should pop right out. The shrinking will make the outer diameter smaller.

Had to do the same to mine.
 

ItsRixter

SoCal Wav Jumping shiznit
Location
Sunny Diego
Use a mig welder and load up the race section of the bearing that's stuck in there. Once the weld cools and shrinks it should pop right out. The shrinking will make the outer diameter smaller.

Had to do the same to mine.
I'll try that. I went to the motorsports dealer yesterday. The guys in the service dept said throw it in the oven. I had it in my BBQ @ 450 for over an hour, sitting upside down. The bearing never came out.
 

ItsRixter

SoCal Wav Jumping shiznit
Location
Sunny Diego
For those who have done the 1100 conversion what pump stator did you use? Stock or aftermarket? I looking at the Solas Mag pump. Is it worth doing?
 

ItsRixter

SoCal Wav Jumping shiznit
Location
Sunny Diego
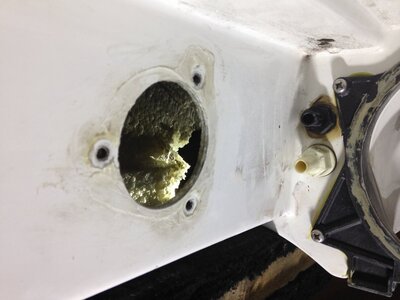
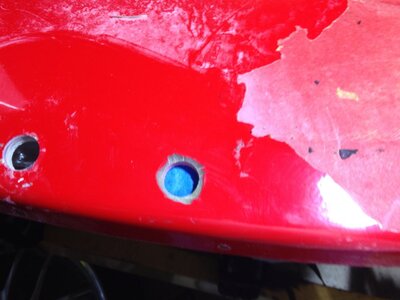
I always hated that Yamaha visibility spout. Even though I disconnect it, the deck mounted end was always there, until now :)
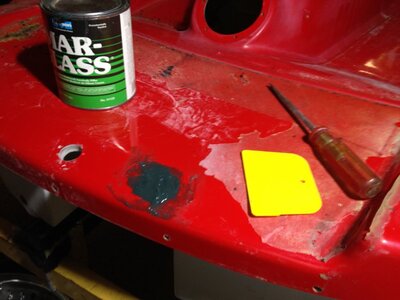
First, I ground the top portion just a bit so the fill was funnel shaped. Then I used blue masking tape on the bottom to keep the fill in place.

IMG_1687.JPG

Used a bit of Mar-Glass to fill the hole. Sand it flat after it dries

IMG_1688.JPG
 
Last edited:

ItsRixter

SoCal Wav Jumping shiznit
Location
Sunny Diego
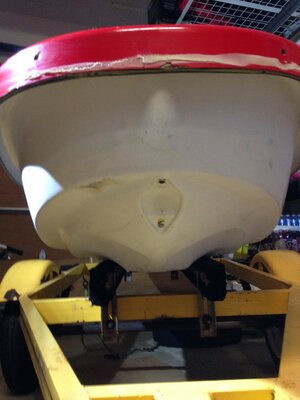
Patching the Yamaha spout (rooster tail) with Mar-Glas reminded me of something else. Since the stock exhaust outlet needs to be plugged, you have two options. One, is plug it with a disk and screws (some exhaust kits come with a plug). The other option (especially if you are painting the bottom portion of your ski) is to glass it in. The second option creates a cleaner look- no screw or bolt heads showing or hitting your knuckles when you work on the pump.

I put a small sheet of glass on the inside (just like I did to patch the Riva rear exhaust). After it dried, I spread some Mar-Glass. After that dried, I sanded it smooth.

IMG_1694.JPG IMG_1699.JPG IMG_1700.JPG
 

tshank123

Yo hablo ingles
Location
Vegas
I cant keep up with this thread. You move quick.

On the pump shoe thing, its a reliability thing and a flow thing. Plastic obviously breaks if you ever hit anything. The aluminium shoes are actually meant for superjets, which open up wider than blaster shoes so you can get more water through the pump.

I think its worth doing the solas pump stator. Anything you can do to help the hookup is good. These motors can move so much water but the stock pump and intake area limit the flow.
 

N3vrSat1sfied

Military Member
Location
Fort Worth, TX
I always hated that Yamaha visibility spout. Even though I disconnect it, the deck mounted end was always there, until now :)
First, I ground the top portion just a bit so the fill was funnel shaped. Then I used blue masking tape on the bottom to keep the fill in place.

Used a bit of Mar-Glass to fill the hole. Sand it flat after it dries

Thanks for the reminder, I need to do the same thing on my Wife's build: http://www.x-h2o.com/index.php?threads/redoing-the-wifes-wb1.142711/
 
Top Bottom