Blaster Rick's Detailed 1100 Blaster Conversion

Odd yours doesn't have the logo and has different shocks. Doesnt even have the trim for the hood bump.
Thats why i asked. Yours looks like the ones from that 90s. We had one on an old race boat here a few years ago.
 

ItsRixter

SoCal Wav Jumping shiznit
Location
Sunny Diego
TwinTurbo,
You defintely know your stuff. Yes, that is an old bracket setup that came with the ski when I bought it 12 years ago. Old School. I think it is a discontinuted product from Hot Products. Most hood kits were single shock back then
 

ItsRixter

SoCal Wav Jumping shiznit
Location
Sunny Diego
Up next ebox install with Rad Dudes kit.

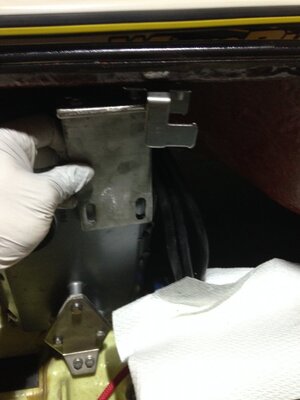
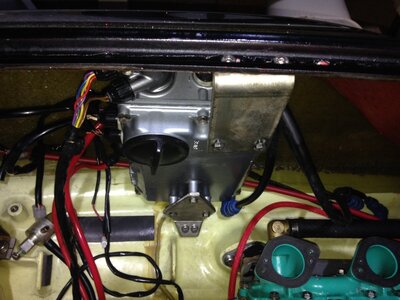
Most of this is straight up bolt on, except for the top bracket. The top interferes with the fuel filter holder bracket. (EDIT - My blaster had the fuel filter holder moved. Your stock ski will not have this bracket in the way. You may have the oil reservoir brace located in that spot)

Drill out the fuel filter bracket rivets, One of the holes lines up fine (the right side / toward the rear of the ski). The other you will need to drill a new hole.

Start with everything finger tight. Secure top bracket to the hull, then work your way up. Tighten the bottom mount, then the triangle, then leaving the slot bots lasts. Make sure there isn't a bunch of tension against the bracket- nothing is fighting against or twisting.

photo 1.JPG

photo 4.JPG
 
Last edited:

ItsRixter

SoCal Wav Jumping shiznit
Location
Sunny Diego
Carbs

Put the gaskets on so that the double set is towards the rear and the single gasket is on the front

photo 2.JPG

Make sure to connect all fuel lines. Here is a diagram..notice dual pulse lines, main intake and the return line.

Fuel lines.png

Carbs in

photo.JPG
 
How's the weight of those brackets! Pure stainless! And the weight is for a reason, these copy cat companies just don't understand the year of R&D.

Also now with the box in front you need to swap the 1 and 3 coil in side the box. Just unplayable and swap wires.
 

ItsRixter

SoCal Wav Jumping shiznit
Location
Sunny Diego
How's the weight of those brackets! Pure stainless! And the weight is for a reason, these copy cat companies just don't understand the year of R&D.

Also now with the box in front you need to swap the 1 and 3 coil in side the box. Just unplayable and swap wires.


Yeah I noticed the rear spark wire was too short to reach, but the front was plenty long. Thought about opening up the ebox and swapping them. I purchased the battery cable setup from you with the mention of of front ebox and rear battery so hopefully they will be the right length. BTW shot you a PM about steering cable bracket.
 
Im keeping a very close eye on this thread from the UK, i favour using the kwak motor over the GP1200 and would welcome any advice . Keep up the good work

Keith
 

ItsRixter

SoCal Wav Jumping shiznit
Location
Sunny Diego
Im keeping a very close eye on this thread from the UK, i favour using the kwak motor over the GP1200 and would welcome any advice . Keep up the good work

Keith

Thats great news. The primary reason I chose the Kawi was the dry pipe mod. You can get an "after market type" of pipe enhancement not available on the yamaha set up. Additionally, you cant shift the yamaha engine back (at least at the time I bought my conversion plate) . The weight shift to the rear seems to be a key point.
 

ItsRixter

SoCal Wav Jumping shiznit
Location
Sunny Diego
Exhaust

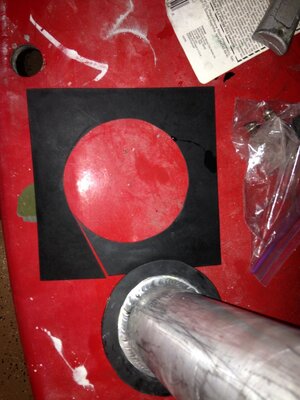
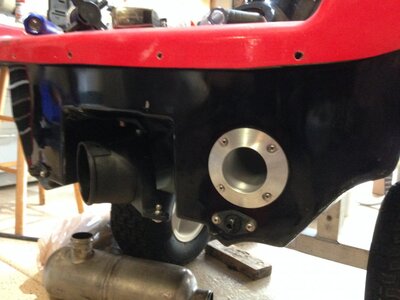
In an earlier post I drilled the rear right side of the hull to install the exhaust outlet. Since the surface of the rear is not flat, there is a bit of a fitment issue. I tried to find a rubber gasket the size of the exhaust. No luck, so I had to make one.
IMG_2664.JPG

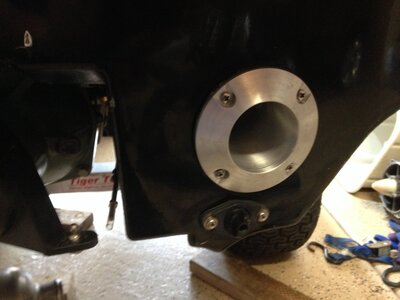
Then I used RTV sealant with stainless steel sheet metal screws. I didn't rivet, since I wanted screws to pull the exhaust flange up tight against the hull

IMG_2713.JPG IMG_2714.JPG
 

ItsRixter

SoCal Wav Jumping shiznit
Location
Sunny Diego
Continuing with the exhaust...

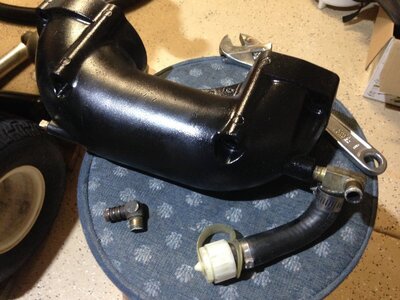
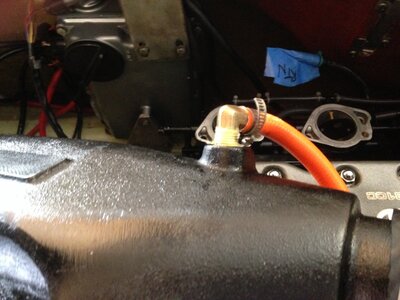
Install the cooling line (water hose outlet) on the bottom of the lower pipe chamber. Also, check and make sure the brass elbow is pointed toward the outside of the ski.
Do both these steps before installing the lower chamber into the ski.
IMG_2705.JPG

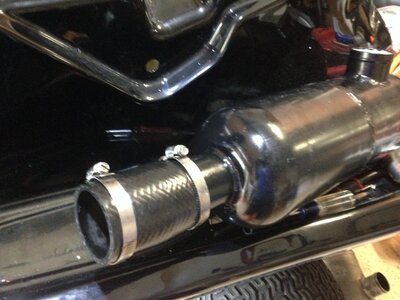
I pointed out during the motor removal to keep the hose from the donor ski which connected the exhaust pipe to the waterbox. Install that now to the lower exhaust chamber, its easier to do now than once its in the ski
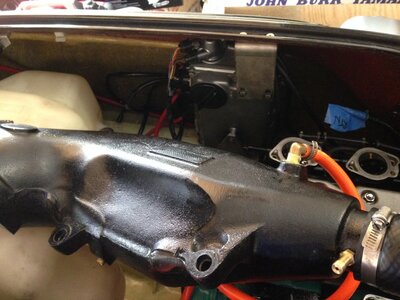
IMG_2707.JPG

Make sure the hose is long enough to reach where it will be installed to the pisser (see the orange line)
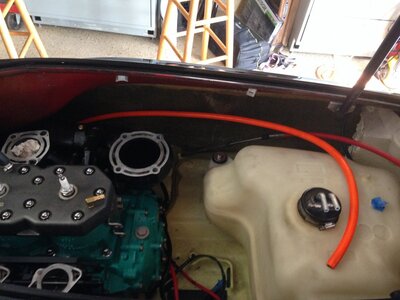
IMG_2708.JPG

Use the collar/ bolt sleeves to help "hang" the pipe as you bolt it into place.
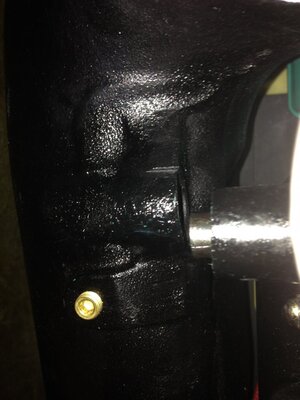
IMG_2685.JPG
 
Last edited:

ItsRixter

SoCal Wav Jumping shiznit
Location
Sunny Diego
More exhaust...

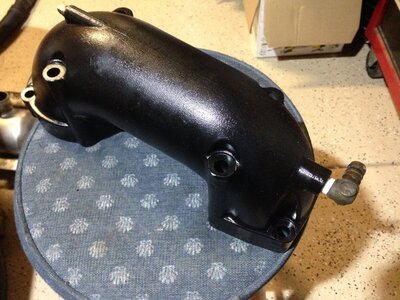
Install the top portion of the pipe. Set the gaskets correctly.

I swapped the head to pipe brass fitting which removes the hose connector ( I prefer my quick connect setup). The brass elbow I used, was the one on the lower chamber (I put a 3/8 on the lower chamber)

IMG_2687.JPG

IMG_2690.JPG

Use the four bolts (tighten inner bolts first)

IMG_2710.JPG
 

ItsRixter

SoCal Wav Jumping shiznit
Location
Sunny Diego
Moving to the rear, Exhaust continued...

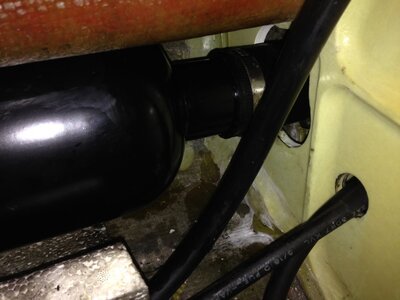
Use the other side of the ZXI pipe to waterbox hose and install it to the WB waterbox

IMG_2712.JPG

It makes it a bit more difficult to squeeze into the rear section of the ski, but pushing two ends together is tough in a tight spot.

IMG_2718.JPG

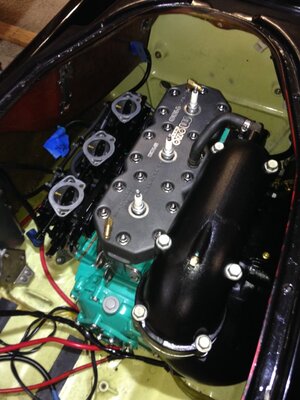
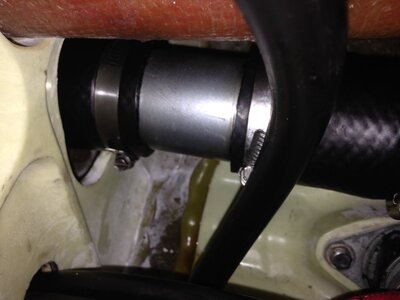
Here the view from the other (engine) side

IMG_2720.JPG
 
Top Bottom