Schmidty's WFC V1 Vision build

waterfreak

I had a vision!
Site Supporter
Vendor Account
Location
s florida
Wow, it's a shame to see that happen. Hopefully wcf takes notes.
Already talk to him about it. This was the first Vision ever built about 2 1/2 years ago. The problem as been address and revised already.
For all you AM hull surf riders, don't let salt water stay in your bilge for long periods of time...nothing good ever comes out of it.
Let's now focus on the build thread and take it easy on the hull builders :)
 

Schmidty721

someone turf my rails
Location
WI
Steve and I messaged back and forth several times.
As he said, the issues will be addressed and fixed. Hopefully all builders that see this will take note and make adjustments to the build process to help protect against this type of damage. I've learned never to purchase anything that has seeing salt lol
 

Schmidty721

someone turf my rails
Location
WI
Got some "moving forward" stuff done. It's been crappy weather and raining so I took a break from laying Fiberglass over the motor mounts and got some parts installed.

Pump & midshaft are aligned and in as well as the intake grate. To my delight only one of the pump inserts was stripped. I'll have to deal with that before we hit the water. Midshaft housing is super tight against the front foot hold, in fact I had to machine down my Cold Fusion midshaft spacer a bit to fit. I think "hope" everything is aligned and square but it was pretty much impossible to see what was going on and the midshaft inserts didn't match up with the holes on the housing perfectly either. Luckily this midshaft as been in three aftermarket hulls already so lets just say the bolt holes have been lightly massaged already.

Also thanks to @JetManiac for the Versiplugs and through hull steering fitting which with my luck were stripped off the hull before I got it.
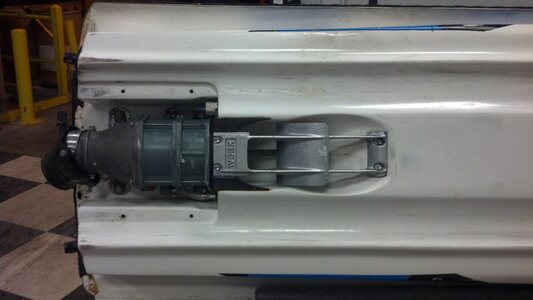
IMG_20140412_132335_156.jpg

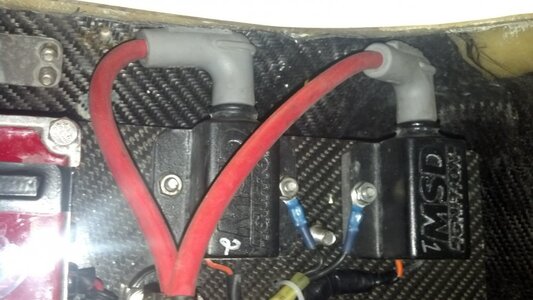
Ignition mounts also in.

IMG_20140412_135333_555.jpg

I picked up a BOB billet pole bracket to use with a Titan pole. The base of the bracket was just a little too wide so back to the mill for about and 1/8" off each side.

During assembly of the Titan pole I had to take a drill to one of the holes between the upper tube clamp and the top plate for the steering. The side braces were machined slightly different on each side and caused the angles to be just a touch off and not line up. Not a big deal, but I'm disclosing any imperfections I encounter on the build, especially on brand new parts. That is stupid I would have to put a drill to a pole the retails at what? like $1200

I decided to run a pole spring on this ski. Last few skis I've always ran my WDK pole tight without a spring. So a blowsion spring was picked up to use on this build. The combination of the BOB bracket and this pole was not plug and play with the spring. I torched it and reshaped the spring was able to get it to work. I'm glad I want through the effort to get it installed.
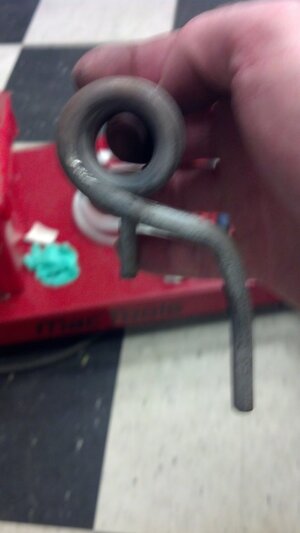
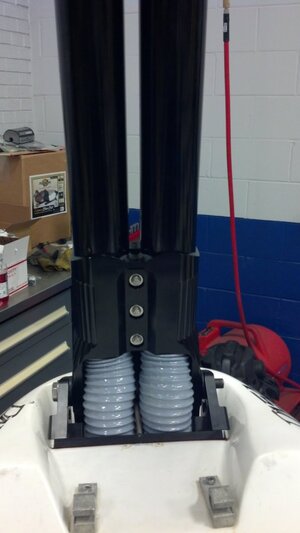
IMG_20140412_135638_454.jpg
IMG_20140412_141136_301.jpg IMG_20140412_145534_548.jpg
 

Schmidty721

someone turf my rails
Location
WI
Thanks for the words of encouragement guys!

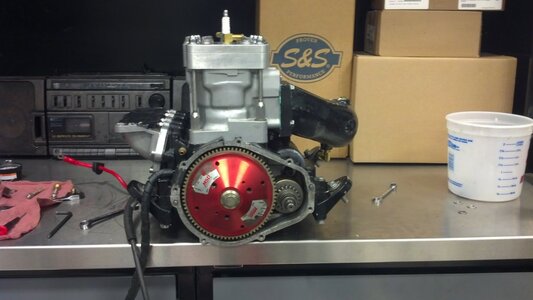
I had some light scoring in my PTO cylinder so I decided to pull the jug and run a light hone though it. I also went to a +.020 base gasket for a more pump gas friendly setup. Squish on the grab-bag stroker was set pretty tight last time a cut the domes on it. Hopefully get the glass laid over the motor mounts tomorrow then go forward with assembly.

IMG_20140412_193915_092.jpg
 

Schmidty721

someone turf my rails
Location
WI
Looking good Matt! Happy to hear you got something figured out with the seller. Can't wait to see this ski in person!

I'll need to bring it over to PHP for a weekend to get the Speedwerx pipe dialed in. That and my total loss issues from two season's ago when I last road haha
 
Last edited:

Schmidty721

someone turf my rails
Location
WI
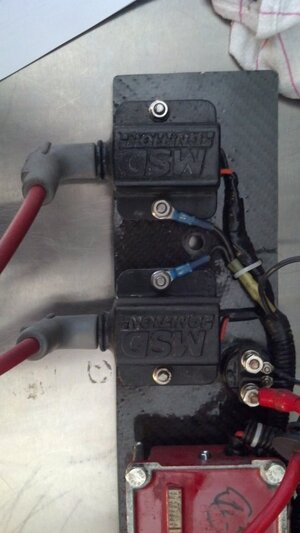
I'm going to need some guidance trouble shooting my total loss system. I had this installed fall of 2012 and ran it twice before losing spark on the rear cylinder (if I remember correctly)

Just printed off the MSD instructions today and haven't had a chance to read all the way through them yet. First questions, I know the coils need to be grounded to an engine ground. The wiring diagram shows the the terminal post on the "black" wire side being grounded. Does it indeed have to be on the negative wire side of the coil, or does grounding on either side of the coil work, ie, all you're doing is ground the coil housing itself.

This is how mine is currently wire and ran for a few tanks this way. Ground to one coil is on orange wire side, and black wire side on the other.

Edit: Set this up on the bench with my engine and everything checked out. Not sure what my issues were last time I rode, possible a bad ground somewhere but hopefully it's not an issue I'll encounter again.


IMG_20140415_134324_010.jpg
 
Last edited:

Schmidty721

someone turf my rails
Location
WI
Baby steps...

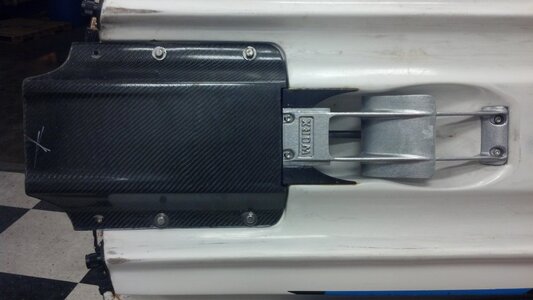
Got the ride plate fitted and second set of holes drilled for the inserts. I'm not sure which rideplate this is, it came with a bunch of random stuff when I purchased my carbon Superjet build. I'm going to lay a couple layers of 1708 biax over the plate for some reinforcement then cut it flush with the rear to start with. I'm assuming I'll want to go do a D-cut at some point, but I'll start with it cut straight flush.

IMG_20140413_162233_490.jpg

Going to run a Speedwerx pipe this year. Got the manifold all cleaned up and got it and the new gasket all port matched to my cylinder. These manifolds are much easier to install than the B-pipe that's for sure!

Also for good measure I pulled intake manifold to take a look at the reeds. Everything looked great still so new gasket there as well and back on. I have my old set of Rhass mounts currently going back to Robin @ Rhass products for warranty replacement. I had two mounts starting to separate from the base plate and without any questions asked Robin said to send all 4 mounts in and he'd replace with the new billet mounts. It is very refreshing to see a company stand behind their products. Also, I was able to get my new mounts moulded 1/8" shorter than stock Superjet which will help out with engine alignment after all the engine mount plate issues I'm setting a littler higher than I'd like.
IMG_20140416_185809_275.jpg
 
Wow, just saw this- I got run up the flag pole for pointing out the visual carbon peeling off a Vision back in November... Your hull looks way worse than that one did! Good luck...
 

Schmidty721

someone turf my rails
Location
WI
Tonight was good.
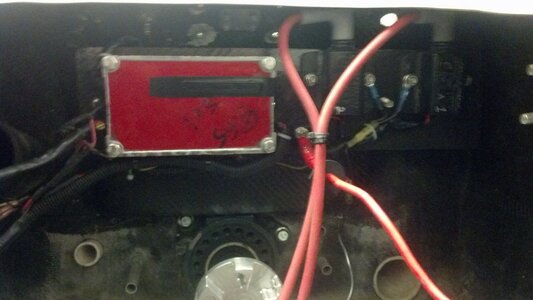
Test fit my Total loss and it fit, but just barely. It's tucked away nice and neat thats for sure.

IMG_20140417_172812_111.jpg
IMG_20140417_172837_892.jpg

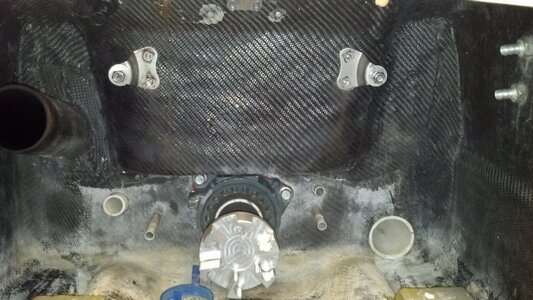
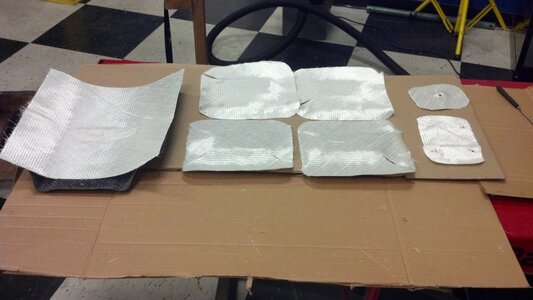
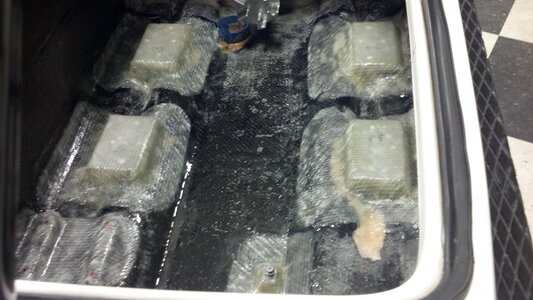
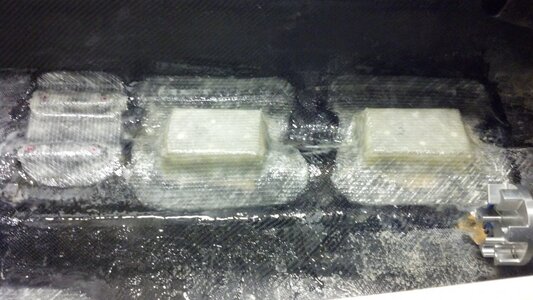
I felt motivated so I finished cleaning up the nastyness around the motor mounts and got the whole bilge washed out and clean. Dug out my resin and some biax and went to town. That biax is a PITA around the 90* edges but worth it. Should be nice and solid now. Also went over the battery mount inserts and the one fuel tank insert.

IMG_20140417_193554_550.jpg
IMG_20140417_211331_693.jpg
IMG_20140417_211342_145.jpg

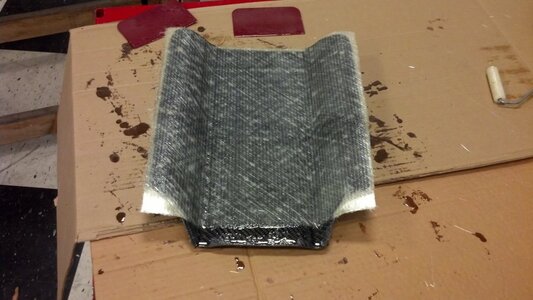
And extra layer on the ride plate to be safe.

IMG_20140417_211403_686.jpg
 
Top Bottom