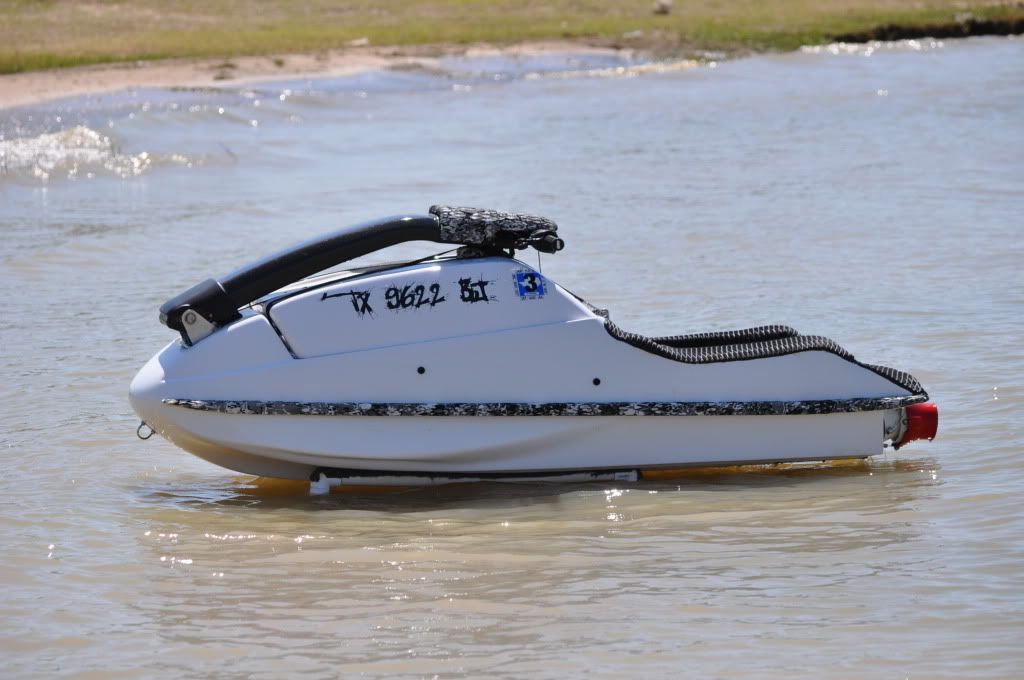
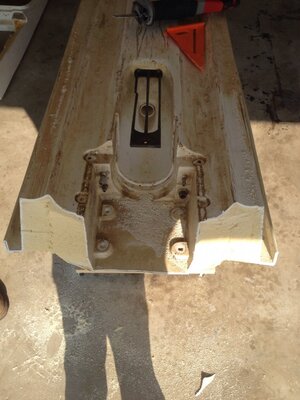
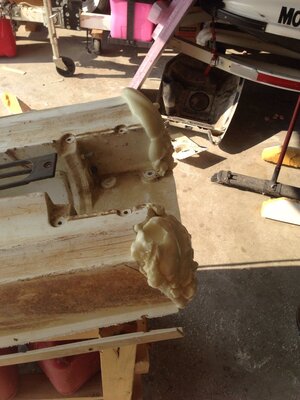
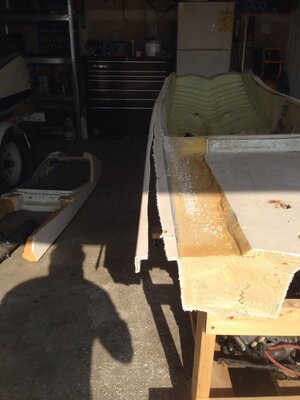
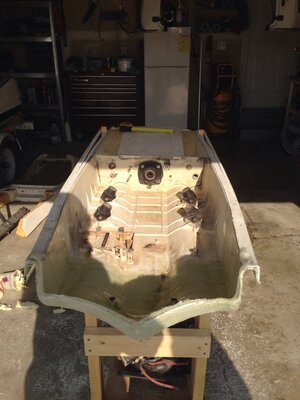
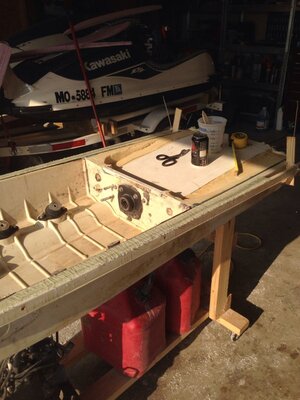
The "why the hell is he doing this" build

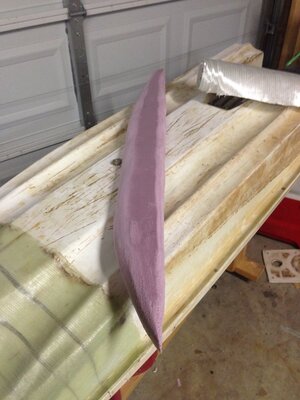
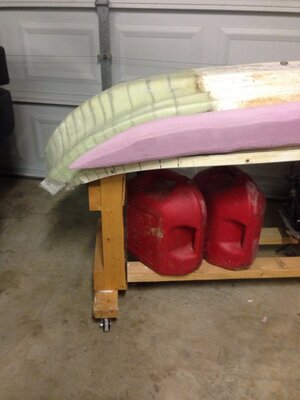
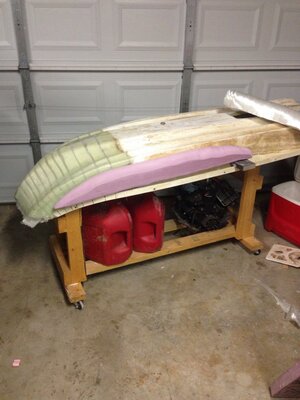
I want to say I made mine 40" long, but they might be a little longer. As far as the design, I don't know. I have yet to actually produce a finished part and put it on the water. I wanted to widen the front with my Tubbies, so I designed them to mount flush with the hull and have a slight angle to the planing surface. It could work out great or it could be a complete disaster.

Put some pics up of what you have so far.


Sent from my iPhone using Tapatalk
 

MikeyB

H2O-Addict®
Location
Michigan
Keep it up man! Just remember the cleaner and rougher this stuff is the better chance you have a getting the best bond possible.
 
Right now all my surface prep is getting sanded with 32 grit then hit with and air gun then whipped down with acetone to get rid of any kind of oils that may have leached in.

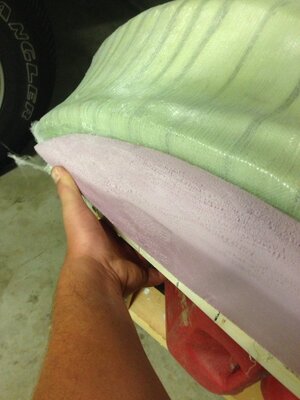
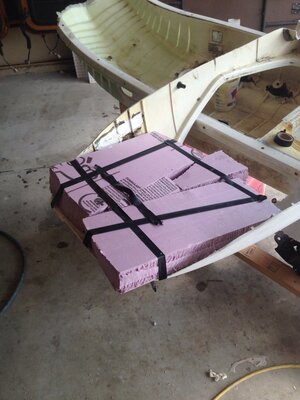
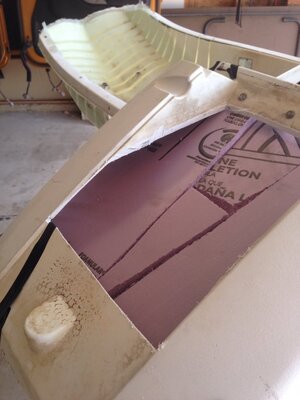
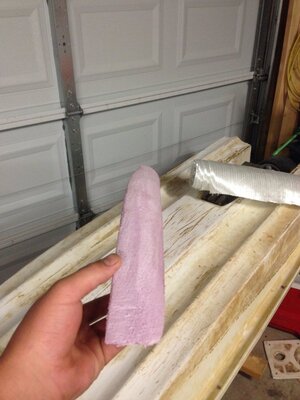
I think I'm gonna have to shorten the tubbies from too to bottom. Right now there to talk and I won't be able to glass the top of them due to it hitting the bond rail.

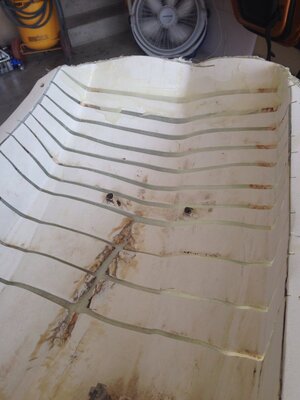
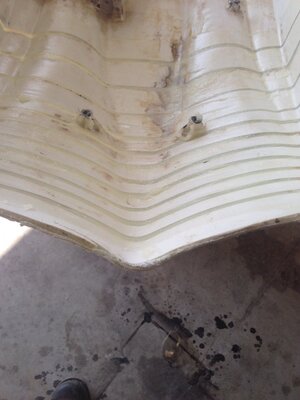
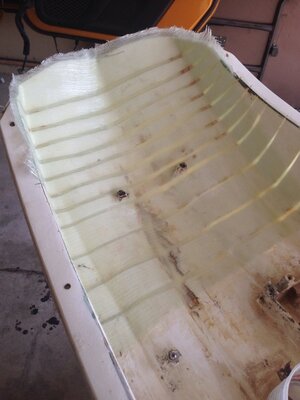
image.jpg image.jpg image.jpg image.jpg image.jpg
 
Have you thought about cutting the outside face at an angle? So the top where it approaches the bond rail is thinner than the bottom?

unebysu2.jpg


If you haven't already, check out Mobile Chernobyl's build. He made some good looking Tubbies for his 550.


Sent from my iPhone using Tapatalk
 
Looks great so far by the way. I too like the idea of flipping the gas cap/pole mount around. Genius in it's simplicity. As for the rocker, yes just mix up some cabosil thickened epoxy and fill it in. I would put another layer of glass over it before the cabosil/epoxy cures to avoid having to sand it all out twice.

Also, where did you find the 2" XPS? Home depots down here don't carry it...

Sent from my iPhone using Tapatalk
 
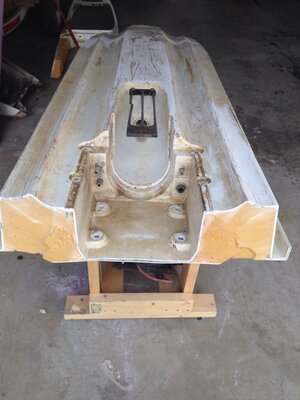
I was sitting there racking my brain trying to figure out how to move my pole forward. My buddy was looking at it and said why don't you just flip this. I didn't think it would work but hacked it up anyways. And it's slick id have to say moves the pivot point of the pole about 7in forward.

I like that look of making it skinny towards the bond line. After I fill my rocker in ill start playing around with some more foam.
 
Are you sanding the foam by hand?
Pickup or make a hot wire if you don't have one. Makes cutting and forming XPS much easier.

Sent from my iPhone using Tapatalk
 
Last edited:

swapmeet

Brotastic
Location
Arlington TX
Since you're just having fun...

To go along with those tubbies up front, I would consider widening the bond line in the rear.

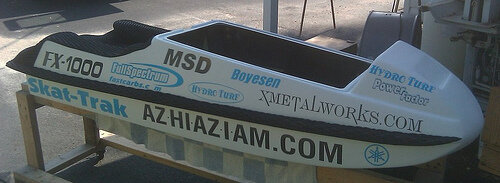
If you look at the aftermarket hulls, the distance from the edge of the bond line to the side of the bottom deck is 2-3x what a stock ski is (depending on the ski).
That is how they get the stability. Also, you'll notice that the bottom deck doesn't extend as far down from the bond line, or... that the bond line is closer to the water. If you think about the surface the ski is riding on, it makes more sense.

You could rocker the back, and also rocker the bond line in the rear, depending on what you want the ski to do. I.E. Backflip vs carving.

Lowering the gunwales is a good look too. The FX1 that I owned had that done. Really wish I had widened the bond line on this... Hopefully the new owner does it.

4709583449_a918978c1b.jpg


DSC_7011.jpg
 
Well I've officially hit the "why am I doing this again" point. I'm not sure why but I truly do not like trying to form these tubbies.

So first thing first can someone please tell me how to make the fancy foam cutter. I've read about it a ton just can't remember how and I don't feel like searching.

Anyways @Nate_D I ended up getting mine off a buddy and I'm pretty sure he got it from lowes.

@swapmeet I never even thought of widening the bond line but it seems easy enough. I don't think I'm gonna rocker the rear well I'm not sure. I'll probably cut them at a 45 and see how that looks. Right now it's -4 but I think I should go more. What's the average length of a flatwater ski?

It's not letting me upload photos right now so I guess will have to wait till tomorrow.
 

hydrostyler

X-
Site Supporter
Location
Central Illinois
build a wooden frame much like a giant C clamp and stretch a piece of stainless steel welding wire across the opening. Connect a battery charger to each end of the wire and you have a "hot-wire". Try a setting between 2 and 10 amps. As long as the wire doesn't turn red hot, you should be good.
 
Ok I've got some stainless wire at my shop and I got a battery charger. I'll try and build a jig for it today.

As for the foam to hold the pole bracket in place while I glass it in. It did not work so I'll need to come up with another idea.

image.jpg image.jpg image.jpg image.jpg image.jpg image.jpg
 
You can also build one out of a 24v AC step down transformer and a dimmer switch. Either way works, as long as you aren't burning up your cutting wire and it's still hot enough to cut the foam.

unepu8ej.jpg


Yard sticks work pretty well for the frame.

I really can't imagine trying to make symmetrical Tubbies without guide rails and a hot wire. I'm sure it could be sanded out entirely by hand, but no doubt that would be time consuming and frustrating.


Sent from my iPhone using Tapatalk
 

iangdesign

Cats, lots of cats!
Location
United States
Are you trying to use the existing pole bracket section from the top deck? Why not just pour the foam in, let it set and then make it flush with the rest of the area, or recess it slighty. Then form your fiberglass around that?

Either way good sir...keep plugging along. Looks good so far and I have always hated the 650sx.
 
Yard sticks that what I forgot when I was at the hardware store. How do you make the dinner switch system Nate?

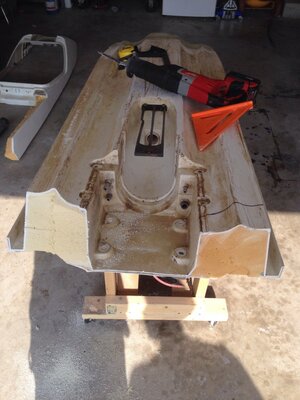
Well I made a little progress today. I think I'm gonna hold of on the tubbies for a little while. So I rocketed/angled my rear some and then just made it look better. Then I decided to widen the bond line as well. And since I'm at the point where it's gonna be slow and I have to wait for resin to set I could only get my bond line going. Hopefully tomorrow I'll be able to cabosil it in and finish the glass on that. Then I'll be off to glass the rear of the bottom deck in.

Well here are some pics!!!!

image.jpg image.jpg image.jpg image.jpg image.jpg image.jpg image.jpg
 
Top Bottom