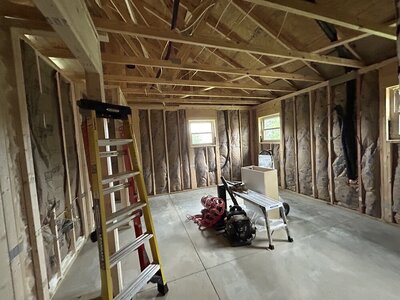
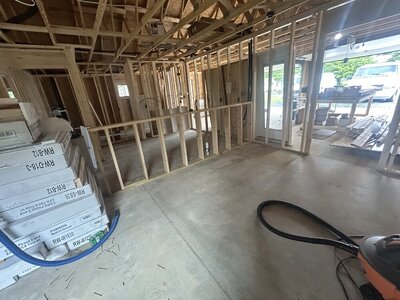
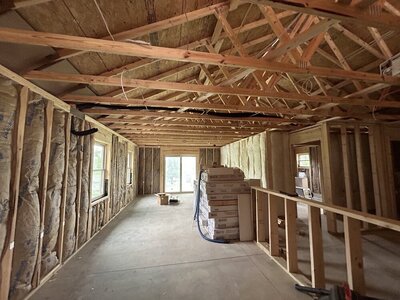
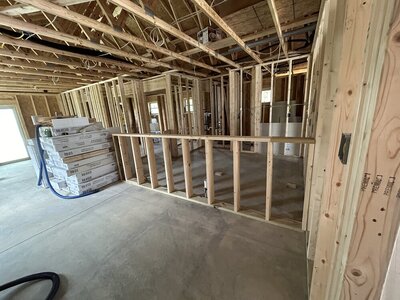
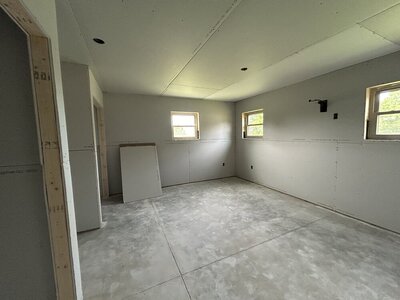
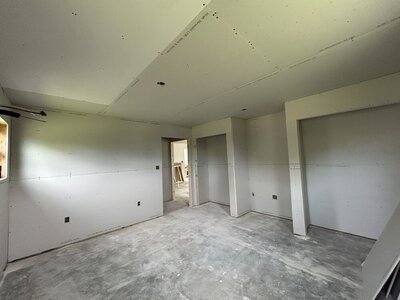
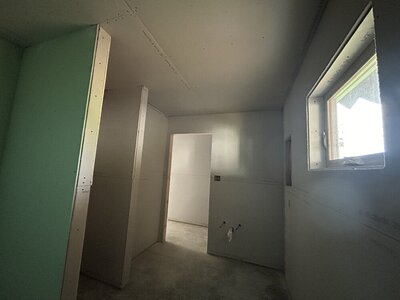
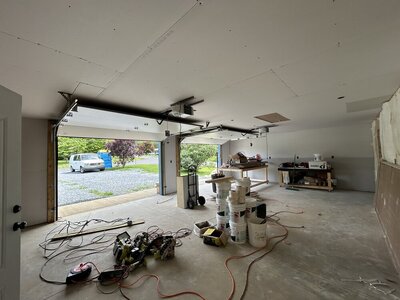
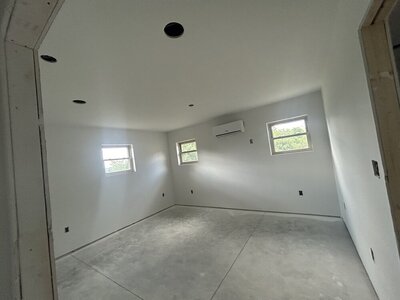
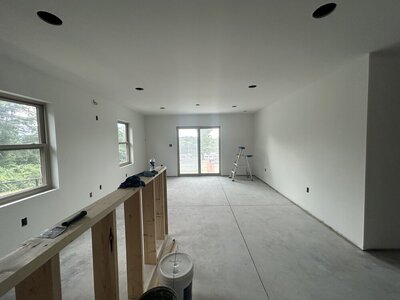
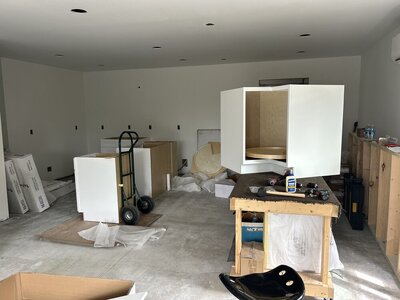
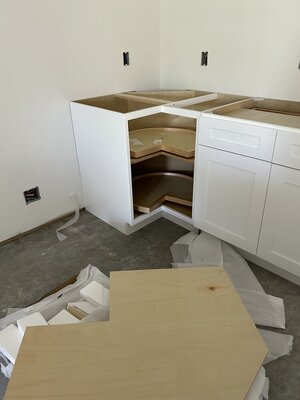
Yes, several things in my life have changed since l started this project. From the beginning l had it set up to be an living space. Just not this soonAre you planning on living in here too Don?
You are using an out of date browser. It may not display this or other websites correctly.
You should upgrade or use an alternative browser.
You should upgrade or use an alternative browser.
Different Kind of Build
- Thread starter Sanoman
- Start date
OCD Solutions
Original, Clean and Dependable Solutions
- Location
- Rentz, GA
I was feeling pretty good about our builds till I stopped in at my buddies new shop yesterday. It will serve as headquarters for his company and residence while they build the house over the upcoming year.
I have some serious envy over this one but it's way overkill for our humble needs.


I have some serious envy over this one but it's way overkill for our humble needs.


Last edited:
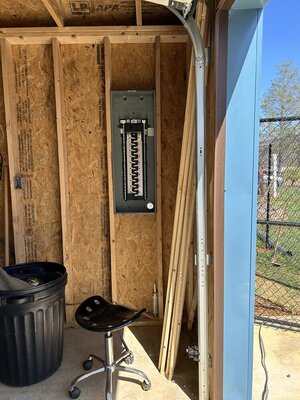
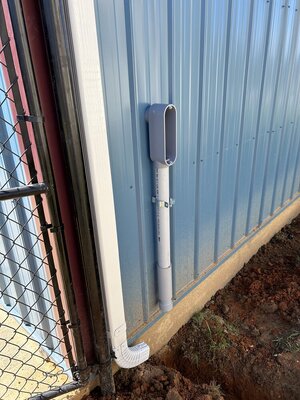
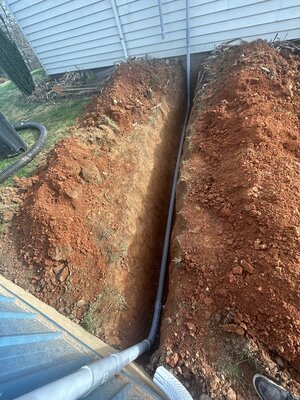
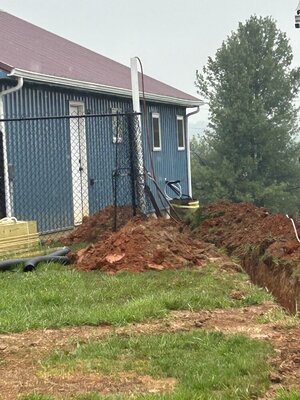
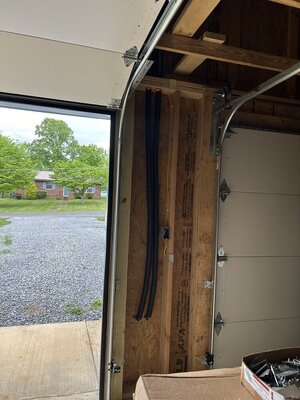
Progress. not sure if I said this in a previous post. The city that I live in is requesting a 400 amp meter base to feed to the house and to my apartment. 200 amps going to each place. how to be buried underground 30 inches, water and sewer will be at 18 inches.
Heating and cooling guys will be over today to rough in a split unit for the apartment and heating element for the garage. No AC at this time, but very easy to add later on. I just have never worked with air-conditioning before and I believe the garage will stay relatively cool.
Maybe one day the plumber will show up….
Attachments
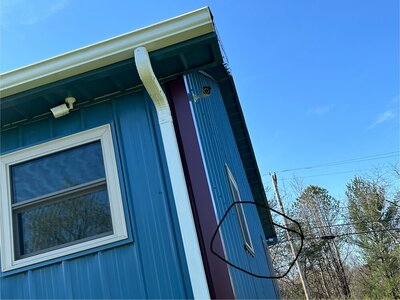
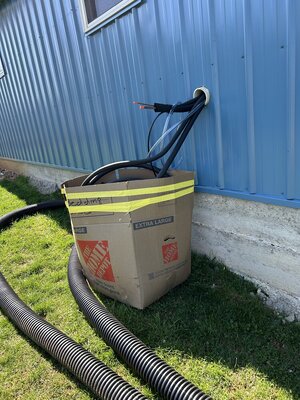
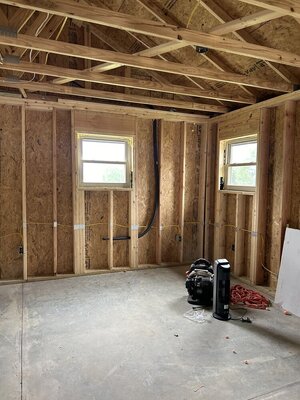
Small update. Got approval for rough in electrical today. Now just need an approval for the rough in for plumbing. Hopefully will have it by wednesday. Got the split system hvac lines run and l installed 4 reolink cameras today. The forth one is on the front of the building. That’s gets me good eye site for most sides. One side doesn’t matter. lt’s 10 ft wide with no way to enter and a 6 ft fence.
Attachments
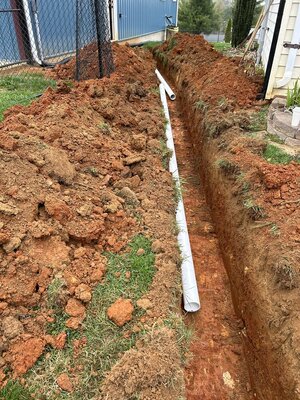
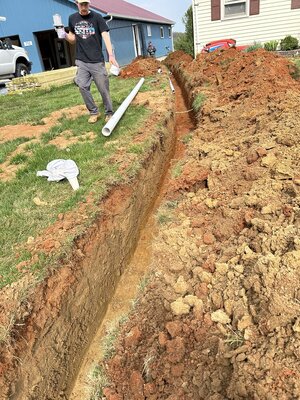
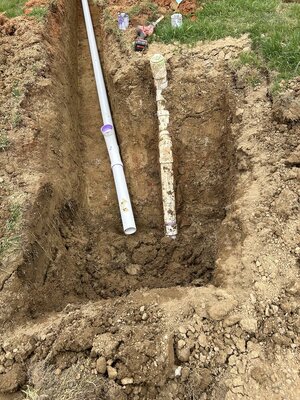
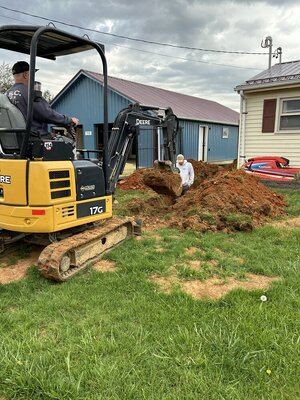
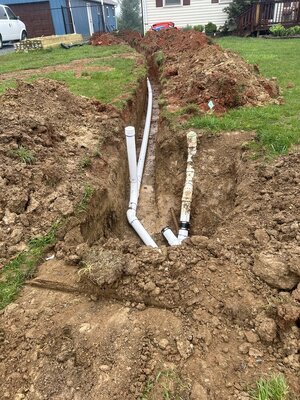
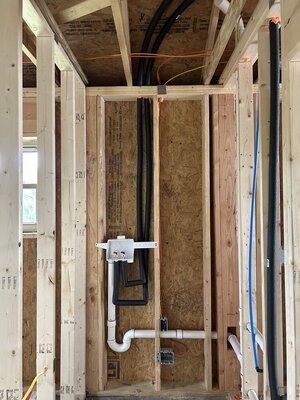
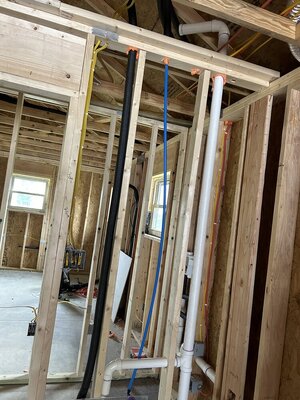
Fellow lake rider Tom L and son digging a trench for the sewer line. lnspection tomorrow for rough in. Should go well, it all looks great. Be glad to get past these inspections (electrical, plumbing, and truss/frame).
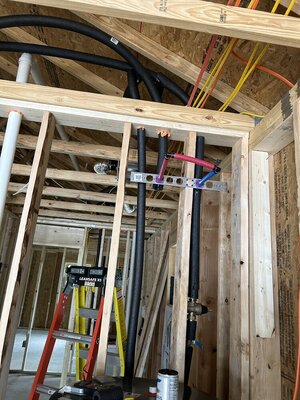
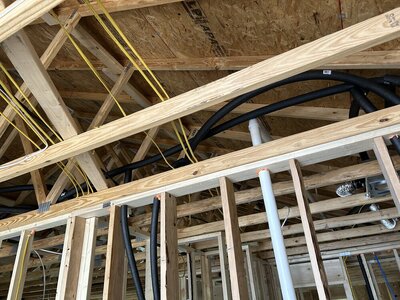
The wiring is just about done and l think the a/c (split system) is going in this week too. Inside plumbing starting next week. Lots still to do, but it’s all coming together.
The wiring is just about done and l think the a/c (split system) is going in this week too. Inside plumbing starting next week. Lots still to do, but it’s all coming together.
Attachments
May the 9th today. Been a while since l updated. Lots going on with spring, work, and the build. Haven’t rode my ski as yet, but definitely need to get out. My focus is on getting the place done right now.
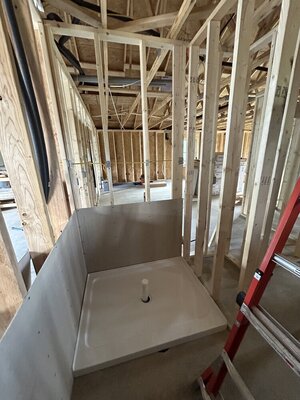
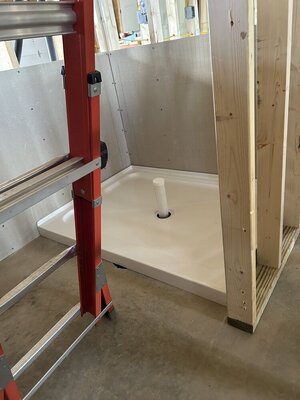
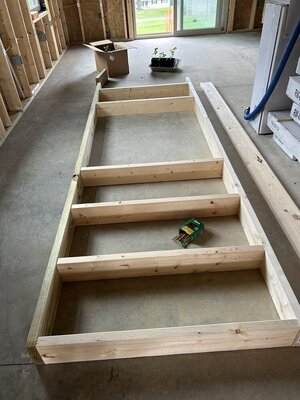
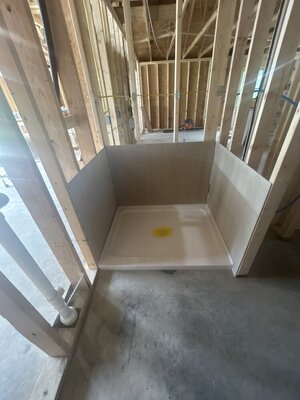
l have gotten through the rough in’s for electrical, plumbing, and yesterday frame and truss inspections. Those are a big deal and can now move on to insulation, and then drywall. Starting today l need to build the shower stall with cement board. Stall is 48” x 36” and is a higher end surround from company called Thurma-Glass. Sold as Nu-Vo at home depot and lowe’s. Kohler sells a similar system, but around 15k and they install.
Added a hot water spigot in the front of the garage, which l always wanted if l ever built. Got a compliment from the plumber on that one. Must be a guy thing!
Attachments
WFO Speedracer
A lifetime ban is like a lifetime warranty !
- Location
- Alabama
Impressive work , keep it up !
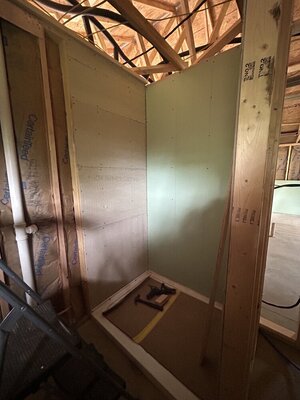
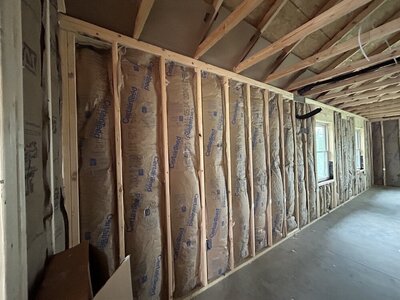
Continuing with pan install, building a bar, and insulation done, except for blowing in the attic after drywall. The pan has been bonded in and the last pic of the shower with green board going over backer board. Ready now for the finish surround panels.
Attachments
Big Kahuna
Administrator
- Location
- Tuscaloosa, AL
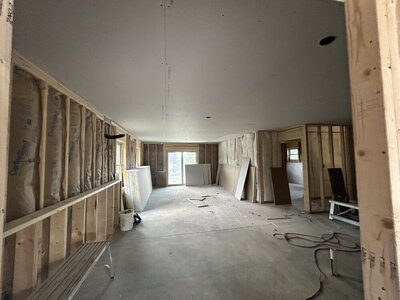
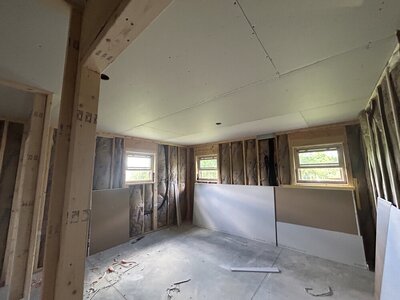
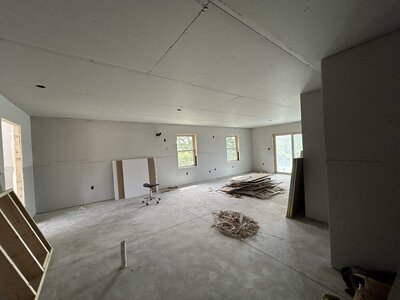
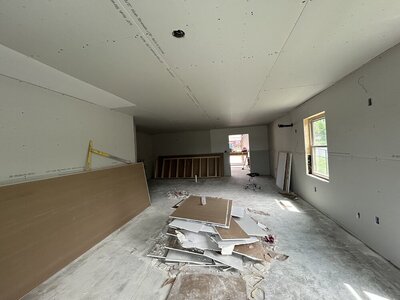
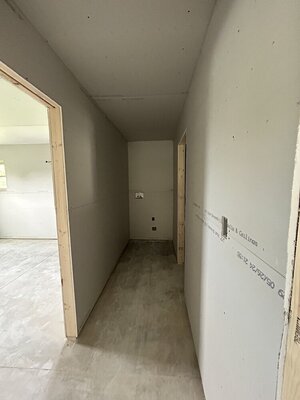
Its about freaking time!!!!!!!!!!!!!!!!!!!!!!!!!!!!!!!!!Drywall started!
Yawn
Almost done, except for 2 walls in the garage. Mud next week
Attachments
- Location
- Asheville, NC
Started painting yesterday. Then cabinet assembly, then flooring after that. After all that, l think l can move all my shop stuff in. Geez…
Yaaay! Show us what shade of Purple you used
Painting almost finished. Your looking at the bedroom and living area. Those pics were from thursday. Everything is painted now. Today was clean all the drywall dust up. Sweep, vacuum, and mop everywhere. Ran to Lowe’s and got some concrete sealer for the garage floors. Now that is done. Thanks Bk
Attachments
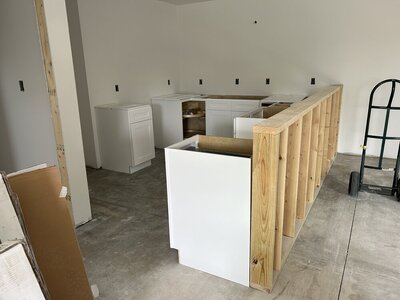
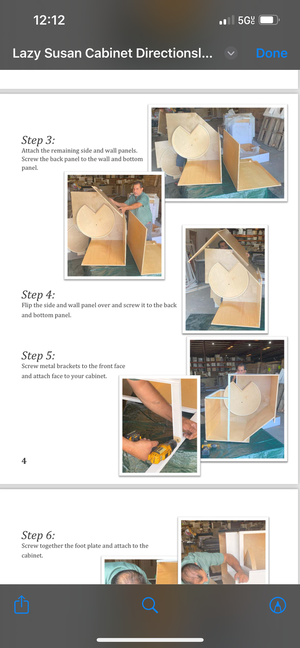
Have all the base cabinets done now. The lazy susan’s were dic to put together. Not complicated, just l was on the edge of catastrophe putting them together. The way you have to do it by picking up 2 glued panels and carefully placing it on the other side you just put together. Last pic shows the “recommended” way. Praying it doesn’t come apart the whole time.

