You are using an out of date browser. It may not display this or other websites correctly.
You should upgrade or use an alternative browser.
You should upgrade or use an alternative browser.
Custom/Hybrid Jloria's "Ah, freakout!" build...2012 Superfreak -4.3
- Thread starter jloria
- Start date
This is how l did mine.Look at post #87.But before you decide on where,set your engine and head pipe in and give yourself clearance to R&R the ebox.l needed to set mine over just 1" more towards the pipe and it would have made it easier to work with.
The main reason l used the CF mount was not having to dig into the turf each time you needed to take the ebox out.But either way is acceptable.
http://www.x-h2o.com/threads/107499-Tenn-Georgia-Build-Off!!!/page5
The main reason l used the CF mount was not having to dig into the turf each time you needed to take the ebox out.But either way is acceptable.
http://www.x-h2o.com/threads/107499-Tenn-Georgia-Build-Off!!!/page5
- Location
- Jacksonville, Florida
Not much progress today...Got a late start and had to run a few errands
Installed Shaefer tow loop with matching backing plate + SS hardware
5200'd plumbing lines
mocked everything up for trim system, cables etc...
verified that all the lines were ran properly


Ran into a snag and headed to Ace hardware with no luck.
All the brass 90 degree barbs are for 3/8 hose, but the SF plumbing( cooling lines only) are 1/2...
Are you guys using barb reducers or some other options?
Installed Shaefer tow loop with matching backing plate + SS hardware
5200'd plumbing lines
mocked everything up for trim system, cables etc...
verified that all the lines were ran properly


Ran into a snag and headed to Ace hardware with no luck.
All the brass 90 degree barbs are for 3/8 hose, but the SF plumbing( cooling lines only) are 1/2...
Are you guys using barb reducers or some other options?
Attachments
Last edited:
- Location
- clark lake, MI
stocker 3/8 hose stretched on for me.
- Location
- Lake Orion, MI
I bought reducers off of ebay....
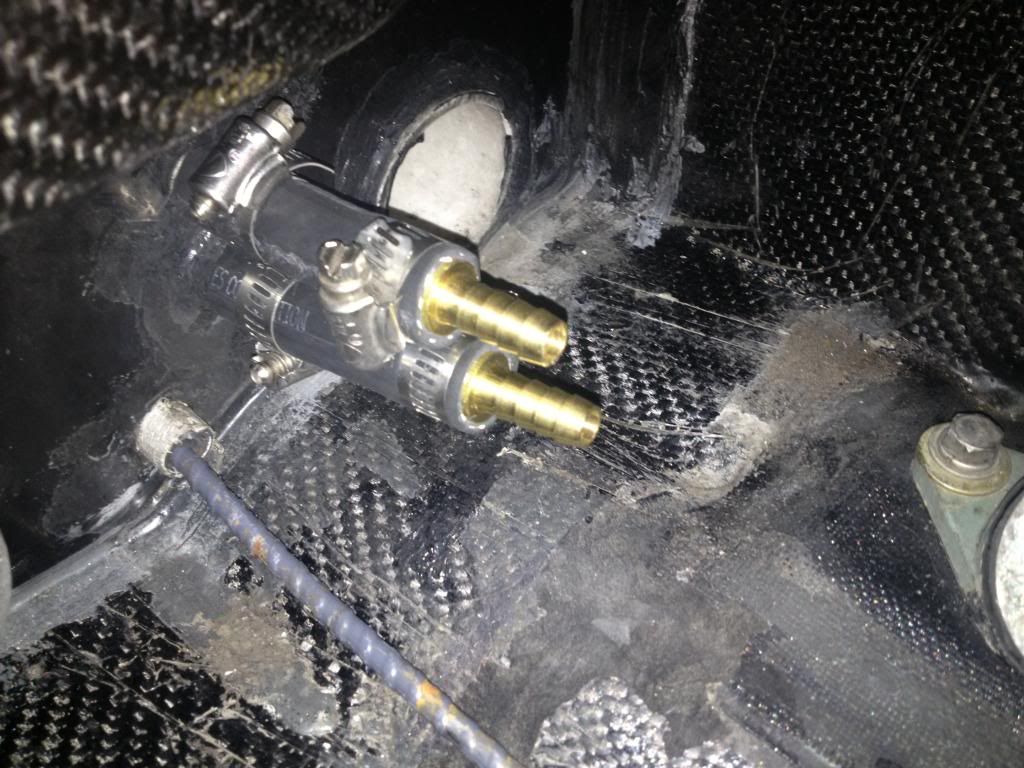
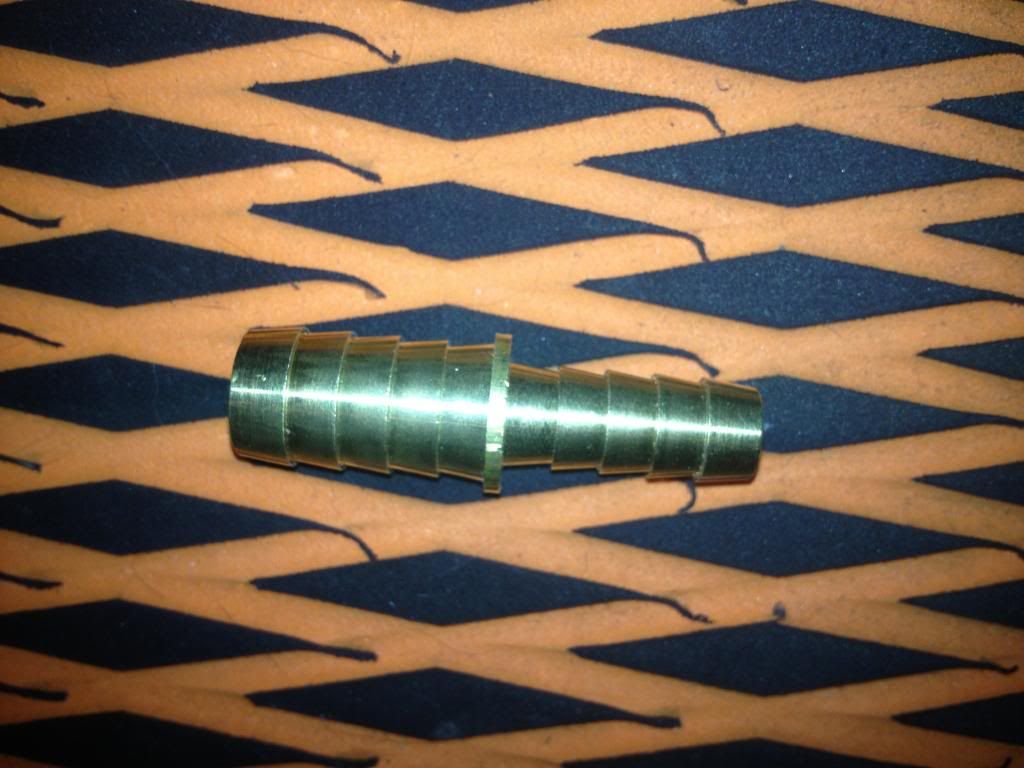
also, for your comment about mounting the ebox earlier...x2 on bolting the motor in before fitting. I had to offset mine towards the carbs because the box was hitting the headpipe. Im using the stock mounts.


also, for your comment about mounting the ebox earlier...x2 on bolting the motor in before fitting. I had to offset mine towards the carbs because the box was hitting the headpipe. Im using the stock mounts.
- Location
- Jacksonville, Florida
I read through as many Sf builds as I could and anticipated the ebox scenario...
This pic was taken on Saturday...I was lining up the ebox with the headpipe installed
I will finalize the placement with the carbs and flame arrestor in place...This will also give me an idea of where I will fit my primer and run my primer lines

Def thanks for the input...
This pic was taken on Saturday...I was lining up the ebox with the headpipe installed
I will finalize the placement with the carbs and flame arrestor in place...This will also give me an idea of where I will fit my primer and run my primer lines

Def thanks for the input...
- Location
- Jacksonville, Florida
I used reducers.
I may try the heat route but I feel more comfortable with the reducers to be honest...
I used windex and then tried vaseline to get the 3/8 to fit...no luck there
Ran out of time before I could put some heat on it.
KTM434
Jamie FN Hickey
- Location
- Palm Coast FL
I may try the heat route but I feel more comfortable with the reducers to be honest...
I used windex and then tried vaseline to get the 3/8 to fit...no luck there
Ran out of time before I could put some heat on it.
I heat the end of the hose then stick needle nose pliers in the end of the hose and pull the handles apart to stretch the hose then rotate the the pliers 180 degrees in the hose and pull the handles again to stretch the hose uniformly. Both methods work well, I see no problem with the reducers, this is just the method I used. I really should post a build thread of my Freak at some point
- Location
- Jacksonville, Florida
I really should post a build thread of my Freak at some point  [/QUOTE]
You should man...u got some nice pointers and its good to get different ideas...
helps the build go smoother when you need the help
You should man...u got some nice pointers and its good to get different ideas...
helps the build go smoother when you need the help
- Location
- the jetski grave yard
when i run into the thru hull tubes being bigger than 3/8, i use the stock kawi 650/750/800 hoses that run from the pump and exhaust manifold , to the kawi thru hull tube. its a formed hose thats 12mm on one end and 3/8 on the other. no adapter required. used those on my freak and rickter.
Freakrider
X247
- Location
- Tampa Bay area
stocker 3/8 hose stretched on for me.
X2 the stock hose is easy to work with.
air blair
you are the reason
- Location
- thumb, mich again
freaking nice build, almost ready for wavedaze
- Location
- Jacksonville, Florida
freaking nice build, almost ready for wavedaze
Thank you sir!
It's getting there...since I can only work on the weekends for a few hours, hoping to have it completed before the end of april
- Location
- Jacksonville, Florida
- Location
- Jacksonville, Florida
Pump aligned, shimmed, and bolted in
midshaft in
cooling lines...used 3/8 over the 1/2 using some heat but I would switch out barbs if I had to do it over
trim and trim cable in place but not adjusted yet
captured straps used for the water box
hood hooks in
started mocking up my x-metal pole with my kawaii style spring and new rrp lightweight pole bolt


- Location
- Jacksonville, Florida
Steering and trim is not finalized
Had some issues with the trim...I have never installed one and didnt pay attention to it when I pulled it apart!
**There is an adjustable block that holds the return spring(mounted to one of the long pump bolts)**
It is hitting my reduction nozzle where I have the brown sharpie.
Are you guys grinding this block down?


Last edited:
- Location
- Jacksonville, Florida
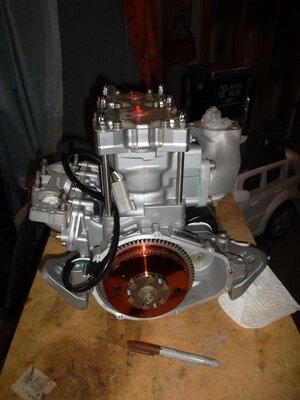
went over all bolts on the engine
torqued ada head
gapped and installed plugs...torqued with anti seize
replaced most flat washers with lock + used marine grease
new flywheel key, new flywheel bolt
lightened flywheel installed
bendix + washer installed
JSS stator installed with lock washer + loctite
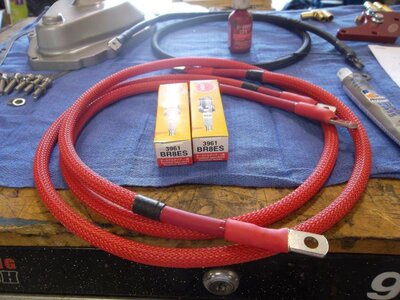
ran battery cables
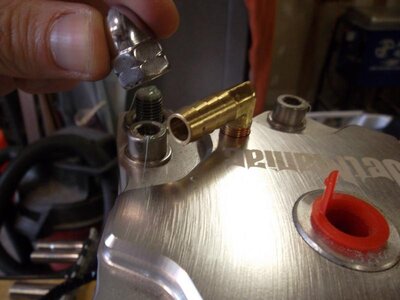
installed cooling barbs
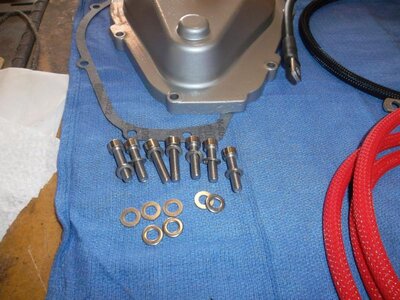
installed flywheel cover(greased both sides of the gasket with marine grease...makes for easy removal/change and prevents corrosion buildup. Did this on my last ski and it worked great.)
+ more stuff as you can see in the pics...
pretty much ready for drop in except for the carbs





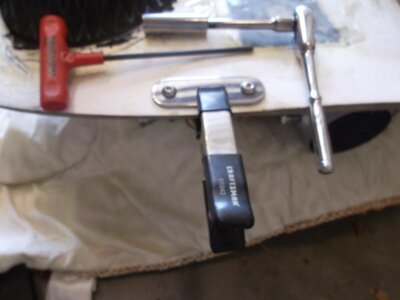
COLD FUSION FLYWHEEL LOCK/HOLDER:
Worth it's weight on gold...must have for the tool box...makes things effortless
torqued ada head
gapped and installed plugs...torqued with anti seize
replaced most flat washers with lock + used marine grease
new flywheel key, new flywheel bolt
lightened flywheel installed
bendix + washer installed
JSS stator installed with lock washer + loctite
ran battery cables
installed cooling barbs
installed flywheel cover(greased both sides of the gasket with marine grease...makes for easy removal/change and prevents corrosion buildup. Did this on my last ski and it worked great.)
+ more stuff as you can see in the pics...
pretty much ready for drop in except for the carbs


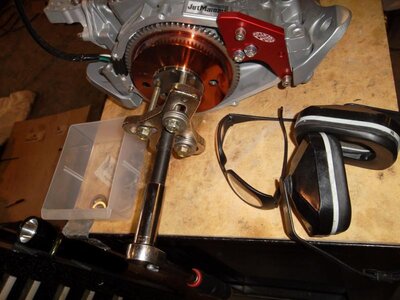
COLD FUSION FLYWHEEL LOCK/HOLDER:
Worth it's weight on gold...must have for the tool box...makes things effortless
Last edited:

