Making of the SNX Hull

The core was worn away all around the 3 inserts. The bolts were still bolted to the inserts, but I could rotate the whole midshaft housing about 15 degrees. Im not really sure what caused the failure but my guess is the core crushed a little when I tightened the midshaft bolts and the vibration did the rest. I still use the core on the bulk head, but where the midshaft mounts it is solid carbon
 

Vumad

Super Hero, with a cape!
Location
St. Pete, FL
The core was worn away all around the 3 inserts. The bolts were still bolted to the inserts, but I could rotate the whole midshaft housing about 15 degrees. Im not really sure what caused the failure but my guess is the core crushed a little when I tightened the midshaft bolts and the vibration did the rest. I still use the core on the bulk head, but where the midshaft mounts it is solid carbon

Thank you. That's good information to know. I think I'm going to laminate up a couple of test panels and see at what amount of torque damage to the laminate occurs. I might need to cut out holes in the core so the bolts only go through carbon.


Sent from my iPhone using Tapatalk
 
Crunch Time! I am setting a goal date of April 19th. I want to have this ready for the Port Aransas ride. Put in 5 hours Wednesday, 5 Thursdays, 9 Saturday, and 14 Sunday. Still so much work left to do…

So this is about where we left off.
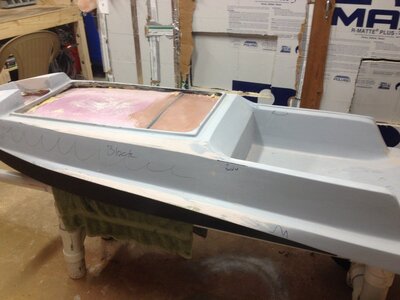
image-1.jpeg

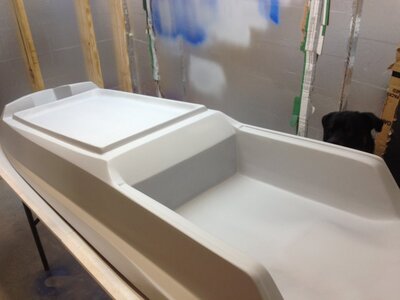
Pole area finished and first layer of body filler down for the hood opening.
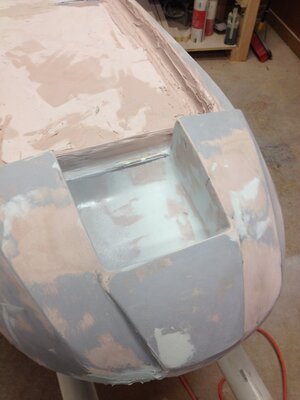
image-4.jpeg

Hours of sanding later and a high build primer. This part took longer than I had wanted. I raised the sides of the opening.
image-2.jpeg
image-11.jpeg

3/4" plywood will be used as the flange this time. Traced around the top deck and then measured 8" all around for the cut.
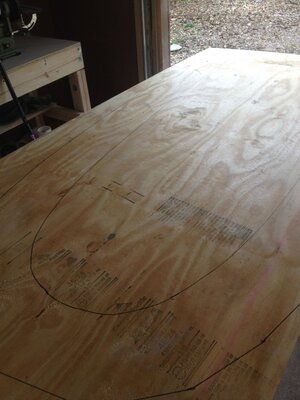
image-8.jpeg

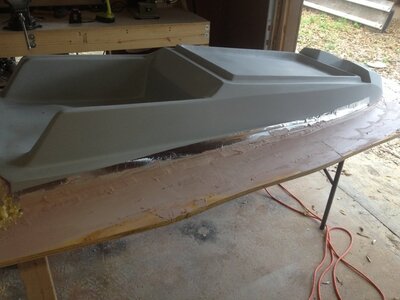
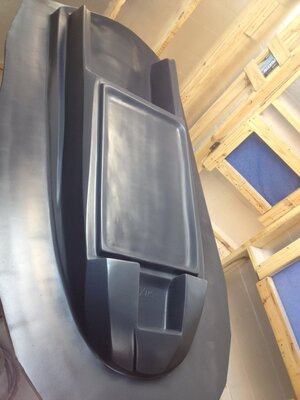
Used 2 part foam to adhere the top deck to the plywood. Masked off the finished rails with metallic tape so I could lay the body filler up against it. To seal up the rear, I used XPS cut into sections and wedged in at an angle. 2 part foam as an adhesive for the XPS and to "seal" the XPS so I could lay polyester body filler without it dissolving. Sanded down the XPS and layered body filler all around flange. Having a large compressor allowed me to use a DA sander which cut down the sanding time tremendously. Still, it was a tedious task.
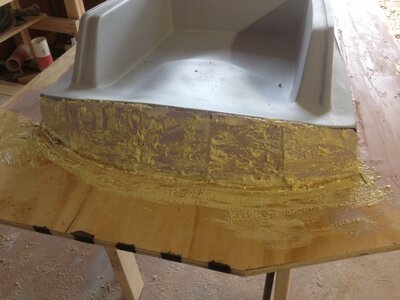
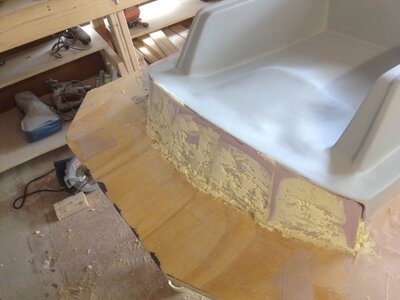
image-5.jpeg
image.jpeg
image-3.jpeg

Several hours later it is ready for the surfacing primer. Almost...
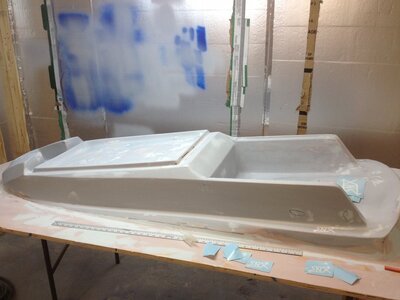
image-9.jpeg

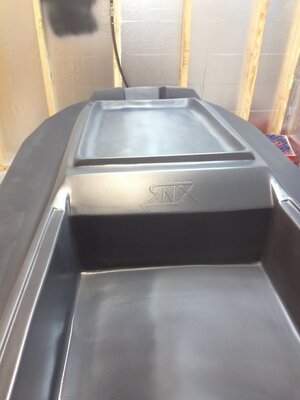
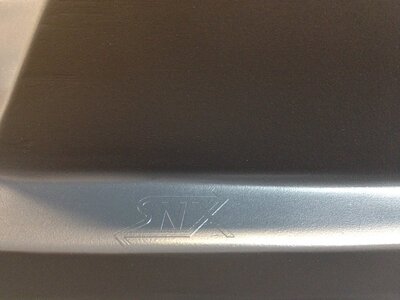
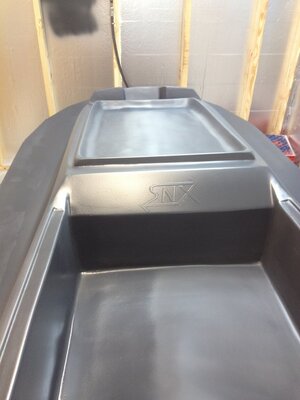
I had a very basic design drawn up and some vinyl cut. Just like an imperfection on a plug will transfer to the mold, so will the raised the letters. The finished part will take on the decal if everything goes as planned.
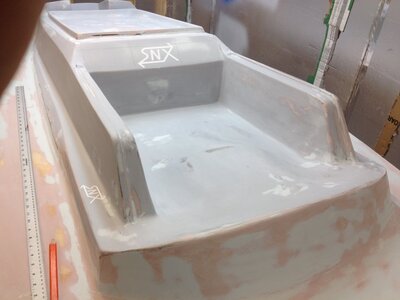
image-10.jpeg
 
Last edited:

Vumad

Super Hero, with a cape!
Location
St. Pete, FL
I not only like how you're adding the logo, I like the actual logo.

But how do you plan to sand the Orange peal off the surface without damaging the logo.
 
I not only like how you're adding the logo, I like the actual logo.

But how do you plan to sand the Orange peal off the surface without damaging the logo.

Thanks! Very carefully. The logo is basically sealed under the duratech coating. As long as I don't sand through the duratech, the logo won't be damaged.


Sent from my iPhone using Tapatalk
 
For sure if you turf it. Depending on how you run the hood strap/latch system, it could as well. I have a couple of ideas for a hood latching system I am going to try. Even if it gets covered up, I just wanted to do it as a cool little detail to the build. Plus there are 3 other locations with the smaller logo.


Sent from my iPhone using Tapatalk
 

Vumad

Super Hero, with a cape!
Location
St. Pete, FL
I had vinyldisorder.com design and cut them.


Sent from my iPhone using Tapatalk

Cool. My wife made a nice icon for me out of cut vinyl sticker. I was going to use it like you did your heavy vinyl there.

How thick is it? It looks a lot more substantial than what I was going to use.
 
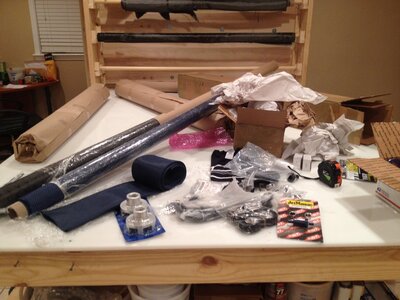
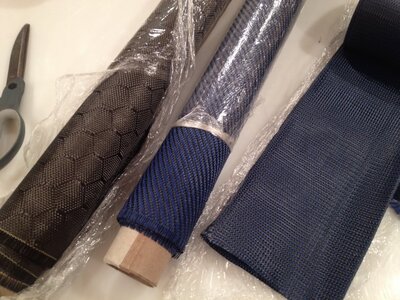
Yeah, soller. It is very stiff. Probably from how they dye the fabric. I don't know. Well see how it goes. It's only being used for flat areas, no contours.


Sent from my iPhone using Tapatalk
 
Yeah, soller. It is very stiff. Probably from how they dye the fabric. I don't know. Well see how it goes. It's only being used for flat areas, no contours.


Sent from my iPhone using Tapatalk
Did he warn you about it not bonding well to some resins? They recommend scuffing it up to aid in bonding.
 
Top Bottom