Neglected 96 RN Build

You have done a ton of work to that ski! Kudo's to you on hanging in there! A lot of guys would have given up by now.
Thanks. I've lost track of how many hours it has taken at this point but it has to be over 100. It's easy to lose motivation just thinking about sanding for hours then scuff, clean apply more resin, wait 12 hours to dry and then sand more. It's easy to cut corners thinking about "nobody is going to notice that" or "the bottom is just going to get torn up anyway" which are both probably true lol. Sometimes I wish I just got another ski but the reality is most of them would have some body damage and soaked foam, or at least that's what I keep telling myself. It's a good learning process at least.

Do all glass work first, paint last.
Thanks, that's what I'll do.

I see you're from Cumming. We're just down the road in Dawsonville. If you need any Yamaha stuff or SJ stuff, we have a ton of it.
I appreciate it. I really just need a new midhsaft housing right now since the bushing is loose in mine.

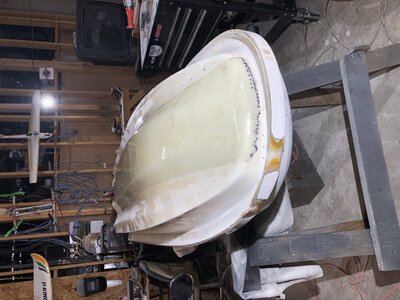
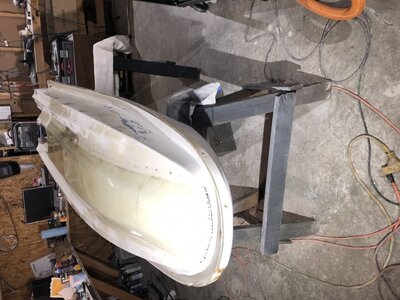
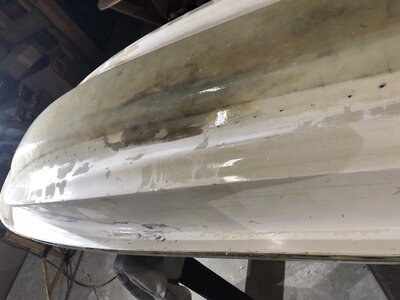
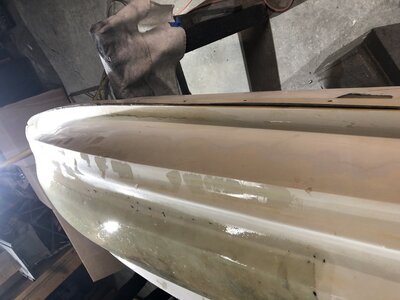
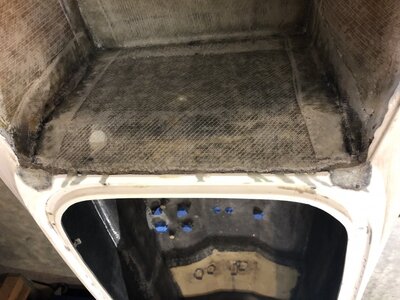
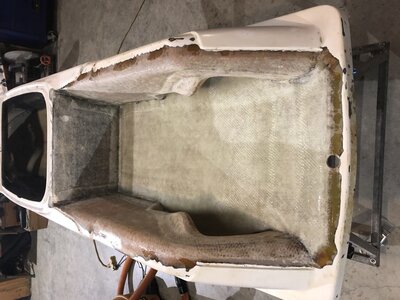
I made a little more progress. I sanded all the new glass, feathering the edges down and smoothing the texture of the 4oz cloth. After cleaning it good with compressed air and acetone, I applied unthickened epoxy to the entire section I added using a 4 inch paint roller. That should fill in all the texture of the cloth and leave a nice surface for finish sanding. I thickened what was left over and did another round of filler, also started rebuilding the worn down chines by the transom.
Photo Dec 14, 12 36 48 PM.jpg
Photo Dec 14, 12 36 57 PM.jpg
Photo Dec 14, 12 37 07 PM.jpg
Photo Dec 14, 12 37 28 PM.jpg
Photo Dec 14, 12 37 41 PM.jpg
 
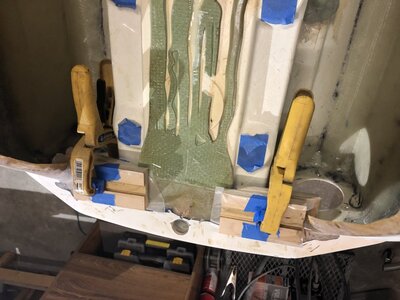
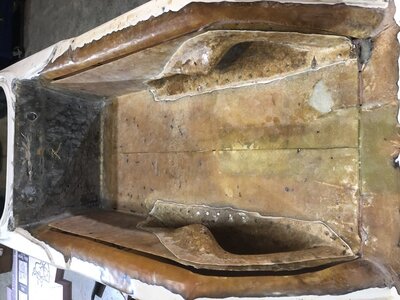
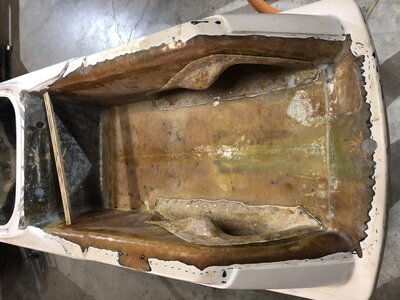
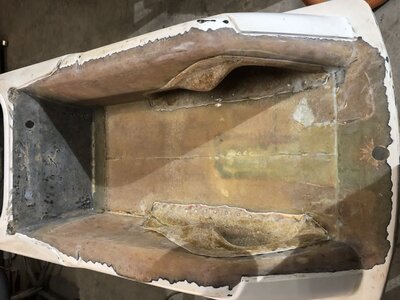
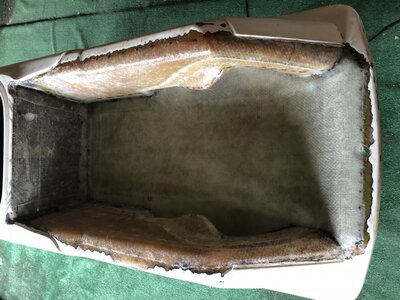
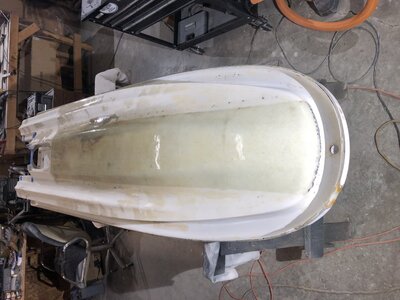
Finally have enough done to report on. I should have more done at this point but I've been getting lazy lol. The back ends of the tray were cracked and flimsy so I added a layer of 1708 and a few layers where it was chipped off. I also added some cabosil epoxy with 1/4 chopped strand to the inside rear corners of the chines. I already rebuilt them on the outside but I wanted a little extra protection in case the ski lands on its ass or something.
Photo Dec 26, 12 45 28 PM.jpg
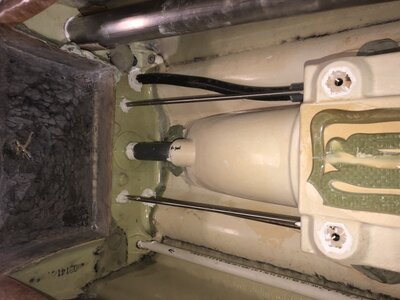
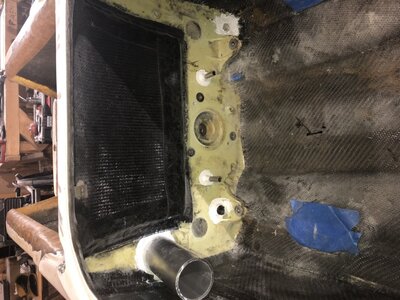
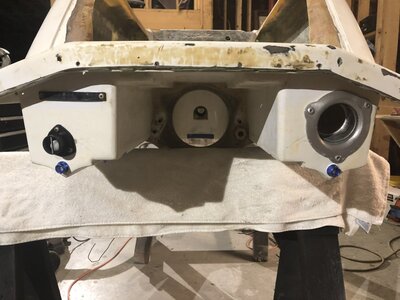
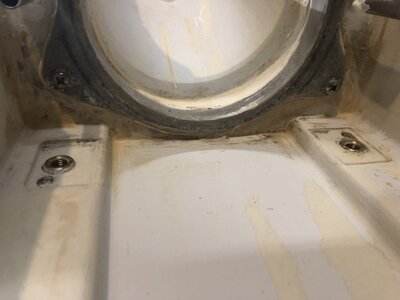
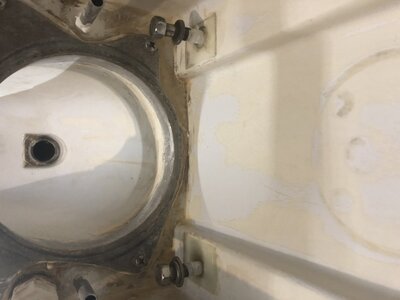
I also finally got around to sealing in everything with 5200. Probably went a bit overkill in some places but I wanted to be sure it wouldn't leak. I plan to put it in a pool once it cures just to be sure. I wanted to be sure nothing jammed the versi plug up so I cut up a cheap kitchen dink drain screen and stuck it on the bulkhead to keep trash out hopefully.
Photo Dec 29, 5 16 11 PM.jpg
Photo Dec 29, 5 16 32 PM.jpg
Photo Dec 29, 5 16 45 PM.jpg
Photo Dec 29, 5 16 58 PM.jpg
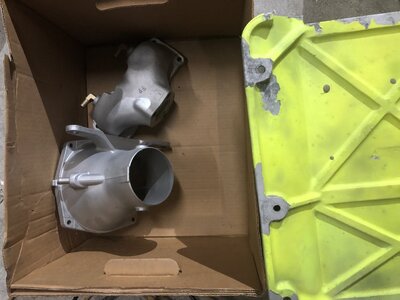
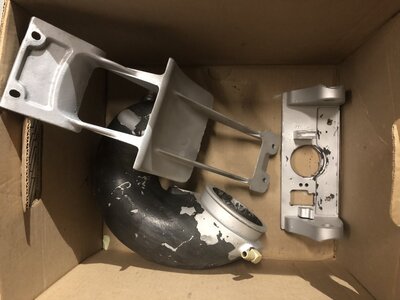
I took some parts to my buddies shop to bead blast them. It really cleaned up most the parts but it wouldn't touch the powder coating on the pipe and ride plate. I guess I'll try some stripper on that.
Photo Dec 29, 1 23 56 PM.jpg

Photo Dec 29, 1 23 34 PM.jpg
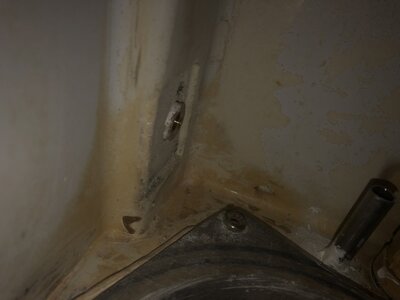
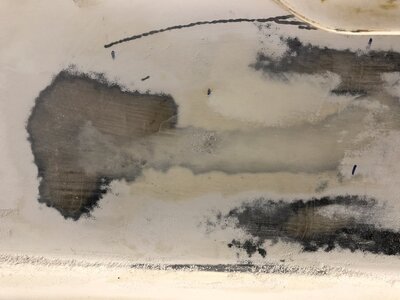
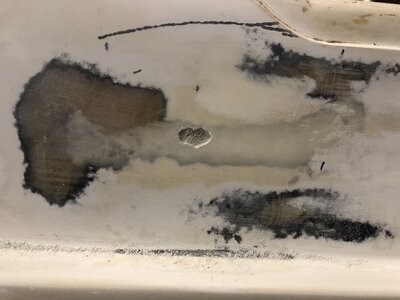
I noticed a while back the glass under the pump mounting "feet" looks really worn down. Is that normal, from wear, or did someone grind them down? The pump had no shims when I took it out but the driveshaft seemed fairly centered (just glancing at it). The front two are like this but the back are only slightly worn.
Photo Dec 29, 5 36 35 PM.jpg
Hope everyone had a great Christmas and has a happy New Year.
 

Attachments

  • Photo Dec 29, 1 23 44 PM.jpg
    Photo Dec 29, 1 23 44 PM.jpg
    106.1 KB · Views: 74
Check these guys out in Cumming to have your parts repowedercoated, you can also have the exhaust parts ceramic coated for better performance

http://www.procryo.com/

Thanks. I’ve actually used them a couple times in the past. Sometimes their prices are realistic and other times much more than they should be imo. If they want more than ~$150 for all of it I’ll probably just paint them myself or maybe have less of it powder coated. I have to draw the line somewhere of how much I’m going to spend on this thing.


Sent from my iPhone using Tapatalk
 
Looking good. I would put a piece of tape over the pump bolt inserts and then 5200 on top, just my two pennies
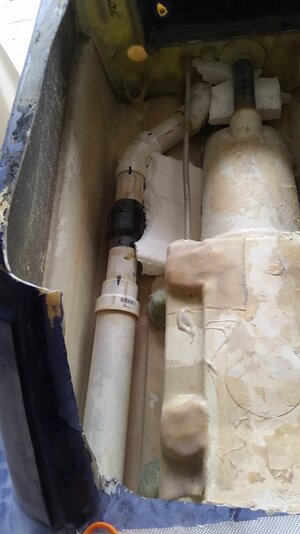
I’ve seen people do that before. However, I mocked up one of the pump bolts next to the pump foot and brass nut and the bolt was almost 1/4” longer. Granted all kinds of hardware on it is mismatched but 2 of the 4 matched and looked like OEM style hardware. I plan to blue loctite them which is why I figured I would be fine without it. Still may go back and do it then use shorter hardware.


Sent from my iPhone using Tapatalk
 
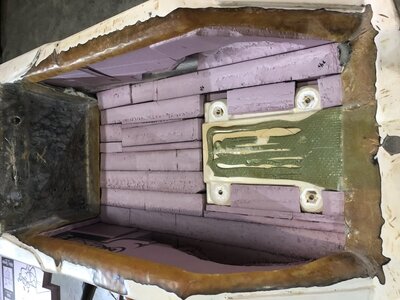
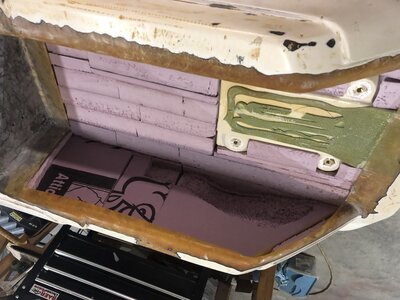
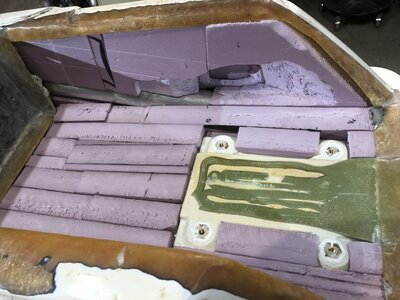
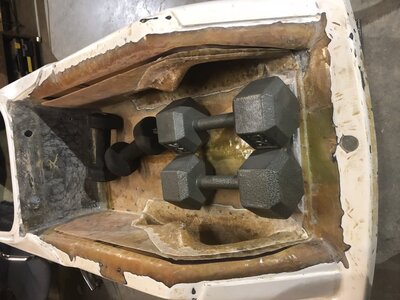
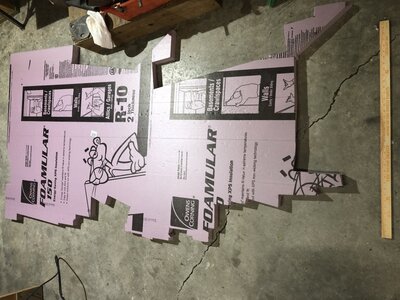
Got the foam mostly done. Used around a 1/3 a sheet of the pink foam along with some 1/2" I already had. Based off what I found online, a 2" thick sheet should float a little under 300lbs. So around 100lbs flotation plus the little bit of foam in the nose. Is there any evidence on how a ski floats with the pink foam? It's done now and I'm not changing it, just curious on if it would still float. The first pic is the sheet with a yard stick where the end would be.

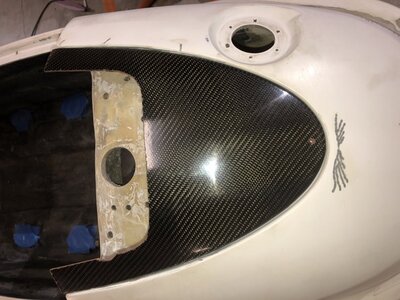
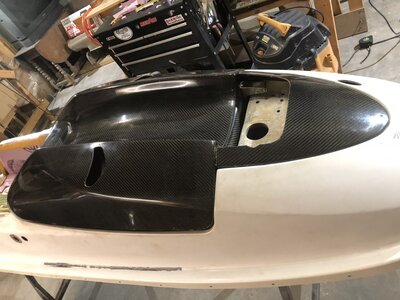
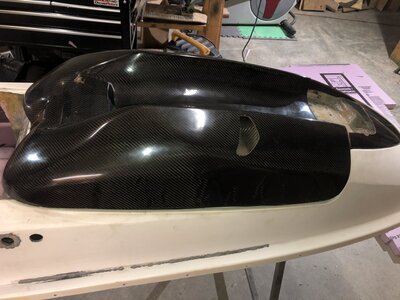
I decided to work on something else and hit the CF hood and nose piece with a buffer and compound. It's not perfect but certainly an improvement over how they were.

Its almost time to glass the tray back in and I have a few questions.

What is the best way to hold the tray halves in place while the epoxy cures? For some reason mine need a good amount of pressure to "open up" and be flush with the gunwales and the pump tunnel.

Is it necessary to glue the tray floor to the pump tunnel where the factory uses the green glue? What about expanding foam behind the footholds? I read where some said it was needed for strength while a lot of people have no foam at all. I cut the pink foam as tight as I could, but obviously no where near as tight as the expanding foam.

How much reinforcement is needed on the tray? I was thinking cabosil/ chop strand the entire kerf first. Then for the bottom either 2 layers 1708 90* apart or 3 layers 45* apart. Then 2 layers of 1208 on the sides to be easier to conform and 1 layer 1708 on the dash. Any input on what is tried and true is appreciated.

Photo Jan 13, 5 24 21 PM.jpg
Photo Jan 13, 5 18 42 PM.jpg
Photo Jan 13, 5 18 48 PM.jpg
Photo Jan 13, 5 18 53 PM.jpg
Photo Jan 13, 5 05 21 PM.jpg
Photo Jan 13, 3 43 53 PM.jpg
Photo Jan 13, 5 16 07 PM.jpgPhoto Jan 13, 5 16 18 PM.jpg
 
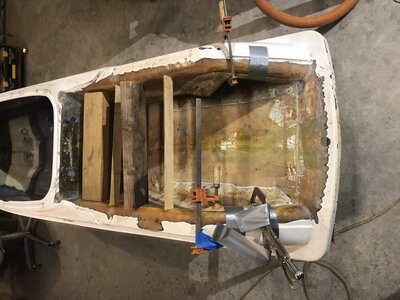
The tray itself is sealed back in. Just cabosil epoxy all around with some 1/4" chop strand in the larger gaps. Used weights to glue the bottom in then whatever spacers were needed on the top seam the next day. Also got most all the glass cut out. Hopefully I can get the tray mostly done this weekend. I've decided to go without the expanding foam so I'm anxious to see how solid it turns out.
Photo Jan 20, 4 36 40 PM.jpg
Photo Jan 21, 4 01 46 PM.jpg
Photo Jan 22, 5 52 57 PM.jpgPhoto Jan 22, 5 56 37 PM.jpg
Photo Jan 22, 5 56 48 PM.jpg
 
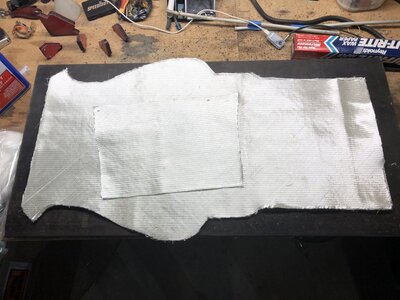
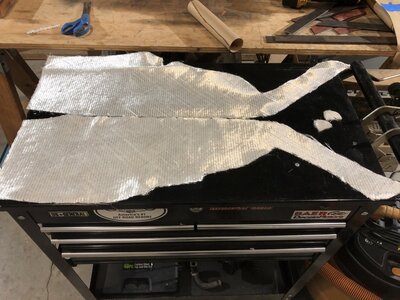
Got all the glass laid in the tray. What a relief to at least feel like I'm in the home stretch on this thing. It's not fully cured yet but it feels very strong. Not sure if it could stand up to rosie odonnell jumping on it, but I should be plenty fine at 150 lbs. I ended up doing 3 layers 1708 rotated 45* from one another on the bottom and 1 layer 1208 up the gunwales. Also 1 layer 1708 on the dash with 3" strips of 1208 in the seams and 3" 8oz conform tape over top.

Started by sanding down the epoxy on all the joints. Then thickened epoxy in low spots and to radius edges such as the footholds. Let that tack up 3 hours with a heater on it then started laying glass. Used some wax paper to help hold corners in place.
Photo Jan 26, 2 22 52 PM.jpg
Photo Jan 27, 3 26 34 PM.jpg
Still need to clean up and feather the edges. Once that's done, I get to enjoy some more bodywork and hopefully get it painted before long.
 
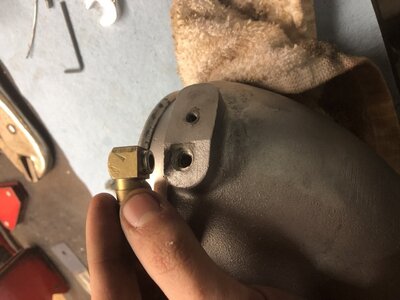
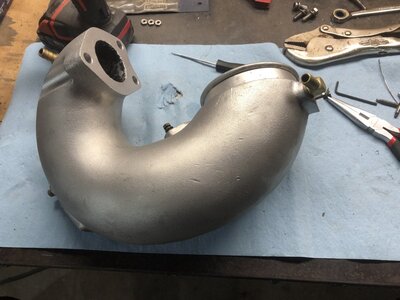
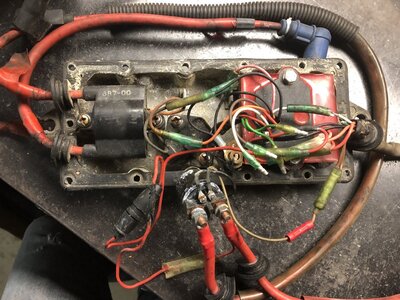
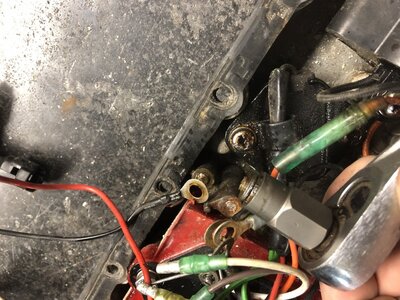
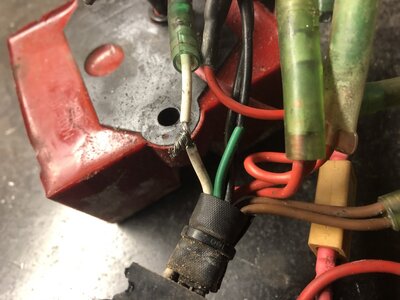
Not a ton to report on, been busy doing final bodywork and finding things to do while the epoxy cures. The B pipe is stripped and bead blasted and I worked on getting it ready for powder coating. Of course all the set screws were seized and one was already rounded out. Fought them out with the torch and penetrating fluid then chased the threads with a tap. Then one of the brass 90s snapped off clean so that had to be drilled and tapped. Same story in the ebox, lots of corrosion and already rounded out screws. A rounded bolt extractor came in handy but 3 of them snapped as well. So back to the tap set. Cleaned up all the ebox connectors and reinstalled with dielectric grease. Also fixed more of the P/O half ass wiring. I've heard of twist and tape but twist with no tape is some next level half assery.

Photo Feb 10, 4 53 46 PM.jpg

Photo Feb 10, 4 45 12 PM.jpg
Photo Feb 10, 11 39 33 AM.jpgPhoto Feb 10, 11 52 59 AM.jpg
Photo Feb 10, 2 10 57 PM.jpg
Filled the unused cavities above the dash and have been feathering the edges of the glass in the tray.
Photo Feb 09, 6 18 04 PM.jpg
Photo Feb 10, 7 10 46 PM.jpg
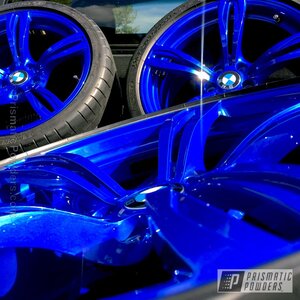
My powder is here from prismatic powder and this is what the parts "should" look like when I'm done. I say should b/c I'll be using a friend of a friends equipment and I probably won't get much help in the process.
Photo Feb 07, 12 34 06 PM.jpg
I'm trying to hustle getting the bodywork done so I can eventually get some paint on this thing. Hoping to start on that in a couple weeks.
 
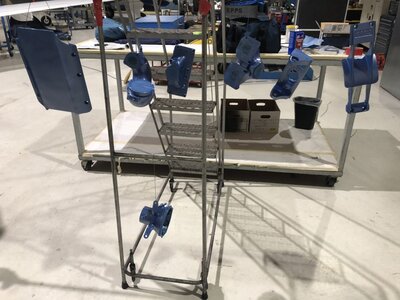
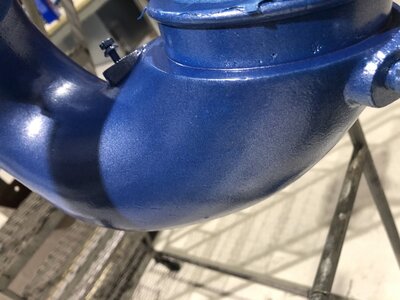
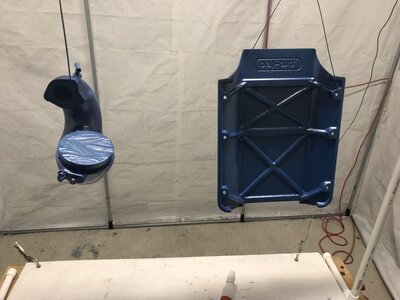
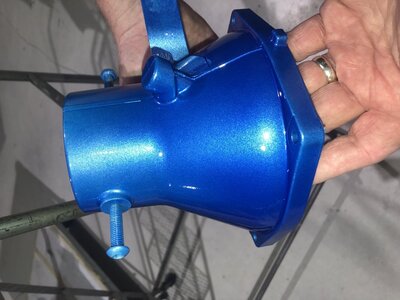
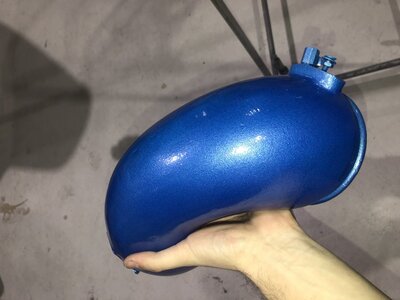
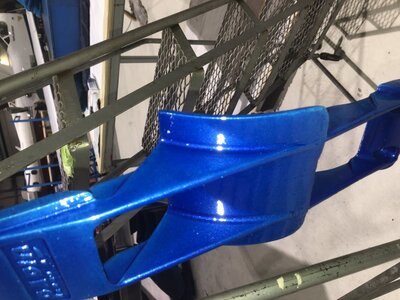
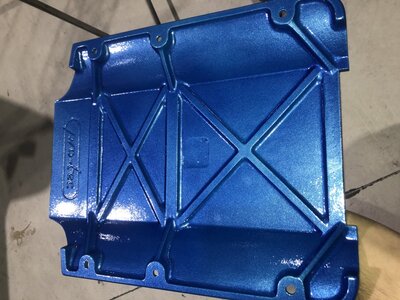
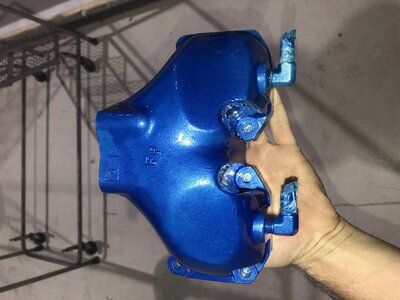
It's been a while but I have made a good amount of progress. Just got the powder coat done this morning and I'm very happy with the results. There are some flaws but nothing noticeable once everything is installed. The process itself was stupid easy and wasn't much work at all. This metallic / pearlescent color pops really well in person and I'm glad I went with it over a more basic color. This was done with epoxy primer, illusion blueberry and clear vision on top. The total cost of 1 pound of each powder and high heat tape was $65 shipped. A local shop wanted $400 for already blasted and prepped parts which was just a basic blue with no primer / clear and that quote was only for 3/4 the parts I did. There was enough powder left over to do this 1-2 more times. After the primer and base the color was very dull but the clear coat gave it an entirely different look. My only regret is not doing the front cover / ebox since I was initially concerned with having enough powder.

Just primer / base
Photo Feb 27, 5 36 11 AM.jpg
Photo Feb 27, 5 36 17 AM.jpg
Photo Feb 27, 5 44 11 AM.jpg
With the clear. The white spots are glare from the shop lights and the camera flash.
Photo Feb 27, 7 47 22 AM.jpg
Photo Feb 27, 7 58 35 AM.jpgPhoto Feb 27, 7 03 16 AM.jpg
Photo Feb 27, 7 49 11 AM.jpgPhoto Feb 27, 7 52 02 AM.jpg

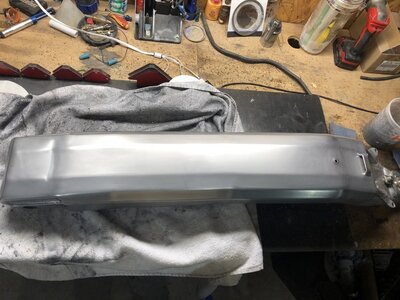
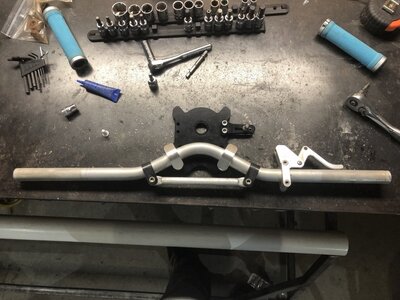
Got the pole and handle bars polished up.
Wet sanded them with 320-3000 grit then polishing compound on the buffer. Didn't bother polishing the bars.
Photo Feb 16, 6 26 55 PM.jpg
Photo Feb 17, 6 54 52 PM.jpg
 
Last edited:
Got some more bodywork done. I filled in the worn down pump mounts and thankfully noticed a hollow cavity in a previous repair.
Photo Feb 15, 6 30 24 PM.jpg
Photo Feb 15, 6 38 41 PM.jpg
Photo Feb 17, 4 18 54 PM.jpg
Photo Feb 23, 5 46 53 PM.jpg
It's very close to being ready to paint. The ski has been touched up in some spots with what feels like spray paint. I've read this can cause issues with the strong solvents in the automotive paint so I've been trying to get it sanded off.

I swung by the local PPG last week and told the guy I planned to use epoxy primer and single stage urethane. He told me A guy (as in just one) painted a ski with auto paint and came back bitching it was all coming off. He said the only paint that would hold up is some aircraft paint at $250 / quart. I disagree and it seems like it holds up well from what I've seen on here.

My plan is this. Let me know if it should be done differently.

Sand bottom to 180 grit and bottom sides / top to 320
Spray unthinned epoxy, let cure overnight
Wet sand with 600 the following day
Thin epoxy as a sealer and spray (this should help it flow better and have less orange peel)
Let that flash for 2-3 hours then spray color

I have 2 cheapo HVLP guns, a 1.4 and 1.7 tip. I think I can get away with the 1.4 (HF Special) for all of this. I've also got a lead on a spray booth I can use so I'm hoping I can use that over making a ghetto one in the garage.

Got a large order coming from @JetManiac that should cover most all the parts / gaskets I think I need.

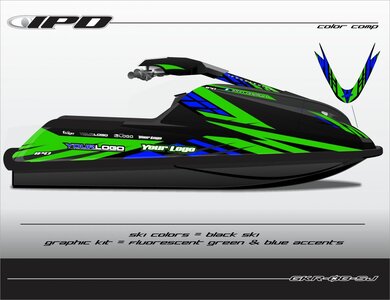
Also placed an order from IPD graphics during their 30% off Presidents Day sale. It is this design with this blue as the main color and black as the accent. Hopefully I won't run into issues with the lowered hood setup. Might have to trim some of the graphics off. GKR-OB-SJ (Flo-Green & Blue Accents on Black Ski).jpg
 
Last edited:
Top Bottom