You are using an out of date browser. It may not display this or other websites correctly.
You should upgrade or use an alternative browser.
You should upgrade or use an alternative browser.
Super Jet Project Dance-floor
- Thread starter Req
- Start date
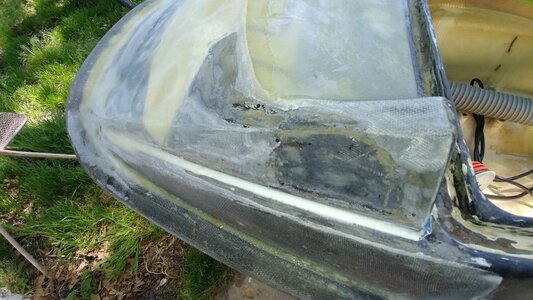
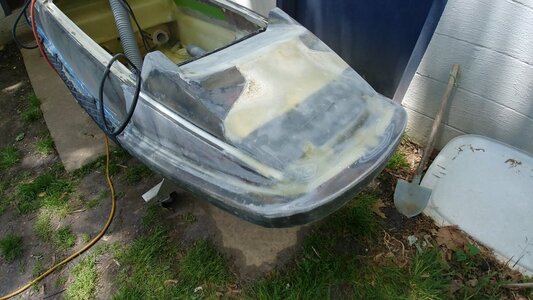
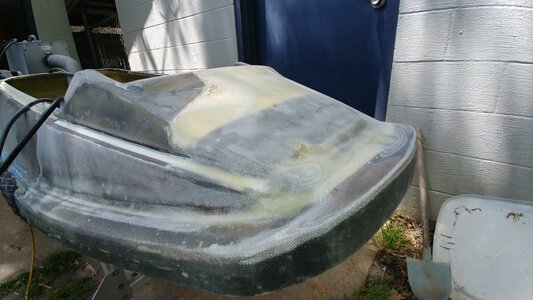
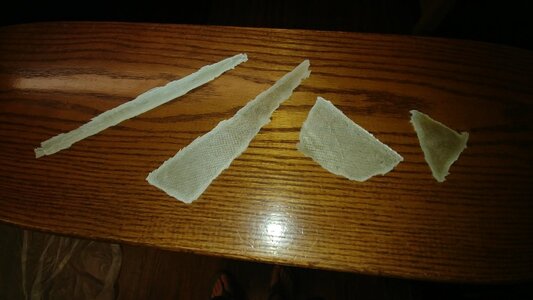
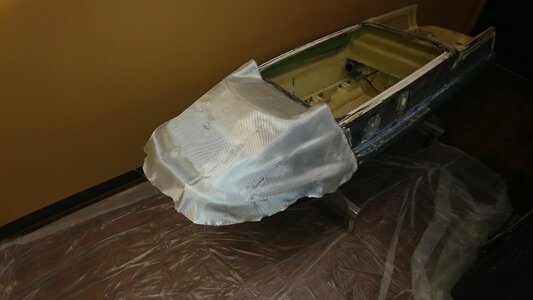
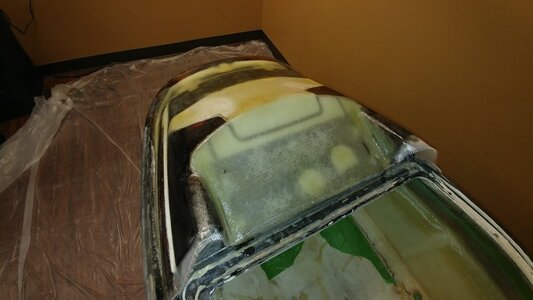
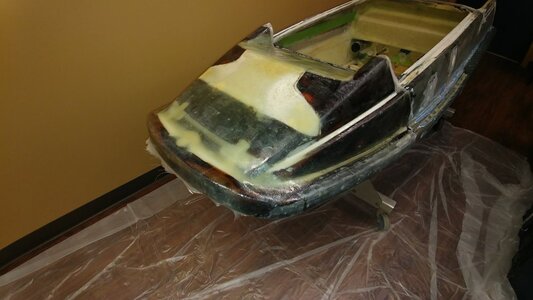
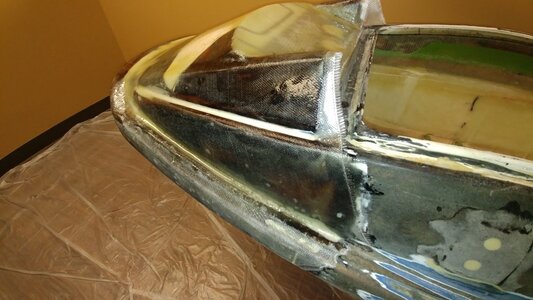
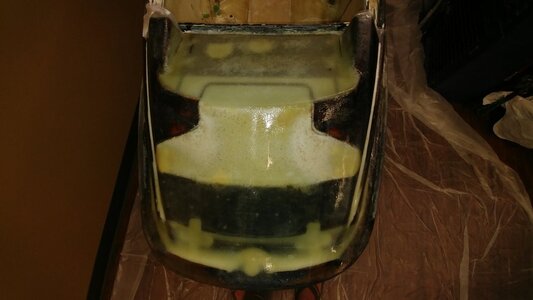
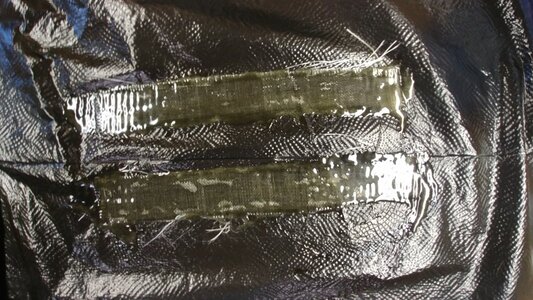
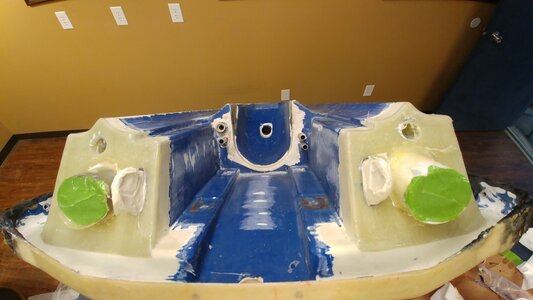
I reinforced the pole bracket and nose area. I went a little Overkill but I figured of all the places this was one of the spots worth overdoing. I got two layers of 1708 increasing in size for the pole bracket area and the nose, and I have two strips of 17oz biax connecting the 1708 to the previous reinforcement.
It's about a pound and a half of material but worth it in my opinion.
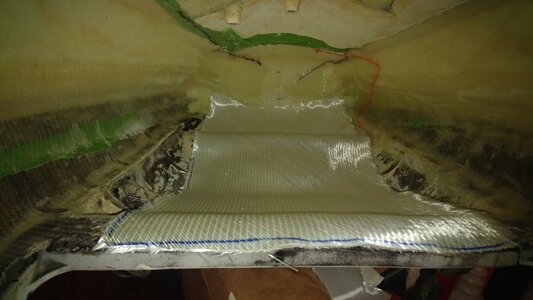
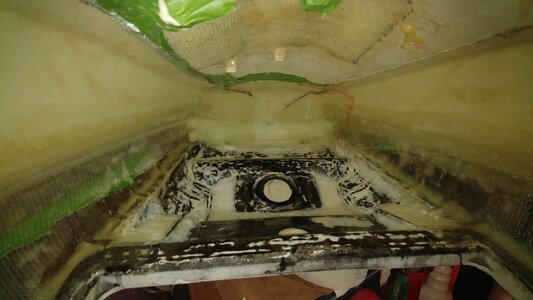
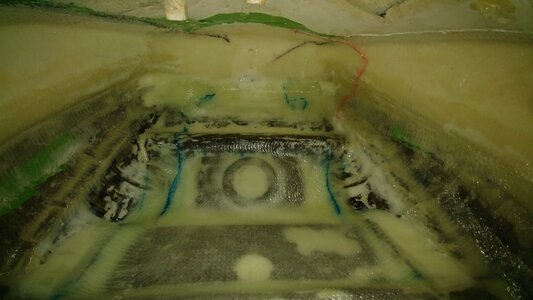
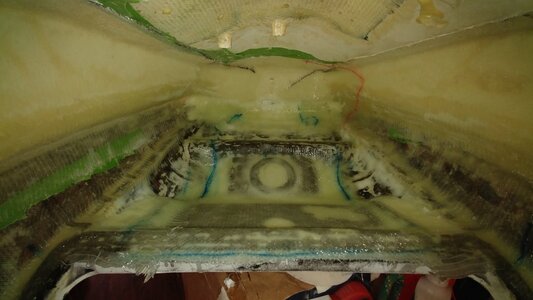
It's about a pound and a half of material but worth it in my opinion.


Attachments
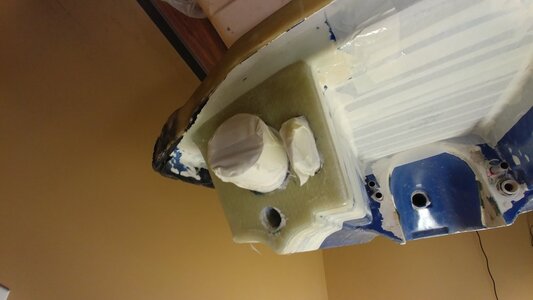
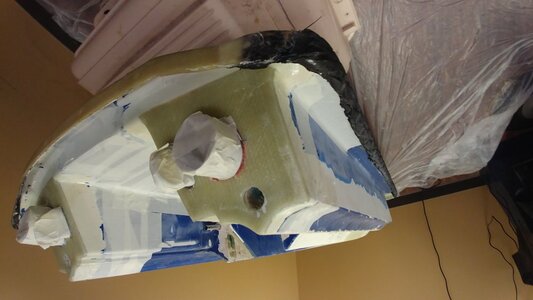
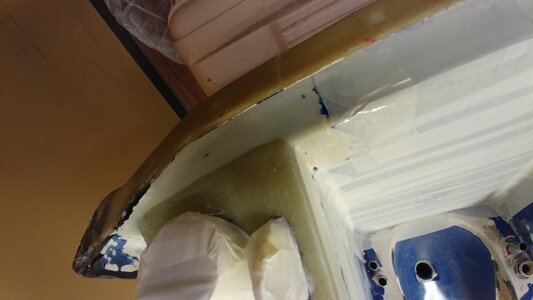
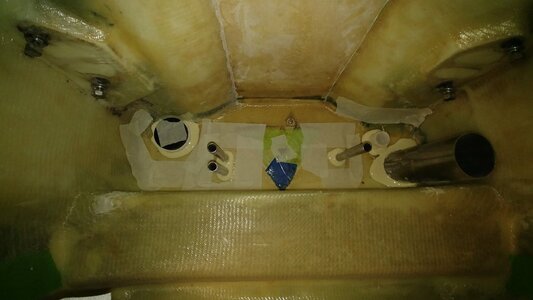
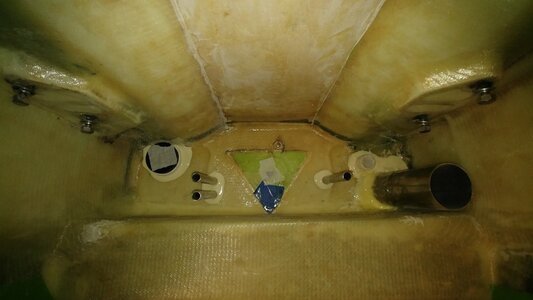
Im debating back and forth on how I should cut these tubes. If I keep them perpendicular to the ground like they are and just match the pvc one to the metal one I can put a freeze plug in the one way tube externally if I want. If I cut it with the angle and close to the hull it would look better and be less prone to getting hit but I would only be able to put a freeze plug in from the engine bay side.
Any thoughts on what angle and how close I should cut the tubes?
Any thoughts on what angle and how close I should cut the tubes?
- Location
- Northern michigan
Mine are straight cut I think that they are symmetrical and would look good no matter what you do . Down the road if you want to dress them up with matching aluminum base rings flush to the hull it would be easier if you left yourself a inch or so to work with later. Don't overthink it, push on and get it in the water.
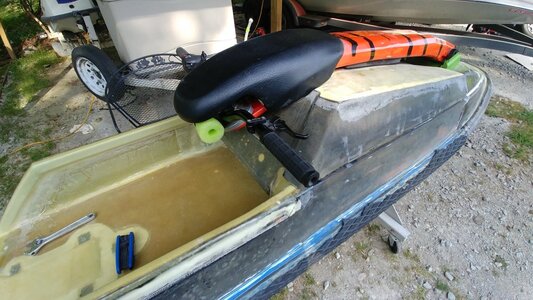
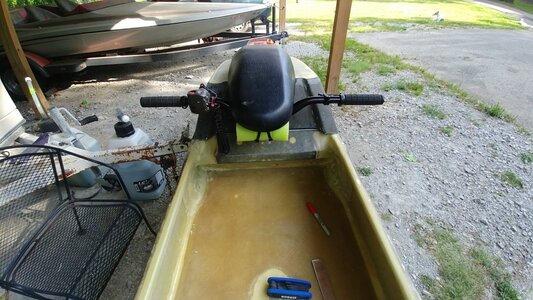
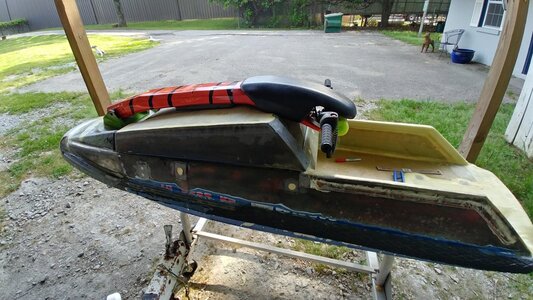
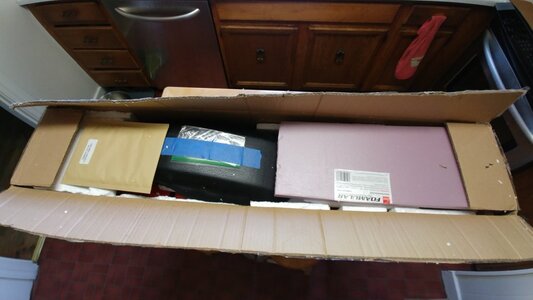
Thanks @yamanube for the great deal on the AC racing - 2 handle Pole. I really like the way it goes with the lines and it looks better than I was expecting. I have it mocked-up with the bracket location I settled on. Also he sent me a set of porting templates and was nice enough to include a pole bolt too!
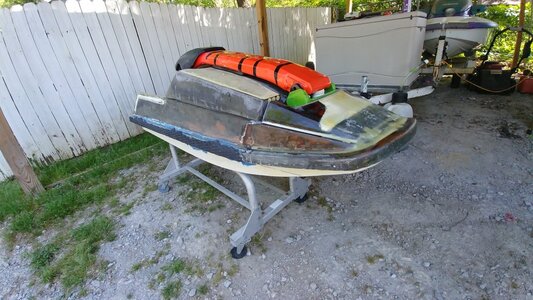
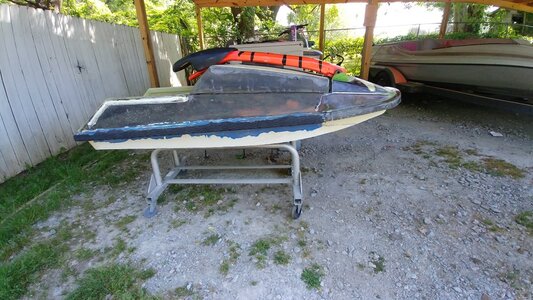
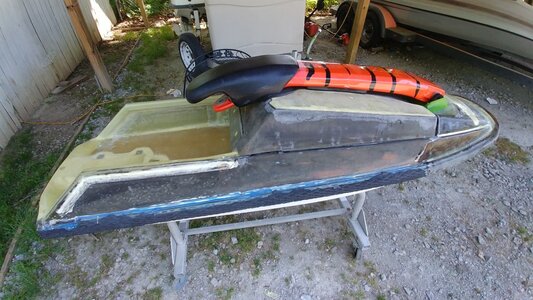


That looks rad, I vote keep the pole painted the way it is.
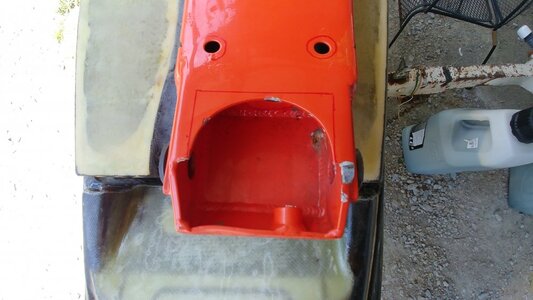
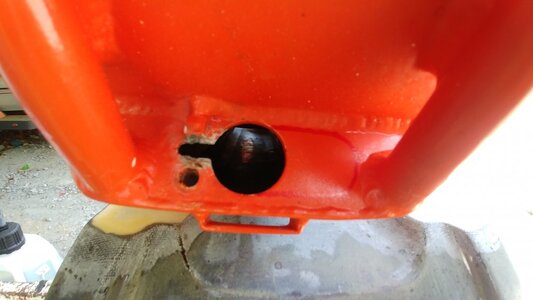
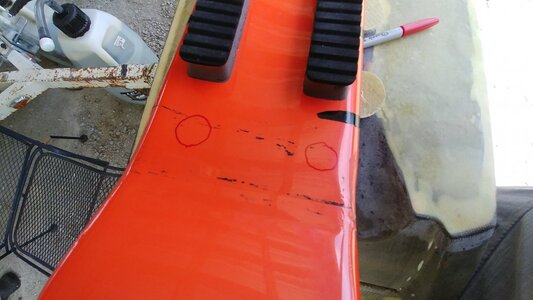
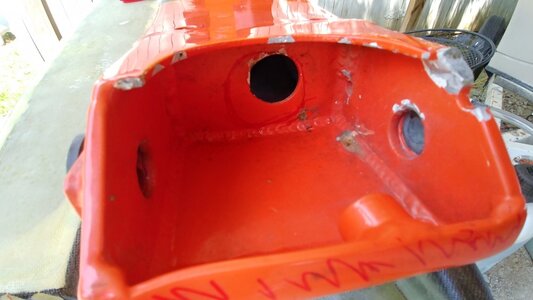
It works with the lines I got going, Im painting it plumb to match the ski however lol. Now I have to update the pole a bit and open up the lower area to accommodate the breather tube I am going to run, also I am fighting an upward angle on the bracket so a little bit of grinding on the lower face is in my future, im just not going to remove so much material the pole spring mount loses strength. Only reason I need to clearance it is the upward angle on the bracket, if it was flat like a round nose it would not need it. Also I am going to oval the upper hole and enlarge the lower drain holes and add two more at the upper section for a bit more breathing.
Red marker is the propsed changes.
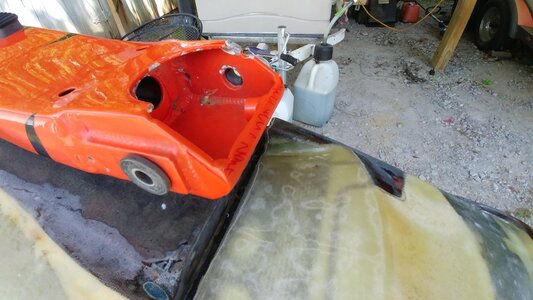
Quinc
Buy a Superjet
- Location
- California
Looks heavy and long. Cut about 8 inches out of it and cut some designs out of the back of it to remove some weight. 
Looks heavy and long. Cut about 8 inches out of it and cut some designs out of the back of it to remove some weight.
That would put me right back to the old length haha... I have ovp steering going on it so it should be pretty good.
Edit: Made me look, its 12lbs with the chin pad and bushings haha. Not bad for what it is.
Last edited:
- Location
- Northern michigan
In the first pic where you want to square off the rounded cut out I would not , square corners cause localized stress and cracks eventually. PM'ed you .
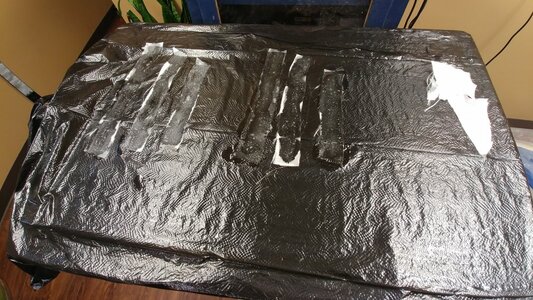
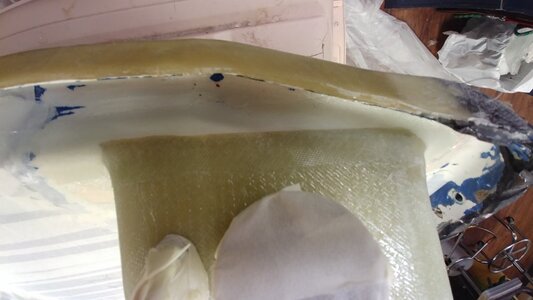
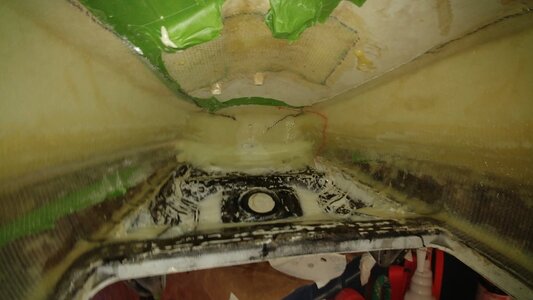
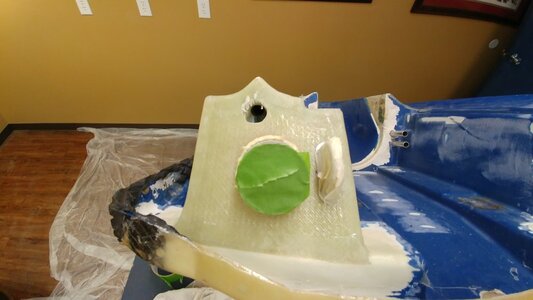
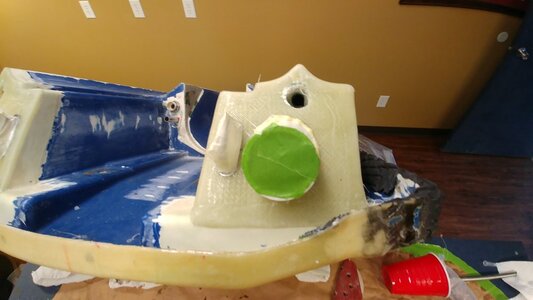
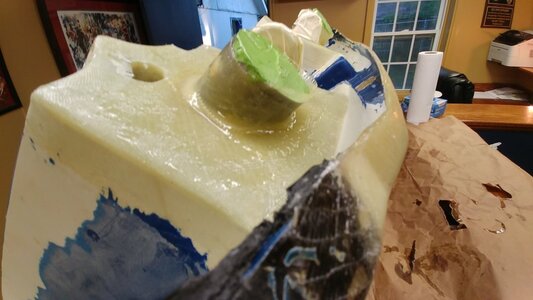
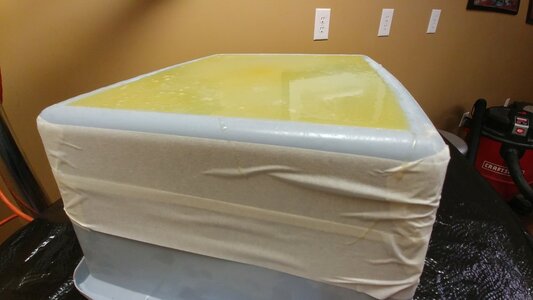
I was happy with the pole bracket area but not ecstatic with what the angle was presenting so I fixed it. I popped a mold out of an old tub that was the right size and cut the hole. It sits on the gas drain channel in the front and down a bit in the back for a lower profile. It fits nice and lowers the bracket a ton, lessens the angle, gives me more room and should be plenty beefy once I glass it in. Its 7 layers of 17 biax and 6 layers of 1708 so about a half inch thick on the bottom.
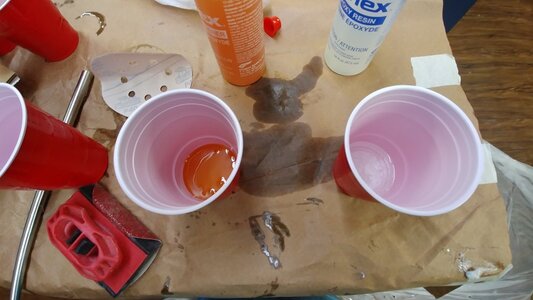
I poured resin in the top to let if self level.
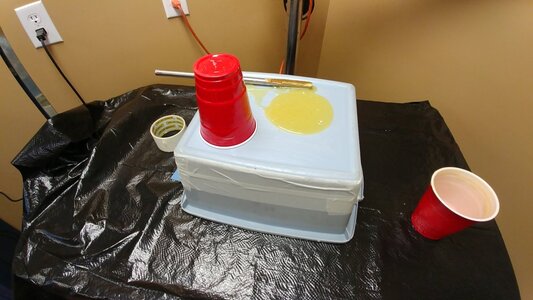
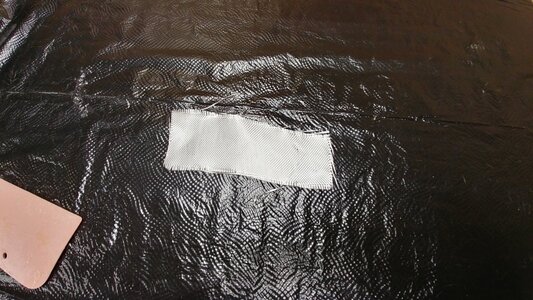
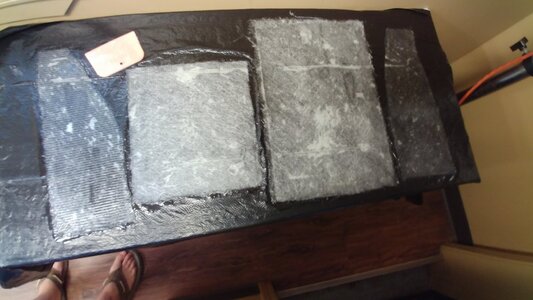
Small squares are 1708 for the bottom and the big squares are 17biax draped down the sides as well.,
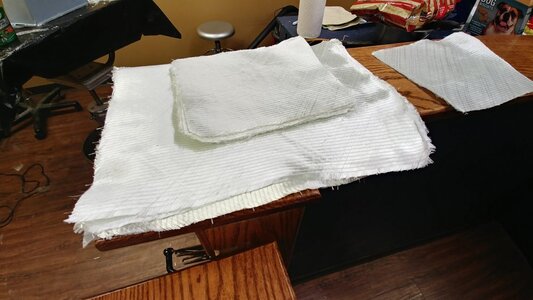
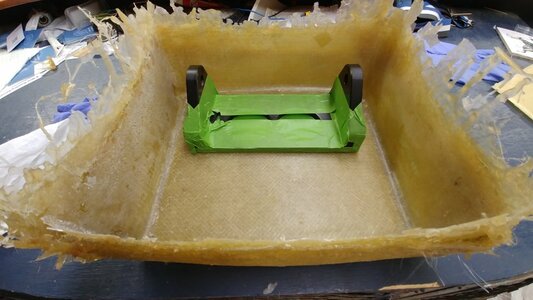
Took a couple of hours the other day and a couple hours today, honestly I spent more time stripping paint off the bottom today.
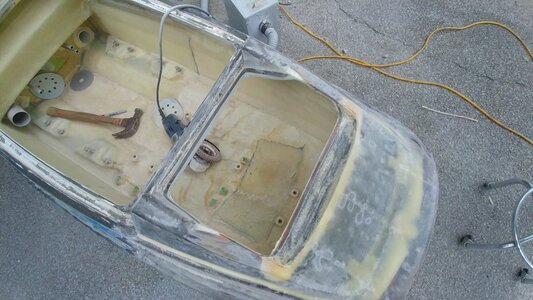
Turned out pretty good imo
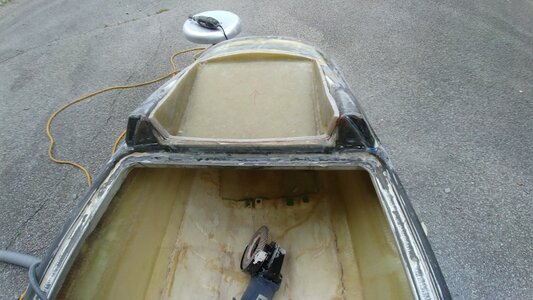
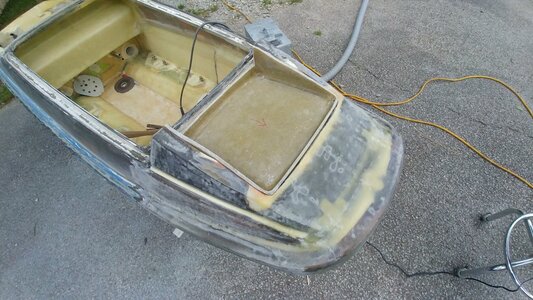
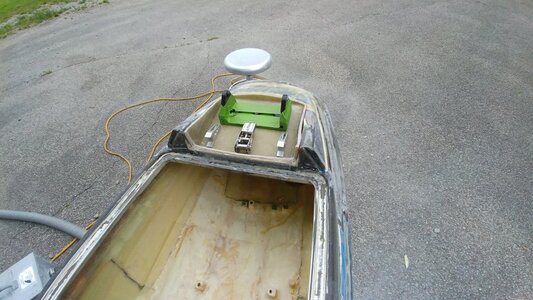
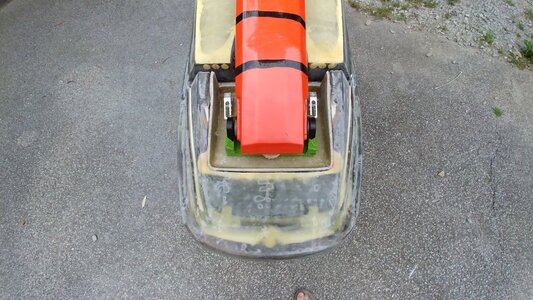
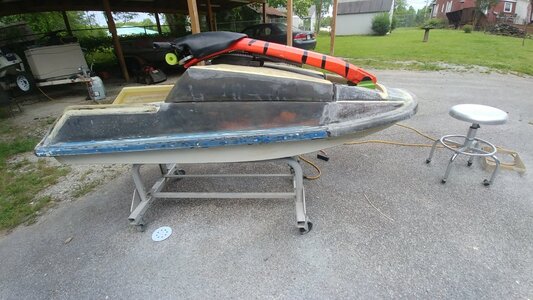
Next I am going to glue it in with gflex (Edit: thickened epoxy with cabosil and glass strands) and then cabosil the gaps and put a few layers of biax on the bottom to stitch it in. Additionally I will do a couple layers of 6oz cloth on the outside seam.
I poured resin in the top to let if self level.


Small squares are 1708 for the bottom and the big squares are 17biax draped down the sides as well.,


Took a couple of hours the other day and a couple hours today, honestly I spent more time stripping paint off the bottom today.

Turned out pretty good imo


Next I am going to glue it in with gflex (Edit: thickened epoxy with cabosil and glass strands) and then cabosil the gaps and put a few layers of biax on the bottom to stitch it in. Additionally I will do a couple layers of 6oz cloth on the outside seam.
Last edited:

