Squarenose Project Back ON!!

F

Freestyleriverrat

Guest
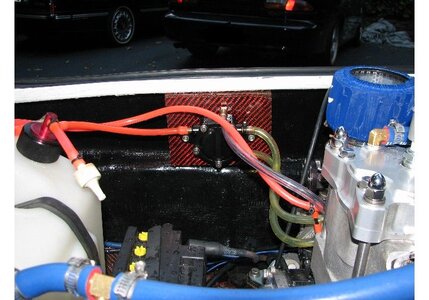
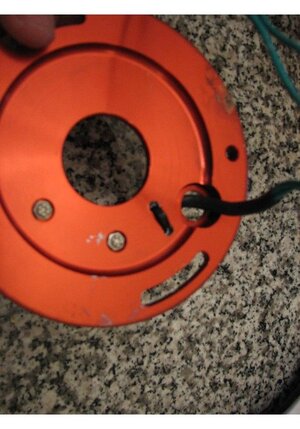
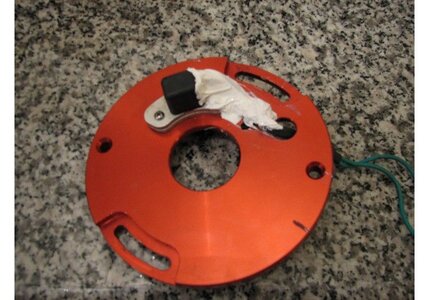
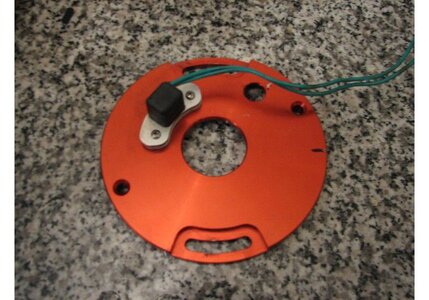
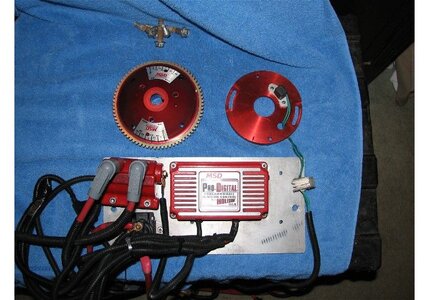
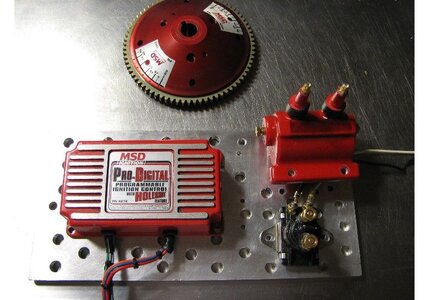
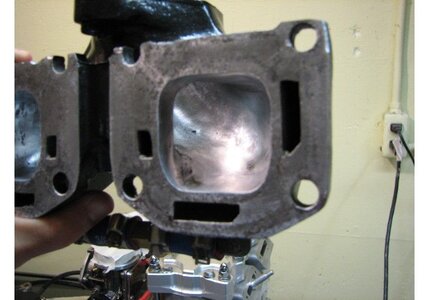
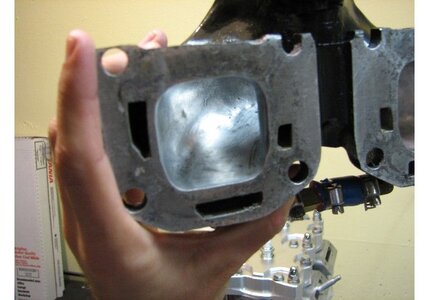
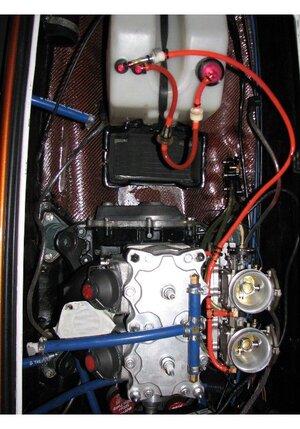
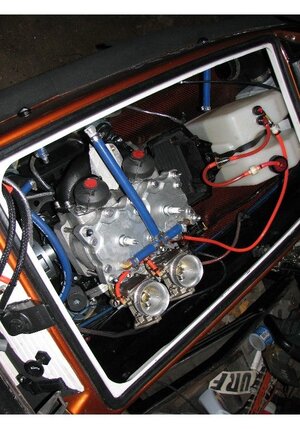
I am taking MattE's advice as well as SuperJETT's on insulating the wires w/ 5200 for vibration resistance. I also used 2 sleeves of shrink wrap on the wires, zip tied them to the stator plate and 5200 all the way around them. We will see how it does. I did not crack the plastic off and epoxy it but if this one craps out I will defiantly try it. I may let my buddy use this set up for a little bit. We will see Squid......no promises yet :friday:
 

Attachments

  • IMG_0939.JPG
    IMG_0939.JPG
    71.9 KB · Views: 69
  • IMG_0938.JPG
    IMG_0938.JPG
    79.1 KB · Views: 88
  • IMG_0937.JPG
    IMG_0937.JPG
    77.7 KB · Views: 68
Last edited by a moderator:
F

Freestyleriverrat

Guest
Like always I cannot leave anything alone. The mounting plate for my TL system was made out of like 1/2in thick aluminum plate, so I decided to shedd a little weight off it. Looks pretty cool too but I did it to lighten it up a little which it did. It may not look like much but I cleaned up all the shavings and have a pile that is almost a foot tall of aluminum coils. Whatever...............

Anyway, since my build page is still dragging on might as well document how I seal the TL system. Ordered all my stuff today and will post pics of how I did it, how I routed the lines and how I initally set up the system. So that will follow sometime after the lamey install.

Here is the basic layout of how the system is mounted. It will be much cleaner when done. Wires are being routed in the front b/c I think it gives the plate a more mechanical look. Still have to drill and tap spots for plastic retainer rings to route wires. Put the assembly in place to mock it up and make sure everything cleared.
 

Attachments

  • IMG_0933.JPG
    IMG_0933.JPG
    103.7 KB · Views: 66
  • IMG_0942.JPG
    IMG_0942.JPG
    84.2 KB · Views: 84
  • IMG_0944.JPG
    IMG_0944.JPG
    103.4 KB · Views: 70
  • IMG_0948.JPG
    IMG_0948.JPG
    90.6 KB · Views: 112
Last edited by a moderator:
F

Freestyleriverrat

Guest
Assembled the motor and it is nice and smooth :biggthumpup: I spent allot of time on the cases. All matched for the lamey cylinder's transfer ports. I used 80 grit sanding bits, 120 sanding wheel to smooth out transitions and then a grinding wheel on a air grinder to rough the surface up again for better fuel atomization. Then the cases soaked in warm soapy water and scrubbed with a SOS pad to remove burrs and old gasket/sealent material. Then rinsed with warm water and hit with a med pressure water jet to clean to wash off residue and any thing left behind.

Cleaned the cylinders in soapy water as well, rinsed and oil was reapplied to the cylinders to prevent rust. Blaaa blaa blaaaaa.........more pics
 

Attachments

  • IMG_0965.JPG
    IMG_0965.JPG
    72.9 KB · Views: 110
  • IMG_0966.JPG
    IMG_0966.JPG
    70.5 KB · Views: 113
  • IMG_0960.JPG
    IMG_0960.JPG
    77.2 KB · Views: 82
  • IMG_0958.JPG
    IMG_0958.JPG
    98.9 KB · Views: 99
  • IMG_0957.JPG
    IMG_0957.JPG
    76.6 KB · Views: 101
F

Freestyleriverrat

Guest
Got the pipe back and the guy did a killer job. Only charged me $40 to weld it up so the enire mod cost me about $60 and a allot of time. I did not spen that much time cleaning the weld up. I am going to have it jet hot coated in the winter and will continue to take the time to shape the metal at that time. Polished the inside of the manifold and opened the exhaust (manifold and head pipe ports) up from 43mm to 46mm.

Getting very close to becomming a BRAAPAHOLIC for the rest of the season :woot:
 

Attachments

  • IMG_0982.JPG
    IMG_0982.JPG
    76.7 KB · Views: 83
  • IMG_0986.JPG
    IMG_0986.JPG
    57.9 KB · Views: 85
  • IMG_0987.JPG
    IMG_0987.JPG
    58 KB · Views: 92
  • IMG_0990.JPG
    IMG_0990.JPG
    84 KB · Views: 114
  • IMG_0991.JPG
    IMG_0991.JPG
    119.5 KB · Views: 129
Last edited by a moderator:
F

Freestyleriverrat

Guest
Note on installing PV's and manifold

This took a little brain power from me tonight. I could not get the Pv's on when the manifold was bolted down. If you just put the PV's on you cannot access the 2 bolt in between the PV's (upper middle manifold bolts). I finally got them on by taking the PV's out of the housing, Install the manifold, then sliding the housing on over the PV's, screwing the cap on and attaching the bellows. Everything is a tight fit and needs to be installed in a particular order but one it in on it looks good. motor is in the hull now and that will do it for today. :Banane01:
 

Attachments

  • IMG_0994.JPG
    IMG_0994.JPG
    103.3 KB · Views: 124
  • IMG_0995.JPG
    IMG_0995.JPG
    105.4 KB · Views: 93
  • IMG_1013.JPG
    IMG_1013.JPG
    115.3 KB · Views: 121
  • IMG_1015.JPG
    IMG_1015.JPG
    115.7 KB · Views: 129
Last edited by a moderator:
F

Freestyleriverrat

Guest
Took the ski out for the first time tonight. WOW! Lamey's rock. Totally different ski. Very controllable powerwise, smooth powerband and lets not forget the hit. It yanks!! I was really light on it tonight b/c I want to tune and feel everything out but it is just all around better. Ski even bites the water better, launches easily off a take off wake and that power/torque just makes the ski feel lighter..........the back end of the ski will just be thrown in whatever direction is nozzel is pointing it in. Pretty sweet :bigeyes: I need to tune it up more and get more acclimated to the ski before I can start having fun. :biggthumpup:
 
F

Freestyleriverrat

Guest
Sweet deal, you made it a quick project! I was getting worried you'd never ride again :biggthumpup:

Hopefully no more tear downs this season. :fingersx: I don't even know if I want the TL on there this season, I just want to ride.
 
F

Freestyleriverrat

Guest
Motor was close to broken in. Took it for a couple of 3/4 throttle runs.............AHHHHHHHH. This thing screams!!!!! :bigeyes: :bigeyes: Insane speed. Too much top speed for my freestylin arse. Still need to clean up the low end a little........I don't think the motor is ported, if it is I would say it is mid to top end power but it did not look ported to me. Powerwise, there is going to be a learning curve for several weeks.
 
F

Freestyleriverrat

Guest
Since I busted my head I am keeping it out of the ohio river until I get my stitches out. Met my buddy Mack down there (aka: squid on x-h2o.com) and he really liked the boat. You can't really tell the power in the video b/c he is just blipping the throttle. This is one of his first rolls on it, he was getting more height on each one he did. I have anouther video where you can hear the ski hooking up and just taking off......but I accidentaly deleted it whiel previewing pics. I am going to ride with my buddy Pat tomorrow.....maybe I can get a vid of a little race between his ported 650 vs the lamey vs Mack's ported 701 w/ full specs.

http://www.superjett.com/albums/videos/New stuff/MackRoll_RatsBoat.wmv
 
Last edited by a moderator:
wow

Man O'man that is one sweet ski:Banane01: Riverrat has done an awesome job on this ski. It makes huge power and is the best BR ski I have ever been on. Layme is the way to go and the power is insane! Nice job RiverRat and when can I take that monster out for anther ride? WOW:cheer: :woot:
 
F

Freestyleriverrat

Guest
Did a little more adjustment tonight and it cleaned up the lowend a little. Throw a nice nose stab w/ no effort. Just turn the bars, blipp the throttle and lofted in the air :biggthumpup:
 
F

Freestyleriverrat

Guest
when can I take that monster out for anther ride? WOW:cheer: :woot:

I thought you said you never wanted to ride that boat again b/c it was to depressing :haha: We still have TL to put on it, but that can wait until after FSF. I want to ride more Lamey boats to get an idea of how this one measures up. I am achually really comfortable with the power now.......that did not take as long as I thought it would.:haha:
 
Last edited by a moderator:
F

Freestyleriverrat

Guest
got off my butt an installed the fuel pump bracket. W/ 3 rivot it is nice and tight. Quite surprising achually. I thought it would break :biggrin: JK:rolleyes: 
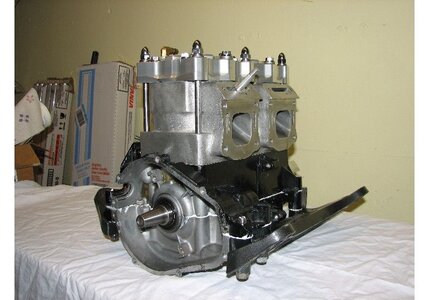
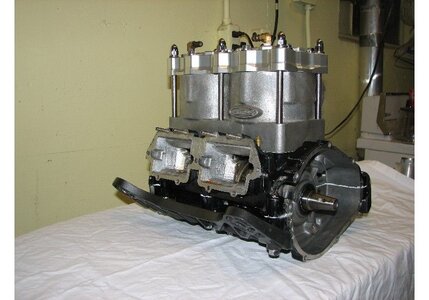
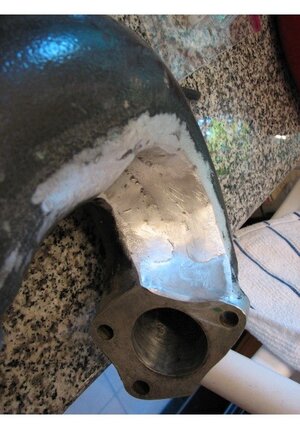
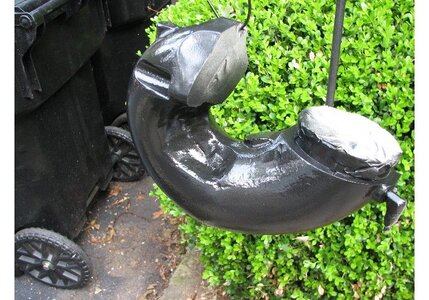
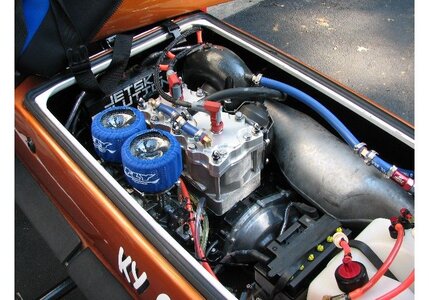
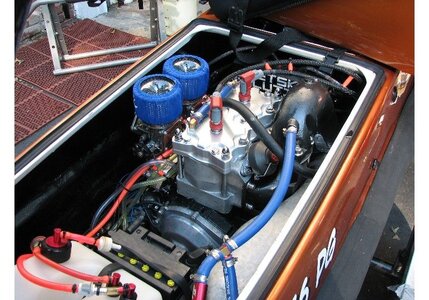
I think that 1 more addition concludes this project 100%. It better.....I have done 2 different motors this season :17:
 

Attachments

  • IMG_1026.JPG
    IMG_1026.JPG
    86.6 KB · Views: 109
Top Bottom