Y
yamaslut
Guest
88lbs!!! NICE!!! you're a relatively light guy also, arent you? you're gonna rip on that thing.
geek is my size... maybe a little more manly
:cool2:
88lbs!!! NICE!!! you're a relatively light guy also, arent you? you're gonna rip on that thing.
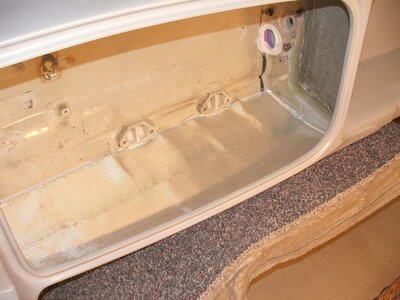
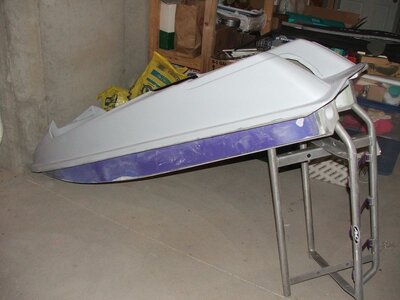
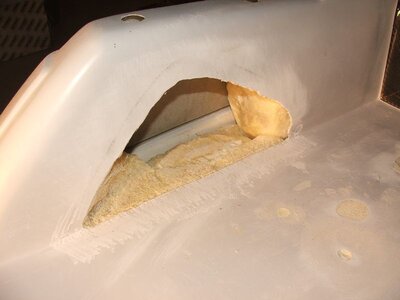
final weight came to:
88 pounds.
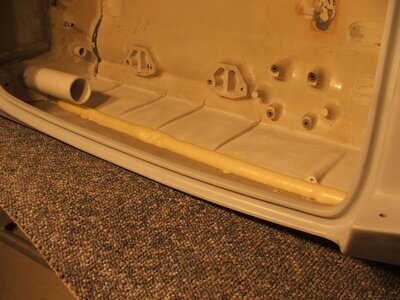
funny you mention that. i thought about that when i sanded mine down, and repainted it. i sanded through 3 coats of paint to get as much old paint off as possible.
that paints gotta add another 3 or so lbs at least i'd say. those cans are pretty heavy. my ski had one quart of primer, a quart of white, a quart of green, the activator, the reducer.
that's gotta add up.
geek is my size... maybe a little more manly
:cool2:
")
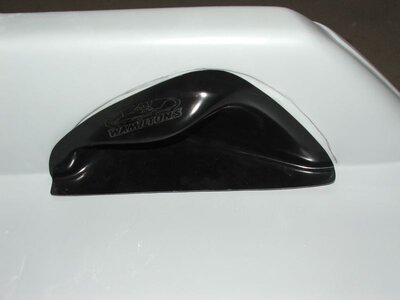
Very sweet bro! I can't wait to see it painted!
Doug
I'm curious to see how much weight the paint adds. Seriously... please weigh it again after paint Mr. Geek!!! It has to add some weight, right? lets see...
I hate it when people get so much accomplished it just makes me depressed
:haha: :haha: :haha: :haha:
Nice!!!! I must admit I was skeptical after I heard the weight of the bottom deck :hail: Nice job!
I think you ment gangly...
I'm 6'-1" and 185 lbs.
I think that thing is gonna rip on me more than I can rip on it!! :hail: